How to Remove Frost from Freezer: Quick Steps
Waking up to find several inches of frost coating your freezer walls isn’t just an eyesore—it’s a clear sign your appliance is working harder than necessary. This icy buildup reduces storage capacity, increases energy consumption by up to 30%, and eventually prevents your freezer from maintaining proper temperatures. Whether you’re dealing with a thin layer of ice or a thick frost coating that’s making your frozen peas impossible to reach, knowing how to remove frost from freezer properly saves you time, protects your food, and extends your appliance’s lifespan. This guide delivers actionable techniques that actually work, without damaging your freezer or wasting hours you don’t have.
Most homeowners encounter frost problems at some point, but many make critical mistakes during removal that worsen the situation. Chipping at ice with metal tools can puncture refrigerant lines, while improper drying after defrosting creates conditions for even faster frost reaccumulation. The methods outlined here work for all freezer types, including standalone manual-defrost units, combination refrigerator-freezers, and chest freezers. You’ll discover step-by-step instructions for natural defrosting, accelerated techniques using common household items, and professional tips that most repair technicians use to keep freezers running efficiently.
Quick Frost Removal Methods
When frost builds up to a quarter inch or more, it’s time to take action. The method you choose depends on how much time you have available and what tools you can access. These quick techniques address immediate frost problems efficiently.
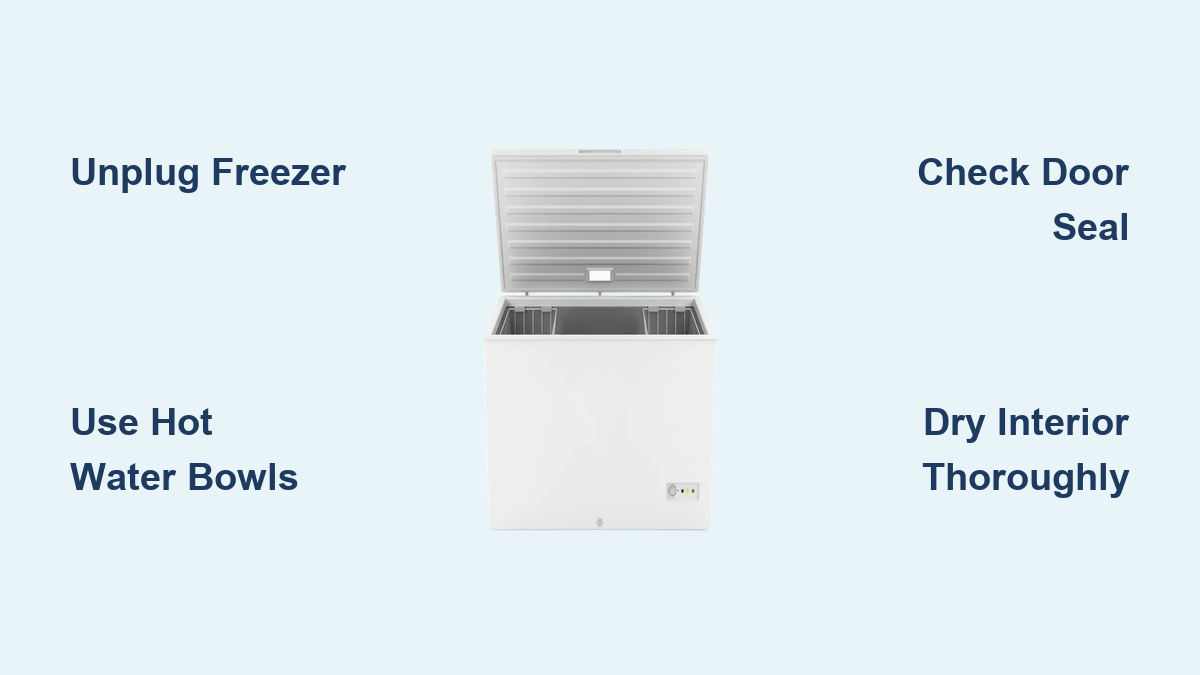
Hot Water Bowl Technique
The hot water bowl method significantly accelerates the natural defrosting process by introducing steam directly into the freezer compartment. This technique can reduce defrosting time from several hours to as little as one to two hours for moderate buildup.
Begin by unplugging your freezer completely and removing all food items. Place old towels around the base of the unit to catch water as ice melts. Position a shallow baking tray or large bowl at the bottom to collect the majority of water overflow. Fill several bowls or pots with hot water—aim for 140-160°F (60-70°C)—and place them inside the freezer on top of thick towels to protect plastic surfaces from heat damage.
Close the door and let the steam work for 15-20 minutes, then check progress and replace bowls with freshly hot water. The warmth causes frost to soften and peel away from walls naturally. Work systematically from top to bottom, as melting ice from upper sections flows downward and helps loosen lower frost layers. Use a plastic spatula to gently remove loosened ice chunks, being careful not to puncture or scratch interior surfaces.
Hair Dryer Application

A hair dryer provides precise, targeted heat that quickly dislodges stubborn ice without requiring the entire freezer to be emptied for extended periods. This method works exceptionally well for thick ice chunks that resist other techniques.
Safety comes first when using electrical appliances near water. Keep the hair dryer at least six inches from frost surfaces and maintain constant motion to distribute heat evenly and prevent localized hot spots. Set the dryer to medium or low heat—high heat can damage plastic components or create safety hazards. Work in small sections, pointing the dryer at frozen areas until the frost softens enough to scrape away with a plastic spatula.
Move methodically across all frozen surfaces, starting from the top and working downward. As ice loosens, gently pry it away with your scraper, collecting chunks in a container. Never use metal tools, which can puncture refrigerant lines or scratch protective coatings. This technique allows you to remove frost quickly without waiting for natural melting, though you’ll need to remain attentive throughout the process.
Natural Defrosting Technique
Natural defrosting represents the most energy-efficient and hands-off approach for removing frost from freezer compartments. While it requires more patience than accelerated methods, it demands minimal tools and poses the lowest risk of damage to your appliance.
The entire process typically takes 4-12 hours depending on frost thickness and room temperature. Start by unplugging the freezer at the circuit breaker or wall outlet—never attempt to defrost while the appliance is connected to power. Remove all food items and transfer them to coolers packed with ice packs; a quality cooler maintains frozen temperatures for 4-8 hours.
Prepare the area by surrounding the freezer with old towels or newspapers to absorb water as ice melts. Place a large baking tray or shallow pan at the base to catch the heaviest water flow, and have additional trays ready for exchange as they fill. Leave the door fully open and resist the urge to speed up the process by chipping at ice—letting it melt naturally prevents damage to interior surfaces.
For stubborn sections, you can place bowls of hot water inside the freezer and close the door for 10-15 minute intervals, replacing water as it cools. This adds steam heat to accelerate melting without the constant attention required by hair dryer methods. Once all ice has melted, thoroughly dry all interior surfaces with clean towels before plugging the freezer back in and returning food items.
Prevent Future Frost Accumulation
Prevention is far easier than removal. By addressing the root causes of frost buildup, you can dramatically reduce defrosting frequency and keep your freezer running efficiently. These maintenance strategies take just minutes but deliver lasting results.
Door Seal Inspection and Replacement
The door seal (or gasket) is your freezer’s primary defense against warm, humid air—the main culprit behind frost formation. Over time, these rubber seals crack, flatten, and lose flexibility, creating gaps that allow moist air to seep in continuously. Damaged seals can increase frost buildup by 50% or more, even in otherwise healthy freezers.
Inspect door seals at least quarterly by examining them for visible cracks, tears, or deformed sections. Perform the dollar bill test: close a dollar bill in the door and attempt to pull it out. If it slides out easily without resistance, the seal is too loose and needs attention. Check all around the door frame, as seals can degrade unevenly with some sections still functional while others fail completely.
Replacing a damaged seal is a straightforward DIY task for most models. Seals are typically held in place by a retaining clip or adhesive strip along the door edge. Remove the old seal by prying up the retaining edge, then clean the channel thoroughly before installing the new seal. Press the new seal firmly into place, ensuring it sits flush all around the door frame. Apply a thin layer of petroleum jelly to the seal after installation to maintain flexibility and improve the seal’s longevity.
Temperature Optimization
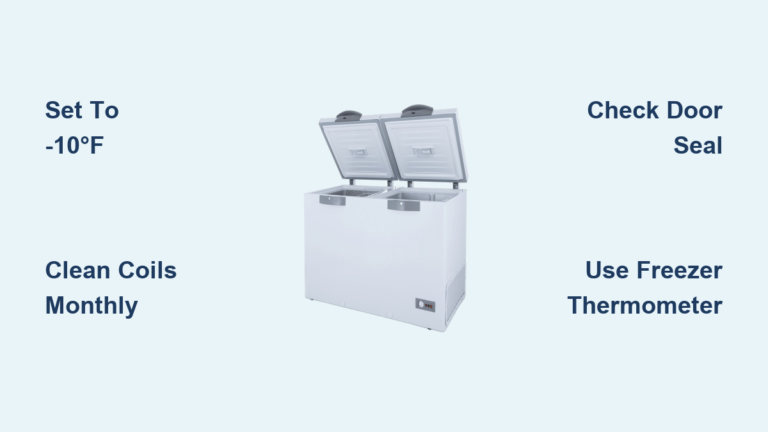
Maintaining the correct freezer temperature prevents unnecessary frost formation while ensuring food safety. The optimal setting is 0°F (-18°C), and temperatures significantly below this actually contribute to frost problems by causing excessive condensation on cold surfaces. Conversely, temperatures above 0°F force the compressor to cycle more frequently, which can increase frost in some areas.
Use a separate freezer thermometer to verify your temperature, as built-in thermostats become inaccurate over time. Place the thermometer in a glass of water in the center of the freezer and check reading after 24 hours. If temperature fluctuates significantly or runs consistently high or low, the thermostat may need calibration or replacement by a technician.
Avoid overfilling the freezer, as restricted airflow creates temperature inconsistencies and increased frost in some areas. Leave space between items for air circulation, and never push items against walls where evaporator coils may be located. Group items together when possible, as frozen items help maintain each other’s temperature during door openings.
Manual vs Frost-Free Freezers
:max_bytes(150000):strip_icc()/Self-defrost-or-manual-defrost-freezer-1907755_color-faafc3a1709844769866a3e8b1a536a4.jpg)
Understanding your freezer type determines both how you maintain it and what frost problems you might encounter. The two main categories operate very differently and require distinct approaches to defrosting and prevention.
Manual Defrost Requirements
Manual defrost freezers require periodic user intervention to remove frost buildup and are common in both standalone freezers and many refrigerator-freezer combinations. These units accumulate frost naturally and need complete defrosting when ice buildup reaches approximately 1/4 to 1/2 inch thickness. Some households need to defrost monthly, while others with low humidity and careful usage may only need to do so twice yearly.
These freezers are generally more energy-efficient than frost-free models when properly maintained, as they lack the energy-consuming heating elements that run periodically in automatic systems. However, they require consistent attention—neglecting defrosting leads to reduced efficiency, decreased storage capacity, and eventually potential compressor damage from the freezer working too hard.
Manual defrost freezers typically feature simpler designs with fewer components that can fail, potentially offering longer reliability when maintained properly. The tradeoff is the regular maintenance requirement, which busy households may find inconvenient.
Automatic Defrost Systems
Frost-free freezers use automated systems that periodically warm evaporator coils to prevent frost accumulation, eliminating manual defrosting requirements. These systems operate on defrost cycles that typically run every 6-12 hours, lasting 20-40 minutes each time. During the cycle, a heating element warms the coils just enough to melt accumulated frost, which then drains through a tube to a collection pan where it evaporates.
While eliminating manual defrosting, these systems consume more electricity due to the periodic heating cycles. The additional components—defrost timer, heater, thermostat—can also fail over time, potentially requiring professional repair. When a frost-free freezer begins accumulating frost despite the automatic system, it typically indicates a component failure requiring service.
Frost-free freezers are more expensive to purchase initially but save time and effort over their lifespan. Understanding your system’s components helps you troubleshoot when problems arise and communicate effectively with repair technicians.
Safety Essentials During Defrosting
Defrosting involves water, electrical appliances, and sometimes heavy objects—taking proper safety precautions protects both you and your appliance. These guidelines ensure a safe, successful defrosting process.
Electrical Safety Protocols
Electrical safety must be the first consideration before beginning any defrosting procedure. Always unplug the freezer completely before starting—never attempt to remove ice while the appliance is connected to power. If the freezer must be moved for access, ensure it’s fully disconnected before relocation and allow time for any residual moisture to clear from electrical components.
When using electrical appliances like hair dryers or fans near water from melting ice, maintain awareness of electrical hazards. Keep all cords away from water accumulation and never operate electrical equipment while standing in water. Use appliances with GFCI protection when possible, and ensure your hands are dry before touching any electrical switches or cords.
After defrosting is complete, verify the freezer is completely dry before reconnecting power. Residual moisture can cause short circuits or electrical damage that may not be immediately apparent but can create fire hazards or appliance failure later.
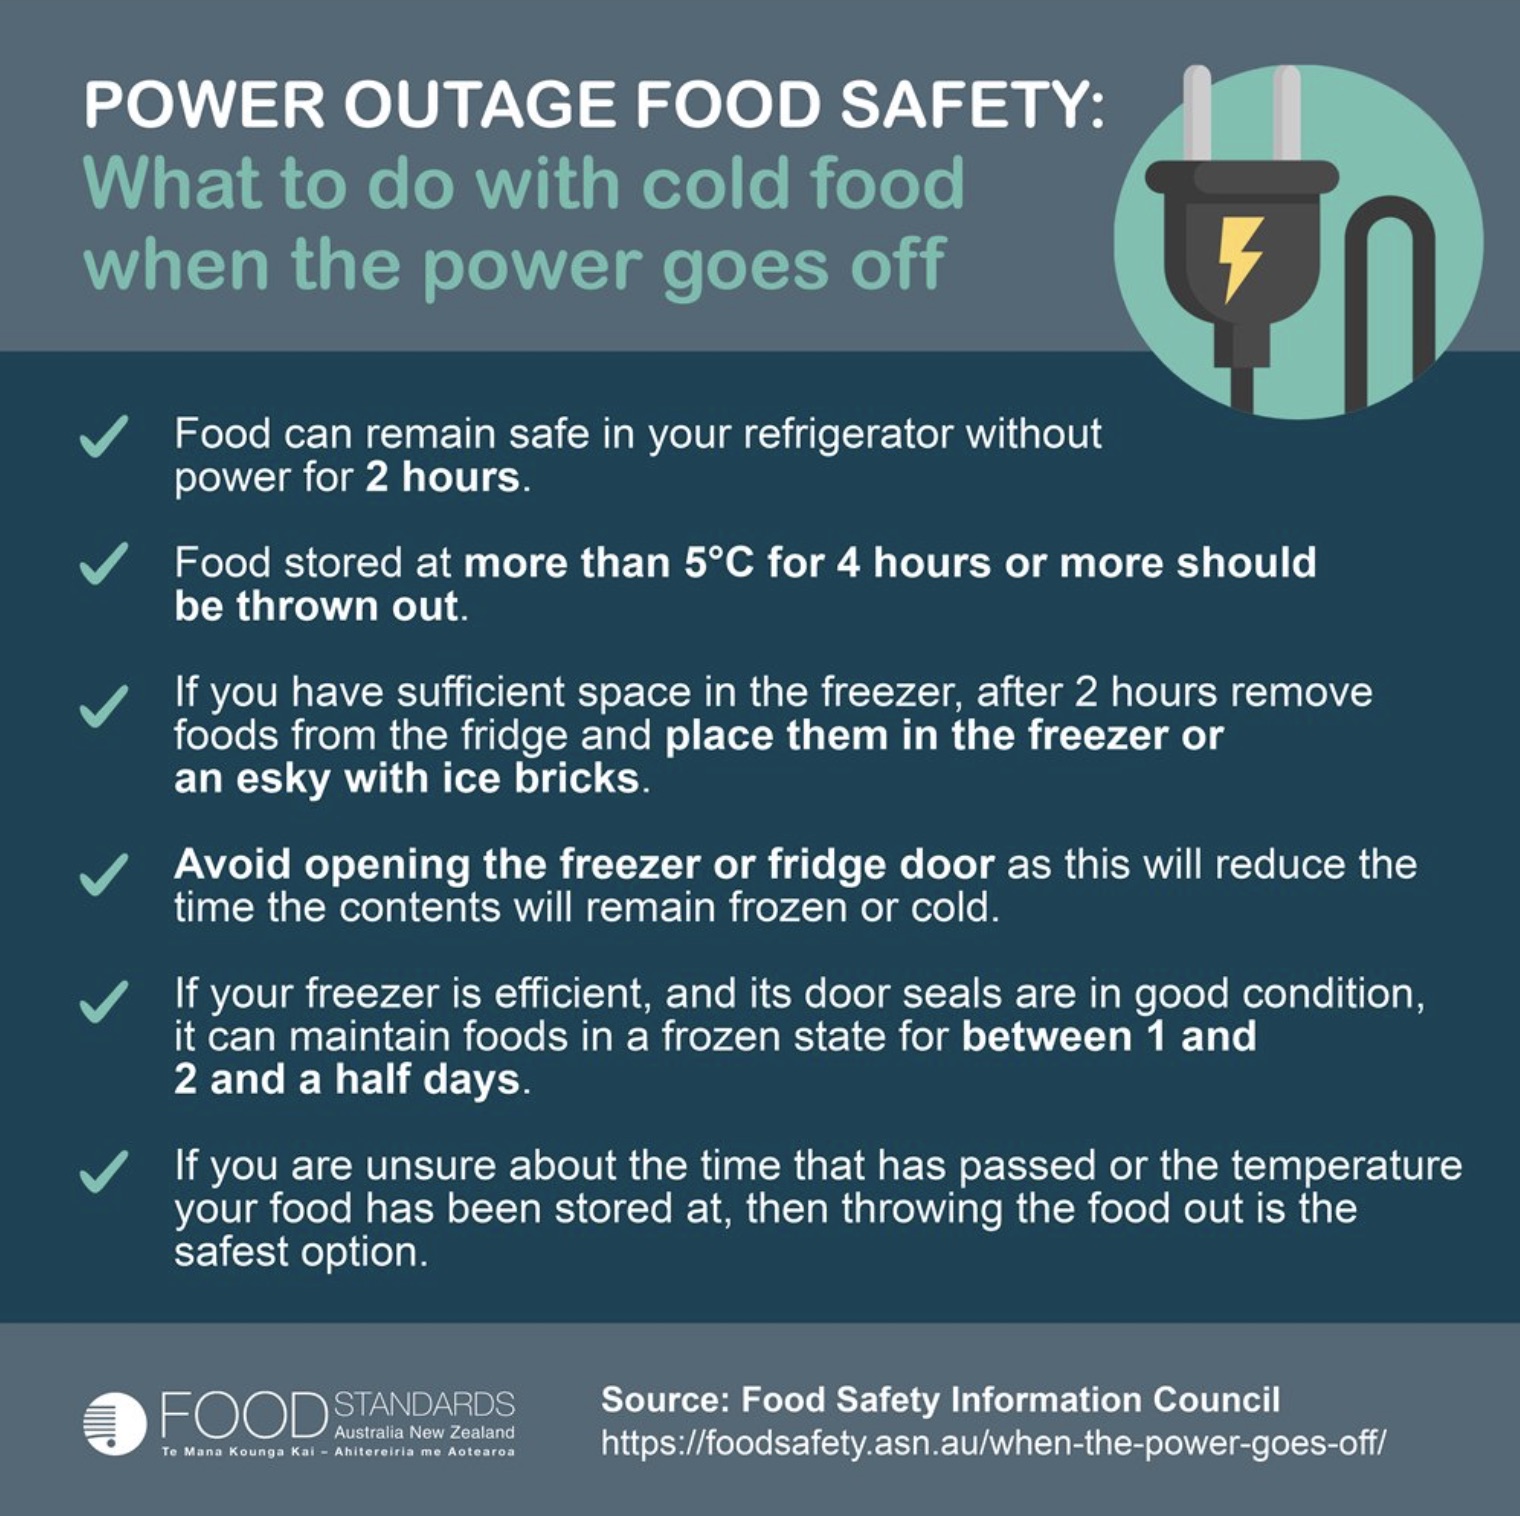
Food Preservation Strategies
Protecting frozen food during defrosting requires proper planning and temporary storage. Ideally, defrost when food inventory is low to minimize handling and potential waste. If significant frozen food must be preserved, arrange temporary storage with neighbors or friends, or use sufficient ice packs in a well-insulated cooler.
A quality cooler with ice or ice packs maintains frozen food safely for 4-8 hours depending on ambient temperature and cooler quality. Group items together in the cooler, as frozen items help keep each other cold. Freeze water bottles or ice packs in advance during normal freezer operation, then transfer these frozen items to the cooler during defrosting for maximum cold retention.
Discard any frozen food that has thawed completely and remained above 40°F for more than two hours, as bacterial growth may have occurred. When in doubt, throw it out—food safety is far more valuable than the cost of the food item.
Regular defrosting and proper maintenance keep your freezer operating efficiently while maximizing storage capacity and extending appliance lifespan. By understanding both removal techniques and prevention strategies, you can manage frost buildup proactively rather than reactively. Start with the quick removal methods when frost appears, then implement the prevention measures to reduce future accumulation. Your freezer—and your food—will thank you for the extra attention.