How to Seal Chest Freezer for Water Tightness
Your chest freezer works hard to preserve hundreds of dollars worth of food, but when the door seal fails, everything from frost buildup to potential water leaks can compromise your investment. Learning how to properly seal a chest freezer and make it water-tight isn’t just about preventing annoying drips—it’s essential for maintaining optimal performance, reducing energy costs, and protecting your valuable frozen goods from spoilage. Whether you’re dealing with an aging unit showing warning signs or want to ensure your new freezer operates at peak efficiency, mastering seal maintenance is a critical skill for any homeowner.
A compromised seal allows warm, humid air to enter your freezer, causing excessive frost formation that forces the compressor to work overtime. This not only increases your electricity bill but also creates conditions where water can pool around your appliance, potentially damaging flooring and creating slip hazards. By following the proven techniques in this guide, you’ll learn to diagnose seal issues, perform necessary repairs, and achieve a reliable, water-tight closure that keeps your freezer operating efficiently for years to come.
Why Your Chest Freezer Seal Fails and How to Spot It
Critical Warning Signs of Seal Damage
Your freezer seal silently degrades over time without obvious symptoms until problems become severe. Watch for these specific indicators that your seal needs immediate attention:
- Frost patches forming specifically around the lid edges rather than evenly throughout the interior
- Visible gaps when closing the lid—run your finger along the seam to feel for air leaks
- Water droplets or puddles gathering near the base of your freezer, especially after defrost cycles
- The lid lifting slightly without assistance, rather than staying firmly closed
- Increased energy consumption reflected in higher electricity bills despite consistent usage patterns
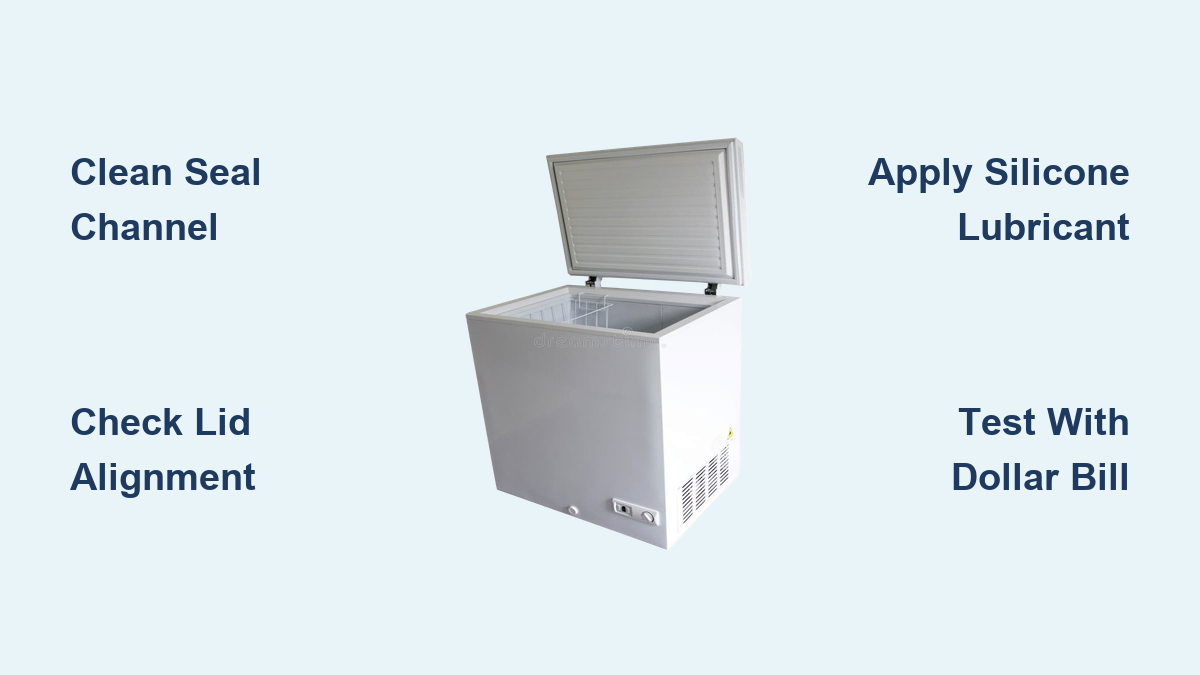
The dollar bill test provides the most reliable at-home diagnosis: close a dollar bill in the lid at multiple points around the perimeter. If you can pull it out with minimal resistance—less than the thickness of two stacked bills—your seal has lost its grip and requires intervention.
Common Causes of Premature Seal Failure
Understanding why seals fail helps prevent future issues. Most seal problems stem from these preventable causes:
- Exposure to cleaning chemicals that degrade rubber compounds over time
- Accumulated debris in the seal channel preventing proper contact
- Improper lid closure where users slam or improperly align the lid
- Temperature extremes from placing freezers near heaters or in unconditioned spaces
- UV exposure from sunlight streaming through nearby windows
- Physical damage from sharp objects during loading and unloading
Step-by-Step Seal Repair and Replacement Guide
Cleaning Your Existing Seal for Optimal Performance
Before considering replacement, try this professional cleaning method that restores many seemingly damaged seals:
- Prepare a cleaning solution using one tablespoon of mild dish soap per quart of warm water (never hot)
- Gently wipe the entire seal surface with a soft microfiber cloth, paying special attention to the contact edge
- Use a cotton swab dipped in the solution to clean debris from the mounting channel where the seal seats
- Rinse thoroughly with clean water using a spray bottle to avoid excess moisture
- Dry completely with a lint-free cloth, then apply a thin layer of food-grade silicone lubricant
This simple maintenance routine can extend your seal’s life by 1-2 years and often resolves minor leakage issues. For stubborn mineral deposits, add one tablespoon of white vinegar to your cleaning solution.
Fixing Small Tears and Gaps Without Replacement
When minor damage appears, try these targeted repairs before committing to full replacement:
For small tears (under 1 inch):
– Clean the area thoroughly and allow to dry completely
– Apply freezer-safe silicone sealant (rated for -20°F or lower) using a precision applicator
– Smooth the sealant with a gloved finger dipped in soapy water
– Allow 48 hours curing time before closing the lid
For compressed or misshapen sections:
– Warm the affected area with a hair dryer on low setting (8-10 inches away)
– Gently reshape the rubber while warm, then close the lid to hold position
– Allow 24 hours for the rubber to reset in its new shape
For corner gaps:
– Apply gentle pressure while warming with a hair dryer
– Insert a thin shim (like folded cardboard) between lid and freezer body
– Leave in place for 48 hours to allow the rubber to reform
These repairs typically provide 6-12 months of reliable service but aren’t permanent solutions for extensively damaged seals.
Complete Seal Replacement Made Simple

When replacement becomes necessary, follow this foolproof installation method:
- Identify your exact model by checking the manufacturer label inside the lid or on the rear panel
- Order the correct seal using your model number—never guess based on measurements alone
- Remove the old seal by working a flat-head screwdriver under the edge and gently prying upward
- Clean the channel thoroughly with isopropyl alcohol to remove old adhesive residue
- Position the new seal starting at one corner, ensuring proper alignment with the channel
- Work around the perimeter using your thumbs to press the seal firmly into place
- Check tension evenly—the seal should sit snugly without excessive stretching
- Test immediately using the dollar bill method at multiple points around the lid
Allow 72 hours for the new seal to fully settle before expecting optimal performance. During this period, avoid opening the lid unnecessarily to let the rubber conform perfectly to your freezer’s contours.
Achieving True Water-Tight Performance

Perfecting Lid Closure Mechanics
A water-tight seal requires proper mechanical function beyond just the gasket:
- Adjust lid tension by locating the hinge adjustment screws (typically under the lid lip)
- Level your freezer using a bubble level on the lid surface—adjust feet until perfectly horizontal
- Check latch alignment and clean any debris from the latch mechanism
- Remove internal obstructions that might prevent full lid closure
For freezers without adjustable hinges, place thin shims under the appropriate feet to create a slight inward tilt that improves seal contact.
Environmental Factors That Impact Seal Performance
Your surroundings significantly affect seal effectiveness:
- Basement installations require dehumidifiers when relative humidity exceeds 60%
- Garage units need protection from temperature extremes—avoid placing near garage doors
- Kitchen placements should maintain at least 3 inches of clearance from walls for proper airflow
- Concrete floors may require a moisture barrier beneath the freezer in damp environments
Testing and Maintaining Your Water-Tight Seal
Immediate Verification Techniques
After any seal work, confirm water-tight performance with these tests:
- The flashlight test: Place a bright light inside, close the lid, and check for light leaks in a dark room
- The moisture test: Apply water droplets to the exterior seal surface—if they’re drawn inward, the seal creates proper suction
- The 24-hour temperature check: Monitor with an external thermometer to ensure consistent -10°F to -5°F readings
Long-Term Maintenance Protocol
Establish this simple routine to maximize seal longevity:
- Weekly: Wipe seal with damp cloth after defrosting
- Monthly: Perform dollar bill test at 8 points around the perimeter
- Quarterly: Apply food-grade silicone lubricant to maintain flexibility
- Annually: Remove and deep-clean the seal channel
Troubleshooting Persistent Water Leaks
When Water Appears Despite Good Seal Performance
If water leaks continue after confirming seal integrity, investigate these often-overlooked sources:
- Condensation runoff from items stored above the fill line
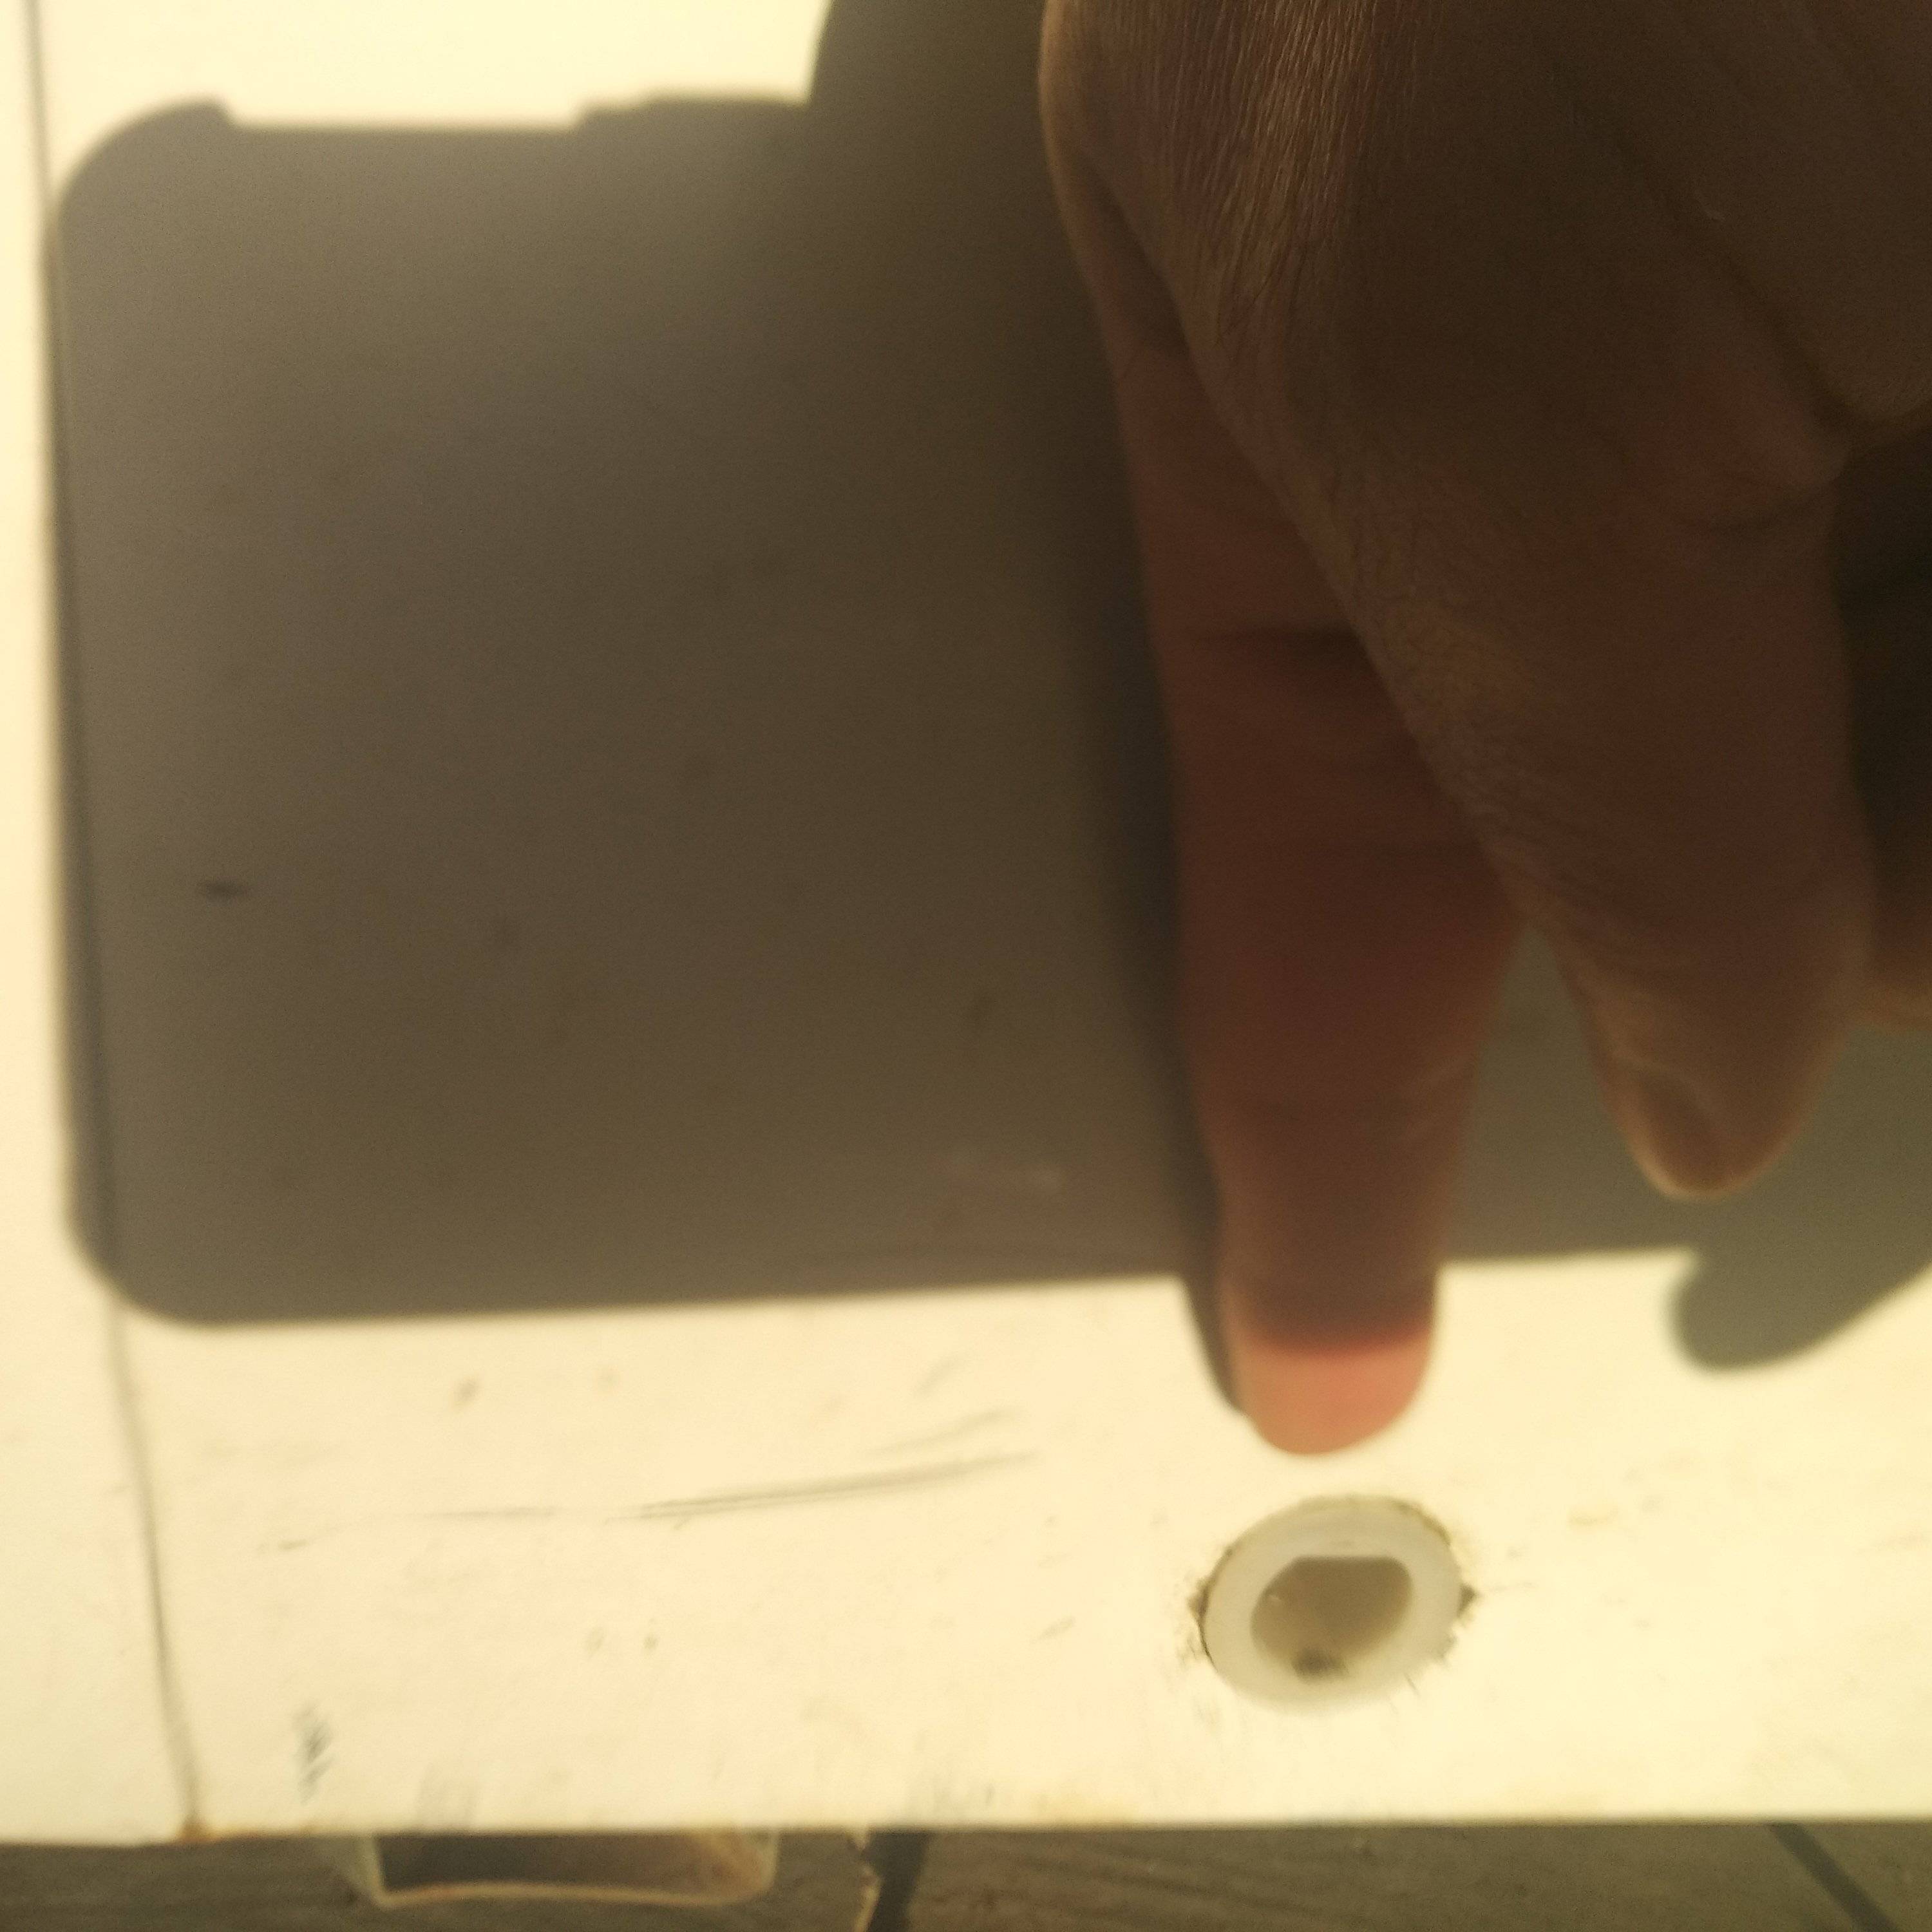
- Clogged drain holes (if your model has them) allowing water to pool internally
- Floor moisture wicking up from concrete subfloors
- External sources like nearby water heaters or plumbing leaks
Place a dry towel beneath the freezer for 24 hours—if it remains dry, the leak originates from within your freezer rather than the seal.
When to Call a Professional Technician
Seek expert help when you encounter:
- Visible cracks in the freezer housing that compromise structural integrity
- Refrigerant leaks indicated by oily residue or hissing sounds
- Electrical issues affecting temperature control
- Warranty-covered components that could be voided by DIY repairs
Most seal replacements and minor repairs, however, fall well within the capabilities of a determined homeowner armed with the right information.
Essential Seal Maintenance Checklist
Implement these practices immediately to protect your investment:
- Never force the lid closed over obstructions—rearrange contents instead
- Keep the seal dry when possible; wipe moisture away promptly
- Avoid standing on the lid or using it as a work surface
- Store items below the fill line to prevent interference with closure
- Address minor damage immediately before it escalates
A properly maintained seal should last 8-12 years. By following these guidelines for how to properly seal chest freezer and make it water-tight, you’ll ensure your appliance continues protecting your food investment while operating at peak efficiency. The small time investment in regular seal maintenance pays significant dividends through lower energy bills, reduced frost buildup, and complete protection against water damage to your surrounding space. Implement these techniques today to extend your freezer’s lifespan and enjoy worry-free frozen food storage for years to come.