How to Remove Freezer Handle: Easy Steps
If your freezer handle has broken, become loose, or needs replacement, knowing how to properly remove it can save you costly service calls and prevent further damage to your appliance. A malfunctioning handle isn’t just inconvenient—it can compromise your freezer’s seal, leading to frost buildup and higher energy bills. Whether you’re dealing with a stubborn handle that won’t budge or preparing for a replacement, this guide provides the specific techniques you need for successful freezer handle removal across common models from Whirlpool, GE, Frigidaire, and Samsung. You’ll learn exactly what tools to use, how to identify your handle type, and the precise steps to remove handles without damaging your freezer door.
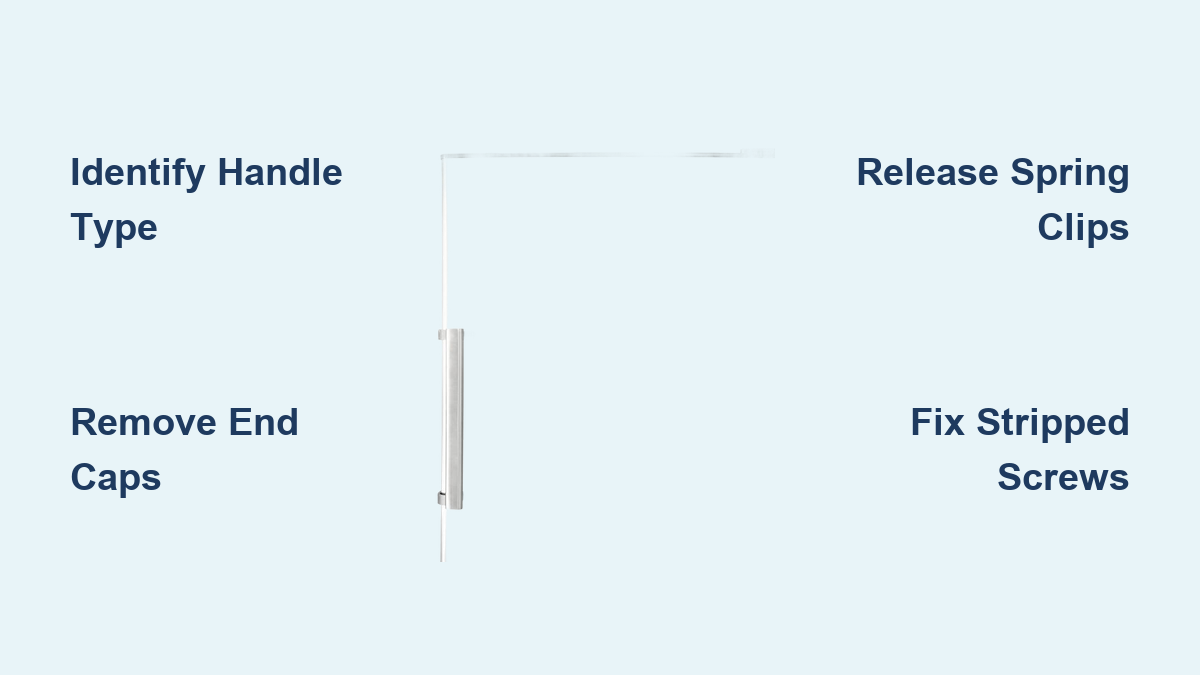
Identifying Your Freezer Handle Type Before Removal

Before attempting removal, correctly identifying your handle mechanism is crucial—different freezer models use completely different attachment systems that require specific approaches.
How to Determine If You Have a Screw-Access Handle
Most modern side-by-side and bottom-freezer models feature handles with hidden screw access points. Look for these telltale signs:
– Small plastic caps or plugs at the top and bottom of the handle
– Visible seam lines where the handle meets the door
– A slight gap between the handle and door surface
Pro Tip: Gently insert a plastic pry tool or flathead screwdriver wrapped in cloth under the cap. If it lifts easily to reveal a screw head, you’ve confirmed this type. Never force caps—many snap back into place for reinstallation.
Recognizing Clip-Style Freezer Handles
Older models and some budget freezers use spring-loaded clip mechanisms that require special release techniques:
– Completely seamless appearance with no visible caps
– Slight give when you press on the handle
– Common on Whirlpool and Maytag top-freezer models
Warning: Attempting to pry off clip-style handles without releasing the mechanism first will almost certainly break plastic components. Listen for a faint “click” when properly releasing these handles.
Essential Tools for Freezer Handle Removal
Basic Toolkit for Most Handle Types
Gather these tools before starting to avoid mid-process delays:
– Phillips #2 and #1 screwdrivers (magnetic tip preferred)
– Small flathead screwdriver wrapped in masking tape
– Plastic pry tools or guitar picks
– Needle-nose pliers
– Soft cloth for protecting door surfaces
Time Estimate: 5 minutes to gather tools | Difficulty: Easy
Specialized Tools for Problematic Handles
For handles that have been damaged or are exceptionally stubborn:
– Handle puller tool (available at appliance parts stores)
– Heat gun for loosening adhesive-bonded handles
– Precision pick set for accessing tiny release mechanisms
– Threadlocker remover for seized screws
Expert Note: Never use metal tools directly against freezer doors—scratches can lead to rust and compromised insulation over time. Always protect surfaces with cloth or plastic barriers.
Step-by-Step Freezer Handle Removal Procedures
Removing Handles With Visible End Caps (GE, Samsung Models)
Follow this precise sequence for most modern side-by-side freezers:
How to Properly Remove End Caps Without Damage
- Locate the small seam at the top of your handle
- Insert a plastic pry tool at a 45-degree angle
- Gently twist to release the cap—don’t pry straight out
- Store caps safely (they often contain springs)
Common Mistake: Using excessive force cracks the caps. If resistance is high, warm the area with a hair dryer for 30 seconds to soften any adhesive.
Accessing and Removing Mounting Screws
After cap removal:
– Identify the screw type (typically T15 or Phillips)
– Remove screws completely (don’t just loosen)
– Keep screws organized by position (top/bottom)
– Note any washers or spacers for reinstallation
Visual Cue: When properly removed, the handle should separate from the door with gentle wiggling—never force it.
Removing Clip-Style Handles (Whirlpool, Maytag Models)
These handles require a specific release technique that many DIYers miss.
Locating the Hidden Release Mechanism
Most clip-style handles have one of these release points:
– Small hole at handle base requiring a paperclip tool
– Spring tab accessible through a narrow door seam
– Dual release points at top and bottom requiring simultaneous action
Pro Tip: Shine a flashlight along the handle edge to spot tiny release notches invisible in normal lighting.
Proper Technique for Releasing Spring Clips
- Insert a straightened paperclip into the release hole
- Apply steady pressure while simultaneously pulling the handle
- Listen for the “click” indicating clip disengagement
- Repeat on opposite end before fully removing handle
Warning: If you hear plastic cracking, stop immediately—forcing it will require complete handle replacement.
Troubleshooting Stuck or Broken Freezer Handles
Removing Handles With Stripped Screws
When screw heads are damaged:
– Apply penetrating oil and wait 15 minutes
– Use a rubber band between screwdriver and screw for extra grip
– Try an extractor bit designed for stripped screws
– As last resort, carefully drill out the screw head
Safety Note: Wear eye protection when drilling near freezer doors—metal fragments can damage insulation if they penetrate the door panel.
Handling Broken Plastic Components
If part of the handle snaps during removal:
– Remove all broken fragments before proceeding
– Check if replacement parts are available (many handles sold as complete assemblies)
– Don’t attempt glue repairs—reinstalling with broken components causes alignment issues
Expert Insight: Many manufacturers now sell complete handle assemblies rather than individual parts—check your model number before ordering.
Post-Removal Considerations and Reinstallation Tips
Inspecting Handle Mounting Points
Before installing a new handle:
– Check for stripped screw threads in the door
– Examine plastic mounting blocks for cracks
– Clean any debris from the channel
– Verify alignment pins are intact
Pro Tip: Apply a small amount of threadlocker to new screws to prevent future loosening, but avoid getting it on plastic components.
Proper Reinstallation Technique
Follow these steps for trouble-free reinstallation:
1. Align new handle perfectly with mounting points
2. Hand-tighten screws first to ensure proper alignment
3. Tighten screws in a cross-pattern (top-bottom-top)
4. Test handle operation before replacing caps
Common Mistake: Overtightening screws cracks plastic mounting blocks. Stop when resistance increases noticeably.
Preventing Future Handle Problems
Routine Maintenance to Extend Handle Life
- Clean handles weekly with mild soap (avoid harsh chemicals)
- Tighten loose screws immediately before damage occurs
- Don’t hang items on handles (causes misalignment)
- Apply silicone lubricant to moving parts annually
Warning: Never use freezer handles as leverage points when moving the appliance—this is the #1 cause of handle damage.
When to Call a Professional
Seek professional help if:
– Door insulation appears damaged during removal
– Multiple attempts have stripped mounting points
– The handle mechanism is integrated with the door lock
– Your freezer is under warranty (DIY repairs may void coverage)
Most handle replacements take under 30 minutes with the right approach, but knowing when not to proceed can save hundreds in potential damage. With the techniques outlined here, you’re now equipped to handle most freezer handle removal scenarios safely and effectively. Remember that patience and the proper method matter more than force—most successful handle removals require finesse rather than strength.