How to Defrost a Chest Freezer: Quick Steps
Chest freezers quietly preserve hundreds of dollars worth of groceries in garages and basements, but frost accumulation inevitably creeps up the walls like silent intruders stealing precious storage space. When ice buildup reaches about a quarter inch thick, your freezer must work 30% harder to maintain freezing temperatures, spiking energy costs and shortening the appliance’s lifespan. Learning how to defrost a chest freezer properly transforms this necessary chore into a simple maintenance task that restores capacity and efficiency. Most households need to tackle this process every six months, though humidity levels and usage patterns significantly impact how quickly frost accumulates.
The defrosting procedure requires careful planning to protect both your food and appliance, as rushing leads to water damage or interior cracks. This guide delivers field-tested techniques for safely melting ice buildup while preventing future frost problems. You’ll discover how to accelerate the process without risking damage, clean hidden mold colonies thriving in icy corners, and implement simple habits that double the time between defrosting sessions. Whether you’re facing your first chest freezer defrost or seeking faster methods, these actionable steps ensure your appliance returns to peak performance with minimal disruption to your frozen inventory.
Recognize Critical Frost Buildup Warning Signs
Visible ice thickness serves as your primary indicator that defrosting time has arrived, but several subtle clues reveal hidden efficiency problems before frost becomes overwhelming. When frost reaches a quarter inch along the walls or floor, your freezer’s cooling coils become insulated by ice, forcing the compressor to run continuously while struggling to maintain temperature. This constant operation not only increases electricity consumption by up to 30% but also accelerates wear on critical components.
Check for ice crystals forming on food packaging—a sure sign of temperature fluctuations caused by compromised airflow. If your frozen vegetables develop freezer burn patches or meat packages show excessive ice shards, frost buildup has likely disrupted consistent cooling. Listen for unusual compressor behavior; a healthy freezer cycles on and off throughout the day, while one buried in frost runs nonstop with no cooling improvement. Measure frost depth with a ruler at multiple points—uneven buildup often indicates door seal failures that require attention alongside defrosting.
Assemble Defrosting Supplies Before Unplugging

Gathering equipment before starting prevents frantic searches while your food thaws and water pools on the floor. Begin with multiple large coolers packed with ice packs or frozen gel packs to maintain safe food temperatures during the 4-6 hour defrosting window. For larger freezers, borrow a neighbor’s spare freezer to temporarily store temperature-sensitive items like ice cream and raw proteins.
Position several thick bath towels around the freezer base to absorb runoff and protect flooring from water damage. Place a shallow baking pan or plastic tray at the lowest point inside to catch dripping water, supplemented by a wet-dry vacuum for rapid water removal. Equip yourself with a plastic scraper (never metal) to safely dislodge stubborn ice without puncturing interior walls. Prepare several bowls for hot water defrosting method and keep rubber gloves handy for handling icy surfaces.
Don’t overlook the cleaning phase—mix baking soda with warm water in a spray bottle for odor-neutralizing cleaning, and have microfiber cloths ready for streak-free drying. If your model features a drain plug, locate the appropriate container to catch draining water and verify the plug removal tool fits properly. Having everything within arm’s reach transforms a potentially messy chore into a smooth, efficient process.
Execute Safe Power-Down and Food Transfer Protocol
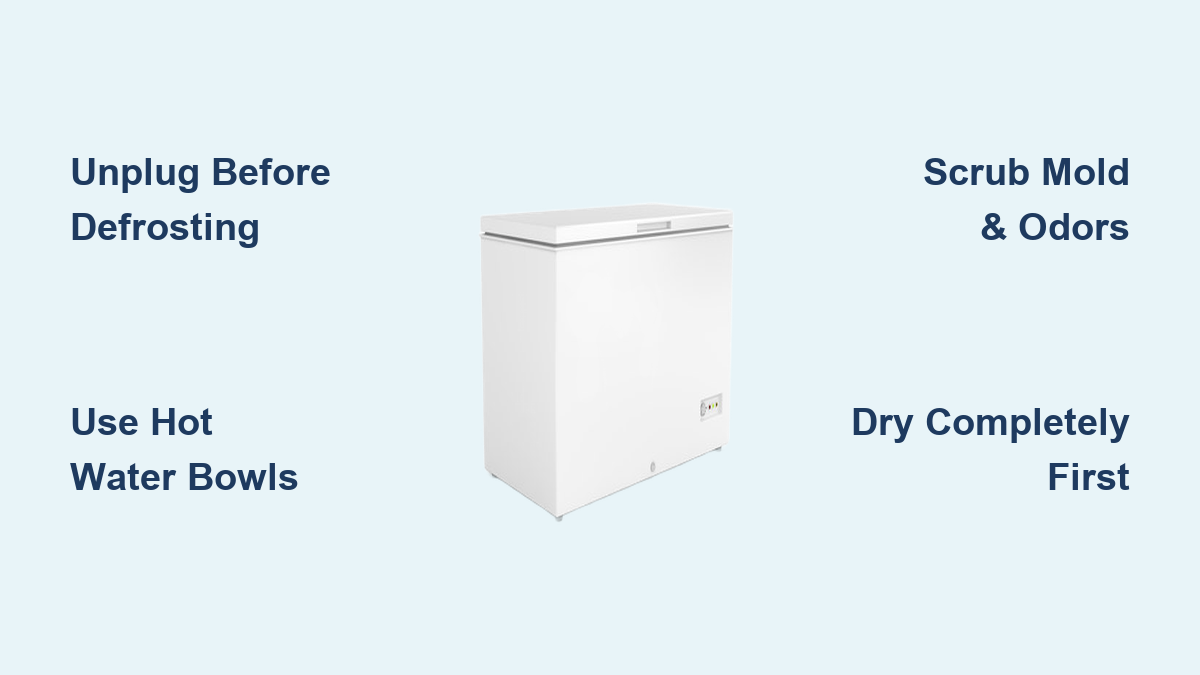
Unplugging initiates the defrosting process but requires strategic food management to prevent spoilage. Move the freezer away from walls to access the power cord safely, then disconnect from the outlet—never pull the cord itself. Remove food items in reverse order of usage priority, placing temperature-sensitive items like meat and dairy in coolers first with ice packs nestled between layers.
Group similar items together to maintain cold temperatures longer; tightly packed frozen goods create their own thermal mass that slows thawing. Fill empty cooler space with additional ice packs or frozen water bottles, and keep coolers closed except when adding/removing items. For extended defrosting sessions, rotate ice packs every two hours to maintain safe food temperatures below 40°F.
Remove all interior components including baskets and shelves for separate cleaning, then position absorbent towels around the freezer perimeter. Place your drip pan at the lowest interior point and verify the area has proper ventilation for moisture evaporation. This meticulous preparation ensures your food remains safe while creating optimal conditions for efficient ice melting.
Accelerate Ice Melting With Professional-Grade Techniques
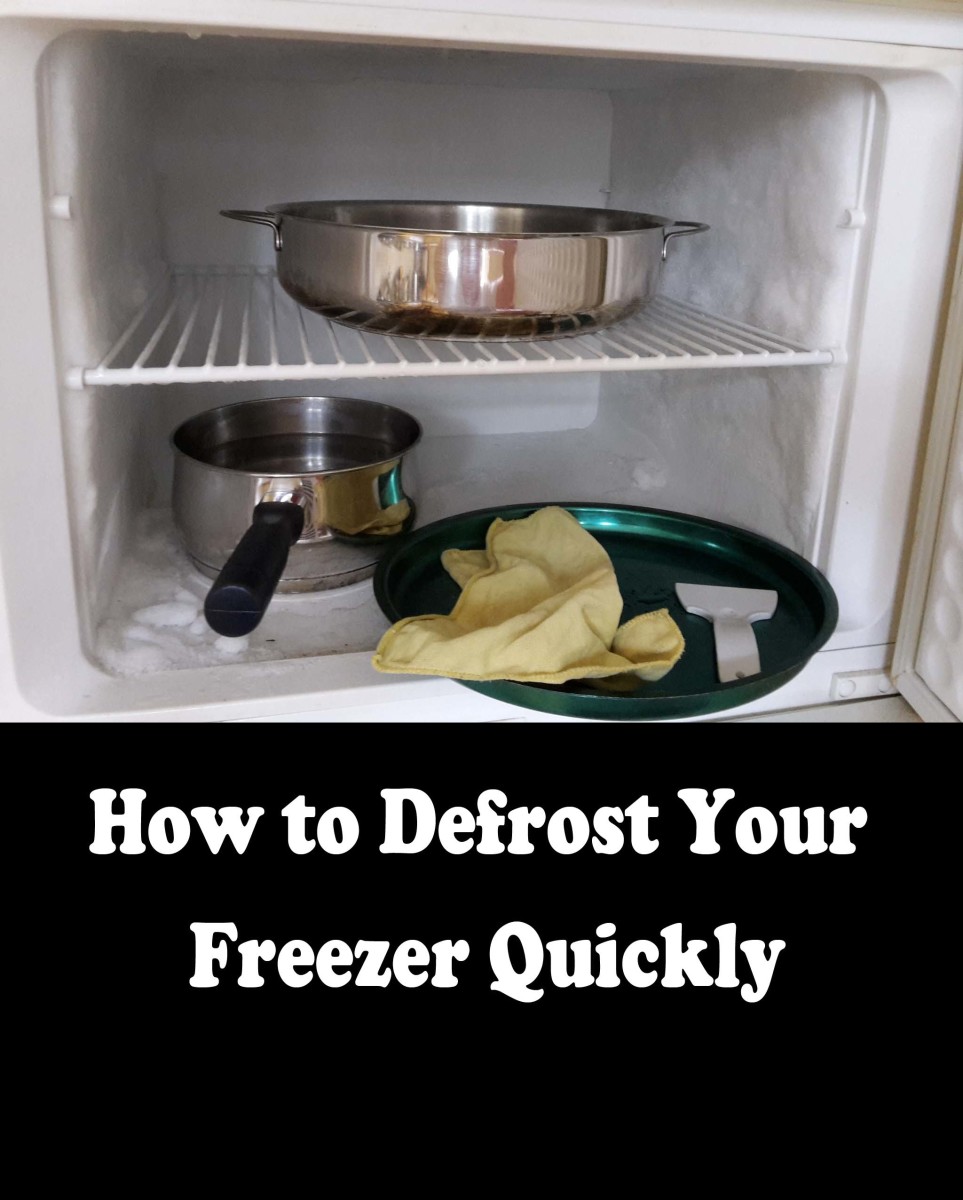
Harnessing controlled heat dramatically reduces defrosting time from hours to minutes when applied correctly. Fill large heat-resistant bowls with near-boiling water and place them strategically inside the freezer, then close the lid for 15-20 minutes. The steam generated creates a mini greenhouse effect that softens ice without risking thermal shock to plastic components. Replace water as it cools, focusing initially on ceiling and wall junctions where ice typically anchors most stubbornly.
For targeted melting, use a hair dryer on the lowest heat setting held at least 12 inches from surfaces while constantly moving the airflow. Never concentrate heat in one spot for more than 30 seconds to prevent warping plastic liners. Alternatively, position a box fan blowing room-temperature air into the open freezer to accelerate evaporation without introducing excess moisture. Professional technicians sometimes use food-safe defrosting agents, but these require thorough post-application cleaning to remove chemical residues.
Critical warning: Never use sharp tools to chip ice—refrigerant lines run just millimeters beneath interior surfaces, and puncturing them requires costly professional repair. If ice resists gentle methods, simply wait longer rather than risking catastrophic damage.
Deep Clean Hidden Mold and Odor Sources

With ice completely melted, tackle often-overlooked contamination zones where bacteria and mold thrive. Mix 2 tablespoons of baking soda per quart of warm water in a spray bottle and generously coat all interior surfaces, letting the solution dwell for 5 minutes before wiping. Focus special attention on seam lines and drainage channels where moisture collects and organic matter accumulates.
Use an old toothbrush to scrub textured surfaces and corners where frost typically forms thickest, then rinse with clean damp cloths. For persistent odors, leave an open box of baking soda inside for 24 hours after cleaning. Remove and soak removable components in the same baking soda solution, scrubbing both sides before thorough rinsing. Wipe exterior surfaces including handles and gaskets with a vinegar-water solution to eliminate fingerprint residue and grime buildup.
Guarantee Complete Drying Before Restart
Residual moisture guarantees rapid frost reaccumulation, so implement a three-phase drying protocol. First, wipe all surfaces with dry microfiber towels using downward strokes to channel water toward drainage points. Second, leave the lid propped open with a towel roll for 30 minutes to allow air circulation through hidden crevices. Third, verify complete dryness by running your palm across all surfaces—any cool or damp spots require additional towel drying.
Check the drain hole (if present) with a pipe cleaner to ensure proper drainage for future defrosting. For models without drains, tilt the freezer slightly forward during final drying to encourage water evacuation through the front. Never restart the freezer until all visible moisture has disappeared, as trapped water will refreeze into problematic ice dams that accelerate future buildup.
Optimize Freezer Restart and Food Restocking
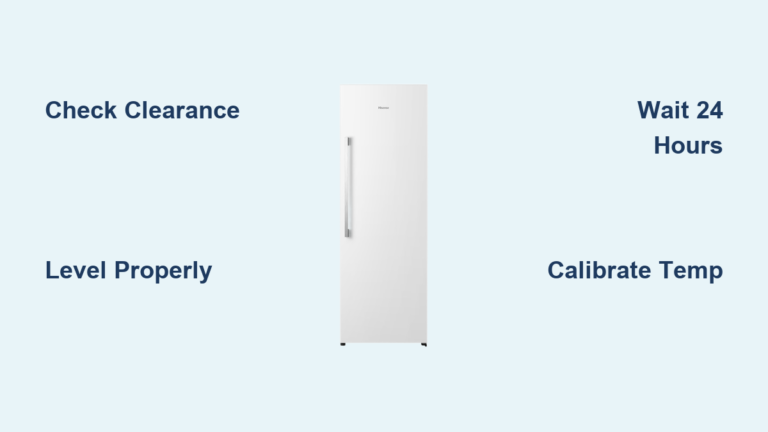
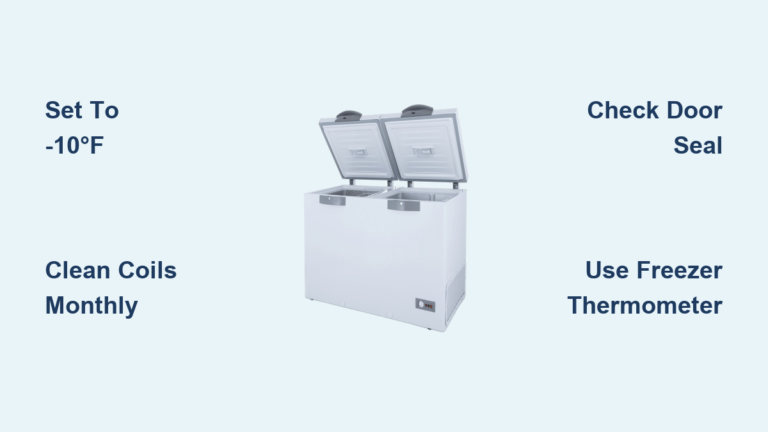
Allow 4-6 hours for temperature stabilization before returning food to prevent condensation that triggers immediate frost formation. Set the thermostat to the manufacturer’s recommended setting (typically midpoint) and verify zero degrees Fahrenheit with an independent thermometer before restocking. Organize items with adequate spacing between packages to promote air circulation—overpacking creates cold spots that encourage uneven frost development.
Place older items in front for first-use rotation and avoid stacking items directly against walls where cooling coils reside. For long-term storage, double-wrap meats in freezer paper before placing in airtight containers to minimize moisture release. Monitor temperature readings for 24 hours after restocking to confirm consistent performance before storing valuable inventory.
Implement Frost Prevention Systems
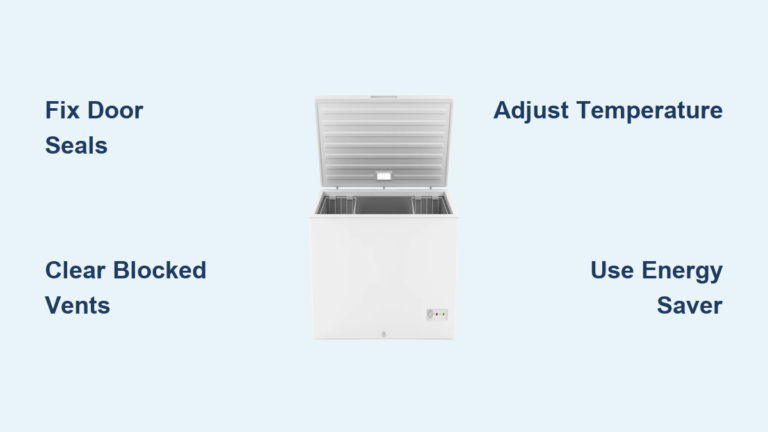
Break the defrosting cycle permanently by addressing the root cause: humid air infiltration. Install a door alarm that sounds when the lid remains open beyond 30 seconds, training household members to minimize exposure. Apply food-safe silicone lubricant to door gaskets quarterly to maintain flexibility and sealing integrity. Place moisture-absorbing packets in corners to capture residual humidity released by stored items.
Store all foods in airtight containers rather than original packaging, which often allows moisture migration. Keep your freezer at least 75% full (use water jugs as thermal mass if needed) to reduce air volume available for moisture accumulation. Schedule defrosting during cooler months when ambient humidity is lower, and maintain at least 3 inches of clearance around the unit for proper ventilation.
Troubleshoot Post-Defrosting Performance Issues
Persistent frost within 48 hours indicates unresolved moisture infiltration—immediately inspect door seals for debris or warping. If the compressor runs constantly without cooling improvement, check thermostat settings and verify proper drainage hole function. Water leakage during operation typically means the drain channel requires cleaning or the unit needs leveling.
For recurring electrical issues after defrosting, test the outlet with another appliance to rule out circuit problems. Unusual noises often resolve after 24 hours of operation as components settle, but grinding or screeching sounds warrant professional evaluation. Most post-defrosting problems stem from incomplete drying or improper reassembly rather than component failure.
Regular defrosting every 6-12 months, combined with vigilant moisture control, keeps your chest freezer operating at peak efficiency while protecting your food investment. The simple process outlined here transforms what many consider a chore into a strategic maintenance activity that extends appliance lifespan and reduces energy costs. By implementing these techniques, you’ll maintain maximum storage capacity while preventing the frustrating cycle of constant frost buildup that plagues neglected freezers.