Freezer Frost Build-Up: Causes and Solutions
Opening your freezer only to discover thick layers of frost clinging to shelves and food containers is a frustrating household problem. This icy buildup not only reduces storage space but can compromise food quality and force your appliance to work harder. When you’re asking “why does the freezer frost up” more than normal, the answer usually lies in one of several specific mechanical issues or usage habits. Understanding these causes is your first step toward restoring your freezer’s efficiency and preventing future ice accumulation.
Frost forms when moisture in the air contacts the freezer’s extremely cold surfaces and transforms directly into ice crystals through deposition. While older freezers required regular manual defrosting as routine maintenance, modern frost-free models should automatically manage this process. When excessive frost appears despite this technology, something in the system has failed. The location and pattern of the frost often reveal critical clues about the underlying issue, whether it’s a compromised door seal, malfunctioning defrost system, or simple usage habits that introduce too much warm, humid air.
This guide examines the most common reasons freezers frost up and provides practical solutions ranging from quick DIY fixes to situations requiring professional service. By identifying the specific cause affecting your appliance, you can take targeted action to restore proper function.
Door Seal Failure Causes Frost Buildup
The door seal, or gasket, ranks as the single most common culprit when you’re wondering why does the freezer frost up. This flexible rubber strip creates the airtight barrier preventing warm room air from entering the cold freezer compartment. When the seal cracks, hardens, or fails to make proper contact, warm, humid air flows inside each time you open the door. This moisture-laden air cools rapidly and deposits frost on the coldest surfaces, overwhelming the defrost system’s capacity.
Identify door seal failure by examining where frost appears. When ice concentrates near door edges, sides, top, or bottom of the compartment, the seal is likely compromised. You might also notice water droplets forming around the door opening or on the inside surface of the door—clear signs that warm air is entering and condensing. Perform the “dollar bill test” to verify: close a piece of paper in the door, then try to pull it out. If it slides out easily without resistance, your seal isn’t gripping tightly enough.
Door seals deteriorate for several reasons:
– Rubber hardens over time due to age and constant temperature cycling
– Food residues and grease accumulate on the sealing surface
– Small tears develop from sharp objects or aggressive cleaning
– Debris caught on the mating surface creates gaps
Fix door seal issues by first thoroughly cleaning with warm water and mild soap. Remove the gasket if possible and clean grooves where debris accumulates. Wipe down the freezer frame sealing surface with a clean, damp cloth. If the gasket shows visible damage, replacement is necessary. Most seals press into a slot around the door edge and can be replaced with basic tools. Soak the new seal in hot water before installation to make the material more pliable and easier to fit.
Defrost System Malfunctions Explained

Modern frost-free freezers rely on an automatic defrost system that prevents ice accumulation on evaporator coils hidden behind the freezer’s back panel. This system operates on a cycle: frost forms naturally on the coils, then at predetermined intervals, a heater warms the coils just enough to melt the frost. The resulting water drains through a tube to a pan beneath the freezer where it evaporates. When any component fails, frost accumulates progressively until visible on interior surfaces.
The defrost system comprises several critical components:
– Defrost timer/control board: Initiates defrost cycles every 8-12 hours
– Defrost thermostat/thermistor: Monitors coil temperature
– Heating element: Melts accumulated frost
– Drain system: Carries melted water away
Recognize defrost system failure by observing these symptoms:
– Frost thick enough to reach the back wall of the freezer compartment
– Faint clicking sounds when the circulation fan runs (indicates frost hitting fan blades)
– Freezer running continuously without cycling off
– Frost covering the evaporator coils behind the back panel
Testing and repairing defrost components typically requires professional service due to safety risks. Components are located behind panels exposing sharp metal edges and electrical connections. A technician can test each part with a multimeter to determine exactly which component failed. While professional repair costs may seem significant, it often represents less than replacing the entire appliance.
Clogged Evaporator Drain Solutions
The evaporator drain carries water from melted defrost cycles out of your freezer. When this tube clogs with debris or ice, water accumulates inside the compartment and eventually freezes into thick sheets of ice on the bottom. If you’re wondering why does the freezer frost up specifically on the floor, a clogged drain is likely the culprit.
A clogged drain produces a distinctive pattern: instead of frost spread across walls, you’ll find a solid sheet of ice covering the freezer floor, often extending up walls near the drain location. This ice can grow thick enough to interfere with drawer operation and may cause water to drip onto the floor in front of the freezer.
Clearing a clog involves:
1. Locating the drain opening (varies by manufacturer)
2. Pouring hot water down the drain to melt ice blockages
3. For stubborn clogs, using a thin flexible tool like a pipe cleaner
4. Flushing with warm water and baking soda to dissolve residue
Prevent future clogs by flushing the drain with warm water and baking soda every few months. Ensure food items are properly wrapped and stored away from the drain opening to reduce debris entering the system. If clogs recur despite preventive efforts, professional assessment may be needed.
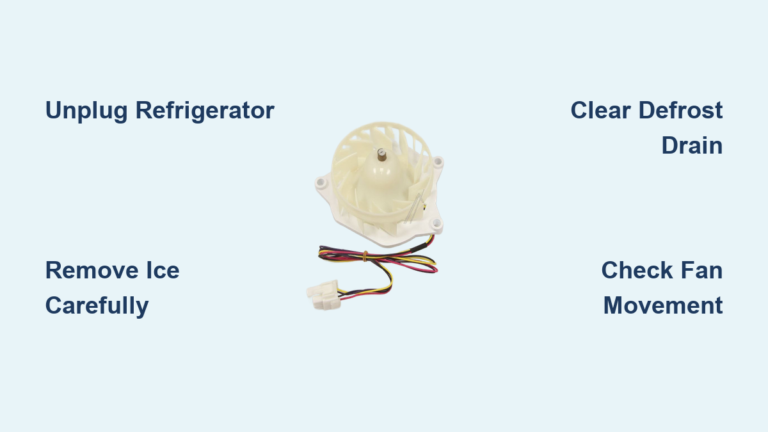
Faulty Evaporator Fan Warning Signs

The evaporator fan circulates cold air from the evaporator section throughout your freezer. When this fan fails, cold air becomes trapped near the evaporator while other areas remain warmer, causing uneven frost formation. If frost appears in some areas while food in other spots isn’t freezing properly, your evaporator fan may be failing.
Listen for these fan failure indicators:
– No audible fan sound when the compressor is operating
– Intermittent operation (runs for a while before stopping)
– Unusual noises like clicking or scraping (indicates frost on blades)
– Partial cooling with some areas much colder than others
The consequences of a malfunctioning fan extend beyond frost accumulation. Without proper air circulation, your freezer cannot maintain consistent temperatures, causing the compressor to work harder and increasing energy consumption. Food quality suffers as temperatures fluctuate in different compartments.
Replacing a failed evaporator fan motor requires accessing the evaporator section behind panels. Given the complexity and risk of causing additional damage, this repair is generally best left to qualified technicians who have the proper tools and experience.
Quick Diagnostic Steps to Try
Before calling a professional, try these diagnostic checks that take only minutes and may resolve your “why does the freezer frost up” mystery:
Examine your door seal thoroughly:
– Clean the gasket and sealing surface with warm water and mild soap
– Perform the paper test around the entire door perimeter
– Replace the seal if damage is visible or the test fails
Check all interior vents:
– Ensure nothing blocks airflow around vents
– Rearrange stored items to maximize circulation
– Carefully remove any ice blocking vents (no sharp tools)
Analyze the frost pattern:
– Frost near door = seal problems or excessive door opening
– Frost on back wall = defrost system failure
– Solid ice sheet on bottom = clogged drain
– Uneven frost = airflow or fan problems
Listen for unusual sounds:
– Clicking from fan area indicates frost on blades
– Continuous running without cycling suggests defrost failure
– Absence of normal fan hum points to motor failure
These simple diagnostic steps resolve many common frost problems and help you determine if professional service is necessary. If frost returns quickly after manual defrosting or you notice multiple failure symptoms, contact an appliance technician for comprehensive diagnosis.
Preventive Maintenance Strategies
Implement these maintenance practices to prevent frost problems before they develop:
- Monthly door seal inspection: Check for damage, clean residue, and test seal effectiveness
- Regular interior cleaning: Remove spills immediately and clean with warm water and baking soda
- Proper loading practices: Leave space between items for air circulation
- Minimize door openings: Get everything you need in one visit and close promptly
- Allow food to cool: Let items reach room temperature before freezing
These simple habits significantly reduce frost accumulation and extend your freezer’s lifespan. When you understand why does the freezer frost up and take proactive steps, you’ll maintain optimal performance and avoid the frustration of unexpected ice buildup. If problems persist despite these measures, professional diagnosis will identify the specific component failure requiring repair.