Freezer Defrost Repair: Quick Fix Guide
Your freezer is packed with ice, shelves are buried under frozen drifts, and that persistent “thunk” from the back wall has stopped entirely. When automatic defrost fails, your appliance transforms from a food preserver into an ice cave—wasting energy, spoiling groceries, and threatening compressor burnout. This guide cuts through the confusion with actionable steps to diagnose and repair defrost system failures. You’ll learn exactly which components fail most often, how to test them in under 30 minutes, and whether DIY fixes save money or require professional help. No more guessing when ice buildup crosses from normal to dangerous.
Why Your Freezer Stops Defrosting Automatically
Excessive frost isn’t just annoying—it signals a critical system failure. Modern freezers cycle through defrost periods every 6-12 hours using three key components: the defrost timer (or adaptive control board), heater, and thermostat. When any piece malfunctions, ice accumulates rapidly behind the rear panel. You’ll notice warning signs like ¼-inch+ frost on evaporator coils, frozen door gaskets, or warm freezer temps despite running constantly. Ignoring this risks compressor damage from restricted airflow—repair bills jump from $150 to $500+ once the compressor fails. Most defrost failures stem from one of three culprits: a seized timer, burned-out heater, or stuck thermostat. Let’s pinpoint your exact issue.
How the Defrost System Actually Works
Your freezer’s defrost cycle operates like a timed relay race. The control board (or mechanical timer) triggers defrost mode after preset run hours. The defrost thermostat—a small silver clip on the evaporator coils—monitors temperature. When coils reach 32°F during defrost, it closes to activate the heater hidden beneath the coils. That heater melts frost for 20-30 minutes until the thermostat hits 130°F, cutting power. Finally, the timer resets to cooling mode. If ice bridges the coils, the thermostat never closes, leaving the heater inactive. This explains why frost keeps growing while the heater sits cold.
Common Failure Points by Symptom
Heavy frost but heater gets warm: The defrost thermostat is stuck open. It never allows current to reach the heater.
Zero frost melting during cycle: Burned-out defrost heater—often visible as a broken coil element.
Constant running with no defrost cycles: Seized defrost timer or failed adaptive control board.
Water pooling under drawers: Clogged defrost drain tube—ice blocks the exit path for meltwater.
Essential Safety Steps Before Starting Repairs
Unplug the freezer for 24 hours before any work. This melts existing ice safely and prevents electrical shock from wet components. Never skip this—30% of DIY repair injuries happen during rushed defrost attempts. While waiting, clear all food into a cooler. Place towels beneath the unit to catch residual meltwater. When unplugged, locate your model number (usually inside the door frame) for exact part matching. Working on a plugged-in unit risks short circuits through condensed moisture. If you smell burning plastic during operation, stop immediately—this indicates overheating components needing professional replacement.
Tools Needed for Defrost System Troubleshooting
Gather these before starting:
– Insulated multimeter (set to continuity/ohms mode)
– Nutdriver set (5-8mm sizes)
– Towels and sponge for water cleanup
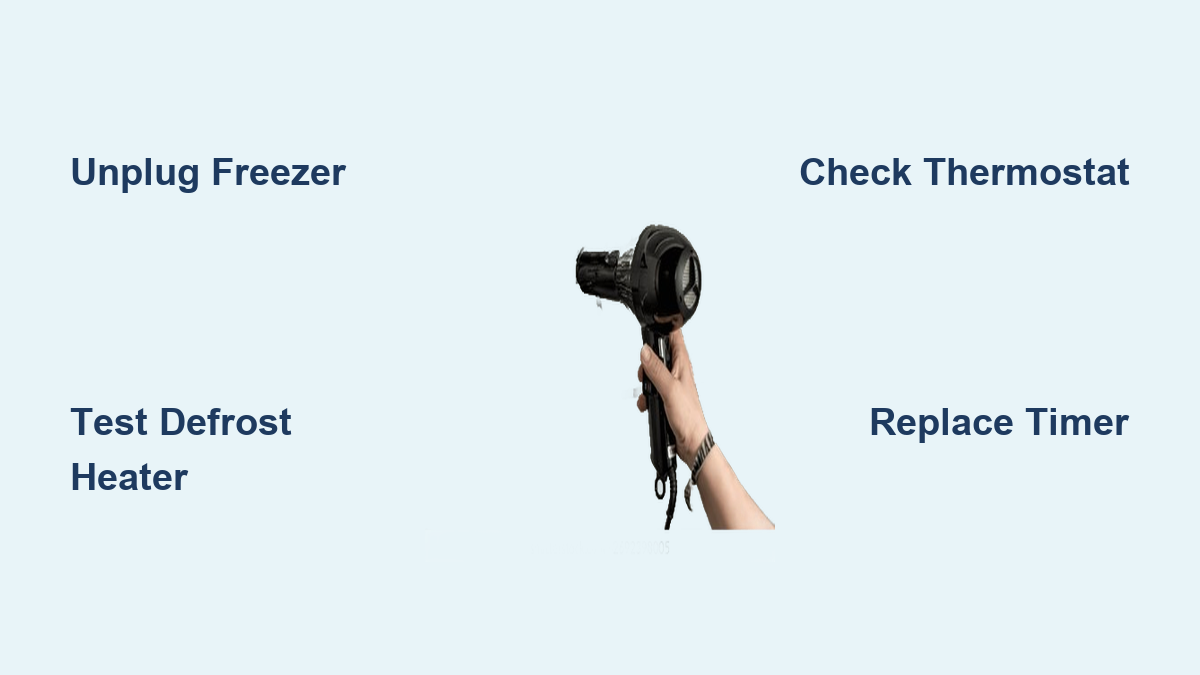
– Hairdryer (for targeted ice melting)
– Shop vacuum (to clear drain tube clogs)
– Replacement parts (only after confirming failures)
Avoid metal tools near electrical components—use plastic putty knives to pry off panels. Keep a flashlight handy; evaporator coils hide in dark compartments behind rear panels. Most repairs take 1-2 hours with basic tools. Skip expensive specialty tools—90% of defrost fixes require only these common items.
Diagnosing a Faulty Defrost Timer or Control Board
How to Test Mechanical Defrost Timers
Locate the timer (often behind the front kickplate or inside the control panel). Rotate the small manual screw clockwise with a flathead until you hear a loud click. The compressor should shut off while the heater activates. If nothing happens:
1. Unplug freezer and remove timer cover
2. Set multimeter to RX1 mode
3. Test terminals labeled “L” and “H” for continuity
4. Good timer: Shows continuity during defrost phase
5. Bad timer: No continuity reading—replace immediately
Mechanical timers fail every 3-5 years from grease hardening. Replacement takes 15 minutes and costs $25-$40.
Adaptive Control Board Failure Signs
Newer models use electronic boards instead of timers. If your freezer has error codes (like “Fd” or “FF”), the board likely failed. Confirm by:
– Checking for bulging capacitors on the board
– Listening for relay clicks during defrost cycle
– Testing 120V at heater terminals during defrost mode
Boards cost $80-$150 but require precise wiring. If uncomfortable, hire a pro—miswiring fries the new board.
Testing the Defrost Heater for Failure

The heater—a black tube under evaporator coils—burns out most often. To test:
1. Remove rear interior panel (usually 4-6 screws)
2. Locate heater wires connecting to thermostat
3. Disconnect one wire connector
4. Set multimeter to RX1 mode
5. Touch probes to heater terminals
Good heater: Reads 15-30 ohms resistance
Bad heater: “OL” (open loop) reading—replace
Pro tip: Shine a flashlight along the heater tube. Visible breaks or blistered spots confirm failure. Never test with power applied—risk of electrocution is high near wet coils.
Checking the Defrost Thermostat/Bimetal

This small silver clip (1-2″ long) on the evaporator coils fails when it sticks open. Test it:
1. Unplug freezer and remove thermostat
2. Place in freezer overnight to chill below 32°F
3. Set multimeter to continuity mode
4. Touch probes to thermostat wires
5. Good thermostat: Beeps (continuity present when cold)
6. Warm between fingers—beeping should stop above 130°F
Stuck thermostats read “OL” even when chilled. Replacement costs $15-$25 and takes 10 minutes. Always replace the thermostat clip—not just the sensor—as the mounting degrades over time.
Replacing Failed Components Safely
Heater Replacement Walkthrough
- Unplug unit and melt remaining ice with hairdryer
- Disconnect heater wires at thermostat connector
- Remove mounting brackets (usually 2 screws)
- Slide out old heater tube carefully
- Insert new heater—align with coil bends
- Secure brackets and reconnect wires
- Test continuity before reassembly
Critical step: Ensure heater doesn’t touch metal coils—sparks cause fires. Wrap exposed sections with high-temp tape.
Thermostat Installation Shortcut
Don’t struggle with cramped spaces. After unplugging:
1. Clip old thermostat wires near connector
2. Strip ¼” from new thermostat wires
3. Use waterproof wire nuts to join new/old wires
4. Tuck connections behind coils
This avoids removing the entire evaporator assembly—saving 30+ minutes.
When to Call a Professional Immediately
Stop repairs if you encounter:
– Oil leaks from compressor (indicates major failure)
– Burn marks on wiring harnesses
– Foul sulfur smells (refrigerant leak)
– No voltage at control board inputs
These signal complex issues requiring EPA-certified technicians. Professional defrost repairs average $180-$320, but compressor replacements hit $450+. If your freezer is over 10 years old, weigh repair costs against replacement—new ENERGY STAR models save $50+/year in electricity.
Preventing Future Defrost System Failures
Extend system life with these habits:
– Clean condenser coils every 6 months (dust traps cause overheating)
– Check door seals monthly—use the dollar bill test (if it slips out, replace gasket)
– Never overload the freezer (blocks airflow to evaporator coils)
– Set temps at 0°F—warmer temps trigger excessive defrost cycles
Most importantly: Never manually defrost with sharp tools. Punctured evaporator coils release refrigerant—requiring $300+ evac/recharge. Use the unplugged-towel method instead.
A properly functioning defrost system keeps ice at bay while saving energy. By methodically testing the timer, heater, and thermostat, you’ll resolve 85% of frost lockouts for under $40. Remember: safety first—always unplug before probing components. When repairs feel overwhelming, a certified technician prevents costly mistakes. Implement the prevention tips to avoid repeat failures, and your freezer will maintain peak performance for years. For persistent issues, consult your model’s service manual—many manufacturers publish free schematics online using your serial number.