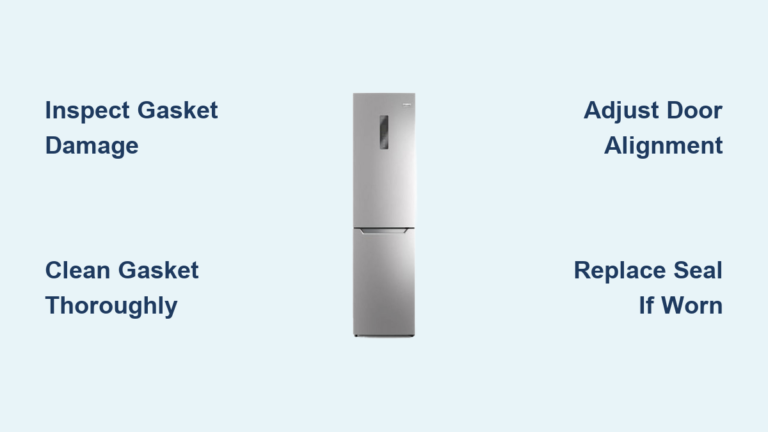
How to Fix Freezer Seal Issues
That telltale frost buildup in your freezer isn’t just annoying—it’s a warning sign your door seal has failed. When your freezer seal develops cracks or loses its grip, cold air escapes, forcing the compressor to run constantly while your frozen foods risk spoilage. The rubber gasket around your freezer door should create an airtight seal every time you close it, but years of opening and shutting takes its toll. You’ll know your seal needs attention when you notice warm spots near the door edges, excessive frost on freezer walls, or food developing ice crystals despite proper temperature settings. The good news is that fixing a freezer seal is a manageable DIY project that takes less than an hour with basic tools. This guide delivers proven repair methods from simple cleaning to complete replacement, helping you restore your freezer’s efficiency without calling a technician.
Identify Visible Seal Damage Before Repairing

Before attempting any fixes, confirm your freezer seal actually needs repair by checking for specific damage indicators. Many homeowners mistake frost buildup for seal problems when the real issue might be temperature settings or defrost system failures.
Examine the entire rubber gasket perimeter with the door fully open and under bright lighting. Run your fingers along both sides of the seal, feeling for cracks, tears, or thinning sections that compromise the rubber’s integrity. Pay special attention to the corners—these high-stress areas typically show wear first. Look for sections where the rubber has become hard and brittle rather than maintaining its natural flexibility, as this prevents proper sealing even when no visible cracks exist.
Test for Air Leaks with the Dollar Bill Method
This simple test reveals exactly where your seal fails without special equipment. Close a dollar bill or standard sheet of paper in the freezer door so approximately one-third protrudes. Try to pull the paper out while maintaining steady tension—you should feel consistent resistance throughout the entire perimeter. If the paper slides out easily at any point, that’s where your seal leaks.
Repeat this test at multiple locations around the door, especially focusing on corners and the middle sections where seals commonly fail. Mark problem areas with a small piece of tape for reference during your repair process. For comprehensive testing, perform this check with the freezer empty and again with it fully loaded, as weight distribution affects door alignment.
Recognize Performance Issues Caused by Poor Sealing
Your freezer’s behavior provides crucial clues about seal integrity beyond visible damage. Notice if the compressor runs constantly without cycling off—that’s a telltale sign cold air escapes through seal gaps. Check for unusual frost accumulation specifically around the door edges rather than evenly distributed throughout the compartment.
Food spoilage patterns reveal seal problems too. Items stored near the door that develop freezer burn while those in the back remain properly frozen indicate a localized seal failure. Similarly, if you frequently need to adjust temperature settings lower than normal to maintain freezing conditions, your seal likely needs attention. Unexplained increases in your electricity bill during winter months often trace back to compromised freezer seals working overtime.
Clean Your Freezer Seal Properly to Restore Function
Many seal problems stem from simple debris accumulation rather than actual damage. A thorough cleaning often restores proper sealing without any parts replacement, making this your essential first repair step.
Remove Debris with Gentle Cleaning Methods
Mix warm water with a few drops of mild dish soap in a bowl—never use harsh chemicals like bleach or ammonia that degrade rubber over time. Dip a soft microfiber cloth into the solution and wring it out until damp, not dripping. Wipe both sides of the seal thoroughly, working the cloth into the crevices where the rubber folds against the door frame. For stubborn grime in the seal’s channel, use an old toothbrush with soft bristles to dislodge debris without scratching.
Disinfect Problem Areas Without Damaging Rubber
If you notice mold or mildew in the seal’s folds, prepare a solution of one part white vinegar to three parts water. Apply this mixture with a cotton swab to affected areas, allowing it to sit for 5-10 minutes before wiping clean with a damp cloth. The vinegar solution kills mold without harming the rubber like chemical cleaners would. Rinse thoroughly with clean water on a separate cloth to remove all cleaning solution residue.
Adjust Freezer Door Alignment for Proper Seal Contact
Misaligned doors cause 40% of apparent seal failures, even when the gasket itself remains in perfect condition. Hinges loosen over time from repeated use, causing the door to sag and break contact at specific points.
Check for Uneven Door Closure
Stand directly in front of your closed freezer and observe the gap between the door and cabinet. The space should appear uniform all around—any visible light showing through indicates misalignment. Open the door and manually check hinge tightness by trying to wiggle the door up and down at the handle. Excessive movement confirms loose hinges needing adjustment.
Tighten and Reposition Hinges Correctly
Locate the hinge mounting screws—typically found at the top and bottom of the door frame. Using the appropriate screwdriver, tighten these screws incrementally while checking door alignment after each adjustment. For significant misalignment, you may need to slightly loosen all hinge screws, reposition the door to sit squarely against the cabinet, then retighten the screws. After adjustment, perform the dollar bill test again to verify even pressure around the entire perimeter.
Repair Minor Seal Damage Without Full Replacement

Small tears or separated sections don’t always require complete seal replacement. These temporary fixes provide reliable solutions for minor damage while you source a new gasket.
Fix Small Tears with Food-Safe Sealant
For cracks under one inch long, clean the area thoroughly with isopropyl alcohol and allow it to dry completely. Apply a thin bead of food-safe silicone sealant along the tear, pressing it into the gap with a toothpick. Smooth the surface with a damp fingertip and allow 24 hours for full curing before closing the door. This repair withstands normal freezer temperatures and maintains flexibility.
Reattach Separated Seal Sections Securely
When rubber pulls away from the mounting channel, remove any old adhesive residue with a plastic scraper. Apply a thin line of E6000 adhesive or rubber-specific bonding agent to the mounting surface, press the seal firmly into place, and secure with painter’s tape for 12-24 hours while curing. Work around the door in 6-inch sections to avoid stretching the rubber during reattachment.
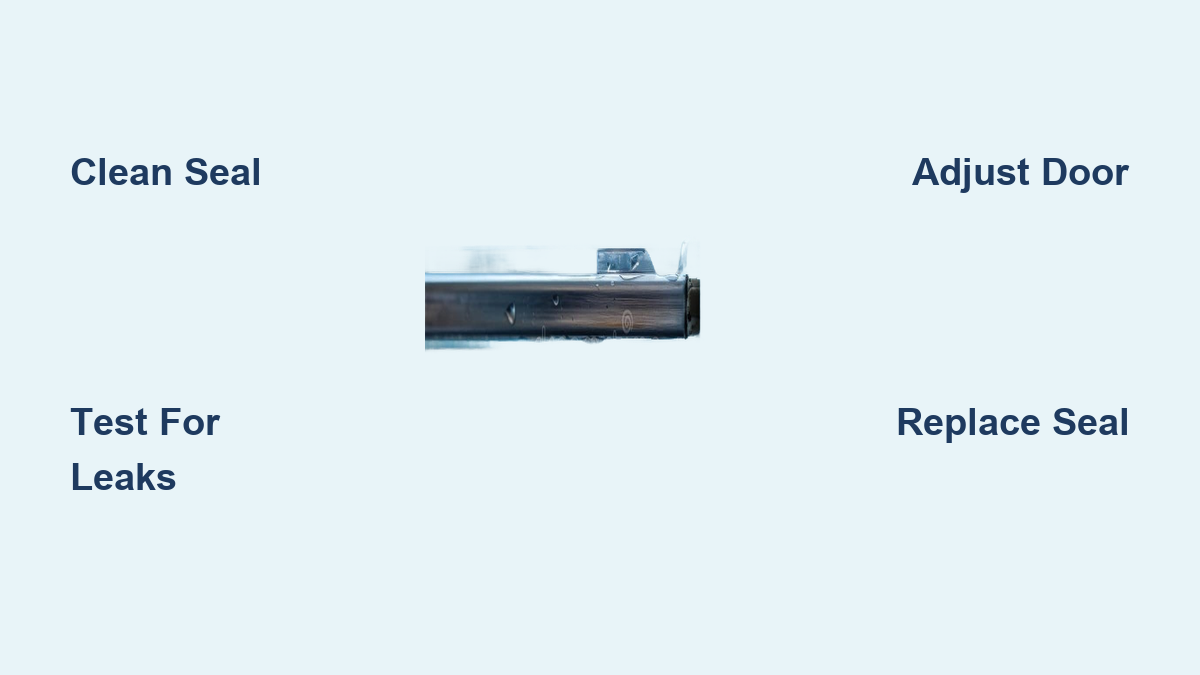
Replace Your Freezer Seal Completely
When damage exceeds repair capabilities, installing a new seal delivers the most reliable long-term solution. Replacement gaskets typically cost $25-$50 and installation takes 30-45 minutes for most models.
Identify Your Exact Model Number Before Ordering
Locate your freezer’s model number—usually found on a sticker inside the compartment, often on the side wall or ceiling near the door opening. Take a photo of your existing seal showing how it mounts to the door before removal. When ordering, verify compatibility with both your model number and seal appearance, as manufacturers sometimes change gasket designs within the same model line.
Install the New Seal Without Damaging It
Begin installation at the top center of the door, working outward toward the corners. For channel-mounted seals, press the new gasket into the groove using your thumbs, working around the perimeter while avoiding excessive stretching. For screw-mounted seals, position the new gasket using the existing screw holes as guides before securing with mounting hardware. After installation, close the door several times to help the seal settle into proper position against the cabinet.
Verify Your Repair Success with Performance Testing
Proper testing confirms your repair solved the problem and identifies any remaining issues before they cause food spoilage.
Perform the 24-Hour Performance Check
After completing your repair, monitor your freezer’s behavior over the next day. The compressor should cycle on and off regularly rather than running constantly. Interior temperature should stabilize between 0°F and -10°F within 4-6 hours. Check for reduced frost accumulation, especially around the door edges where leaks previously occurred.
Conduct Final Leak Testing
Repeat the dollar bill test at multiple points around the door, including all corners and the middle sections. You should feel consistent resistance when pulling the paper out—no easy-slipping spots indicate successful repair. Also check that the door closes with a firm magnetic snap and stays closed when released from a slight distance.
Extend Your Freezer Seal Lifespan with Proper Maintenance
Preventative care significantly extends seal life, reducing future repair needs and maintaining energy efficiency.
Implement Monthly Cleaning Routine
Clean your seal monthly with warm water and mild soap, focusing on the crevices where food particles accumulate. Dry thoroughly before closing the door to prevent moisture-related damage. Avoid pulling the door open by the seal—always use the handle to prevent unnecessary stress on the rubber.
Condition the Seal Twice Yearly
Apply a thin layer of petroleum jelly or specialized rubber conditioner to the entire seal surface twice a year. This maintains flexibility and prevents drying and cracking. Wipe away any excess that might attract dust. Properly conditioned seals typically last 8-10 years before needing replacement.
Fixing a freezer seal properly saves you money on energy bills and prevents costly food spoilage. By addressing problems early through regular inspections and maintenance, you extend your appliance’s lifespan while maintaining optimal performance. Remember that most seal issues stem from simple causes like dirt accumulation or minor misalignment rather than actual damage—always start with the easiest solutions before moving to replacement. When replacement becomes necessary, having the correct model-specific gasket ensures a perfect fit that creates an airtight seal. Implement the monthly cleaning and conditioning routine described to maximize your new seal’s longevity, and you’ll enjoy reliable freezer performance for years to come.