Deep Freezer Maintenance Tips: Quick & Easy Guide
Your deep freezer hums quietly in the corner, preserving hundreds of dollars worth of food while working harder than any other appliance in your home. Yet most homeowners only think about deep freezer maintenance when the lights go out or the compressor starts making strange noises. Neglecting regular care leads to temperature fluctuations that compromise food safety, skyrocketing electricity bills, and premature compressor failure—the most expensive component to replace. The truth is, just 30 minutes of proper deep freezer maintenance each month can extend your appliance’s life by 5-10 years while keeping your frozen food perfectly preserved.
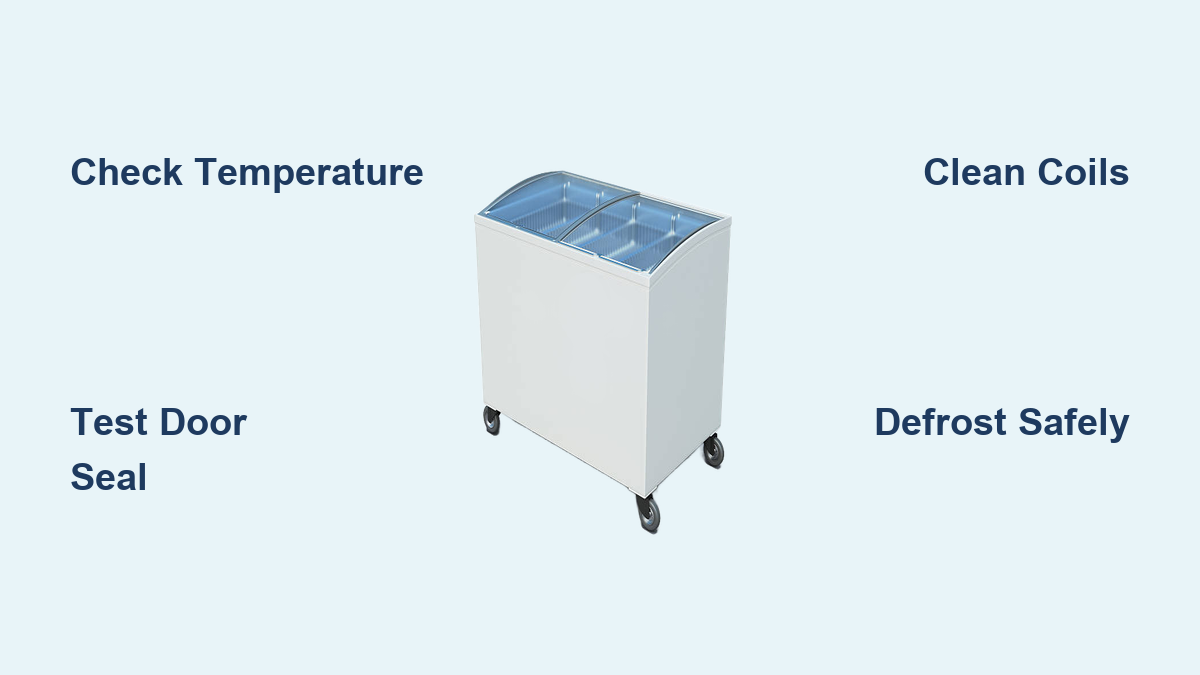
Deep freezer maintenance isn’t complicated, but it requires consistent attention to specific tasks that most people overlook. From temperature monitoring to coil cleaning, each step plays a critical role in maintaining efficiency. This guide reveals exactly what to do, when to do it, and how to spot problems before they turn into expensive repairs. Whether you own a chest freezer in the garage or an upright model in the basement, follow these proven techniques to protect your investment and ensure your frozen food stays safe for years to come.
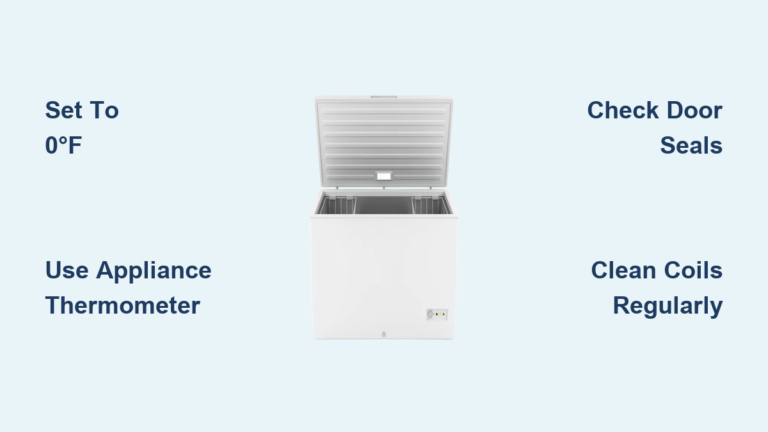
Why Your Deep Freezer Temperature Must Stay Below 0°F (-18°C)
Maintaining a consistent temperature below 0°F (-18°C) isn’t just a recommendation—it’s essential for food safety and energy efficiency. At this temperature, bacterial growth stops completely, preserving food quality for months or even years. Temperature fluctuations as small as 5 degrees can create ice crystals in frozen foods, leading to freezer burn and compromised texture when thawed. Your freezer works hardest during door openings, so consistent temperature control prevents the compressor from cycling on and off unnecessarily, which wastes energy and wears out components prematurely.
How to Verify Your Freezer’s Actual Temperature
Don’t rely solely on the built-in thermostat—most models have a margin of error that could put your food at risk. Place a standalone freezer thermometer in the center of your unit and check it monthly. If readings consistently exceed 0°F, adjust the thermostat one notch lower and recheck after 24 hours. For chest freezers, position the thermometer near the front where temperature tends to be slightly warmer than the back.
When Temperature Fluctuations Signal Serious Problems
Random temperature spikes without explanation often indicate failing door seals, dirty condenser coils, or refrigerant issues. If your thermometer shows fluctuations of more than 5 degrees within a 24-hour period, perform these immediate checks:
– Run the paper test on all door seals (explained in a later section)
– Verify condenser coils aren’t covered in dust
– Listen for unusual compressor sounds
– Check for frost buildup exceeding ½ inch
The Paper Test: How to Check if Your Freezer Door Seal Needs Replacing

Your freezer door seal (gasket) is the first line of defense against warm air infiltration, yet it’s often the most neglected component in deep freezer maintenance. A compromised seal forces your compressor to work 30-50% harder, significantly increasing energy costs while risking food spoilage. Most homeowners don’t realize their seals have failed until food starts developing ice crystals or freezer burn.
Performing the Monthly Paper Test
This simple diagnostic takes less than two minutes but reveals critical information about your seal’s integrity. Close a standard sheet of paper in the door at multiple points around the perimeter, then try to pull it out. If the paper slides out easily without resistance at any point, that section of the seal has lost compression and needs replacement. Pay special attention to corners and hinge areas, where wear typically begins due to constant movement.
Replacing Worn Seals Before They Cause Damage
Delaying seal replacement creates a cascade of problems: higher energy bills, inconsistent temperatures, and ultimately compressor strain that leads to premature failure. Most manufacturer replacement gaskets cost $30-$70 and install in under 15 minutes with basic tools. Before ordering, check your owner’s manual for the exact part number—using the wrong seal creates gaps that defeat the entire purpose of replacement.
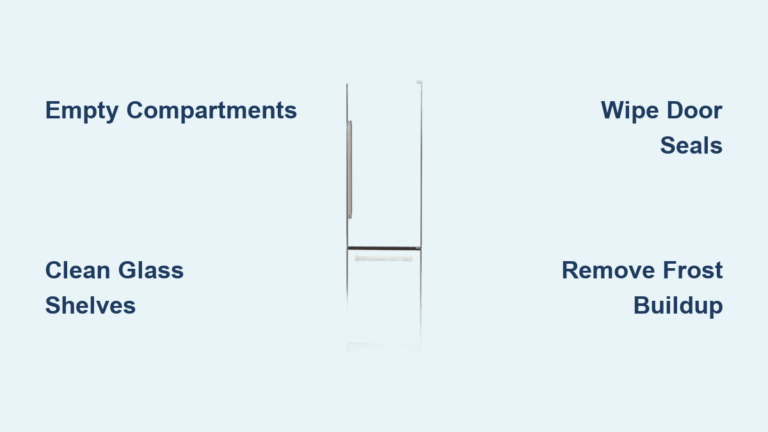
When and How to Defrost Chest Freezers Without Causing Damage
Chest freezers universally require manual defrosting, and ignoring frost buildup creates serious efficiency problems. When ice accumulates beyond ½ inch thickness, it acts as insulation between the cooling elements and your food, forcing the compressor to work twice as hard while delivering inferior performance. Waiting too long to defrost also risks damaging interior components when ice expands during the melting process.
The Safe, Damage-Free Defrosting Process
Follow this step-by-step approach to prevent damage during defrosting:
- Prepare your food: Transfer all contents to coolers with ice packs (this takes 15-20 minutes)
- Unplug completely: Never attempt defrosting while the unit remains powered
- Locate the drain: Most chest freezers have a plug at the bottom front—check your manual
- Accelerate melting safely: Place shallow pans of hot water inside and close the lid for 15-minute intervals
- Remove water frequently: Use towels to soak up meltwater before it reaches electrical components
- Never use sharp tools: Chiseling ice risks puncturing refrigerant lines, causing catastrophic failure
- Dry thoroughly: Wipe all interior surfaces before restoring power—moisture causes immediate refreezing
How Long to Wait Before Restocking
After defrosting, allow your freezer to run empty until it reaches 0°F (-18°C) before adding food. This recovery period typically takes 12-24 hours depending on ambient temperature. Adding food too soon forces the compressor to work against the thermal load of room-temperature items, creating excessive frost buildup that negates your maintenance efforts.
Proper Placement: Where NOT to Put Your Deep Freezer for Maximum Efficiency
Your deep freezer’s location dramatically impacts its performance and longevity, yet many homeowners place these appliances in locations that guarantee premature failure. While garages and basements seem logical, placing your unit against an exterior wall, near heat sources, or in cramped spaces creates conditions that work against the appliance’s design.
Critical Clearance Requirements You’re Probably Ignoring
Condenser coils release significant heat during operation, and inadequate ventilation traps this heat around the unit. Most manufacturers require:
– At least 3 inches clearance on all sides
– Minimum 12 inches of space above the unit
– No obstructions within 18 inches of front vents
Freezers tucked into tight corners or surrounded by stored items work 20-30% harder, reducing their lifespan by years. If you hear constant humming or notice the cabinet feels unusually warm, relocate your unit immediately.
The Half-Full Rule: Optimal Loading for Energy Efficiency
Contrary to popular belief, an empty deep freezer operates less efficiently than a properly filled one. Food acts as thermal mass that stabilizes temperature during door openings—when you open the door, you lose cold air but the frozen food helps maintain overall temperature. An empty freezer loses cold air completely during openings, forcing the compressor to work overtime to restore temperature.
Achieving the Perfect Fill Level
For maximum efficiency, maintain your deep freezer at 60-80% capacity:
– Too empty: Below 50% capacity creates excessive air space that requires more energy to cool
– Too full: Over 90% capacity blocks airflow, creating cold spots and warm zones
When your freezer falls below half-full, add water-filled containers to provide thermal mass. These frozen water bottles serve dual purposes—they stabilize temperatures and provide emergency ice during power outages.
Step-by-Step Guide to Cleaning Condenser Coils Safely

Dirty condenser coils are responsible for up to 30% of deep freezer maintenance issues. Dust and debris accumulation creates an insulating layer that prevents proper heat dissipation, forcing the compressor to work harder while reducing cooling capacity. Annual coil cleaning delivers immediate energy savings—studies show clean coils can reduce electricity consumption by 10-15%.
The Right Tools and Technique
Follow this safe cleaning process that won’t damage delicate components:
1. Unplug the freezer completely (safety first!)
2. Locate coils (typically on back or bottom front of upright models)
3. Use a soft-bristle brush to gently loosen debris—never bend the fins
4. Vacuum loosened dust with brush attachment
5. Avoid compressed air—it forces debris deeper into coil spaces
What NOT to Do When Cleaning Coils
Many homeowners make critical mistakes during coil maintenance:
– Using metal tools that bend coil fins
– Applying excessive pressure with brushes
– Cleaning while unit remains plugged in
– Using water or cleaning solutions on coils
Damaged coils reduce efficiency permanently—proper gentle cleaning preserves their heat transfer capability for years.
7 Warning Signs Your Deep Freezer Needs Immediate Attention
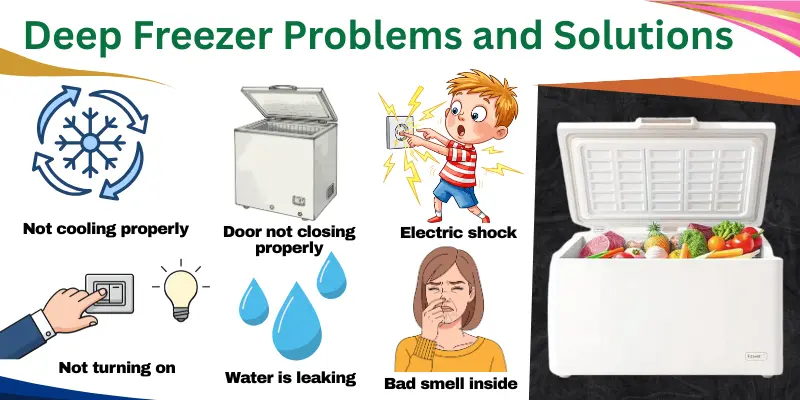
Your deep freezer communicates problems through specific symptoms long before complete failure occurs. Recognizing these warning signs early prevents food loss and saves hundreds in repair costs. Don’t ignore these critical indicators:
Unusual Sounds That Signal Trouble
Listen for these problematic noises:
– Loud humming or buzzing: Often indicates failing compressor or fan motor
– Rattling or vibrating: Loose components or unbalanced unit
– Clicking sounds: Electrical issues or failing relay switch
– Gurgling or hissing: Refrigerant leaks requiring professional attention
Visual Clues You Can’t Afford to Ignore
Check for these visible warning signs during routine deep freezer maintenance:
– Frost buildup exceeding ½ inch on interior walls
– Ice forming outside the unit or on door seals
– Condensation on exterior cabinet
– Unusual odors when opening the door
– Water pooling beneath the unit
Creating Your Deep Freezer Maintenance Schedule Calendar
Consistent deep freezer maintenance following a structured schedule prevents 90% of common problems. Implement this tiered approach that matches tasks to their required frequency:
Monthly Maintenance (5 minutes)
- Verify temperature with standalone thermometer
- Perform paper test on door seals
- Wipe exterior surfaces and handles
- Check for unusual noises during operation
Quarterly Maintenance (15 minutes)
- Thorough interior cleaning (if needed)
- Verify proper food organization
- Check drain pan (for upright models)
- Inspect for frost buildup patterns
Annual Maintenance (60-90 minutes)
- Complete defrosting (for manual-defrost models)
- Clean condenser coils thoroughly
- Deep clean interior with baking soda solution
- Inspect all components for wear
By following this maintenance schedule, you’ll extend your deep freezer’s lifespan by 5-10 years while keeping energy costs predictable and ensuring your frozen food remains perfectly preserved. The small time investment pays dividends through lower electricity bills, fewer repairs, and peace of mind knowing your food investment stays protected. Start implementing these deep freezer maintenance practices today—your wallet and your frozen food will thank you for years to come.