How to Freeze Breast Milk in Freezer Bags
Freezing breast milk in freezer bags properly transforms your freezer into a reliable milk bank that keeps your baby nourished even during busy workdays or unexpected separations. When stored correctly, frozen breast milk retains most of its valuable antibodies, nutrients, and immune-boosting properties for months. The right freezing technique prevents messy spills, maximizes your limited freezer space, and ensures your hard-earned milk remains safe for your baby. This guide reveals exactly how to freeze breast milk in freezer bags without common mistakes that compromise quality or safety—so you can build confidence in your milk storage system and enjoy the flexibility of a well-organized stash.
Many mothers waste precious milk because they use improper containers or skip critical steps in the freezing process. Standard plastic bags like Ziplocs crack in freezing temperatures and aren’t sterile, risking contamination that could harm your baby. Without proper labeling, you’ll waste perfectly good milk that exceeds safe storage durations. And if you overfill bags or store them near the freezer door, temperature fluctuations cause freezer burn that alters taste and texture. Following these evidence-based techniques ensures your frozen breast milk maintains optimal quality while fitting efficiently in your freezer.
Why Regular Plastic Bags Fail for Breast Milk Freezing
Avoid Contamination with Hospital-Grade Storage Bags
Regular storage bags like standard Ziplocs are not sterile and should never be used for breast milk—they lack the safety guarantees necessary for protecting your baby’s food. Breast milk storage bags are manufactured to meet strict medical safety standards and come pre-sterilized to prevent bacterial contamination. These specialized bags use food-grade materials completely free of harmful chemicals like Bisphenol A (BPA), ensuring no toxins leach into the milk during freezing. When you squeeze a quality breast milk bag, it should feel thick and durable—not thin or flimsy like grocery store bags.
Look for bags specifically labeled for human milk collection, as these have been tested for durability at freezing temperatures. The best options feature double-zipper seals that create airtight barriers against freezer burn and prevent milk from absorbing odors from other freezer contents. Before your first use, test the seal by filling a bag with water and squeezing—it should hold without leaks. If the seal fails during this simple test, switch brands immediately to protect your valuable milk supply.
Top-Rated Brands That Prevent Leaks and Freezer Burn
Lansinoh Milk Storage Bags stand out for their reliable double-zipper seals and write-on surfaces that accept markers even after freezing. Medela Breast Milk Storage Bags work seamlessly with Medela pump systems, allowing direct pumping into bags without transfer steps that increase contamination risk. Ameda Store N’ Pour Bags feature a unique shape that makes pouring thawed milk easier while maintaining freezer durability. Whichever brand you choose, prioritize bags with smooth interior surfaces—textured bags can trap milk and make complete transfer difficult when thawing.
Pro Tip: Try multiple brands with small test batches before committing to large purchases. Some mothers find certain bags easier to fill while pumping, while others prefer the flatness achieved during freezing. The ideal bag combines reliable seals, durable materials, and practical features that align with your specific pumping routine and freezer space limitations.
Prevent Contamination with Proper Hygiene Before Freezing
Hand Washing and Pump Cleaning Protocol
Before expressing or handling breast milk, wash your hands thoroughly with soap and water for at least 20 seconds—pay special attention to fingertips and under nails where bacteria hide. This simple step prevents harmful bacteria from contaminating your milk supply. If soap and water aren’t available, use an alcohol-based hand sanitizer with at least 60% alcohol content, though soap remains preferable for thorough cleaning. Repeat this hand hygiene routine before each pumping session and whenever touching pump parts or storage containers.
All pump components that contact breast milk require thorough cleaning after each use. Disassemble parts according to manufacturer instructions, wash in hot soapy water, rinse completely, and air dry on a clean surface away from potential contaminants. Some components may be dishwasher-safe on the top rack, while others require sterilization using boiling water or steam sterilizers. Never skip this critical step—residual bacteria in unclean pump parts can compromise your entire milk stash.
Avoid These Common Hygiene Mistakes
Many mothers unknowingly contaminate breast milk by touching the inside of storage bags or the closure surfaces during filling. Always hold bags by the outer edges and avoid contact with interior surfaces. If milk spills during transfer or the container becomes contaminated, discard that portion rather than risking bacterial growth in your entire batch. Never pour breast milk back into a clean container after it’s been in contact with feeding equipment that touched your baby’s mouth—bacteria from your baby can multiply rapidly in stored milk.
Critical Warning: Discard any breast milk that has been at room temperature longer than 4 hours. While guidelines allow up to 6 hours at room temperature (60-85°F), using the 4-hour window maximizes safety and preserves milk quality. If you pump multiple times daily, refrigerate milk between sessions rather than leaving it out—this maintains optimal freshness until you’re ready to freeze your accumulated supply.
Fill Breast Milk Bags Without Bursting During Freezing

Leave Critical Expansion Space at the Top
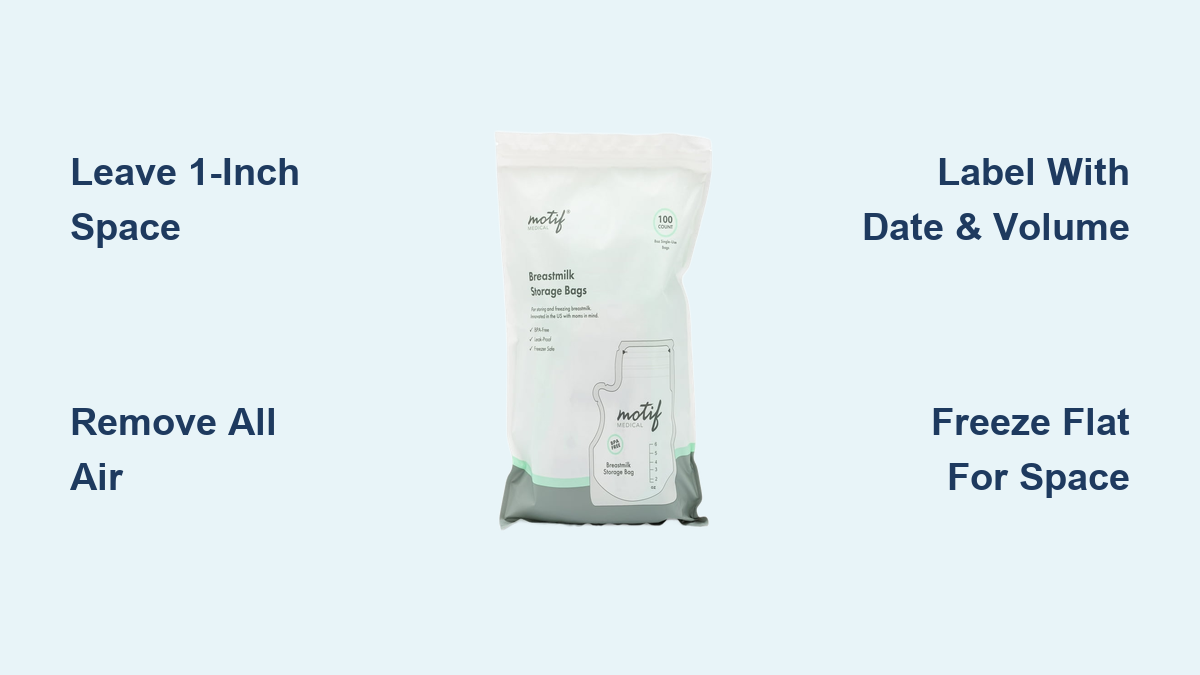
When filling breast milk storage bags, leaving exactly 1 inch (2.5 cm) of space at the top prevents catastrophic bursting during freezing. Milk expands by approximately 9% as it freezes, and insufficient space causes bags to split open, creating freezer messes and wasting precious milk. Measure your fill line with a permanent marker before each pumping session—this visual guide ensures consistent headspace regardless of distractions. For small batches (2-3 ounces), this space represents nearly 25% of the bag’s capacity, which feels counterintuitive but prevents disaster.
Two efficient filling methods exist: pumping directly into bags using compatible adapters, or transferring from collection bottles. Direct pumping eliminates transfer steps and reduces contamination risk—simply attach your storage bag to the pump according to manufacturer instructions. If transferring from bottles, pour slowly while holding the bag open with clean fingers only on the outer edges. Never let the bottle’s mouth touch the bag’s interior during transfer.
Remove Air and Seal Bags for Maximum Protection
After filling, remove excess air to prevent oxidation that degrades milk quality. Lay the filled bag flat on a clean surface, then slowly roll from the bottom upward to push air toward the top before sealing. Some bags feature one-way valves that facilitate air removal—press gently along these channels while sealing. Once air is minimized, close both zipper seals firmly, then run a credit card along the closure to verify complete sealing. Finally, gently squeeze the bag to check for leaks—if air escapes, transfer the milk to a new bag immediately.
Pro Tip: Freeze small test batches first to confirm your sealing technique works. Fill several bags with water, freeze them overnight, then inspect for leaks or weak seals. This practice run prevents wasting valuable breast milk while you perfect your technique.
Label Breast Milk Bags to Avoid Wasted Milk
Essential Information That Prevents Costly Mistakes
Before freezing, label each breast milk bag with three critical details: the expression date (in a consistent format like MM/DD/YYYY), the exact volume in ounces or milliliters, and the calculated use-by date based on storage guidelines. The expression date enables “first in, first out” rotation—using oldest milk first prevents waste from expired batches. Volume markings help match thawed portions to your baby’s current feeding needs, reducing partial-bottle waste. The use-by date provides instant visual reference so you never accidentally serve expired milk.
Many mothers add optional but helpful details like “AM pump” or “post-nap pump” to track milk composition variations throughout the day. If you have multiple children or donate milk, include your baby’s name or “donor milk” designation to prevent dangerous mix-ups. Avoid vague labels like “milk”—in high-stress situations, clear, specific labeling prevents feeding errors.
Durable Labeling Methods That Survive Freezer Conditions
Most breast milk bags feature designated write-on areas designed for permanent markers. Test your marker on a spare bag before committing—some bleed when frozen, making labels unreadable. Fine-tip markers work best for small bags, while broad-tip markers speed labeling for large stashes. For permanent identification, consider pre-printed labels with date fields that stick reliably even when frozen. Some mothers use digital tracking apps alongside physical labels for comprehensive inventory management.
Critical Warning: Never write on bags while milk is still warm—the temperature difference causes condensation that smudges labels. Wait until milk is partially chilled before labeling, or use freezer-safe stickers applied after freezing.
Freeze Breast Milk Flat for Maximum Freezer Space
The Brick Method That Doubles Your Freezer Capacity
The Brick Storage Method transforms irregular milk bags into uniform, stackable units that maximize freezer space by up to 50%. Start by placing filled, sealed bags flat on a baking sheet—this creates a stable surface for even freezing. Position bags with the sealed edge facing outward for easier stacking later. Avoid overlapping bags during initial freezing, as this prevents uniform chilling and makes separation difficult. Freeze overnight on the baking sheet before reorganizing.
Once solid (typically 6-8 hours), transfer the frozen “milk bricks” to organized stacks. Group bags by weekly increments in large gallon-sized freezer bags—each holds 10-15 bricks depending on size. Label these grouping bags with date ranges and total volume for instant inventory visibility. This system lets you pull entire weeks of milk at once while maintaining strict “first in, first out” rotation.
Organize Milk Bricks for Quick Access
After freezing solid, arrange milk bricks in alternating orientations—place some bags upside down relative to others—to create tighter, more stable stacks. Mix different volume bags (2oz, 4oz, 6oz) within the same grouping bag for feeding flexibility. Store these groupings toward the freezer’s center or back where temperatures remain most consistent—avoid the door area where frequent openings cause dangerous fluctuations.
Pro Tip: Freeze small batches (2-3 ounces) for newborns and early infancy, then transition to larger portions (4-6 ounces) as your baby grows. This prevents wasting partially used larger portions while accommodating changing feeding needs.
Store Breast Milk Away from Freezer Door for Consistent Temperature
Optimal Placement That Preserves Milk Quality
Position your milk stash toward the back or center of the freezer—the areas with the most stable temperatures. The freezer door experiences temperature fluctuations each time it opens, risking partial thawing that degrades milk quality. Maintain at least 1-inch clearance from freezer walls to prevent frost buildup damage to bags. Keep milk away from sharp-edged frozen foods that could puncture bags during storage.
If your freezer has a self-defrost cycle, understand this causes minor temperature variations—store milk toward the center to buffer against these periodic warming cycles. During power outages, keep the freezer closed as long as possible; a full freezer maintains frozen temperatures for 24-48 hours. If power returns and milk still contains ice crystals, it’s safe to refreeze—completely thawed milk must be discarded.
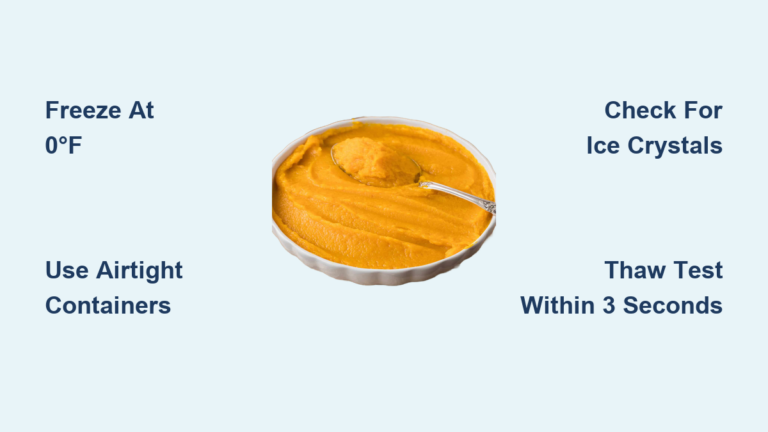
Verify Freezer Temperature with Medical-Grade Thermometers
Your freezer must maintain 0°F (-18°C) or colder for safe breast milk storage—most household freezers fluctuate near this threshold. Place a dedicated appliance thermometer in your milk storage area to monitor actual temperatures, not just the freezer’s setting. Check this thermometer weekly, especially during summer months when compressors work harder. If temperatures rise above 0°F, adjust the freezer setting lower immediately and consider temporarily storing milk in a cooler with ice packs.
Critical Warning: Never store breast milk in mini-fridge freezer compartments—they rarely maintain consistent freezing temperatures and often hover near 20°F, which is unsafe for long-term storage.
How Long Can Frozen Breast Milk Last in Your Freezer?

Storage Duration Guidelines by Freezer Type
In a standard freezer compartment (0°F / -18°C), breast milk maintains optimal quality for up to 6 months—this represents the maximum recommended duration, not a target to achieve. For deep freezers maintaining -10°F (-23°C) or colder, storage extends to 12 months with reasonable quality retention. Regardless of freezer type, always use the oldest milk first to maximize nutritional value—quality gradually declines over time even when safely stored.
Milk frozen longer than recommended remains safe but shows measurable nutrient degradation, particularly in vitamin C and some B vitamins. The protein, fat, and immunological properties remain largely intact, making even year-old milk nutritionally superior to formula. If you’ve built an exceptionally large stash, consider donating excess to a human milk bank where it will help medically fragile infants.
Quality Preservation Strategies for Long-Term Storage
To maintain peak quality during extended storage, double-bag precious milk batches by nesting one sealed bag inside another. This extra layer provides additional protection against freezer burn and odors. Store milk away from strongly scented foods like fish or onions—even sealed bags can absorb odors over time. Periodically inspect your stash for damaged bags and transfer compromised milk immediately to prevent waste.
Pro Tip: Rotate your milk stash monthly—move older bags to the front of your storage area and newer additions to the back. This simple habit ensures natural “first in, first out” usage without requiring complex tracking systems.
Thaw Frozen Breast Milk Without Losing Nutrients
Safe Thawing Methods That Preserve Milk Quality
Thaw breast milk safely by transferring it to the refrigerator 12 hours before needed—this gradual process preserves heat-sensitive components better than rapid thawing. For same-day needs, place the sealed bag in lukewarm (not hot) water, replacing water as it cools. Never thaw at room temperature—bacterial growth occurs on outer milk layers while the center remains frozen. Avoid microwaves entirely—they create dangerous hot spots that destroy nutrients and can burn your baby’s mouth.
Once thawed, breast milk remains safe in the refrigerator for 24 hours. Never refreeze thawed milk—this further degrades quality and increases bacterial risk. If your baby doesn’t finish a feeding, discard remaining milk within 1-2 hours as bacteria from your baby’s mouth multiply rapidly at room temperature.
Proper Warming Techniques for Thawed Milk
Warm thawed milk to body temperature (97-99°F / 36-37°C) by placing the sealed container in lukewarm water for 1-2 minutes. Test temperature on your wrist—it should feel neutral, neither hot nor cold. Never exceed 104°F (40°C), as higher temperatures begin degrading antibodies and enzymes. Gently swirl (don’t shake) to remix separated fat layers before feeding.
Critical Warning: Discard any milk that develops sour or rancid odors after thawing—this indicates spoilage. Normal breast milk may separate or develop a slightly soapy smell due to lipase activity, but true spoilage produces unmistakable sourness.
Why Separated Breast Milk Is Normal After Freezing
Understanding Natural Fat Separation in Stored Milk
Breast milk naturally separates into distinct layers during storage as fat rises to the top—this appearance alarms many new mothers but indicates healthy milk composition, not spoilage. Unlike homogenized cow’s milk, human milk contains varying fat concentrations that separate when undisturbed. The watery “foremilk” settles below while creamier “hindmilk” floats above, creating a layered effect that’s perfectly normal and safe.
To recombine layers, gently swirl the container for 5-10 seconds—vigorous shaking damages milk proteins and reduces protective properties. Separation is more pronounced in refrigerated than frozen milk, but both are safe to feed after gentle mixing. If your baby consistently refuses thawed milk, separation isn’t the issue—consider lipase-related taste changes instead.
Fix Soapy-Tasting Frozen Breast Milk Caused by Lipase
Some breast milk develops soapy or rancid flavors after freezing due to lipase—an enzyme that breaks down fats to prevent bacterial growth. While harmless, this taste may cause feeding refusal. Confirm lipase activity by refrigerating fresh milk for 24 hours—if it develops soapy flavors, scald future batches before freezing: heat to 180°F (82°C) until tiny bubbles form (but don’t boil), then cool rapidly before freezing.
Pro Tip: Freeze small test batches of scalded milk first to confirm your baby accepts the taste. Scalding slightly reduces some heat-sensitive nutrients but preserves most immunological properties—far preferable to discarding usable milk.
Stop Freezer Burn in Breast Milk Storage Bags
Prevent Ice Crystals with Proper Air Removal
Freezer burn appears as white or grayish patches on frozen milk surfaces, caused by air exposure that dehydrates and oxidizes milk components. While not dangerous, it imparts off-flavors that make milk less appealing to babies. Prevent freezer burn by removing maximum air before sealing—lay filled bags flat, press from bottom to top to expel air, then seal completely. Double-bag precious milk batches for added protection against air exposure.
Store grouped milk bricks in secondary containment like gallon freezer bags—this creates an additional moisture barrier. Maintain consistent freezer temperatures below 0°F and avoid frequent door openings that cause frost buildup. If freezer burn occurs, trim affected portions before feeding or use affected milk in smoothies for older babies.
Critical Warning: Milk with freezer burn remains safe if stored within recommended durations—don’t discard it unnecessarily. The white patches indicate quality reduction, not spoilage.