How to Store Meal Prep in Freezer: Easy Tips
Your meal prep investment disappears faster than you think when freezer storage goes wrong. Picture opening your freezer to discover freezer-burned chicken breasts, mushy vegetables, and unidentifiable containers from “who knows when.” Properly storing meal prep in freezer containers preserves your time, money, and nutrition while ensuring meals taste fresh weeks later. The right techniques transform your freezer from a mystery meat repository into a reliable meal solution that supports your healthy eating goals all week long. This guide reveals exactly how to store meal prep in freezer conditions that maintain flavor, texture, and safety from preparation to plate.
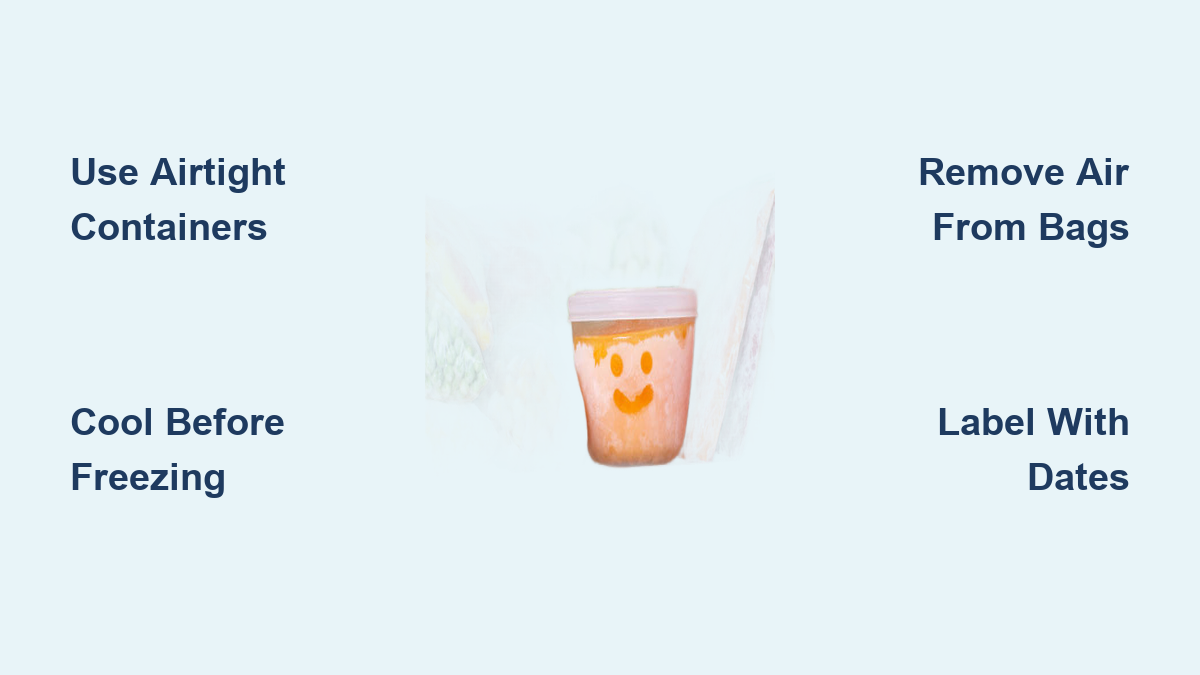
Choose Freezer-Safe Containers That Prevent Ice Crystals
Glass containers with airtight lids outperform plastic for long-term freezer storage. Borosilicate glass withstands extreme temperature shifts without cracking, allowing direct transfer from freezer to microwave. Always leave half an inch of headspace in these containers—liquids expand as they freeze, and without room to grow, containers shatter. The transparency of glass lets you identify contents instantly, eliminating the “mystery meal” problem that plagues disorganized freezers.
Freezer-specific plastic containers work when glass isn’t practical. Look for the “freezer-safe” symbol (typically a snowflake) to ensure the plastic won’t become brittle at low temperatures. Avoid repurposed takeout containers—they crack easily and create microscopic air channels that invite freezer burn. For soups and sauces, lay freezer bags flat on a baking sheet before sealing to maximize space and create stackable “meal bricks” that thaw faster than deep containers.
Vacuum sealers provide superior protection against freezer burn by removing 99% of air. This method extends storage life up to threefold while preserving texture and flavor. Vacuum sealing works especially well for proteins and baked goods you plan to store beyond two months. If you lack a vacuum sealer, use the water displacement method: slowly lower a filled bag into water, allowing pressure to push out air before sealing at the top.
Cool Meal Prep Before Freezing to Preserve Texture
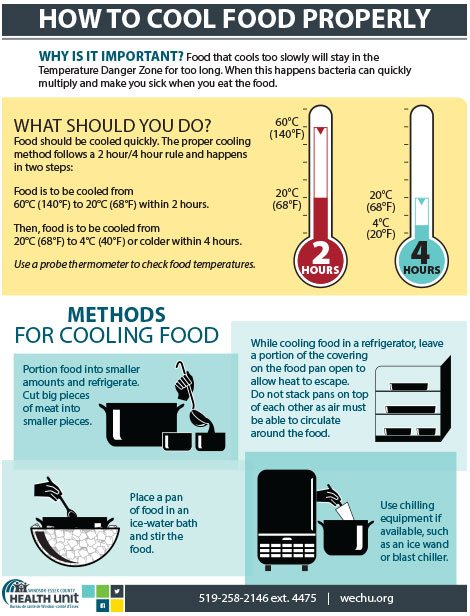
Placing hot food directly in your freezer creates large ice crystals that destroy cell structure, resulting in mushy textures after thawing. Follow the two-hour cooling rule: allow food to cool at room temperature for no more than two hours total before refrigerating. Divide large batches into shallow containers (2-3 inches deep) to accelerate cooling—this creates more surface area for heat to escape.
Never shortcut cooling by placing hot containers directly in the freezer. This dangerous practice raises your freezer’s internal temperature into the food safety danger zone (40-140°F), risking bacterial growth throughout your frozen inventory. For urgent cooling needs, spread food on a sheet pan in the refrigerator—this provides rapid, safe temperature reduction without compromising safety.
Critical mistake to avoid: Adding ice directly to hot food. This introduces potential contamination points and creates uneven cooling that affects texture. Instead, stir food occasionally during room-temperature cooling to release heat evenly before transferring to the refrigerator.
Seal Against Air Exposure to Stop Freezer Burn
Freezer burn occurs when air contacts food moisture, causing dehydration and oxidation that creates dry, discolored patches. Combat this by eliminating air pockets in your packaging. For containers, press plastic wrap directly onto the food surface before sealing with the lid—this creates a moisture barrier that protects delicate items like casseroles and sauces.
With freezer bags, squeeze out every last bit of air using the roll-up method: press contents toward the bottom, then roll the bag from the bottom up while pressing out air. For extra protection, double-wrap lean proteins and baked goods—first in plastic wrap, then in foil or another bag. This two-layer approach is essential for storage exceeding one month.
Pro tip: Fill containers to the brim for liquid-based dishes like soups and stews. Less air space means less opportunity for freezer burn. For items like roasted vegetables, drizzle with olive oil before sealing to create an additional protective layer.
Implement a Foolproof Labeling System
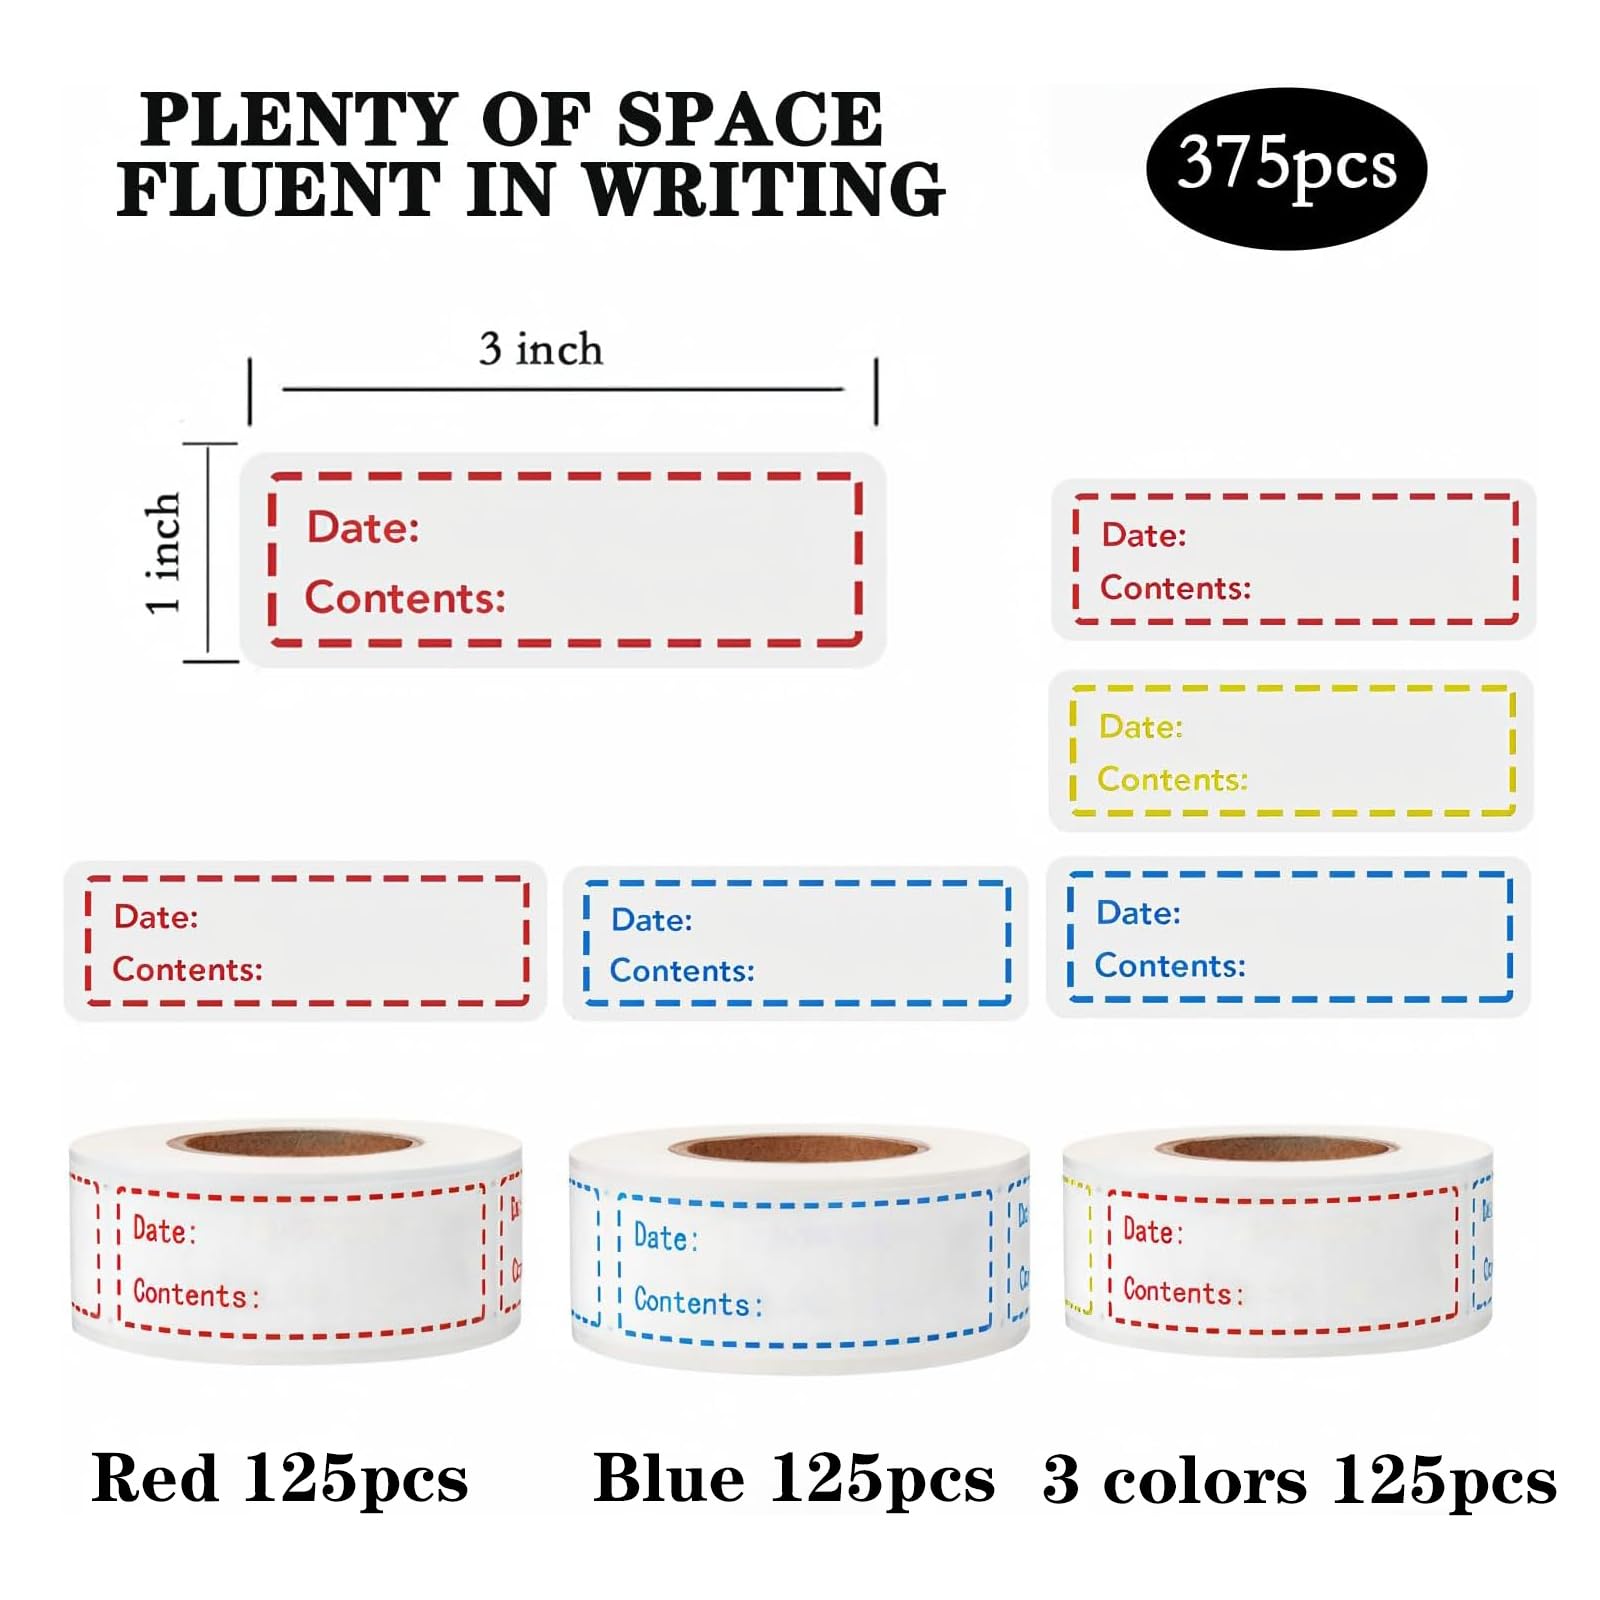
Vague labels like “dinner” create freezer chaos within weeks. Effective labels contain four critical elements: contents, preparation date, use-by date, and reheating instructions. Write directly on freezer bags with permanent markers or use freezer-safe adhesive labels that won’t peel off during temperature changes.
Color-coding by meal type transforms freezer navigation: green for breakfasts, blue for lunches, red for dinners. This visual system helps you grab the right meal during morning rush hours and ensures proper rotation. Apply labels to both the front and top of containers so they’re visible whether stacked or side-by-side.
Create a master inventory list taped to your freezer door. Update it weekly as you add or remove items—this prevents forgotten meals from gathering dust in the back. Include portion counts so you know exactly how many servings remain without opening every container.
Follow Food-Specific Storage Timelines

Not all meal prep survives equally in the freezer. Cooked proteins maintain peak quality for 3-4 months—beyond this, flavors degrade noticeably. Consume chicken, beef, and fish dishes within 2-3 months for best results. Vegetable-based meals last longer (8-12 months), especially when blanched before freezing to preserve color and nutrients.
Grains and starches like rice and pasta freeze well for 3-6 months, though they may become slightly softer upon reheating. Cook grains slightly underdone before freezing—they’ll absorb moisture during thawing and reach perfect texture when reheated. Sauces and soups maintain quality for 3 months when properly sealed, with cream-based varieties requiring extra care to prevent separation.
Critical timeline: Discard any frozen meal prep showing significant ice crystals throughout the container—this indicates temperature fluctuations that compromise quality and safety. When in doubt, follow the “when did I make this?” rule: if you can’t remember preparing it, it’s time to toss it.
Organize Your Freezer Using FIFO Rotation
Implement the front-of-the-line rule: place new items at the back and move older items forward. This simple FIFO (first in, first out) system ensures you consume oldest meals first, eliminating the mystery containers that haunt neglected freezers. When adding new meal prep, physically shift existing items forward rather than stacking new containers on top.
Designate specific zones for breakfast, lunch, and dinner items. Clear plastic bins help maintain these categories while preventing items from migrating during freezer use. Stack flat freezer bags vertically like books on a shelf—this maximizes space while keeping contents visible.
Leave adequate space between items for proper air circulation. Overpacking restricts cold air flow, creating temperature inconsistencies that shorten storage life. Your freezer should feel comfortably full but not packed to capacity—aim for 70-80% full for optimal performance.
Thaw Meal Prep Safely Without Sacrificing Quality
Refrigerator thawing delivers the best quality results. Transfer meals to the fridge 12-24 hours before eating—this gradual process preserves texture far better than rapid thawing methods. Place containers on a plate to catch condensation and prevent cross-contamination.
Cold water thawing works when you forget to plan ahead. Submerge sealed bags in cold water, changing the water every 30 minutes to maintain safe temperatures. This method typically takes 1-3 hours depending on portion size. Never use warm water—it creates dangerous temperature zones where bacteria multiply rapidly.
Never thaw meal prep at room temperature. This unsafe practice allows the outer layers to enter the food safety danger zone while the center remains frozen. Food thawed this way develops off-flavors and poses serious health risks.
Reheat Frozen Meals for Maximum Flavor
Oven reheating works best for casseroles and baked dishes. Preheat to 325-350°F, cover with foil to prevent drying, and heat until internal temperature reaches 165°F. Frozen items need 25-50% more reheating time than thawed ones—use a food thermometer to verify doneness.
Microwave reheating requires strategic power settings. Start at 50% power for 2-3 minutes to gently thaw, then increase to full power until piping hot. Stir halfway through to eliminate cold spots. Add a splash of water to rice and grain dishes before microwaving to restore moisture lost during freezing.
Pro tip: Finish reheated meals with fresh elements that don’t freeze well—chopped herbs, citrus zest, or toasted nuts. These bright additions transform thawed meals from acceptable to restaurant-quality in seconds.
Avoid These Costly Freezer Storage Mistakes
Leaving air pockets in packaging is the #1 cause of freezer burn. Take extra time to squeeze air from bags and press plastic wrap directly against food surfaces. For containers, consider using vacuum sealing for items intended for storage beyond one month.
Overfilling your freezer disrupts air circulation, creating warm spots that shorten storage life. Leave space between items and never block internal vents. Your freezer performs best when 70-80% full—any more restricts necessary air flow.
Using improper containers creates unnecessary waste. Discard cracked containers immediately—they won’t seal properly and invite contamination. Invest in a uniform set of freezer-safe containers that stack efficiently for maximum space utilization.
Your freezer should be your meal prep ally, not a source of frustration. By implementing these specific techniques for storing meal prep in freezer conditions, you’ll enjoy fresh-tasting meals weeks after preparation while cutting food waste significantly. Start with container selection and labeling—these foundational steps create immediate improvements you’ll notice on your next meal prep day. Track your progress with a simple freezer audit every two weeks: note which methods work best for your lifestyle and adjust accordingly. Within a month, you’ll have a streamlined system that makes healthy eating effortless, even during your busiest weeks. The time you invest now in learning how to store meal prep in freezer settings correctly pays dividends every time you pull out a perfectly preserved, delicious meal ready in minutes.