How to Keep Freezer Fresh: Easy Tips
You open your freezer for ice cubes only to be greeted by a stale, unpleasant odor that taints everything from your frozen vegetables to last month’s soup. This common frustration happens to nearly every household, but it’s completely preventable with the right maintenance approach. Keeping your freezer fresh isn’t just about eliminating odors—it’s about preserving food quality, preventing freezer burn, and ensuring everything you store maintains its original flavor and texture. Without proper care, even items sealed in containers can absorb unwanted smells, turning your ice cubes into flavor carriers for last week’s fish dinner.
The good news is that maintaining a consistently fresh freezer requires no special skills or expensive equipment. With simple, regular habits focused on temperature control, proper storage, and strategic cleaning, you can transform your freezer from a potential odor trap into a reliable food preservation system. Whether you’re dealing with existing smell issues or looking to prevent future problems, these actionable steps will help you achieve a freezer that keeps your food tasting exactly as it should.
Set the Optimal Freezer Temperature
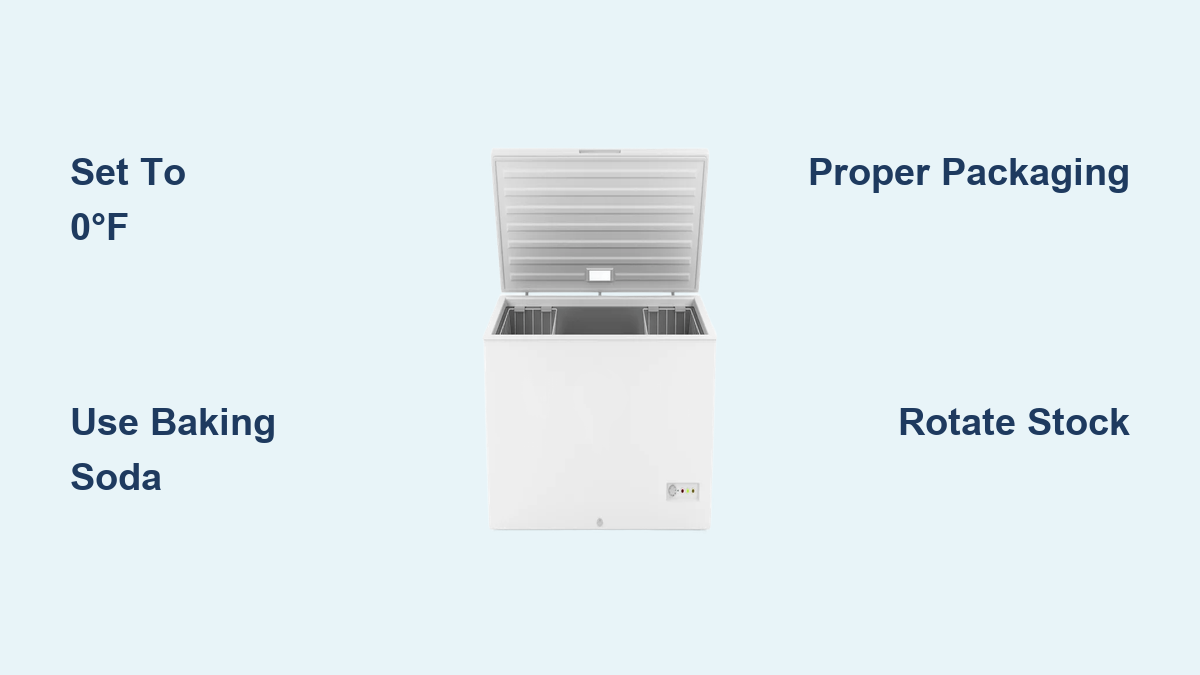
Your freezer must maintain 0°F (-18°C) or below to lock in freshness and prevent quality degradation. This specific temperature isn’t arbitrary—it’s the point where water in food crystallizes completely, preserving cellular structure and preventing the slow deterioration that leads to freezer burn. Many people mistakenly assume their freezer is maintaining proper temperature simply because it’s running, but thermostats can drift significantly over time, especially in older units.
Place a standalone freezer thermometer in the center of your freezer where air circulates freely—not tucked in a corner or behind food. Check it weekly for the first month to establish a baseline, then monthly thereafter. If your reading exceeds 0°F, adjust the temperature control one setting lower and recheck after 24 hours. Avoid overcompensating by setting it too low, as running your freezer unnecessarily cold wastes energy without improving food preservation.
How you handle the freezer door directly impacts temperature stability. Every time you open the door, warm, moist air rushes in, forcing the compressor to work harder to restore the proper temperature. Before opening the door, mentally review what you need to retrieve. Gather multiple items in one opening rather than making several trips. Return frozen items within 30 seconds—any longer and they begin warming, and repeated partial thawing destroys cellular structure, leading to mushy textures when eventually cooked.
Prevent and Eliminate Freezer Odors

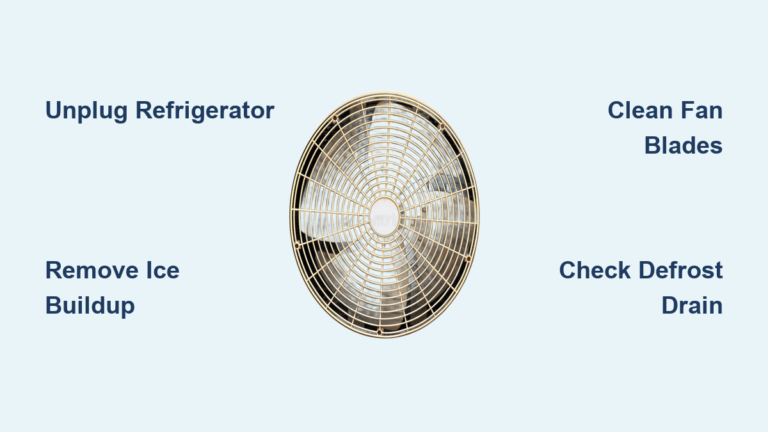
Smelly ice represents one of the most frustrating freezer problems because it affects everything from your morning coffee to evening cocktails. This happens when ice sits in your icemaker or bin for weeks, absorbing odors from pungent foods stored nearby. Older refrigerators with single cooling systems are especially vulnerable, as cold air circulates between compartments, carrying refrigerator odors directly into your ice supply.
When you discover smelly ice, empty the entire bin—don’t just remove the obviously smelly cubes. Even ice that doesn’t immediately smell unpleasant has likely absorbed odors. Clean the bin with a solution of 2 tablespoons baking soda per quart of warm water, which neutralizes odors without chemical residue. For stubborn smells, let the solution sit for 15 minutes before wiping clean.
Strategic Odor Prevention Tactics
Place an open box of baking soda on the top shelf of your freezer, replacing it every three months for maximum effectiveness. If you have an icemaker, position baking soda directly underneath it. For ice cube trays, choose hard plastic over silicone, which tends to absorb and retain odors. The Rubbermaid Ice Cube Tray ($3) resists odor absorption well, while the OXO Ice Cube Tray with lid ($10) provides superior protection by sealing ice away from odors while preventing freezer burn on exposed cubes.
Store Food Properly for Maximum Freshness
Overcrowding your freezer prevents proper air circulation, causing uneven freezing and potential quality issues. Leave at least 1-2 inches of space between items to allow cold air to circulate freely around all surfaces. This spacing ensures consistent temperature distribution and prevents warm spots where food could partially thaw.
Effective Portioning and Packaging Techniques
Always portion food into small containers before freezing—smaller masses freeze faster than large ones, preserving cellular structure for better texture when thawed. Shallow containers work best because they freeze food more quickly and stack efficiently. When using plastic bags, remove as much air as possible before sealing, as air exposure contributes to freezer burn and odor absorption.
Label every item with contents and date using waterproof markers. Rotate your frozen goods using the “first in, first out” method—place new items behind older ones so you’ll use the oldest items first. This simple practice prevents forgotten items from developing freezer burn or exceeding their storage life.
Choose Foods That Freeze Well for Better Results
Freezing works best when you start with fresh, high-quality produce at peak ripeness. Blanch vegetables like broccoli and green beans before freezing to preserve color, texture, and nutrients—immerse them in boiling water for 2-3 minutes, then immediately plunge into ice water. Freeze fruits like berries on a baking sheet before transferring to containers to prevent clumping.
Smart Freezer Inventory Management
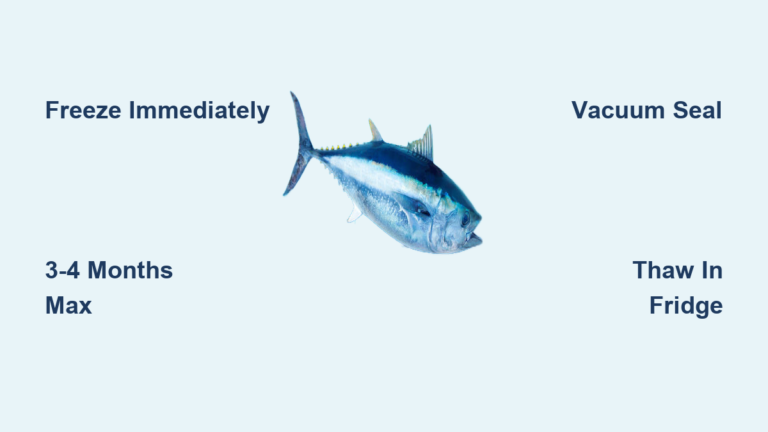
Batch cooking and freezing meal portions saves time and reduces waste. Prepare large quantities of soups, stews, and casseroles, then divide into single-serving containers. This approach ensures you always have homemade meals available while maintaining freshness—properly frozen meals stay at peak quality for 3-4 months. For proteins, freeze meat, poultry, and seafood in meal-sized portions with all air removed from packaging to prevent freezer burn.
Thaw Frozen Food Correctly to Maintain Quality
.png)
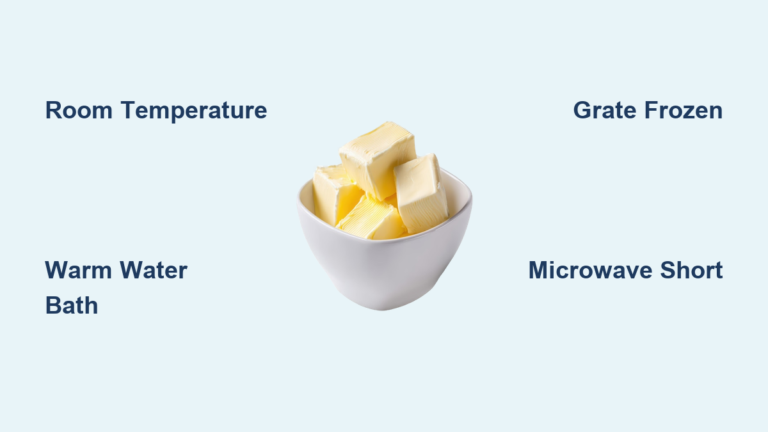
The refrigerator method remains the safest thawing technique—transfer frozen food to the refrigerator 24 hours before use for large items like roasts, or 8-12 hours for smaller portions. This slow thawing maintains food at safe temperatures throughout the process. Plan ahead, as a 4-pound roast requires approximately 24 hours to thaw completely in the refrigerator.
For quicker thawing, submerge sealed food in cold water, changing the water every 30 minutes to maintain a safe temperature below 40°F. Small packages (about 1 pound) thaw in 1 hour or less using this method. Microwave thawing works for immediate cooking needs but requires food to go directly from microwave to stove—never refreeze microwave-thawed food.
Know What Not to Freeze to Avoid Disappointment
Lettuce and salad greens become limp and watery when frozen due to their high water content—these items are best consumed fresh. Mayonnaise separates and becomes watery when frozen, creating an unpleasant texture that mixing cannot restore. Cream-based sauces undergo similar separation, with dairy components breaking down into a grainy consistency.
High-water-content vegetables like cucumbers, tomatoes, and bell peppers become mushy when frozen but can still be used in cooked dishes where texture matters less. Eggs in their shells should never be frozen, as expansion cracks the shell, but separated egg whites freeze successfully for up to 12 months for baking needs.
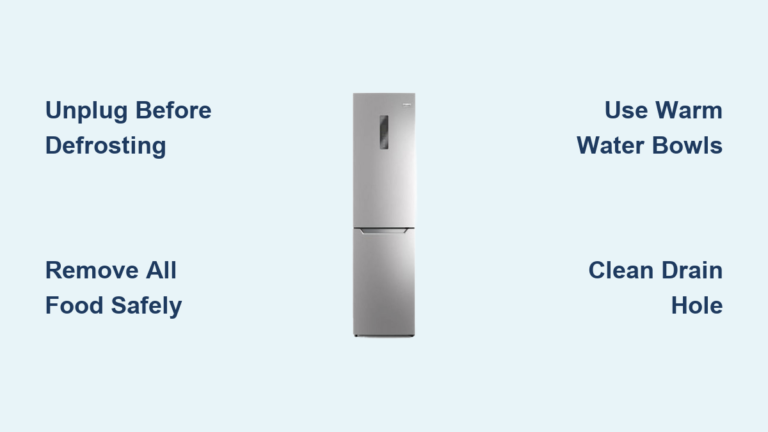
Maintain Your Freezer Long-Term for Consistent Performance
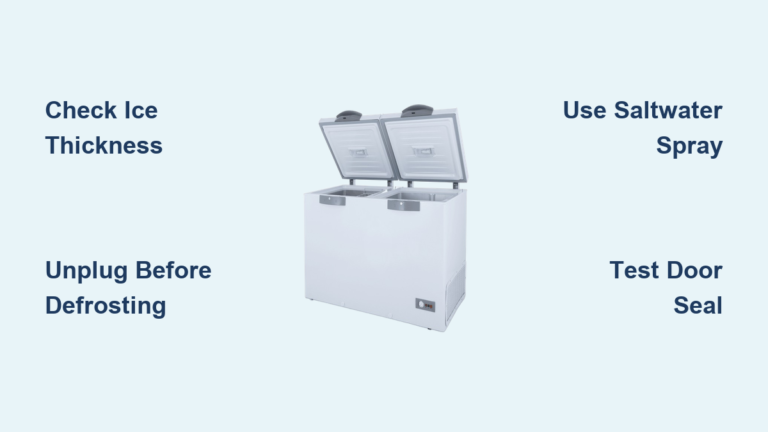
Schedule a thorough freezer cleaning every 2-3 months: remove all items, unplug the unit, and wipe interior surfaces with a baking soda solution. Pay special attention to corners and crevices where spills accumulate. While empty, check door seals by performing the paper test—close the door on a dollar bill and try to pull it out. If it slides out easily, the seal may be compromised.
Proactive Freezer Maintenance Checklist
- Replace baking soda every 3 months
- Check temperature weekly with standalone thermometer
- Remove items showing freezer burn immediately
- Clean spills as they happen to prevent odor buildup
- Leave space between items for proper air circulation
- Rotate stock using “first in, first out” method
When you discover freezer-burned food, don’t just push it to the back—remove it immediately. These degraded items not only taste unpleasant but can also contaminate surrounding foods with off-flavors. By implementing these temperature management, storage practices, and maintenance routines, you’ll create a freezer environment that preserves your food’s original flavor and quality for months. The result? Ice that tastes clean, vegetables that retain their crispness, and meals that taste as fresh as the day you froze them.