How to Thaw Frozen Dough
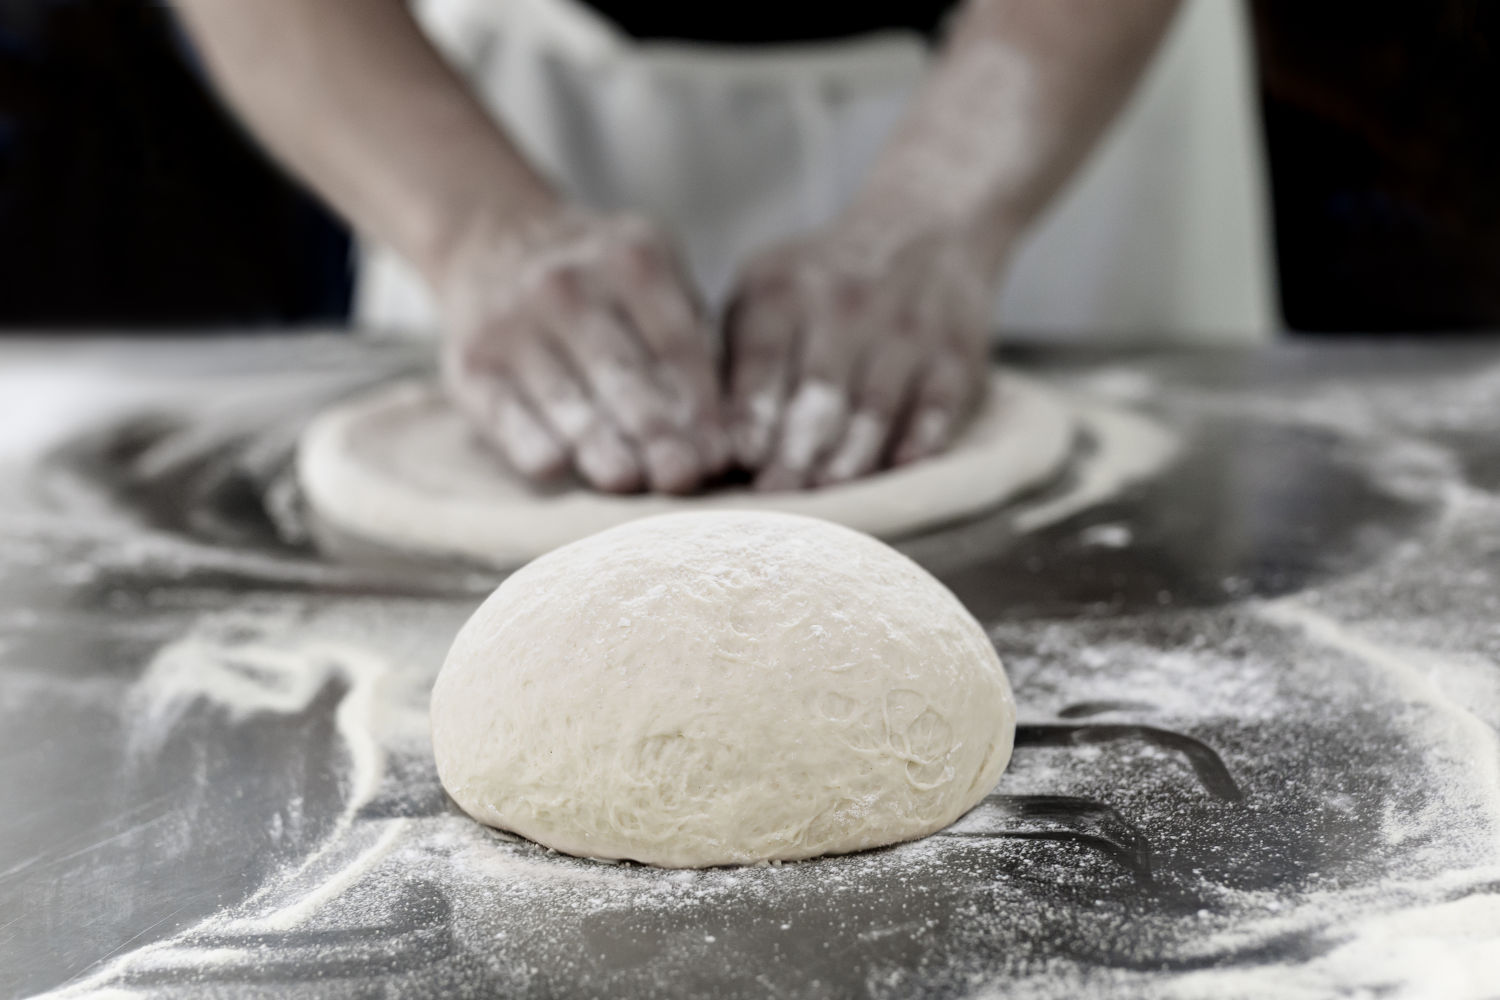
Nothing ruins baking plans faster than reaching for frozen pizza dough only to discover it’s still rock solid when you need it. Whether you’re preparing bread, pizza, or other yeast-based treats, knowing how to thaw dough from freezer properly transforms frozen convenience into bakery-quality results. Improper thawing leads to gummy texture, poor rise, or dough that tears when you try to shape it—wasting precious ingredients and time. This guide covers every method from slow refrigerator thawing to rapid microwave defrosting, helping you choose the right approach for your timeline while preserving texture, flavor, and rising power. You’ll learn exactly when to use each technique and avoid common mistakes that sabotage your final product.
The method you select depends primarily on your available time and quality priorities. Slower methods produce results closest to freshly made dough, while faster techniques sacrifice some quality for convenience. Regardless of your chosen approach, three principles remain constant: protect the dough’s surface from drying out, avoid temperatures that kill yeast, and allow proper rest time before shaping. By mastering these fundamentals and understanding the specific techniques below, you’ll never be stuck without ready-to-bake dough—even on short notice.
Choose Your Thawing Method Based on Time Available
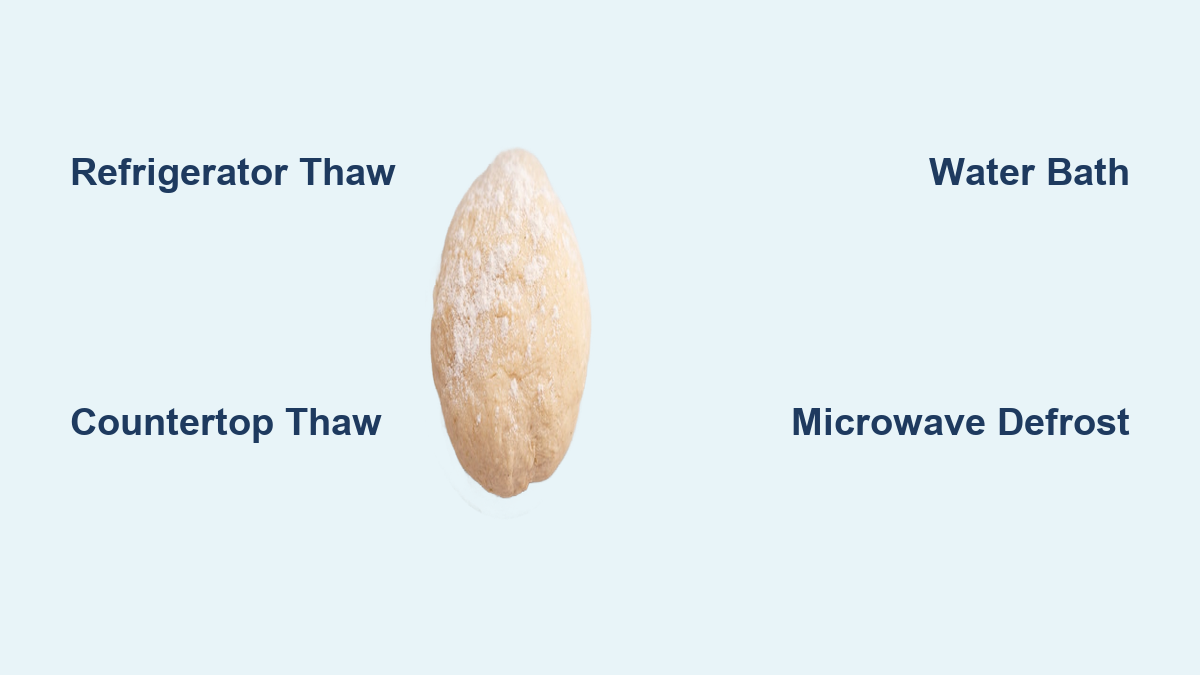
Your timeline determines the best approach for how to thaw dough from freezer effectively. Each technique offers a different balance between speed and final product quality, and understanding these tradeoffs helps you make informed decisions. The four primary methods—refrigerator, countertop, water bath, and microwave—each excel in specific scenarios, and many experienced bakers keep multiple techniques in their repertoire for different situations.
For planned baking sessions where quality matters most, refrigerator thawing remains the gold standard. This slow, controlled process takes 8 to 12 hours but produces results virtually indistinguishable from fresh dough. Simply transfer frozen dough from the freezer to the refrigerator the night before, and wake up to perfectly thawed, partially risen dough ready for its final proof. The extended cold exposure actually enhances flavor development in many dough types, particularly those with longer fermentation periods.
When you need dough within 1-2 hours, countertop thawing offers a reasonable middle ground. Place frozen dough on your work surface, cover it completely with plastic wrap or a clean tea towel, and check periodically until thawed through. This method allows some rising to occur naturally as the dough warms gradually. For truly urgent situations, water bath and microwave methods can have dough ready in 30 minutes or less, though they require more attention to prevent over-warming or uneven thawing.
Thaw Pizza Dough in Refrigerator Overnight
The refrigerator method represents the safest and most reliable approach for how to thaw dough from freezer properly. This slow process takes place over 8 to 12 hours, gradually bringing the dough from frozen state to refrigerator temperature without risk of partial cooking or uneven thawing. To execute this method correctly:
- Ensure your dough is properly wrapped in airtight containers or ziplock bags with all air pressed out
- Place the sealed dough on a tray to catch any condensation
- Transfer it to the refrigerator the night before you plan to use it
- Remove from refrigerator approximately 6 hours before baking time
- Loosen lids or transfer dough balls to a lightly floured tray for final rise
Once thawed, the dough needs additional time to come to room temperature and complete its rise before shaping. Properly thawed dough should double in size and feel airy and light when gently pressed. This final rest period is crucial—shaping cold dough that hasn’t finished rising leads to dense, gummy texture. One advantage of this method: if your plans change, thawed dough keeps well in the refrigerator for 1-2 days, continuing to develop flavor during this extended cold fermentation.
Speed Up Thawing with Countertop Method
When refrigerator thawing isn’t an option, countertop thawing typically completes the process in 1-2 hours depending on kitchen temperature. This technique works well when you decide midday that you want fresh bread for dinner. Follow these steps for successful countertop thawing:
- Place frozen dough directly on a clean work surface (wooden board or marble works well)
- Cover completely with plastic wrap or a clean tea towel to prevent drying
- For faster results, flatten the frozen dough slightly into a disc shape
- Consider placing dough on a metal sheet pan which conducts heat more efficiently
- Check periodically until dough is completely thawed with no ice crystals
Never attempt to shape dough that still contains ice crystals in the center, as this causes tearing and uneven shaping. Once thawed, allow dough to rest at room temperature for about 30 additional minutes before shaping. The total time from freezer to shaping typically runs 90 minutes to 2 hours for standard dough portions. If dough feels sticky during thawing, handle it gently with plenty of semolina or flour to prevent tearing.
Accelerate Thawing with Water Bath Technique

Water bath thawing harnesses water’s superior heat-conducting properties to dramatically accelerate defrosting, completing the process in 30 minutes to an hour. This method works significantly faster than countertop thawing because water conducts heat approximately 25 times more efficiently than air. To use this technique safely:
- Place frozen dough in its sealed container or ziplock bag into a bowl of warm water
- Maintain water temperature between 100°F and 115°F (critical to avoid killing yeast)
- Press or squish the sealed bag periodically to expose frozen center to warm water
- Change water if it cools significantly to maintain consistent warmth
- Smaller portions thaw in 15-20 minutes; larger amounts may require 45-60 minutes
Remember the critical temperature threshold: 130°F (54°C) kills yeast entirely. For more precise control, some bakers use a sous vide circulator set to 100°F, which produces excellent results in about one hour. A useful guideline is that cool water submersion thaws at roughly 15 minutes per pound of dough, helping you plan meal preparation around the thawing schedule.
Microwave Defrosting for Emergency Situations
The microwave offers the fastest method for how to thaw dough from freezer, capable of preparing dough in as little as 2 minutes for small portions. While this sacrifices some quality, it’s invaluable for truly time-pressed situations. Follow these steps to avoid cooking your dough:
- Place frozen dough in a microwave-safe container
- Select the defrost setting or lowest possible power setting
- Heat in short 10-second blasts, rotating and flipping between blasts
- Stop when dough is completely thawed with no ice crystals remaining
- Cover with a damp hot towel (soaked in hot water and wrung out) for final rest
Quick-thawed dough requires special handling because its temperature may not be ideal for shaping. If dough feels too warm and sticky, handle it gently with extra flour. If it remains cooler than ideal, it will stretch slowly and spring back resistively—continue working patiently until it relaxes. This technique works best for small portions; never attempt to thaw more than two dough balls at once in the microwave.
Follow Critical Temperature Safety Guidelines
Understanding thermal limits is essential for successful dough thawing. Yeast becomes dormant in the freezer and remains barely active in the refrigerator, needing gradual warming to become active again. Respect these temperature thresholds:
- Thermal death point for yeast: 130°F (54°C) – never exceed this temperature
- Optimal yeast activity temperature: 85.5°F (29.7°C)
- Safe thawing range: Below 115°F provides comfortable safety margin
- Room temperature thawing guideline: Approximately 1 hour per pound of dough
Even after the center reaches room temperature, allow dough to rest at least 30 minutes before shaping. This rest period lets gluten relax after its frozen state, making dough easier to stretch without springing back resistively. Rushing this step often leads to frustrating shaping sessions where dough refuses to hold its form.
Handle Thawed Dough Correctly for Best Results
Once dough has thawed completely, proper handling ensures professional-quality results. Always follow these steps:
- Allow thawed dough to rest at room temperature for at least 30 minutes before shaping
- Use flour or semolina generously on work surface, hands, and tools
- For pizza crusts, aim for about ¼ inch thickness using a rolling pin for even results
- Handle dough gently to prevent degassing the aeration achieved during fermentation
- If dough springs back resistively, give it more rest time rather than forcing it
The quality of thawed dough depends heavily on how it was frozen originally. Properly wrapped dough in airtight containers with all air pressed out thaws with minimal moisture loss. Always label frozen dough with the date—dough stored beyond three months begins losing flavor and texture quality. When using older frozen dough, allow extra thawing time and expect slightly reduced rising power.
Adjust Technique for Different Dough Types
Different dough types respond to thawing differently. Pizza dough (leaner, with just flour, water, yeast, and salt) is relatively forgiving of various thawing methods. Enriched bread doughs like challah or brioche containing eggs and butter require modified handling:
- Pizza dough: Works well with countertop, water bath, and microwave techniques
- Enriched doughs: Benefit most from refrigerator thawing for optimal flavor development
- High-hydration doughs (above 75% water): Require gentle handling and extra flour during shaping
- Lean doughs: Can tolerate slightly faster thawing methods than enriched varieties
Regardless of dough type, the fundamental principles remain consistent: thaw gradually when possible, protect the surface from drying, allow proper rest before shaping, and never work with dough that still contains ice crystals. Following these guidelines ensures successful results across all dough varieties.