How to Defrost Hisense Freezer: Quick Steps
Ice buildup in your Hisense freezer gradually chokes available storage space and forces the appliance to work significantly harder to maintain proper temperatures. When frost layers exceed a quarter-inch thickness, defrosting becomes essential to restore optimal performance and prevent long-term damage. This guide provides the exact steps to safely defrost your Hisense freezer, whether you own the popular FC72D6BWE model or another unit from their chest freezer line. By following these procedures, you’ll eliminate ice accumulation efficiently while protecting your appliance’s integrity and extending its operational life.
Most Hisense chest freezers require complete defrosting only when ice buildup becomes visible and problematic—typically every 6-12 months depending on usage. The entire process usually completes within 24 hours using natural melting methods, requiring minimal tools you likely already have at home. Proper defrosting not only recovers valuable storage space but also improves energy efficiency by up to 30% as the compressor no longer struggles against insulating ice layers.
Identify Critical Frost Buildup Signs

Visible ice accumulation exceeding one-quarter inch on interior walls represents the most obvious indicator that your Hisense freezer needs defrosting. However, several less apparent symptoms also signal trouble. If your frozen items feel softer than usual or fail to freeze solid within 24 hours, ice buildup is likely insulating the cooling elements. Listen for the compressor running longer cycles than normal—this increased runtime directly correlates to reduced efficiency caused by frost layers.
Pay attention to door operation issues, as ice often accumulates around sealing edges. If the lid feels difficult to close completely or pops open slightly after closing, ice interference is probably the culprit. For Hisense chest freezers around 5-6 years old, this problem becomes more common as door seals naturally degrade over time, allowing additional moisture to enter during each opening. Establish a monthly visual inspection routine to catch frost buildup early before it reaches problematic levels.
Collect Defrosting Essentials Before Starting

Prepare all necessary supplies before unplugging your freezer to avoid mid-process interruptions. Gather multiple clean towels—both large bath-sized for floor protection and smaller hand towels for detailed interior drying. Position a shallow pan beneath the drain opening to catch meltwater, and keep a large bucket nearby for overflow collection if significant ice accumulation exists.
Have sponges and two cleaning solutions ready: a mild dish soap mixture for general cleaning and a baking soda solution (two tablespoons per quart of water) for odor elimination. For Hisense models with drain systems like the FC72D6BWE, locate the drain plug and ensure you have appropriate drainage tools. If original drain components are missing, universal drain kits from home improvement stores provide compatible alternatives—just bring your model number when purchasing to ensure proper fit.
Complete Electrical and Food Preparation
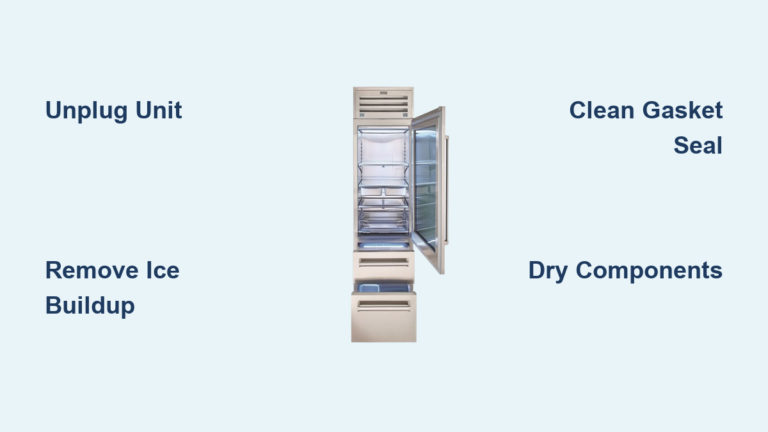
Unplug your Hisense freezer from the wall outlet before beginning any defrosting steps—this critical safety measure prevents electrical hazards and allows ice to melt without the refrigeration system counteracting your efforts. For chest models, the power cord typically extends from the rear, so ensure you have adequate space to access and disconnect it safely.
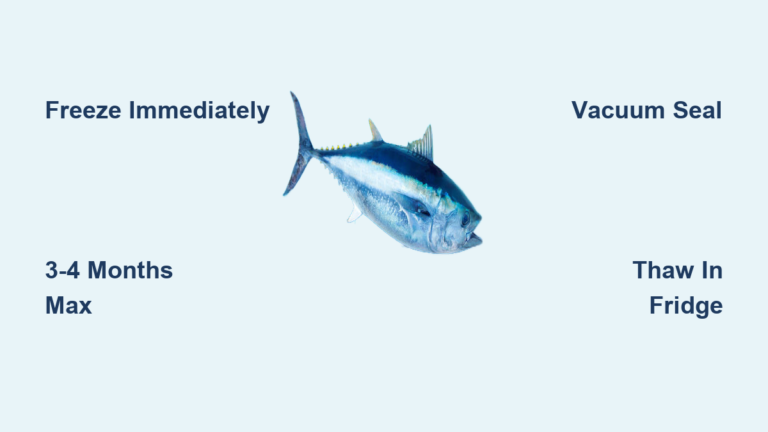
Remove all food contents and transfer them to insulated coolers packed with ice packs to maintain safe temperatures during the defrosting period. This step prevents food spoilage while giving you full access to all interior surfaces. Take this opportunity to check expiration dates and discard any items that have exceeded their safe storage time. With the freezer completely empty and unplugged, you’re properly prepared to begin the actual defrosting process without interruptions.
Execute Natural Ice Melting Process
The safest and most effective defrosting method involves simply opening the lid and allowing room temperature to gradually melt accumulated ice. This passive approach requires no special tools, creates zero risk of damage, and works reliably for all Hisense chest freezer models. Open the freezer lid fully to maximize warm air circulation throughout the interior compartment.
For the Hisense FC72D6BWE and similar models, natural melting typically completes within 24 hours, though exact timing depends on ice thickness and ambient room temperature. Warmer environments accelerate melting significantly—rooms above 70°F will defrost your freezer much faster than cooler spaces. During this period, keep the lid propped open with a wooden spoon or similar non-metal object to maintain airflow and prevent meltwater from refreezing on cold surfaces. Patience is key here—rushing the process often leads to incomplete defrosting or water management issues.
Address Stubborn Ice Deposits Safely
While natural melting works effectively, some situations require faster ice removal. If mechanical assistance becomes necessary, use only plastic or wooden tools—never metal implements or sharp objects that could puncture refrigerant lines and cause permanent damage. Gentle scraping with plastic utensils combined with patient melting allows ice removal without compromising your warranty.
For particularly thick ice deposits resistant to initial removal, place bowls of hot water inside the freezer compartment. The steam generated significantly reduces ice adhesion to walls and accelerates the melting process. Replace the hot water periodically as it cools, continuing until all ice has been eliminated. This steam method works faster than relying solely on ambient temperature while remaining safer than aggressive mechanical scraping that could damage interior surfaces.
Perform Thorough Interior Cleaning
After all ice has melted, take time to clean interior surfaces before restarting the freezer. Wipe down all walls, the floor, and the interior lid surface using a solution of mild dish soap and warm water. For stubborn residue or lingering odors, the baking soda solution provides effective neutralization without introducing harsh chemicals near food storage areas.
Complete drying is absolutely essential before plugging the freezer back in. Any residual moisture will immediately begin refreezing on cold surfaces, creating new ice buildup and partially undoing your defrosting work. Use dry cloths to wipe all surfaces thoroughly, then leave the lid open for an additional hour to ensure complete air drying. This investment in proper drying extends the time before your next defrosting cycle and ensures optimal performance from the restart.
Optimize Drain System Functionality

Many Hisense chest freezers include a drain hole at the base that simplifies water management during defrosting. Locate the drain plug—typically found at the front or side bottom of the exterior cabinet—and carefully unscrew or pull it free. Position a shallow pan beneath the drain opening before removal to catch escaping water.
For the FC72D6BWE model and similar units, the drain hole allows controlled water flow that makes the defrosting process much cleaner. As ice continues melting, water will flow through the drain, requiring periodic pan emptying. Once ice removal is complete and water flow stops, replace the drain plug after confirming the interior is completely dry. If original drain components are missing, universal drain kits from home improvement retailers provide compatible alternatives—just provide your complete model number when purchasing.
Properly Restart Your Defrosting-Freezer
After completing cleaning and drying, plug the freezer into the wall outlet and close the lid, allowing the unit to reach proper operating temperature before restocking food. This cooling period typically takes 4-6 hours, during which the compressor runs continuously to bring internal temperatures down to safe levels.
Once the freezer reaches approximately 0°F throughout, you can return food items to the compartment. Organize contents efficiently during restocking to maintain proper cold air circulation—avoid overpacking, as restricted airflow leads to inconsistent cooling and increased frost formation. With the freezer running properly again, you’ll notice improved performance, quieter operation, and potentially lower energy consumption compared to its frosted state.
Implement Effective Frost Prevention Strategies
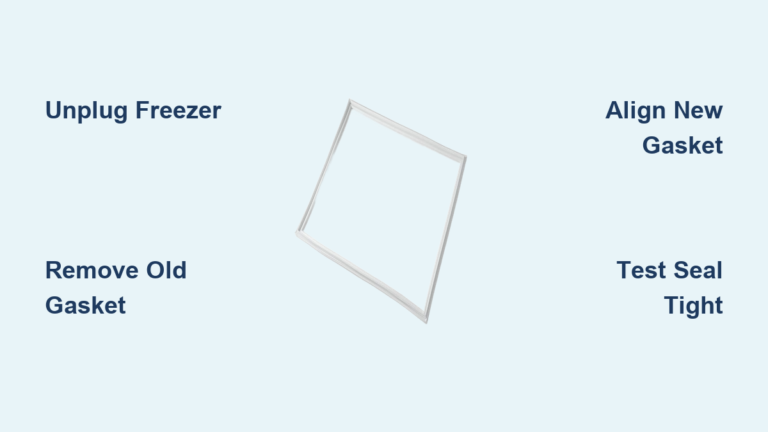
Proactive measures significantly reduce how often you’ll need to defrost your Hisense freezer. Inspect the door seal monthly for cracks, tears, or deformation that might compromise its sealing function. Clean the gasket with mild soap and water to remove debris that prevents proper closure, and replace the seal if damage is significant.
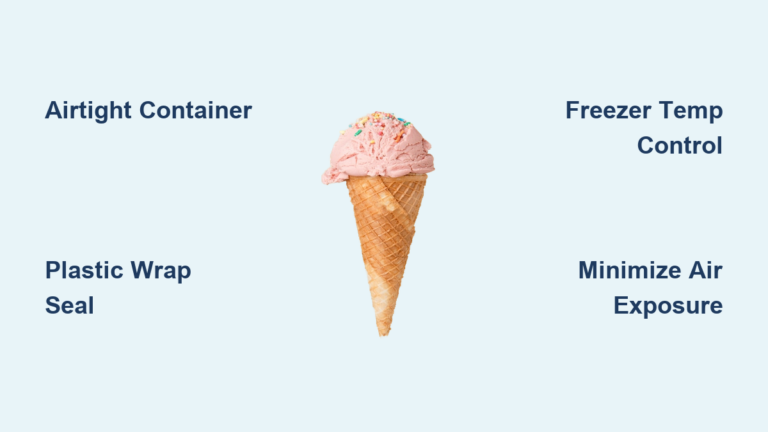
Minimize door opening frequency and duration to reduce warm, humid air entering the freezer. Plan your freezer access to retrieve multiple items during single openings rather than making repeated trips. Each opening allows moisture-laden air to enter, which subsequently freezes on cold interior surfaces. This simple habit adjustment substantially slows frost accumulation over time.
Troubleshoot Common Defrosting Issues
If meltwater fails to drain properly, the drain passage may be partially clogged with debris or ice. For Hisense models like the FC72D6BWE, clear the drain using a soft, flexible object like a bottle brush. Never use rigid objects that might damage the drain system. Warm water poured into the drain hole can melt ice blockages, while a mixture of warm water and mild dish soap helps dissolve persistent residue.
When ice accumulates more rapidly than expected despite prevention efforts, investigate door seal integrity using the paper test. Close the door on a dollar bill at various points around the seal, then attempt to pull the bill out. Significant resistance indicates proper sealing; easy removal suggests the seal requires adjustment or replacement.
Maximize Long-Term Freezer Performance
Regular defrosting maintenance significantly extends your Hisense freezer’s operational life and efficiency. Each defrosting cycle removes insulating ice layers that force the compressor to work harder, consuming up to 30% more electricity to maintain desired temperatures. A properly maintained freezer operates more efficiently, experiences less mechanical stress, and typically provides years of reliable service beyond its expected lifespan.
Establish a defrosting schedule based on your observed ice accumulation patterns rather than arbitrary timelines. Most Hisense chest freezers require defrosting every 6-12 months with proper maintenance, but units in humid environments or those opened frequently may need attention more often. By following these procedures consistently, you’ll maximize your freezer’s capabilities while minimizing the hassle of future defrosting cycles.