Electrolux Fridge Not Cooling: Quick Fix Guide
Your Electrolux fridge freezer has stopped cooling, and now your food is at risk. This frustrating situation happens more often than you might think, and the causes range from simple fixes you can handle yourself to more complex repairs requiring professional assistance. Before you panic or start shopping for a replacement, work through this comprehensive troubleshooting guide to identify the problem and restore proper cooling to your appliance.
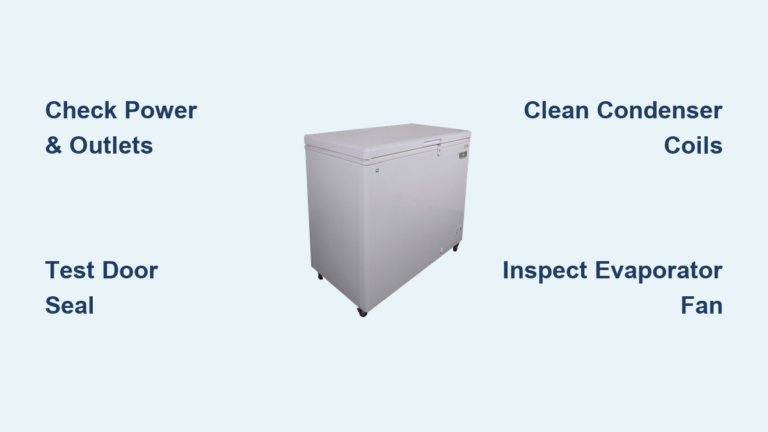
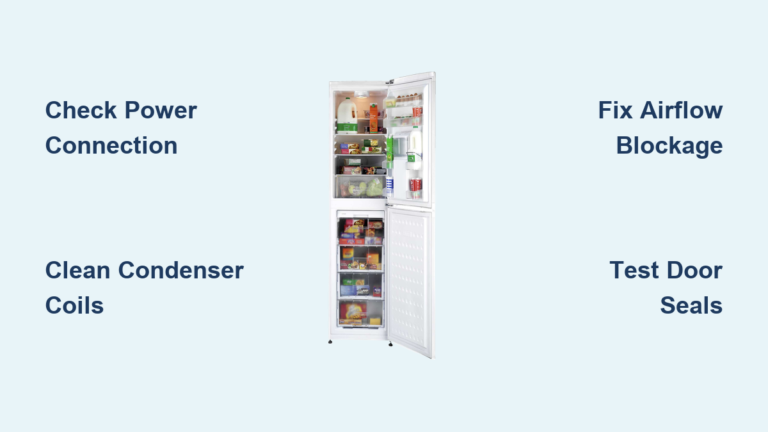
A fridge freezer that fails to maintain temperature typically signals one of several common issues: power supply problems, thermostat malfunctions, blocked airflow, dirty condenser coils, or component failures like the compressor or evaporator fan. The good news is that many of these problems have straightforward solutions you can diagnose and often fix without calling a technician. This guide walks you through each potential cause, providing clear diagnostic steps so you can pinpoint exactly what’s wrong with your Electrolux refrigerator.
Confirm Power Connection and Electrical Supply
Before diving into complex repairs, verify your Electrolux refrigerator is receiving adequate power—this simple check resolves many “not cooling” issues immediately.
Check Outlet Functionality and Cord Integrity
Unplug your Electrolux fridge freezer and inspect the power cord for visible damage like fraying, cuts, or melted sections near the plug. Damaged cords create dangerous electrical hazards and must be replaced immediately. Plug a different appliance like a lamp or phone charger into the same outlet to verify power is reaching the receptacle. If the test device doesn’t work, check your home’s circuit breaker panel for a tripped switch controlling that circuit.
For models with hardwired electrical connections (common in newer installations), verify the circuit breaker hasn’t tripped and the wiring connections at the terminal block remain secure. Use a multimeter to test for proper voltage (120V for standard US installations) at the outlet or terminal block. If you detect voltage but your refrigerator still doesn’t operate, the issue lies within the appliance itself rather than your home’s electrical system.
Test Internal Power Distribution
Many Electrolux models feature an internal fuse that protects the control board and cooling components. Locate this fuse—typically found near the control board behind a panel inside the refrigerator compartment or in the machine compartment at the back of the unit. Use a multimeter to test for continuity across the fuse terminals. A blown fuse shows infinite resistance and requires replacement with an identical model-specific part.
Diagnose Temperature Control System Failures
Faulty temperature controls cause more cooling problems than most homeowners realize, especially in Electrolux models with digital control boards that can malfunction without obvious symptoms.
Test Thermostat Response and Calibration
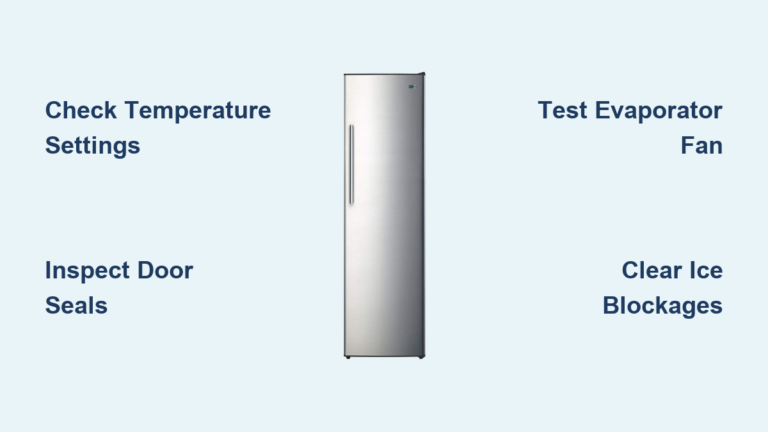
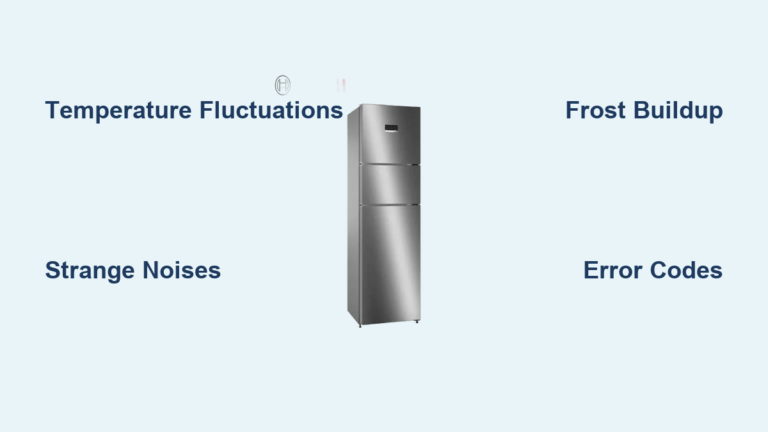
With your Electrolux refrigerator running, adjust the temperature setting from the warmest to coldest position and listen for the compressor to cycle on within 30 seconds. No response indicates a thermostat failure. For digital models, check the display for error codes that might reveal temperature sensor issues—common codes include E1 (fridge sensor failure) or E2 (freezer sensor failure).
Remove the temperature control knob (if applicable) and inspect the thermostat shaft for smooth rotation. Sticky or gritty movement prevents proper temperature regulation. Use a multimeter to test for continuity between thermostat terminals as you adjust the temperature setting. A functioning thermostat shows changing resistance values corresponding to different temperature settings.
Inspect Temperature Sensors and Wiring
Locate both refrigerator and freezer compartment sensors—typically small cylindrical components clipped to the interior walls near air vents. Gently disconnect the sensor wiring harness and test with a multimeter set to measure resistance. At room temperature, functional sensors should read between 5k-15k ohms, with freezer sensors showing slightly higher resistance than fridge sensors.
Examine sensor wiring for damage, especially where wires pass through door hinges or near moving parts. Pinched or frayed wires cause intermittent temperature readings that confuse the control system. Repair damaged wiring with electrical tape or replace entire sensor assemblies if connections are compromised.
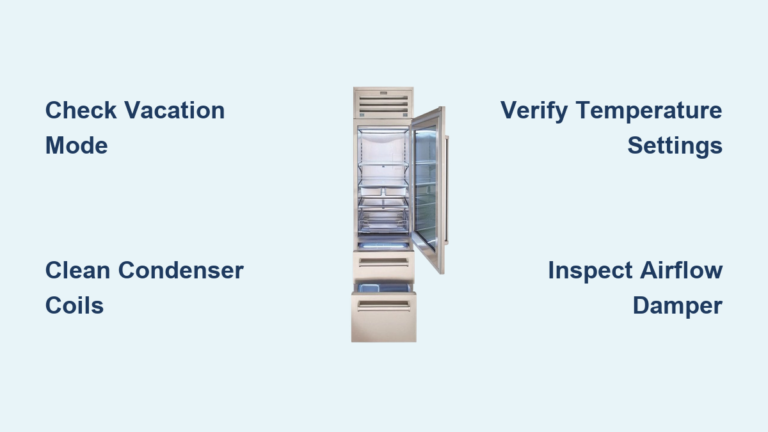
Clean Condenser Coils and Improve Airflow

Dirty condenser coils are the second most common cause of Electrolux fridge freezer cooling problems after power supply issues, yet many homeowners never consider this simple maintenance task.
Access and Clean Bottom-Mounted Coils
Most modern Electrolux models position condenser coils along the bottom front behind a removable kickplate. Unplug the refrigerator and remove the kickplate by either unscrewing mounting screws or pressing release tabs depending on your specific model. Use a soft-bristle coil cleaning brush to gently remove dust and pet hair from the coil fins, working from top to bottom to avoid packing debris deeper.
For stubborn buildup, combine brushing with a vacuum cleaner’s brush attachment to capture dislodged particles. Never use compressed air on bottom-mounted coils as this forces debris further into the cabinet. After cleaning, replace the kickplate and ensure at least two inches of clearance remains between the refrigerator and wall for proper airflow.
Verify Evaporator Fan Operation in Freezer Compartment
The evaporator fan circulates cold air between freezer and refrigerator sections—when this fan fails, your Electrolux fridge freezer develops uneven cooling or complete cooling failure.
Diagnose Fan Motor and Obstruction Issues
Open the freezer door while the compressor is running and listen for the characteristic hum of the evaporator fan. No sound indicates either fan motor failure or ice blockage preventing rotation. Remove the interior panel covering the evaporator coils (usually held by 1/4″ hex screws) to inspect for ice accumulation.
If ice blocks the fan blades, perform a manual defrost by unplugging the refrigerator, removing all food items, and placing towels to catch meltwater. Allow 4-6 hours for complete thawing before reassembling. Persistent ice buildup after defrosting signals a defrost system problem requiring further diagnosis of the heater, thermostat, or timer components.
Check Defrost System Components for Ice Buildup
A malfunctioning defrost system causes progressive ice accumulation on evaporator coils until airflow stops completely—a common cause of Electrolux fridge freezer not cooling issues that develop gradually.
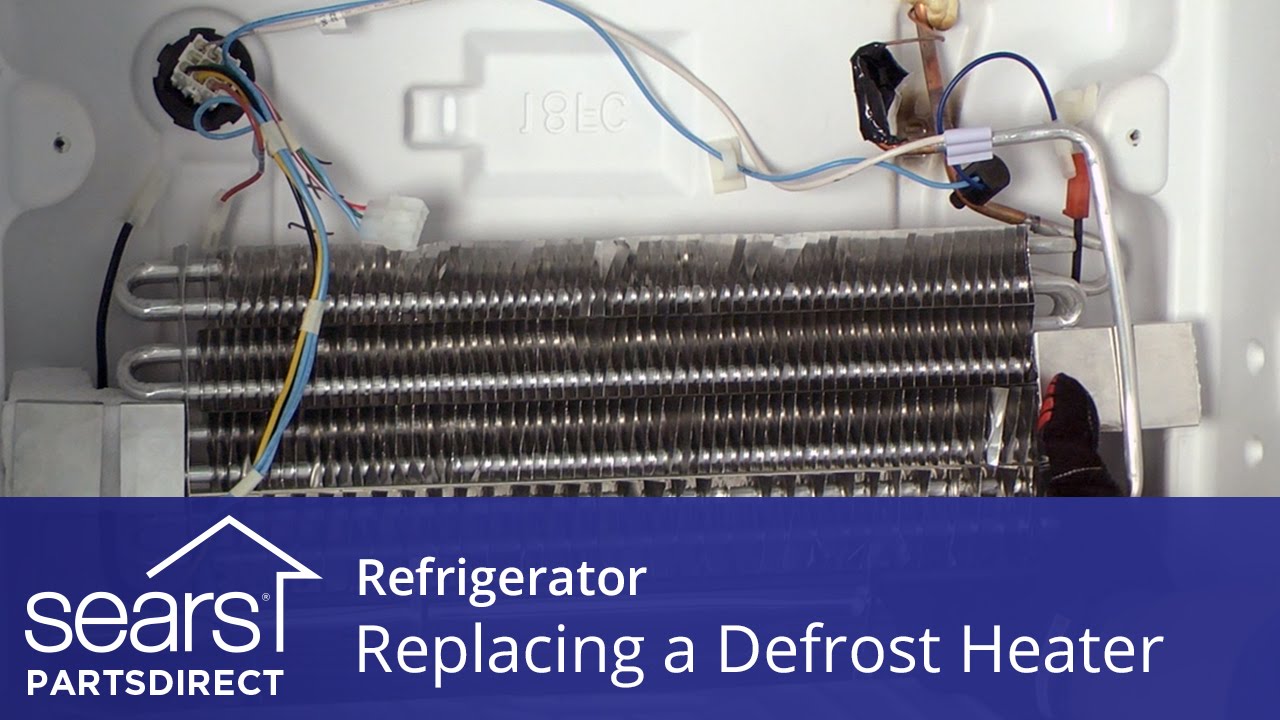
Test Defrost Heater and Thermostat
After removing the evaporator cover panel, locate the defrost heater (a thin metal tube beneath the coils) and thermostat (a small cylindrical component clipped to the coil). Use a multimeter to test the heater for continuity—it should show low resistance (20-50 ohms). Infinite resistance indicates a burned-out heater requiring replacement.
Test the defrost thermostat by warming it with your hands while measuring resistance. A functional thermostat shows infinite resistance when cold but continuity when warmed to room temperature. No continuity when warm means the thermostat has failed in the open position, preventing the defrost heater from ever activating.
Assess Compressor and Starting Components
When other systems check out but your Electrolux fridge freezer still isn’t cooling, the compressor or its supporting components may be failing—though true compressor failures are less common than many assume.
Listen for Compressor Cycling Patterns
Stand near the back of your refrigerator during a cooling cycle and listen for the distinctive hum of the compressor. A healthy compressor runs steadily for 15-20 minutes then shuts off for 10-15 minutes in regular cycles. Continuous running suggests thermostat or airflow problems, while clicking sounds followed by shutdown indicate starting component failure.
If you hear rapid clicking (every 2-3 seconds) without the compressor ever starting, the start relay or overload protector has likely failed. These components work together to provide the initial electrical boost the compressor needs to start. Unplug the refrigerator and remove the start relay (a small cube-shaped component plugged onto the compressor) for visual inspection and testing.
When to Seek Professional Repair Services
Some Electrolux fridge freezer cooling problems require specialized tools, refrigerant handling certification, or electrical expertise beyond safe DIY capabilities.
Recognize Sealed System Failures
If your troubleshooting confirms refrigerant leaks or compressor burnout, professional intervention is mandatory. Refrigerant handling requires EPA Section 608 certification, and attempting to repair sealed systems without proper training creates environmental hazards and safety risks. Look for oil stains around copper lines or hissing sounds indicating refrigerant leaks—these problems demand a licensed technician’s expertise.
Evaluate Cost-Benefit of Major Repairs
For refrigerators older than 10 years, weigh repair costs against replacement value. Compressor replacements typically cost $400-$800 including labor, while new Energy Star models offer significant electricity savings. Consider your specific Electrolux model’s reliability history and availability of replacement parts before authorizing expensive repairs on aging appliances.
Prevent Future Cooling Failures with Regular Maintenance
Implement these simple habits to keep your Electrolux fridge freezer operating efficiently and prevent unexpected cooling failures.
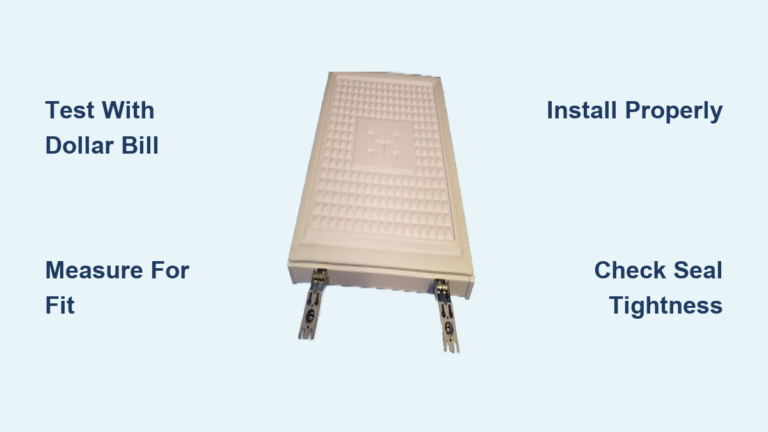
Clean condenser coils every six months using a dedicated coil brush. Check door seals monthly by performing the dollar bill test—replace gaskets showing visible cracks or failing to grip paper firmly. Maintain proper food loading (neither too empty nor overcrowded) to ensure optimal airflow throughout compartments. Keep the refrigerator away from heat sources like ovens or direct sunlight, and maintain recommended temperature settings (35-38°F for fridge, 0°F for freezer).
By systematically working through these diagnostic steps, you’ll identify why your Electrolux fridge freezer isn’t cooling and determine whether a simple DIY fix or professional service will restore proper operation. Most cooling problems stem from preventable maintenance issues rather than catastrophic component failures—addressing them promptly preserves both your food and your appliance’s lifespan.