How to Defrost Freezer Evaporator Coils
Is your freezer struggling to maintain proper temperatures or developing excessive ice buildup? When frost accumulates on your evaporator coils, your freezer works harder while cooling less effectively. This common issue affects many households and can lead to spoiled food and higher energy bills if left unaddressed. Knowing how to safely defrost evaporator coils in your freezer is an essential maintenance skill that extends appliance life and ensures optimal performance. In this guide, you’ll learn proven methods to defrost evaporator coils properly, identify why ice buildup occurs, and discover preventative measures to minimize future defrosting needs.
Locating Your Freezer’s Evaporator Coils

Before you can defrost evaporator coils, you need to find them in your specific freezer model. These critical components are typically hidden behind interior panels and vary by appliance type.
Finding Coils in Upright Freezers
In most upright freezers, evaporator coils sit behind the freezer’s interior back panel. Start by removing all food items and drawer components. Look for a plastic or metal panel covering the rear interior wall—this usually conceals the evaporator coils. Some models require removing screws along the panel’s edges, while others have snap-in-place covers. As you work, note how components connect since you’ll need to reassemble everything correctly after defrosting.
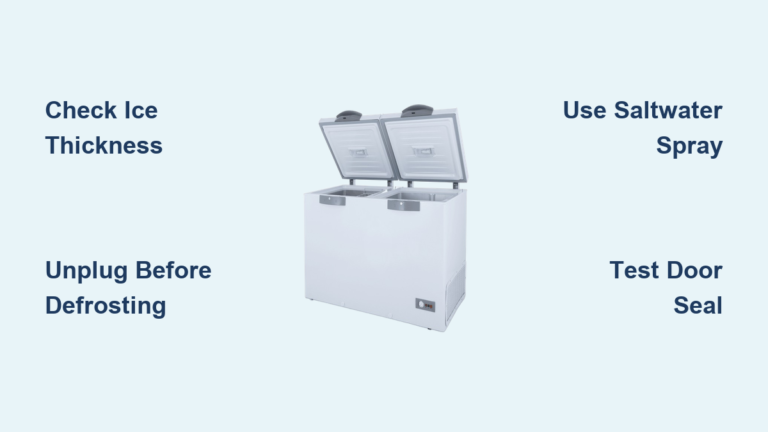
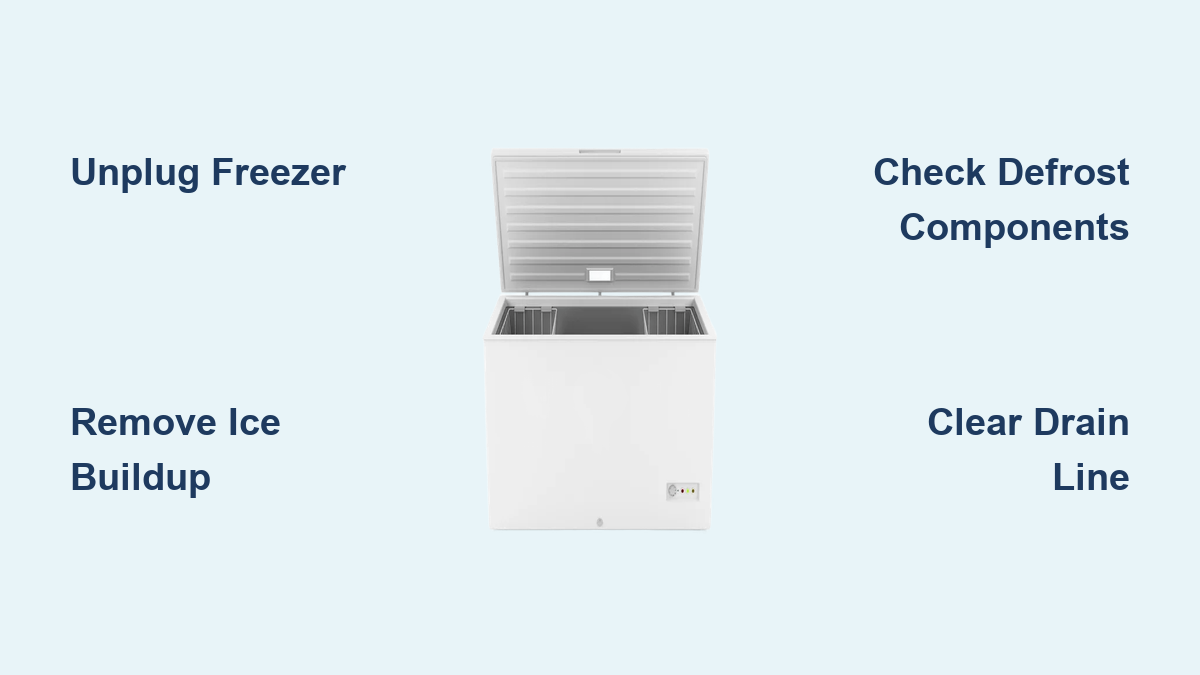
Accessing Coils in Chest Freezers
Chest freezer evaporator coils often run along the interior sides or bottom of the unit. Unlike upright models, chest freezers typically have coils embedded within the insulation layers. To access them, you’ll need to remove the interior liner panels, which usually involves unscrewing fasteners around the panel perimeter. Take photos during disassembly to help with reinstallation, as these panels often have specific orientations.
Preparing for the Defrost Process
Essential Safety Precautions Before Starting
Unplug your freezer from the electrical outlet before beginning any work—never attempt defrosting while the unit remains powered. This prevents electrical hazards and stops the cooling system from counteracting your defrosting efforts. Place towels along the freezer base to absorb melting ice, and position shallow containers underneath known drainage points. If your freezer has a drain tube, locate it (typically at the bottom rear) and ensure it’s clear before starting.
Tools and Supplies Checklist
Gather these items before unplugging your freezer:
– Soft rubber or plastic刮刀 (never metal)
– Multiple absorbent towels
– Empty containers for water collection
– Hairdryer on low setting (optional)
– Screwdrivers matching your panel fasteners
– Replacement panels if damaged during access
– Multimeter for post-defrost electrical testing
Manual Defrosting Methods That Work
Natural Thawing Technique for Thick Ice Buildup
The safest method requires patience but prevents damage to sensitive components. After accessing the coils, allow ice to melt naturally by leaving the freezer door open. Speed up the process by placing bowls of hot water inside the compartment—the steam helps accelerate melting without direct heat application. Replace water every 15-20 minutes as it cools. This method typically takes 3-6 hours depending on ice thickness, but avoids thermal shock to coils.
Controlled Heat Application for Faster Results
When time matters, use a hairdryer on its lowest heat setting held at least 12 inches from ice-covered coils. Constantly move the dryer in sweeping motions—never focus heat on one spot—to prevent overheating plastic components. Pair this with the hot water bowl method for maximum efficiency. Stop periodically to scrape away loosened ice using your plastic刮刀 with gentle downward strokes. Never force stubborn ice; return with heat application instead.
Why You Should Never Use Sharp Tools
Puncturing evaporator coils while removing ice creates refrigerant leaks that ruin your freezer. Even small pinholes cause catastrophic system failure as refrigerant escapes. The coils contain pressurized gas that, when compromised, renders the entire cooling system inoperable. Stick to plastic tools and patience—repairing punctured coils typically costs more than replacing the entire unit.
Troubleshooting Common Defrost Problems

Identifying Faulty Defrost Components
If ice rebuilds rapidly after proper defrosting, test these automatic defrost system components:
– Defrost timer: Should advance through cycles every 8-10 hours
– Defrost thermostat: Must close when temperatures drop below 32°F
– Heating element: Should show continuity when tested with a multimeter
A failed component keeps your system in continuous cooling mode, causing immediate refreezing. Replace defective parts according to your freezer’s service manual specifications.
Drain Line Blockage Causes and Fixes
Standing water after defrosting often indicates a clogged drain tube. Locate the drain hole (usually at the compartment’s lowest point) and clear it using a turkey baster filled with warm water. For stubborn clogs, thread a flexible wire through the tube from interior to exterior. Flush with a vinegar solution to prevent future blockages from mold and debris accumulation.
Post-Defrost Reassembly and Testing

Proper Component Reinstallation Sequence
Reassemble panels in reverse order of removal, ensuring all electrical connections are secure before replacing covers. Verify that no tools or towels remain inside the compartment. Before restoring power, double-check that the drain tube flows freely by pouring a small amount of water down it. Listen for proper drainage sounds indicating a clear path to the external pan.
System Performance Verification
After plugging in your freezer, allow 24 hours for temperature stabilization before restocking food. Monitor performance using an independent thermometer placed in the center of the compartment. Your freezer should reach 0°F (-18°C) within 12 hours. Check for unusual noises that might indicate misaligned components or damaged parts from the defrost process.
Preventing Future Ice Buildup
Optimal Temperature and Usage Practices
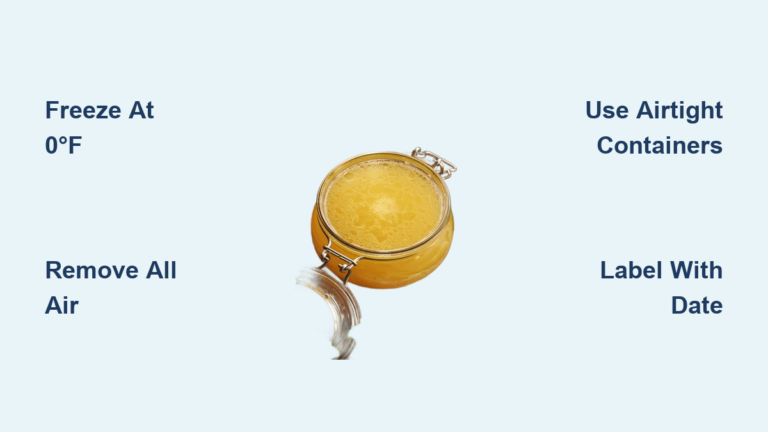
Maintain your freezer at precisely 0°F for best performance—colder settings increase frost formation. Minimize door openings and ensure seals create airtight closure. Allow hot foods to cool completely before storage, as excess moisture from warm items accelerates ice buildup. Organize contents to maintain proper air circulation around all surfaces.
Scheduled Maintenance Routine
Implement these preventative measures:
– Clean door gaskets monthly with mild soap
– Vacuum condenser coils every 3-6 months
– Check automatic defrost system functionality quarterly
– Inspect interior for early frost signs weekly
– Replace worn door seals immediately
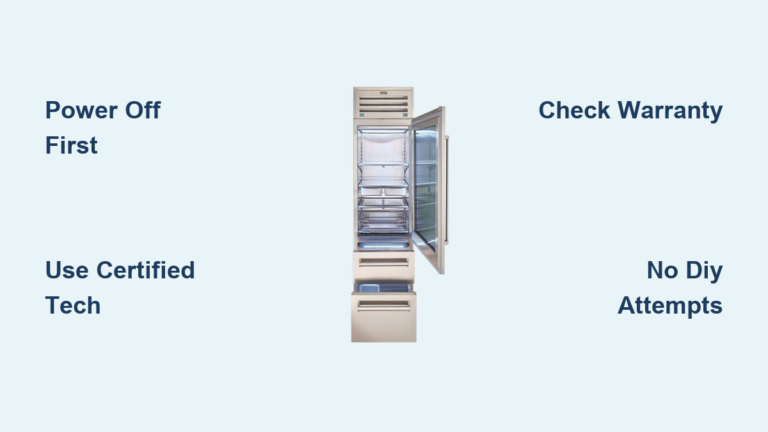
When to Call a Professional Technician
Seek professional help if you notice refrigerant leaks (oily residue near coils), electrical component damage, or persistent temperature issues after proper defrosting. Complex repairs involving sealed systems require EPA-certified technicians due to refrigerant handling regulations. If defrost problems recur within 30 days of proper maintenance, your freezer likely has a systemic issue beyond DIY solutions.
Final Tips for Long-Term Freezer Health
Complete a full defrost cycle every 6-12 months as preventative maintenance, even if ice buildup seems minimal. Keep a log of defrost dates and observed issues to identify developing patterns. Invest in a freezer thermometer with high/low memory to catch temperature fluctuations early. Remember that some frost is normal—concern arises when ice exceeds ¼ inch thickness on interior surfaces.
By mastering proper evaporator coil defrosting techniques, you’ll extend your freezer’s lifespan while maintaining food safety standards. This essential maintenance task prevents costly repairs and ensures your appliance operates at peak efficiency throughout its service life.