Whirlpool Upright Freezer Repair Guide
Nothing is more frustrating than opening your Whirlpool upright freezer to find thawed food and warm compartments. When your freezer stops maintaining that critical 0°F temperature, it threatens everything from your monthly grocery budget to food safety. Whirlpool upright freezers represent one of the most reliable models on the market, yet even these workhorses encounter common issues that cause cooling failures. Without proper Whirlpool upright freezer repair knowledge, you might replace a perfectly functional unit unnecessarily or waste money on service calls for problems you could solve yourself in under an hour. This guide covers the most frequent malfunctions affecting Whirlpool upright freezers and provides step-by-step solutions you can implement with basic tools.
Critical Warning Signs Requiring Immediate Action
Before attempting any Whirlpool upright freezer repair, recognize these danger signals that warrant professional intervention:
- Foul odors accompanied by oily residue beneath the unit indicate refrigerant leaks – do not continue operating the freezer
- Visible sparks or burning smells from electrical components require immediate power disconnection
- Water pooling around the compressor area suggests serious internal damage
- Excessive frost buildup (more than ¼ inch) throughout the interior compartment
Attempting DIY repairs on these issues could expose you to electrical hazards, refrigerant exposure, or further damage the appliance. Always unplug your freezer for at least 15 minutes before beginning any diagnostic procedures to prevent electrical shock.
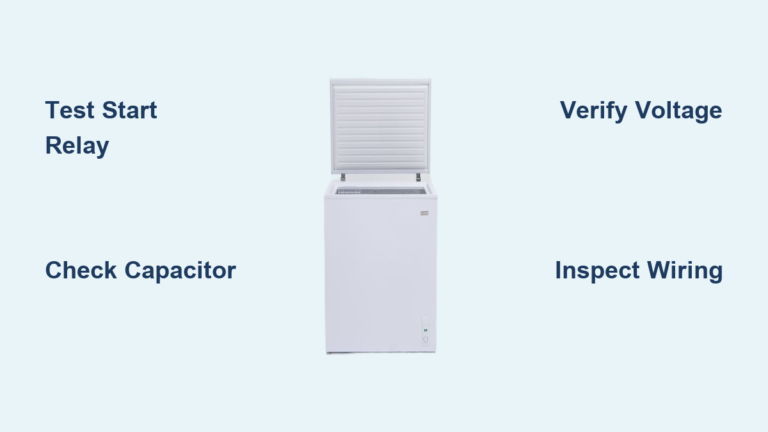
Diagnosing Power Supply Issues Preventing Cooling

How to Verify Electrical Connections Are Functional
Start your Whirlpool upright freezer repair process by confirming basic power delivery:
- Test the wall outlet using another appliance to ensure the circuit is live
- Check your home’s circuit breaker panel for tripped switches labeled “kitchen” or “appliance”
- Inspect the power cord for visible damage, fraying, or bent prongs
- Verify the cord is fully inserted into both the freezer and wall outlet
Many “broken freezer” emergencies simply stem from accidental power disconnection. Whirlpool upright models often sit in garages or basements where cords get bumped during storage activities. If the interior light works but the compressor doesn’t engage, the issue lies deeper in the cooling system.
Why Your Freezer’s Temperature Control Might Be Faulty
When your Whirlpool upright freezer runs constantly but won’t reach freezing temperatures:
- Locate the temperature control dial (usually inside the upper compartment)
- Turn the dial to the coldest setting and listen for a distinct click
- If no click occurs, the thermostat likely needs replacement
- Test functionality by turning the dial through its range while listening for cycling sounds
A malfunctioning thermostat prevents proper temperature regulation, causing either continuous operation or complete shutdown. Most Whirlpool upright models use electronic controls that display error codes when problems occur – consult your specific model’s manual for code interpretation.
Defrost System Failures Causing Frost Buildup
Identifying Defrost Timer Malfunctions in Whirlpool Freezers
Excessive frost accumulation behind interior panels indicates defrost system failure. To check your defrost timer:
- Locate the timer (typically behind the control panel or near the compressor)
- Use a flathead screwdriver to manually advance the timer by turning its small knob
- Listen for the defrost heater activating (should produce a faint humming sound)
- If no heater response occurs after advancement, the timer likely needs replacement
Whirlpool upright freezers typically cycle into defrost mode every 8-10 hours of compressor operation. When the timer fails, frost builds until airflow becomes restricted, causing temperature fluctuations. Replacing the timer takes approximately 20 minutes with basic tools.
Testing Defrost Heater and Thermostat Components
When frost covers evaporator coils but the timer appears functional:
- Unplug the freezer and remove the interior back panel to access coils
- Locate the defrost heater (thin metal tube running along coil assembly)
- Check for visible breaks or blistering on the heater element
- Test continuity using a multimeter set to ohms resistance
A properly functioning defrost heater should show 15-50 ohms resistance. The defrost thermostat (attached near the coils) should show continuity when cold but none when warmed. Both components are inexpensive and easily replaceable, making this one of the most cost-effective Whirlpool upright freezer repair tasks for DIYers.
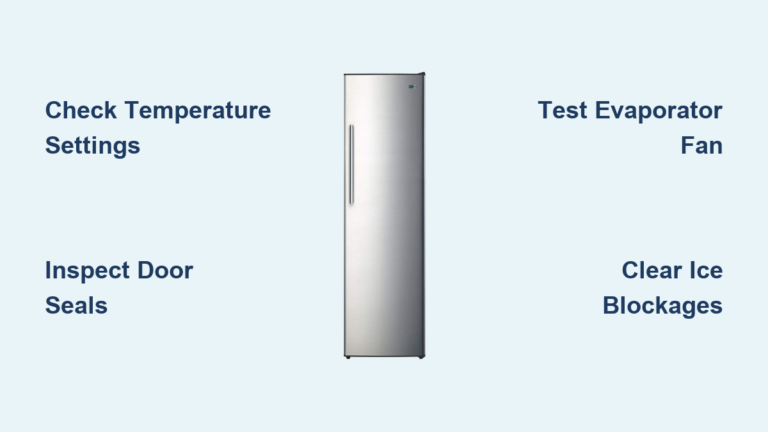
Evaporator Fan Problems Leading to Poor Air Circulation

Locating and Testing Your Freezer’s Evaporator Fan
Inadequate cold air distribution often stems from evaporator fan failure. To diagnose:
- Listen for the fan running sound when opening the freezer door
- Check if airflow feels weak from interior vents
- Access the fan motor behind the rear interior panel
- Inspect for ice obstruction preventing blade rotation
- Test motor operation by manually spinning the blade
Whirlpool upright freezers use a small squirrel-cage fan to circulate cold air. When this fan fails, temperatures become inconsistent throughout the cabinet – often coldest near the coils but warm at door shelves. Clearing ice obstructions resolves many issues, but worn motors require replacement.
Clearing Ice Blockages From Fan Assembly
For fans obstructed by frost:
- Unplug the freezer and allow interior to thaw completely
- Use a hairdryer on low setting to gently melt persistent ice
- Never use sharp tools that could puncture refrigerant lines
- Dry all components thoroughly before reassembly
- Apply food-safe silicone lubricant to fan shaft before reinstalling
This simple maintenance procedure prevents unnecessary component replacement. Many Whirlpool upright freezer owners mistakenly replace functioning fan motors when the real issue was merely ice buildup from infrequent defrost cycles.
Condenser Coil Maintenance for Optimal Performance
Why Dirty Condenser Coils Cause Cooling Problems
Whirlpool upright freezers rely on clean condenser coils to release heat efficiently. When coils become coated with dust and debris:
- Compressor runs longer cycles to achieve target temperatures
- Energy consumption increases by up to 30%
- Internal components overheat, shortening appliance lifespan
- Temperature instability becomes more frequent
Most Whirlpool upright models position condenser coils either along the cabinet’s exterior back panel or built into the cabinet frame. Unlike older models requiring coil cleaning every 6 months, modern Whirlpool units typically need annual maintenance.
Proper Technique for Cleaning Condenser Coils
Follow these steps for safe coil maintenance:
- Unplug the freezer and move it away from the wall
- Remove the lower front grille to access coils
- Use a soft brush attachment on your vacuum to remove loose debris
- For stubborn dirt, use a fin comb to straighten bent coil fins
- Wipe accessible areas with a damp microfiber cloth
- Allow all components to dry completely before restoring power
Never use compressed air that could bend delicate coil fins, and avoid abrasive cleaners that might damage protective coatings. This 15-minute maintenance task resolves cooling issues in approximately 25% of service calls for Whirlpool upright freezers.
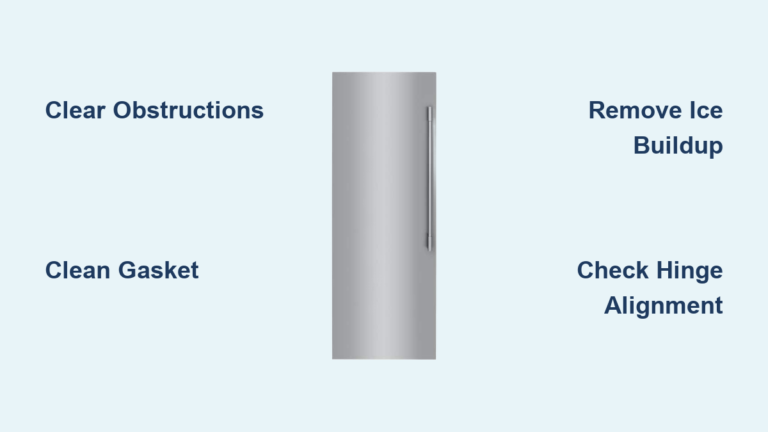
Door Seal Failures Wasting Energy and Cooling
Testing Your Freezer’s Gasket Integrity
Compromised door seals allow warm, moist air to enter your Whirlpool upright freezer. Perform this simple test:
- Close the door on a dollar bill at various points around the seal
- Pull the bill slowly – if it slides out easily, the seal needs attention
- Check for visible cracks, tears, or separation from the door frame
- Look for areas where the seal doesn’t make complete contact
Whirlpool upright freezer doors typically have magnetic gaskets that lose flexibility over time. Exposure to cleaning chemicals and frequent door openings accelerate this deterioration.
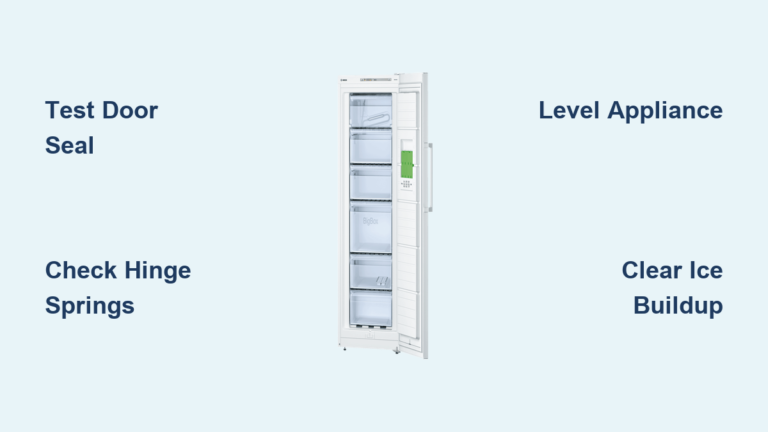
Restoring Seal Functionality Without Replacement
Before purchasing a new gasket:
- Clean existing seal with mild soap and warm water
- Apply food-safe silicone lubricant to rejuvenate rubber
- Use a hairdryer on low setting to reshape warped sections
- Place books in the freezer overnight to help reshape the seal
- Tighten door hinge screws to improve alignment
Many users replace perfectly functional gaskets unnecessarily. A thorough cleaning and realignment often restores adequate sealing. If replacement becomes necessary, Whirlpool provides model-specific gaskets that install in under 30 minutes with basic tools.
When to Call a Professional for Whirlpool Upright Freezer Repair
While many issues yield to DIY solutions, certain problems require certified technicians:
- Refrigerant leaks (requires EPA certification to handle)
- Compressor failures (expensive component with complex installation)
- Electrical control board malfunctions (diagnosis requires specialized tools)
- Warranty-covered repairs (DIY attempts may void coverage)
Attempting advanced repairs without proper training risks personal injury, further damage, and potentially voiding any remaining warranty. For most Whirlpool upright freezer owners, focusing on the accessible maintenance tasks covered in this guide resolves 80% of common cooling issues.
Preventative Maintenance Schedule for Longevity
Extend your Whirlpool upright freezer’s lifespan with these simple habits:
- Clean condenser coils annually
- Check door seals quarterly using the dollar bill test
- Defrost manually when ice exceeds ¼ inch thickness
- Keep the freezer at least 75% full for optimal temperature stability
- Maintain proper clearance (3-4 inches) around the unit for ventilation
Following this basic maintenance routine prevents most common failures requiring Whirlpool upright freezer repair. When issues do arise, systematic diagnosis using the methods outlined here helps determine whether you can solve the problem yourself or need professional assistance. Remember that most Whirlpool upright freezers provide reliable service for 12-15 years with proper care – don’t replace it unnecessarily when a simple repair will restore full functionality.