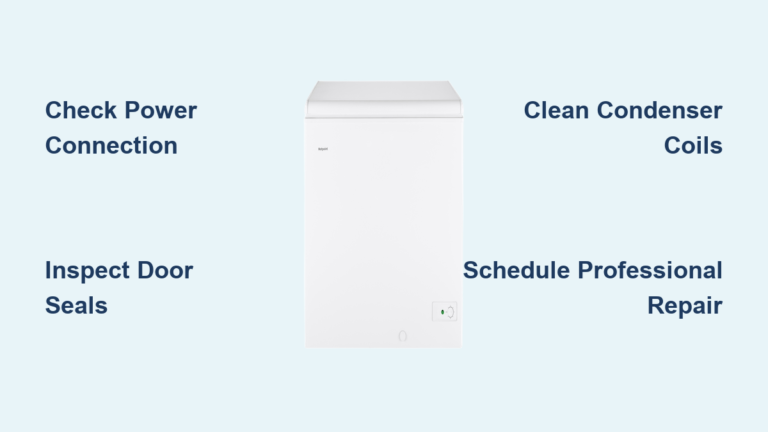
Upright Freezer Repair: Quick Fix Tips
Nothing ruins your week like discovering your upright freezer isn’t maintaining proper temperatures, leaving you scrambling to save hundreds of dollars worth of frozen food. When your upright freezer repair needs arise unexpectedly, knowing how to diagnose and fix common issues can save you costly service calls and prevent food spoilage. Most temperature inconsistencies, frost accumulation problems, and operational failures stem from just a handful of replaceable components that you can address with basic tools and minimal technical skills. This guide provides actionable steps to identify the root cause of your freezer problems and implement effective repairs that restore proper function without professional assistance.
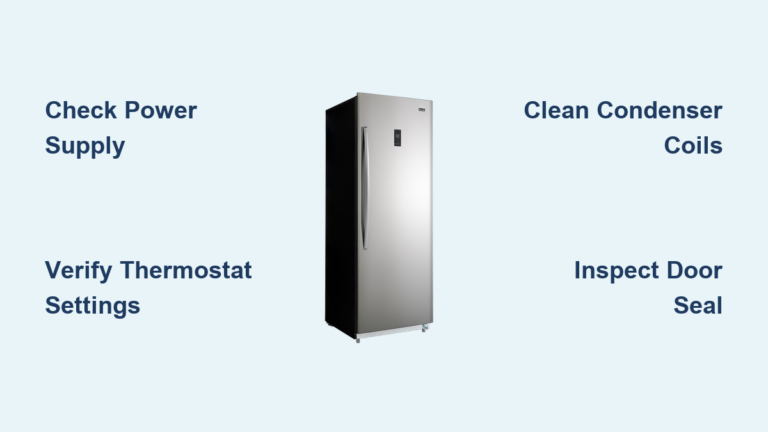
The key to successful upright freezer repair lies in systematic diagnosis—never replace parts randomly. Symptoms like warm temperatures or excessive frost often point to specific components, allowing you to target your efforts efficiently. By following the troubleshooting sequences outlined here, you’ll avoid unnecessary part purchases and wasted effort. Whether you’re dealing with a failed electronic control board, a malfunctioning thermistor, or a clogged defrost drain, these proven techniques will help you restore your freezer’s performance and extend its operational life significantly.
Why Your Upright Freezer Isn’t Cooling Properly
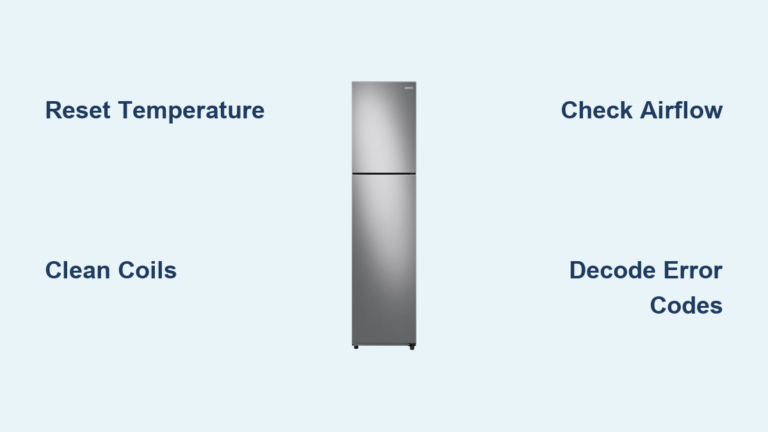
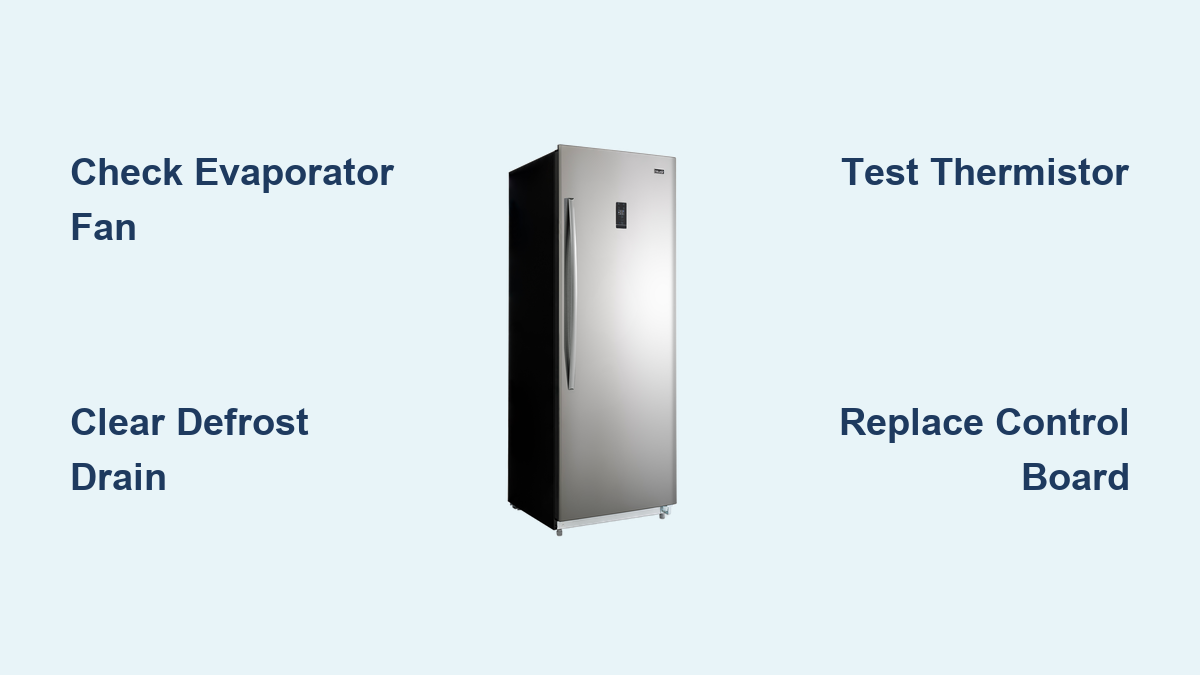
Temperature inconsistencies throughout your upright freezer compartment almost always indicate air circulation problems, typically caused by a failing evaporator fan motor or blocked air vents. When cold air can’t circulate properly, some areas remain properly frozen while others approach temperatures close to the freezing point—putting your food at risk of spoilage. Listen for the evaporator fan when the compressor is running; you should hear continuous air movement during cooling cycles. If you don’t hear this fan operating or notice warm spots in certain areas, you’ve likely identified your primary issue.
How to Diagnose Temperature Inconsistency Issues
Place thermometers on multiple shelves to map temperature variations inside your freezer. A properly functioning unit maintains consistent temperatures (0°F or below) throughout all compartments. If you find significant temperature differences between top and bottom shelves, check for frost buildup around air vents that may be restricting airflow. Remove all shelves and drawers to inspect for ice blockages around the evaporator compartment vents—these often form when the defrost system isn’t functioning correctly. Clear any visible ice with a plastic scraper (never metal, which can damage components) before proceeding with component testing.
Identifying Frost Buildup Patterns That Signal Component Failure
The location and pattern of frost accumulation provides crucial diagnostic information. Uniform light frost across evaporator coils suggests normal operation, while heavy ice sheets on the coils behind the back panel indicate defrost system problems. Ice forming specifically at the bottom of your freezer compartment typically signals a clogged defrost drain tube—this is one of the most common upright freezer repair scenarios. If you notice frost accumulating around the door seal, this points to a damaged gasket allowing warm, humid air to enter the unit. Documenting these frost patterns helps you target your repair efforts efficiently rather than replacing parts randomly.
Replace Failed Electronic Control Board in 45 Minutes
The electronic control board serves as your upright freezer’s command center, receiving temperature data from sensors and directing compressor operation accordingly. When this board fails, you’ll experience symptoms like temperatures significantly different from settings, compressor running continuously or not at all, unresponsiveness to control panel inputs, and error codes on digital models. This repair requires moderate technical skill but can be completed in approximately 45 minutes with basic tools.
How to Safely Access and Test Your Control Board
Always disconnect power to your freezer at the circuit breaker before beginning any repair—this critical safety step prevents electrical shock and protects sensitive components. Locate the control board (typically at the top rear or along the back of the cabinet), then take clear photographs of all wire connections before disconnecting anything. Use a multimeter to test for continuity across board components if you suspect specific failures, but most DIYers find visual inspection sufficient—look for burnt components, bulging capacitors, or visible water damage from condensation leaks.
Step-by-Step Control Board Replacement Guide
- Remove all mounting screws while supporting the board
- Carefully disconnect each wiring harness connector
- Install the replacement board in the exact same orientation
- Reconnect all wiring harnesses according to your reference photos
- Secure all mounting hardware to prevent vibration damage
- Restore power and allow 4-6 hours for temperature stabilization
Verify proper operation by monitoring compressor cycling—your freezer should reach and maintain 0°F within several hours. If problems persist, double-check all connections against your reference photos before considering other component failures.
Fix Inaccurate Temperature Readings by Replacing Thermistor

The thermistor provides critical temperature feedback to your upright freezer’s control system, enabling precise temperature regulation. When this sensor fails, your freezer may run too cold (causing excessive frost) or fail to reach the set temperature (risking food spoilage). Symptoms include temperatures far different from your settings, erratic compressor cycling, and complete cooling failure despite normal fan operation.
Testing Thermistor Resistance with Multimeter
Access the thermistor (usually located in the evaporator compartment or mounted against the interior wall), then disconnect it from the wiring harness. Set your multimeter to measure resistance and record readings while the sensor is at room temperature, then again after briefly warming it with your fingers. A functioning NTC (negative temperature coefficient) thermistor shows decreasing resistance as temperature increases. Compare your readings against manufacturer specifications—if resistance doesn’t change appropriately or shows infinite resistance (open circuit), replacement is necessary.
Proper Thermistor Installation for Accurate Readings
When installing the new thermistor, ensure it’s positioned exactly as the original—typically secured against a specific surface to maintain accurate temperature sensing. Improper placement (like allowing the sensor to sit loosely) will cause continued temperature control issues even with a new component. Secure all mounting clips or tape, then reconnect the wiring harness. Allow the freezer to run through several complete cooling cycles while monitoring temperature with a standalone thermometer placed in the center of the compartment to verify proper operation.
Eliminate Bottom-of-Freezer Ice Sheets by Clearing Drain Blockage
One of the most frequent upright freezer repair scenarios involves ice forming in sheets at the bottom of the compartment—a telltale sign of a clogged or frozen defrost drain tube. This tube carries meltwater from the evaporator coils to the drain pan during defrost cycles. When obstructed, water accumulates on the freezer floor where it refreezes into problematic ice sheets that can interfere with door sealing and item storage.
Locating and Inspecting Your Defrost Drain Tube
The drain opening typically appears at the bottom rear of the freezer compartment or within the evaporator compartment behind the back panel. Remove any small cap or grille covering the opening, then inspect for visible obstructions like food particles, ice, or debris. Use a flashlight to look deep into the tube—many clogs occur where the tube bends near the freezer base. Signs of a serious blockage include water pooling at the bottom of the freezer, ice formations concentrated near the drain location, and sometimes water dripping from beneath the appliance.
Three Effective Methods to Clear a Clogged Drain
- Warm water flush: Use a turkey baster to force warm (not hot) water through the drain tube, flushing debris toward the drain pan
- Ice melt technique: Apply heat to the exterior drain line connection using a hair dryer while simultaneously warming the interior drain opening with a warm cloth
- Debris removal: For stubborn blockages, carefully insert a pipe cleaner, flexible wire, or specialized drain snake to dislodge the obstruction
Prevent future clogs by ensuring food items are properly wrapped to reduce moisture release, avoiding overfilling your freezer, and periodically checking the door seal for damage that allows warm humid air to enter.
Upright Freezer Maintenance That Prevents 80% of Repairs
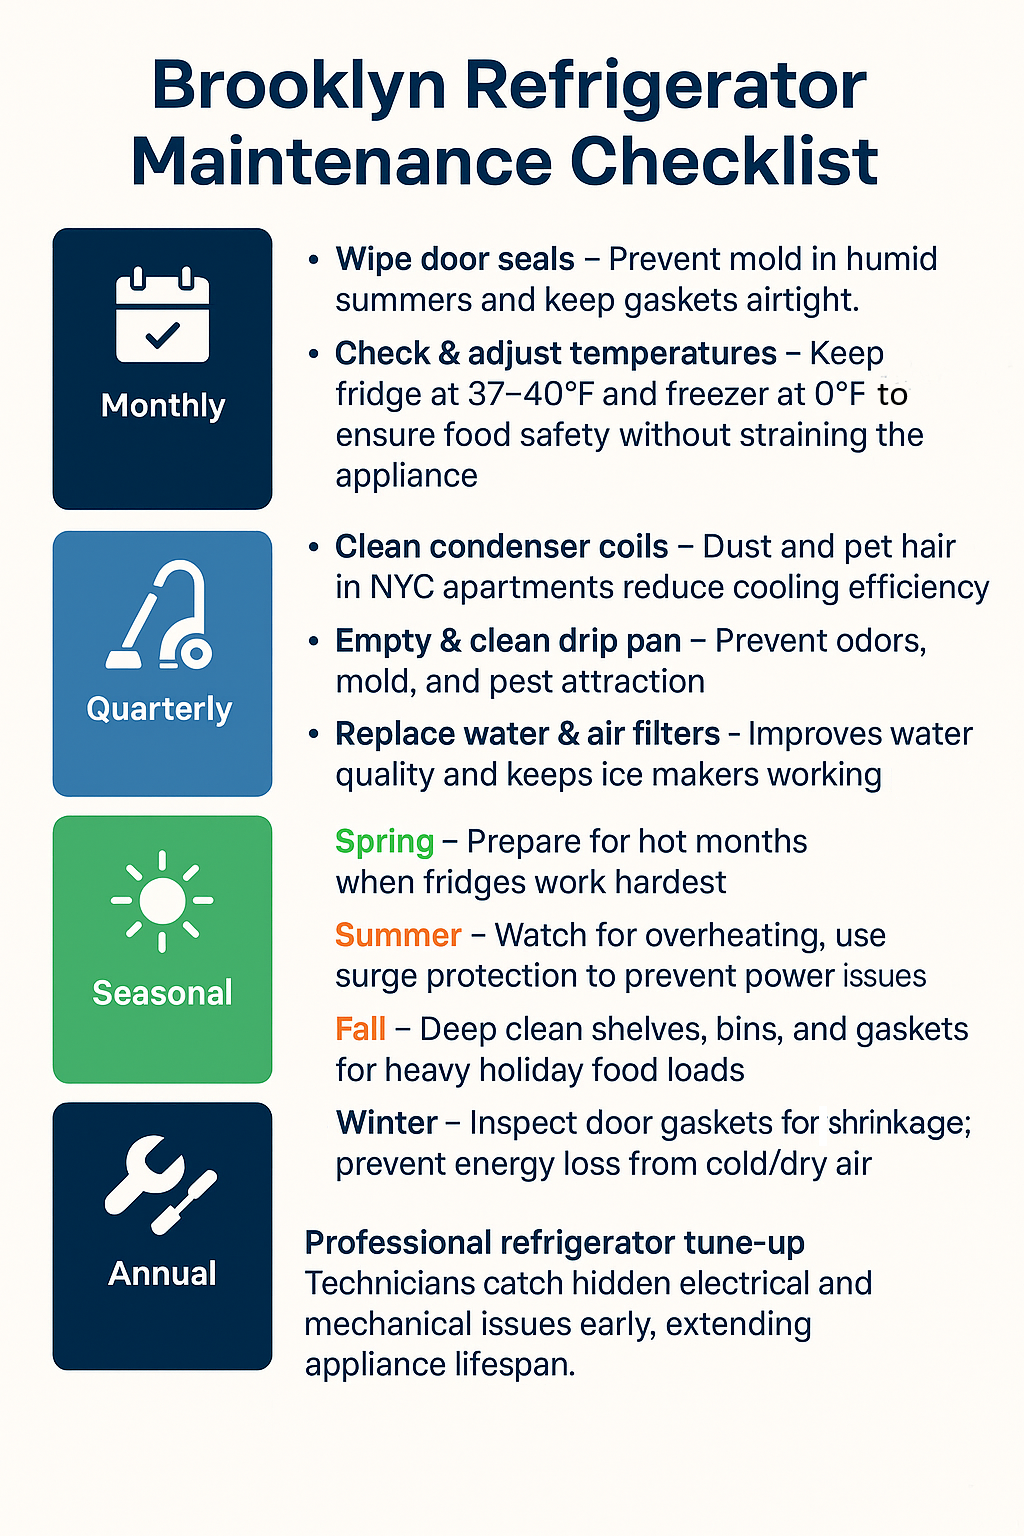
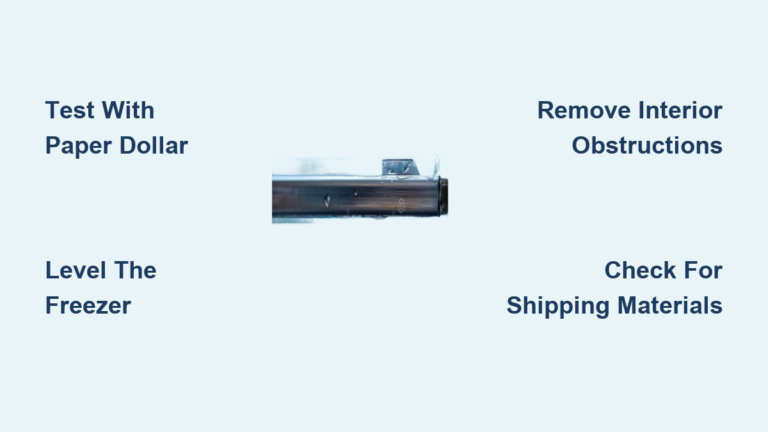
Regular maintenance extends your upright freezer’s lifespan and prevents most common problems requiring repair. Monthly door seal inspection ensures proper closure—test the seal by closing a piece of paper in the door; if you can pull it out easily, the seal needs attention. Clean seals with mild soap and water to remove food residue that prevents tight closure. This simple habit prevents warm air infiltration that increases compressor workload and promotes frost formation.
Monthly Door Seal Inspection Routine
Check your door gasket for cracks, tears, or deformation that compromise the seal. Pay special attention to corners where seals often fail first. Clean the entire gasket weekly with a baking soda solution to prevent mold growth and residue buildup. Replace damaged seals immediately—most manufacturers offer replacement kits that install in under 30 minutes. A proper seal not only prevents frost buildup but also reduces energy consumption by up to 15%, saving you money on utility bills while extending compressor life.
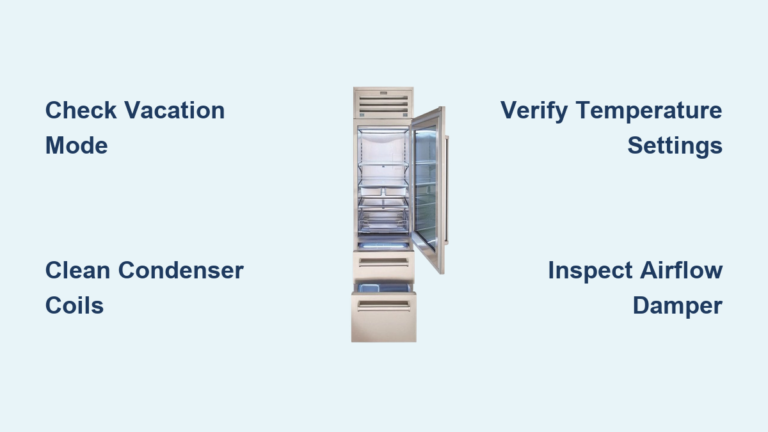
Quarterly Coil Cleaning Procedure
Every three months, unplug your freezer and vacuum the condenser coils (typically located at the rear or bottom of the unit) using a brush attachment. Dust and debris accumulation on these coils insulates them, reducing heat dissipation efficiency and forcing your compressor to work harder. Clean coils can improve efficiency by up to 30% and prevent premature compressor failure. While cleaning, check for any signs of refrigerant leaks (oily residue) or damaged wiring that would require professional attention.
Monitor your freezer’s performance with a standalone thermometer placed in a cup of water in the center compartment—this provides accurate temperature readings independent of potentially faulty internal sensors. The unit should maintain temperatures at 0°F (-18°C) or below for safe food storage. By performing these simple maintenance tasks regularly, you’ll prevent most common upright freezer repair scenarios and significantly extend your appliance’s operational life.