KitchenAid Freezer Leaking? Fix It Fast
Water pooling beneath your KitchenAid freezer isn’t just annoying—it’s a ticking time bomb for your flooring and food safety. If you’re dealing with a KitchenAid freezer leaking issue, you’re not alone. Most bottom freezer models like the KBFS20EVBL3 and KFCS22EV series develop this problem due to a clogged defrost drain, which handles melted frost during automatic defrost cycles. When this dime-sized drainage pathway freezes or gets blocked, water has nowhere to go but onto your kitchen floor. The good news? You can fix most KitchenAid freezer leaking problems with basic tools and these targeted solutions.
This guide cuts through the confusion to give you precise diagnostic steps and repair methods that actually work. You’ll learn exactly how to identify your specific leak source, clear clogs without damaging components, and implement preventive measures that keep water problems from returning. No more guesswork—just actionable steps to restore your appliance’s proper function.
Locate Your KitchenAid Freezer Leak Source Immediately
Before grabbing tools, pinpoint exactly where water originates in your KitchenAid freezer. Misdiagnosis wastes time and might even worsen the problem. Bottom freezer models have distinct leakage patterns that reveal the culprit.
Trace Water to Its Origin Point
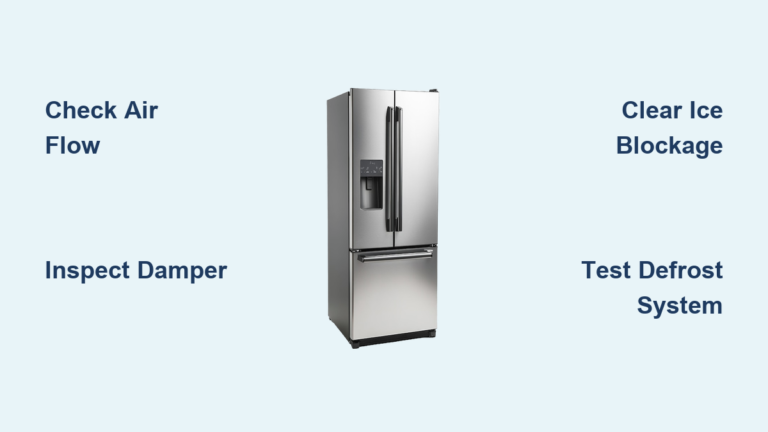
Water on the freezer floor that leaks out the door bottom indicates a clogged defrost drain—this accounts for 80% of KitchenAid freezer leaking cases. Water appearing at the rear base suggests either a cracked drain pan or disconnected drain tube. Moisture around the water filter housing points to filter-related issues rather than the defrost system. For models with ice makers like the KFCS22EVMS2, temporarily shut off the water supply—if the leak stops, your problem lies in the ice maker system, not the defrost drain.
Test Defrost System Operation Yourself
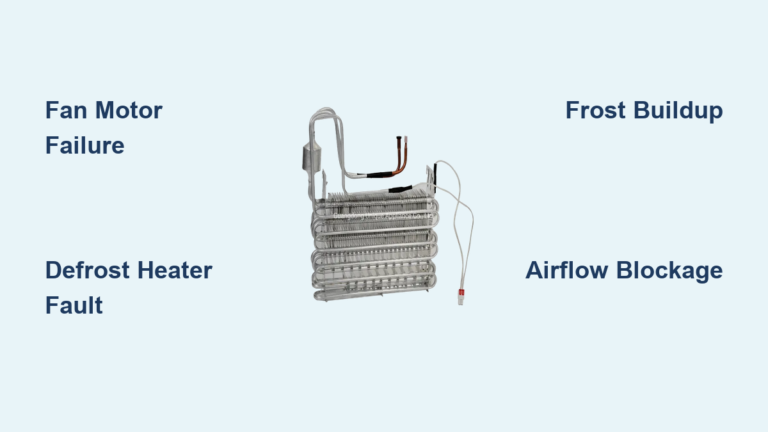
Access Service Test Mode on modern KitchenAid models by pressing specific button sequences from your owner’s manual, then run Test 101. This diagnostic checks your defrost heater and thermostat. Look for these status indicators: “OFF” (defrost inactive), “CL” (thermostat closed, normal operation), and “OP” (thermostat open, cycle complete). If you only see “OFF” and “CL” without “OP,” your defrost heater has likely failed—this causes continuous ice buildup that overwhelms the drainage system.
Check Simple Causes First
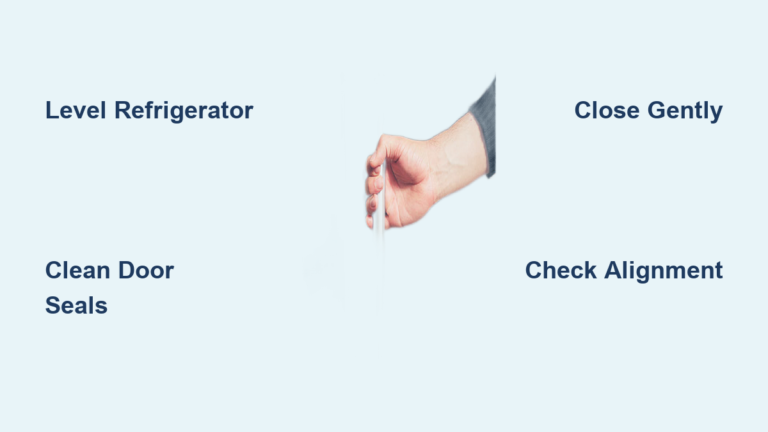
Verify your refrigerator is level using a bubble level on top—the appliance must be perfectly level for proper door closure and drainage. Inspect the door gasket for tears or food residue preventing a complete seal. Examine the water filter housing for cracks or moisture indicating a separate filter leak. These quick checks take five minutes and might reveal your solution without disassembly.
Clear a Frozen Defrost Drain in Under an Hour
Most KitchenAid freezer leaking problems stem from a frozen defrost drain, and you can fix this without full disassembly. Skip the 24-hour defrost method—this faster approach works for 90% of clogs.
Perform a Hot Water Flush Correctly
Remove all food from the freezer and locate the drain opening—a dime-sized hole directly below the evaporator coils behind the rear panel. Pour very hot (not boiling) water directly into this opening using one cup at a time. Wait 5 minutes between pours to allow melting. After 3-4 cups, follow with a mixture of ½ cup hot water and ¼ cup bleach to flush debris and inhibit mold growth. Finish with one cup of clean hot water to verify free flow—you should hear water reaching the drain pan near the compressor within seconds.
Use Proper Drain Probing Techniques
If water still doesn’t flow, insert flexible plastic tubing (about ¼ inch diameter) into the drain hole to break up ice or debris. Never use metal tools—they can puncture aluminum evaporator coils or damage the drain tube. Gently rotate the tubing while applying light pressure, working it deeper as blockage clears. Withdraw the tubing frequently to remove dislodged debris. If resistance increases, stop immediately—forcing it could create permanent damage.
Verify Drain Function Before Reassembly
After clearing the drain, place a small container beneath the drain tube termination point near the compressor. Pour one cup of water into the drain opening and confirm it flows freely to your container without backup. If water still doesn’t drain completely, repeat the flushing process or consider a full defrost. Proper verification prevents wasted effort and ensures your repair actually solved the problem.
Replace Failed Defrost Components When Needed
When drain clearing doesn’t stop your KitchenAid freezer leaking, a failed defrost component requires replacement. Electrical testing confirms which part has failed.
Test Your Defrost Heater with a Multimeter

Access the heater by removing the rear freezer panel to expose the evaporator coil assembly. Disconnect the heater from its wiring harness and set your multimeter to ohms. Touch probes to the heater terminals—a functional heater shows near-zero resistance. Infinite resistance confirms a burned-out element requiring replacement. The correct part number for most KitchenAid bottom freezer models is W10825088.
Check the Defrost Thermostat Function
This small component clipped to the evaporator coils should open when warmed. Disconnect wires and test continuity with your multimeter when cold—it should show continuity (closed circuit). Warm the thermostat with your hand for 30 seconds and retest—it should show no continuity (open circuit). If it fails to open when warmed, replace it immediately. A stuck-closed thermostat prevents the defrost cycle from completing properly.
Inspect Drain Fittings and Tubes Thoroughly
Access the lower rear panel to trace the drain tube from evaporator to pan. Look for cracks, disconnections, or deterioration in the plastic tubing. Check the brass drain fitting at the evaporator end for clogs and the duckbill check valve at the pan end for damage. Pour water into the drain opening to test patency—if water backs up despite clearing attempts, replace the entire drain assembly using model-specific parts.
Prevent KitchenAid Freezer Leaks Before They Start
Stop recurring leaks with these targeted maintenance steps that address the root causes of KitchenAid freezer leaking problems.
Implement Monthly Drain Inspections
Check your freezer interior monthly for frost exceeding ¼ inch thickness—a warning sign your defrost system is struggling. Examine the area beneath the freezer drawer for water or ice accumulation indicating developing drainage issues. Catching problems early prevents major leaks and potential component failure that would require professional service.
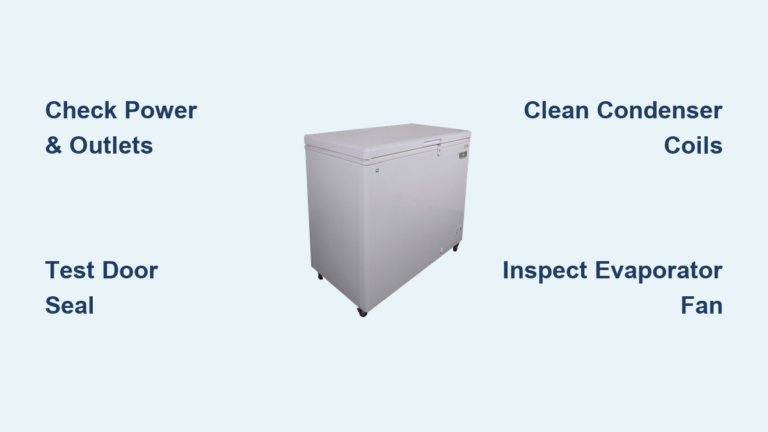
Clean Condenser Coils Every Three Months
Dirty condenser coils reduce heat output needed to evaporate drain pan water. Remove the lower rear panel and use a vacuum with crevice attachment to remove dust from coils and fan blades. Pet owners should clean coils every two months—pet hair dramatically increases clog frequency. Clean coils improve efficiency by up to 30%, reducing strain on the entire defrost system.
Maintain Door Gasket Integrity
Clean the door gasket monthly with mild soap and water to remove food residue preventing a complete seal. Inspect for cracks or significant wear—replace damaged gaskets promptly using your model-specific part. A compromised gasket allows humid air into the freezer, increasing frost accumulation by up to 40% and overloading the defrost system.
When to Call a Professional Technician Immediately
Some KitchenAid freezer leaking situations demand professional expertise. Recognize these critical warning signs:
Electrical Component Failures Require Expert Handling
If testing confirms a failed defrost heater, thermostat, or sensor, professional replacement is safest. These components involve electrical connections near moisture sources—improper installation creates shock or fire hazards. A certified technician typically completes these repairs in about one hour with minimal parts.
Complex Drain System Issues Need Special Tools
When drain clearing fails repeatedly despite proper technique, you likely face a disconnected drain tube, cracked drain pan, or damaged drain fitting requiring specialized tools. Professionals have access to borescopes that visualize internal components without full disassembly, saving time and preventing accidental damage.
Warranty Protection Matters Most
If your KitchenAid refrigerator remains under warranty, contact KitchenAid customer service before attempting repairs. Unauthorized service may void coverage. For out-of-warranty units, consider extended service plans that provide peace of mind against future failures.
Essential Tools for KitchenAid Freezer Leak Repairs
Keep these items ready before starting any repair: towels for water absorption, a turkey baster for precise hot water application, multimeter for electrical testing, Phillips and flathead screwdrivers for panel removal, hair dryer on low heat for targeted ice melting, and flexible plastic tubing for drain probing. Having everything prepared prevents mid-repair delays and ensures a smooth troubleshooting process.
Fixing your KitchenAid freezer leaking problem follows a clear progression: identify the source, clear simple clogs, test and replace failed components, then maintain the system. Most leaks stem from the defrost drain system and resolve with proper clearing or a defrost heater replacement. By understanding your appliance’s drainage pathway and performing regular preventive maintenance, you’ll protect both your refrigerator and your flooring from water damage for years to come. Don’t ignore early warning signs—addressing minor issues now prevents costly repairs and potential floor damage down the road.