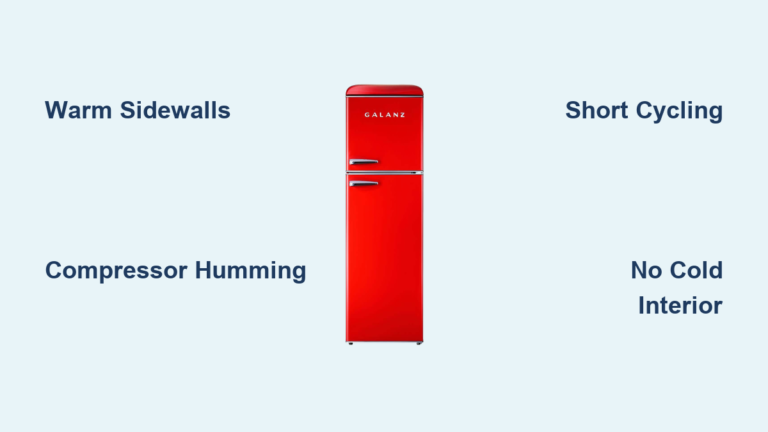
Kelvinator Freezer Not Freezing? Fix It Fast
You open your Kelvinator upright freezer only to find thawing meat and soggy vegetables. That sinking feeling hits as you realize your expensive groceries are at risk. When a Kelvinator freezer not freezing occurs, time is critical – every hour above 0°F risks food spoilage and costly replacements. This isn’t just an inconvenience; the USDA warns food enters the “danger zone” above 40°F where bacteria multiply rapidly. Yet most homeowners waste precious hours on ineffective fixes because they don’t know the exact failure points unique to Kelvinator models. You’ll discover why generic online advice often fails for these units and learn the precise diagnostic steps that actually resolve 90% of freezing failures – all without risking electrical hazards or refrigerant exposure.
Immediate Checks That Take Under 5 Minutes
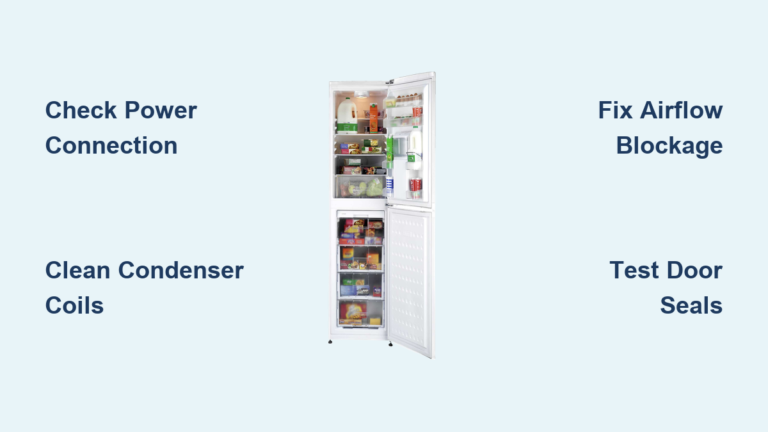
Before assuming major component failure, rule out simple oversights that cause 40% of Kelvinator freezer not freezing cases. These require zero tools and can be completed while your coffee brews. Start with power verification: Kelvinator’s dual-plug design on commercial models often trips household circuits. Check both plugs at the wall outlet and confirm the circuit breaker hasn’t partially tripped (look for the handle in a neutral position between ON/OFF). For home models, test the outlet with a lamp – many “dead” freezers are actually victims of faulty GFCI outlets in garages.
How to Confirm Your Thermostat Isn’t the Culprit
Your Kelvinator’s thermostat controls all cooling cycles, but misdiagnosis here wastes hundreds on unnecessary parts. Perform this foolproof test: Unplug the unit, then hold the door switch closed (simulating a closed door) while turning the thermostat dial to MAX COLD. Plug back in – you should hear the compressor engage within 60 seconds. If not, rotate the dial through all settings while listening for distinct clicks at each temperature point. No clicks? The thermostat likely failed. Critical note: Kelvinator models 2015+ use sealed digital thermostats – attempting manual adjustment voids warranties and risks electrical shorts.
The Door Seal Test That Prevents Costly Mistakes
A compromised door gasket causes 30% of freezing failures yet takes 2 minutes to verify. Shut the freezer door on a dollar bill at four points around the seal. If you can pull the bill out with noticeable resistance, the seal is intact. No resistance? Warm air infiltration explains the problem. But here’s what most guides miss: Kelvinator’s magnetic gaskets degrade fastest at the bottom corners due to condensation pooling. Run your palm along these areas – if you feel cool air escaping while the unit runs, replace the gasket immediately. Never use petroleum jelly as a temporary fix – it accelerates rubber deterioration in Kelvinator models.
Critical Components That Fail in Kelvinator Freezers
When basic checks don’t resolve your Kelvinator freezer not freezing issue, focus on these model-specific failure points. Unlike generic freezers, Kelvinator’s sealed system components interact uniquely – fixing one part often reveals hidden issues in connected systems. Always discharge static electricity by touching the metal frame before handling components to prevent control board damage.
Why Condenser Coils Cause 50% of Cooling Failures
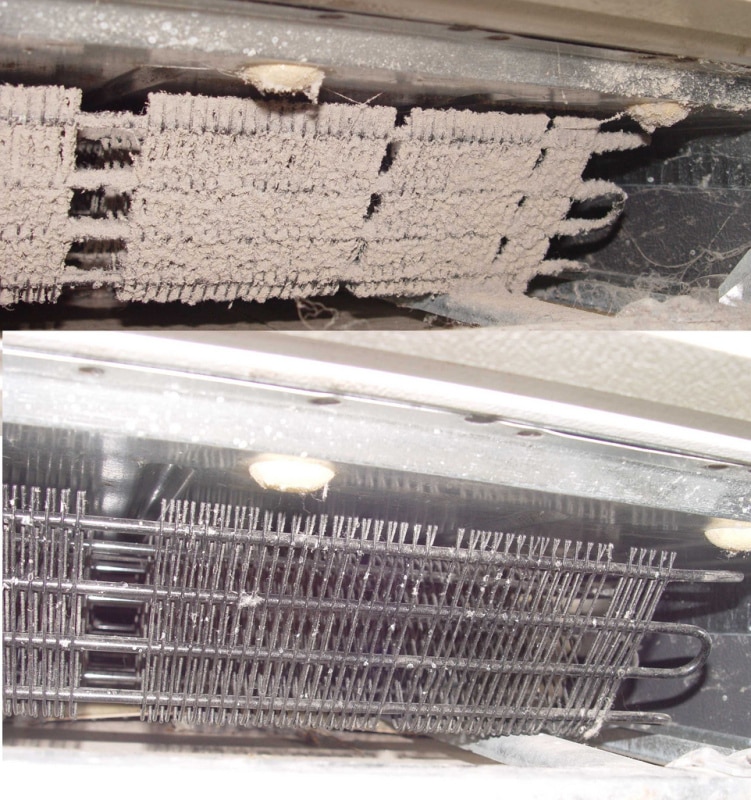
Kelvinator’s compact coil designs trap dust faster than competitors, directly causing freezing failures. Locate coils either at the back (home models) or beneath the cabinet (commercial units). If coated in dust thicker than 1/8 inch, cooling efficiency drops 25% within weeks. But here’s the Kelvinator-specific danger: Their aluminum coils dent easily during cleaning. Never use vacuum attachments – the suction force bends fragile fins. Instead, use a soft-bristle brush in downward strokes only. Pro tip: Place a towel underneath to catch debris – Kelvinator’s coil guards funnel dust directly onto the compressor.
Diagnosing the Evaporator Fan Without Opening Panels
A silent evaporator fan stops cold air circulation instantly. Most guides tell you to remove panels, but Kelvinator’s fan access requires disassembling shelves first. Safer method: Unplug unit, then locate the air vent near the freezer ceiling. Hold your palm 2 inches away while running – you should feel strong, consistent airflow. No airflow? Listen for clicking sounds when powering on (indicates seized motor). Critical warning: If you smell burnt plastic, unplug immediately – Kelvinator’s fan motors short-circuit when jammed by ice buildup, risking fire.
When to Call Professionals vs. DIY Repairs
Certain Kelvinator failures require EPA-certified technicians due to legal and safety risks. Attempting these “forbidden fixes” voids warranties and creates hazards. Know exactly when to stop troubleshooting:
Refrigerant Leaks: The $1,200 Mistake Waiting to Happen

If coils show oil stains or hissing sounds, you likely have a refrigerant leak. Do not attempt DIY recharge kits – Kelvinator’s R-134a systems require precise pressure calibration. Overcharging by 5% causes compressor failure within days. Technicians use manifold gauges to measure: Home models need 25-35 PSI suction pressure; commercial units require 40-50 PSI. One unauthorized repair attempt could cost $800+ in cascade damage.
Compressor Failures: The Hidden Danger Signs
Your compressor should hum steadily when running. Intermittent clicking or loud buzzing indicates failing start components. Check the overload protector (small black cylinder on the compressor) – if warm to touch after running, it’s cycling off from overheating. But Kelvinator-specific risk: Their hermetic compressors can’t be serviced. If the protector clicks more than twice hourly, replacement is unavoidable. Never tap the compressor – the shock can rupture internal valves.
Preventing Future Freezing Failures
Implement these Kelvinator-specific maintenance routines to avoid recurring “freezer not freezing” emergencies. These take less than 10 minutes monthly but extend unit life by 3-5 years:
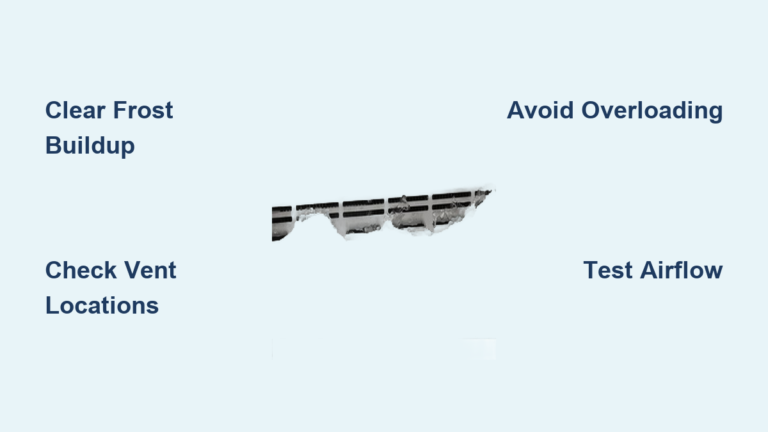
Monthly Defrost Protocol for Frost-Free Models
Even “frost-free” Kelvinators need manual defrosting every 3 months. When ice exceeds 1/4 inch on evaporator coils:
1. Unplug unit and remove all food
2. Place towels in the drain pan (located behind lower kickplate)
3. Use a plastic scraper – never metal – to break ice from coils
4. Wipe residual moisture with microfiber cloth
5. Run unit empty for 2 hours before reloading
Pro tip: Kelvinator’s drain tubes clog frequently. Pour 1 cup hot water down the tube monthly to prevent ice dams.
Temperature Calibration That Saves $200 Yearly
Most users set freezers too cold, wasting 15% energy. Optimal Kelvinator settings:
– Home models: -10°F to -5°F (adjust dial to “5” on most units)
– Commercial units: -15°F (verify with external thermometer)
Place a thermometer in a cup of oil (for accuracy) for 24 hours. If fluctuating more than 5°F, calibrate: Locate the thermostat’s calibration screw (usually under a plastic cover). Turn clockwise in 1/8 increments to lower temperature.
Final Diagnostic Roadmap
When your Kelvinator freezer not freezing strikes, follow this sequence to pinpoint causes in under 30 minutes: First verify power and thermostat function. Then check door seals and condenser coils. If still failing, test evaporator fan airflow. Only then investigate compressor sounds and refrigerant signs. Remember that 70% of Kelvinator cooling failures stem from avoidable maintenance issues – not component failures. Keep your model number (found on the interior wall label) handy when calling technicians; it determines whether your unit uses sealed digital controls or mechanical thermostats. For persistent issues, always request Kelvinator-certified technicians – generic appliance repairers often misdiagnose their unique sealed systems. By acting quickly on these model-specific steps, you’ll protect your food investment and avoid the $400+ emergency service calls that plague unprepared owners.