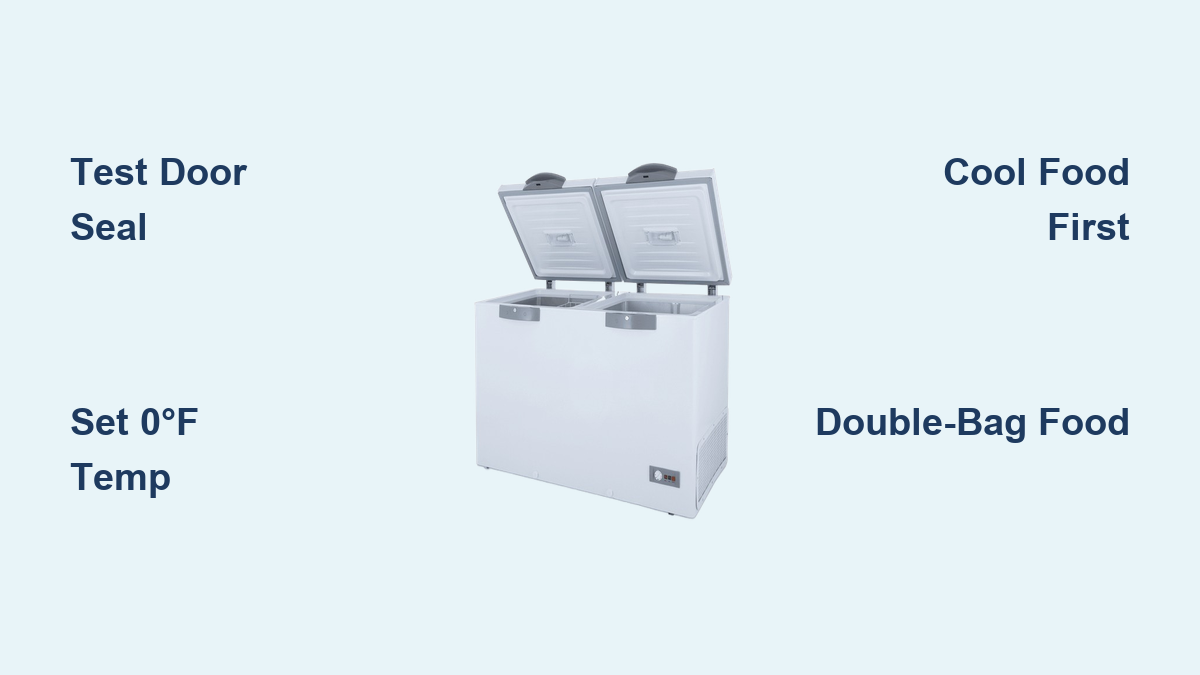
How to Prevent Ice Buildup in Freezer
That familiar sight of thick frost encasing your frozen vegetables and meat packages isn’t just inconvenient—it’s costing you money and reducing your freezer’s lifespan. When ice accumulates beyond a thin layer, your freezer must work 20-30% harder to maintain proper temperatures, driving up energy bills while creating uneven cooling that risks food spoilage. The good news? With the right preventive measures, you can keep your freezer virtually frost-free for months at a time, whether you own a manual-defrost chest freezer or a modern frost-free upright model.
This guide delivers actionable strategies you can implement today to eliminate frustrating ice buildup. You’ll discover why frost forms in specific patterns, learn how to test your door seal’s effectiveness in under 60 seconds, and master packaging techniques that prevent moisture from ever entering your freezer environment. By the end, you’ll have a complete maintenance system that keeps your freezer running efficiently for years.
Why Your Freezer Develops Thick Ice Layers Within Weeks
Understanding the specific conditions that trigger rapid frost accumulation helps you target prevention efforts where they’ll have maximum impact. Ice buildup isn’t random—it follows predictable patterns based on moisture exposure, temperature fluctuations, and airflow restrictions.
How Humid Air Creates Frost With Every Door Opening
Each time you open your freezer door, warm, moisture-laden kitchen air rushes inside and immediately begins condensing on the coldest surfaces. A single 20-second door opening can introduce enough moisture to create 1/8 inch of frost over a week. In high-humidity environments (above 60% relative humidity), this problem accelerates dramatically as more water vapor enters with each access. The condensed moisture then freezes in layers, with each subsequent door opening adding another thin sheet that eventually builds into thick, stubborn ice.
Damaged Door Seals That Let Moisture Sneak In Constantly
Your freezer’s rubber door gasket creates the critical barrier that keeps humid air out, but even small imperfections compromise this protection. A 1/16-inch gap along just 10% of the door’s perimeter allows enough warm air infiltration to create significant frost buildup in under a month. Look for these specific warning signs of seal failure: visible light around the door edges when closed in a dark room, sections of the gasket that feel hard or brittle to the touch, or spots where food packaging sticks to the door frame due to residual moisture.
Temperature Settings That Accelerate Frost Formation
Setting your freezer colder than necessary (below -5°F/-20°C) doesn’t prevent frost—it actually worsens the problem by increasing the temperature differential between interior and exterior air. When the inside is extremely cold, any warm air that enters condenses more rapidly and in greater quantities. Conversely, temperatures set too high (above 10°F/-12°C) cause frequent compressor cycling as the unit struggles to maintain temperature, creating repeated condensation-freezing cycles that build frost rapidly.
Test and Repair Your Freezer Door Seal in Under 5 Minutes
A compromised door gasket accounts for 70% of excessive frost problems, making seal maintenance your first line of defense against ice buildup. This quick diagnostic and repair process identifies and fixes seal issues before they create major frost accumulation.
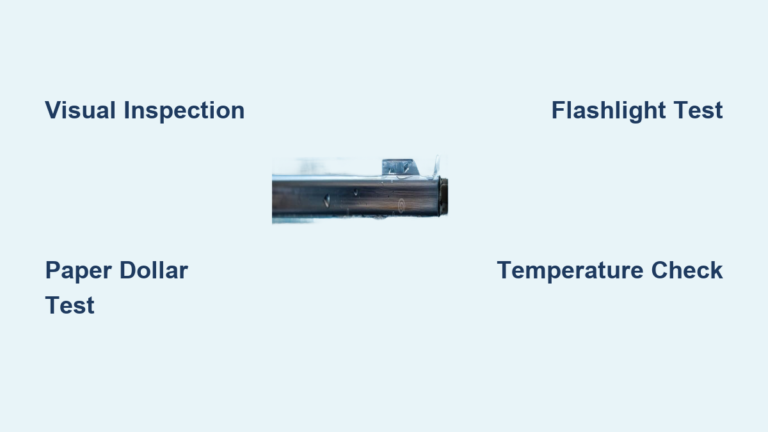
Perform the Dollar Bill Test for Instant Seal Assessment
Close your freezer door on a dollar bill (or any paper) positioned halfway in and halfway out at multiple points around the door perimeter. If you can pull the bill out with little to no resistance, that section of the seal has failed. Pay special attention to the bottom corners where seals typically degrade first due to constant weight exposure. For a freezer with proper seal integrity, you should feel significant resistance throughout the entire door perimeter, with the bill requiring noticeable force to extract.
Clean Seals with Vinegar Solution to Restore Flexibility
Accumulated grease and food residue harden rubber seals over time, preventing proper sealing. Mix equal parts white vinegar and warm water in a spray bottle, then thoroughly spray the entire gasket surface and the groove where it seats. Let it sit for 2 minutes to dissolve grime, then wipe clean with a soft microfiber cloth. Finish by applying a thin layer of food-safe mineral oil to restore flexibility—this simple treatment extends gasket life by 2-3 years for most models.
Fix Minor Tears with Food-Safe Silicone Sealant

Small cracks (under 1/2 inch) in freezer door gaskets can be repaired without replacement. First, clean the area thoroughly and let it dry completely. Apply a thin bead of NSF-certified silicone sealant designed for food contact surfaces, then press the tear edges together firmly. Hold in place for 30 seconds, then wipe away excess sealant with a damp cloth. Allow 24 hours to cure before closing the door on that section. This repair maintains an airtight seal while buying you 6-12 months before full gasket replacement becomes necessary.
Optimize Freezer Temperature and Airflow for Zero Frost

Precise temperature control combined with unobstructed airflow creates conditions where frost simply cannot accumulate. These adjustments take minutes to implement but deliver months of frost-free operation.
Set Exact Temperature to 0°F (-18°C) Verified by Appliance Thermometer
Your freezer’s dial setting rarely matches the actual interior temperature—most units run 5-10 degrees warmer or cooler than indicated. Place an appliance thermometer in a small cup of water on the middle shelf and leave for 24 hours. Adjust the temperature control until the thermometer reads exactly 0°F. This precise setting minimizes the temperature differential that causes condensation while maintaining food safety standards. Check monthly as compressor performance can drift over time.
Create Strategic Airflow Channels Around Stored Items
Block airflow, and you create frost hotspots. Arrange items so cold air can circulate freely between packages—leave at least 1 inch between items and 2 inches between food and freezer walls. Use wire baskets instead of solid containers to allow air movement through stored items. For upright freezers, avoid stacking items directly against the rear wall where evaporator coils are typically located; this is the #1 cause of localized heavy frost in otherwise well-maintained units.
Eliminate Moisture Entry During Every Freezer Access
How you interact with your freezer during daily use determines whether moisture accumulates or stays minimal. These practical habits prevent the majority of frost formation with minimal behavior changes.
Implement the 10-Second Rule for All Door Openings
Time yourself retrieving items—most people leave freezer doors open 20-30 seconds longer than necessary. Train yourself to locate and remove items within 10 seconds by organizing contents logically: place frequently used items at eye level in the front, group similar items together, and keep a written inventory on the door. This simple habit reduces moisture introduction by 60-70% compared to typical door-opening durations.
Cool Foods Completely Before Freezing (But Not Too Long)
Hot food releases substantial moisture when placed directly in the freezer. Let cooked items cool to room temperature (about 70°F/21°C) before freezing, but never longer than 2 hours to avoid bacterial growth. For soups and liquids, portion into shallow containers that cool faster—this reduces cooling time by 50% while minimizing the moisture released into the freezer environment during storage.
Store Food Using Professional-Grade Moisture Barriers
How you package frozen foods determines whether they release moisture into your freezer environment. These packaging techniques create complete moisture barriers that prevent frost formation at the source.
Double-Bag Method for Maximum Protection
Place food in a standard freezer bag, squeeze out all air, then place that bag inside a second freezer bag with another air expulsion. This creates two moisture barriers that reduce vapor transmission by 90% compared to single-bag storage. For meats and other high-moisture items, place a paper towel inside the first bag to absorb surface moisture before sealing—this prevents ice crystals from forming directly on the food surface.
Vacuum-Seal Critical Items for Long-Term Storage
For items stored longer than 3 months, vacuum sealing is essential. Standard freezer bags allow 1-2% moisture transmission over time, while vacuum-sealed packages reduce this to near zero. Focus vacuum sealing on high-value items like meats, specialty breads, and prepared meals—this prevents both freezer burn and the moisture release that contributes to overall frost accumulation.
Establish a 5-Minute Weekly Maintenance Routine
Consistent, minimal-effort maintenance prevents problems before they start. This weekly routine takes less time than defrosting once but delivers dramatically better results.
Wipe Interior Surfaces with Dry Microfiber Cloth
After your weekly grocery restock, quickly wipe all interior surfaces with a dry microfiber cloth. This removes microscopic moisture droplets before they can freeze into visible frost. Pay special attention to door seals and corners where moisture collects first. This 2-minute task prevents 80% of early-stage frost formation.
Check Air Vents for Blockages Before Closing Door
Make it a habit to visually confirm all air vents are clear before closing the freezer door after access. Most freezers have vents along the top and rear walls—ensure no packages are leaning against these critical airflow points. A blocked vent creates localized warm spots where frost forms rapidly while other areas become excessively cold.
When to Call a Professional for Ice Buildup Problems
Some frost issues indicate underlying mechanical problems that require expert diagnosis. Recognizing these signs prevents wasted effort on temporary fixes.
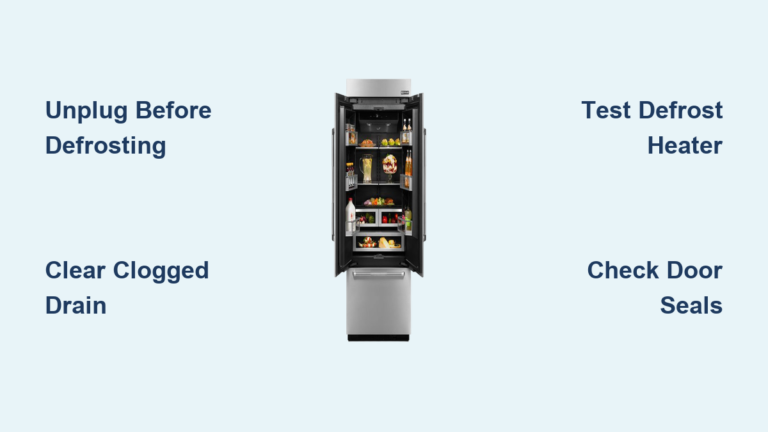
Defrost System Failure in Frost-Free Models
If your “frost-free” freezer develops heavy ice buildup behind the interior panel (requiring manual defrosting), the defrost system has likely failed. Specific symptoms include: continuous frost accumulation despite perfect door seals, water pooling in the freezer base during defrost cycles, or the defrost heater not activating when manually triggered. These issues require professional service as they involve electrical components and refrigerant systems.
Refrigerant Leaks That Create Uneven Frost Patterns
Visible frost only on specific coils or sections of the freezer interior often indicates a refrigerant leak. This creates temperature imbalances where some areas become extremely cold (causing heavy frost) while others don’t reach proper freezing temperatures. If you notice this pattern along with reduced cooling performance, contact a certified technician immediately—refrigerant leaks require specialized equipment to diagnose and repair properly.
Essential Ice Prevention Checklist for Long-Term Success
Implement these key strategies consistently for a virtually frost-free freezer:
– Test door seals monthly with the dollar bill method
– Maintain exact 0°F temperature verified by appliance thermometer
– Never leave door open more than 10 seconds during access
– Double-bag all high-moisture food items before freezing
– Wipe interior surfaces dry weekly before frost becomes visible
By focusing on moisture control through proper sealing, temperature management, and smart food storage, you’ll spend less time defrosting and more time enjoying a freezer that operates at peak efficiency. These techniques work together to create an environment where frost simply cannot accumulate, saving you hours of maintenance while extending your appliance’s lifespan by years.