How to Freeze Chicken in Freezer Bags
Freezing chicken properly in freezer bags is your ticket to maintaining premium quality while minimizing food waste and maximizing kitchen efficiency. When supermarket prices drop or you score a great deal on bulk chicken, knowing how to freeze it correctly ensures you’ll enjoy flavorful, safe meals months later. The difference between chicken that tastes fresh after freezing and chicken ruined by freezer burn comes down to precise technique—not expensive equipment. This guide reveals exactly how to package chicken in freezer bags for optimal freshness, from selecting the right materials to thawing safely when you’re ready to cook.
Improperly frozen chicken develops dry spots, off-flavors, and texture changes that make even simple recipes disappointing. But when you follow the right process, frozen chicken can maintain excellent quality for 6-12 months depending on the cut. The key lies in understanding how air exposure and temperature fluctuations damage meat at the cellular level. By investing just 10-15 minutes in proper packaging, you’ll save money, reduce waste, and always have protein ready for last-minute meals. Let’s dive into the exact steps that make the difference between mediocre and restaurant-quality frozen chicken.
Select High-Quality Freezer Bags for Maximum Protection
Why Regular Bags Fail for Long-Term Chicken Storage
Standard plastic bags lack the thickness needed to withstand freezer conditions, allowing microscopic air infiltration that causes freezer burn within weeks. Freezer burn appears as dry, grayish patches on chicken and indicates oxidation damage that affects both texture and taste. True freezer bags feature reinforced seams and thicker plastic (typically 2-3 mil thickness) that create an effective barrier against moisture loss and air exposure.
Quart vs. Gallon Bags: Choosing the Right Size for Your Needs
Select bag sizes based on your typical usage patterns. Quart-sized freezer bags work perfectly for individual chicken breasts or small portions, while gallon sizes accommodate whole chickens or family packs. Having multiple sizes available lets you portion chicken according to specific recipes—freezing four breasts together for fajitas or two thighs for a weeknight meal. Pre-portioning saves significant time later and prevents the common mistake of thawing more chicken than you need.
Recognize Quality Construction Features Before Buying
Examine bags for triple-track zippers that seal completely without leaks, reinforced corners that resist tearing, and smooth interiors that won’t snag on bone ends. Squeeze the bag to test thickness—quality freezer bags feel substantial in your hand, not flimsy. For best results, choose bags specifically labeled “freezer safe” rather than generic storage bags that may only work well for short-term refrigeration.
Prepare Chicken Properly Before Freezing
Why Removing Store Packaging Improves Results
Supermarket packaging is designed for display and refrigeration, not long-term freezing. The thin plastic and absorbent pads allow air exposure that accelerates quality loss. Transfer chicken to your freezer bags immediately after purchase for best results. This step also gives you the opportunity to portion chicken according to your needs—separating breasts, dividing thighs, or cutting strips for stir-fries.
The Critical Importance of Moisture Control
Excess surface moisture creates large ice crystals that damage chicken’s cellular structure, leading to texture problems when thawed. Pat chicken thoroughly dry with paper towels before packaging, especially for cuts you’ll store longer than two months. For whole chickens, remove excess fat and any remaining feathers or pinfeathers. If freezing marinated chicken, let it drain briefly to remove excess liquid that could form ice crystals.
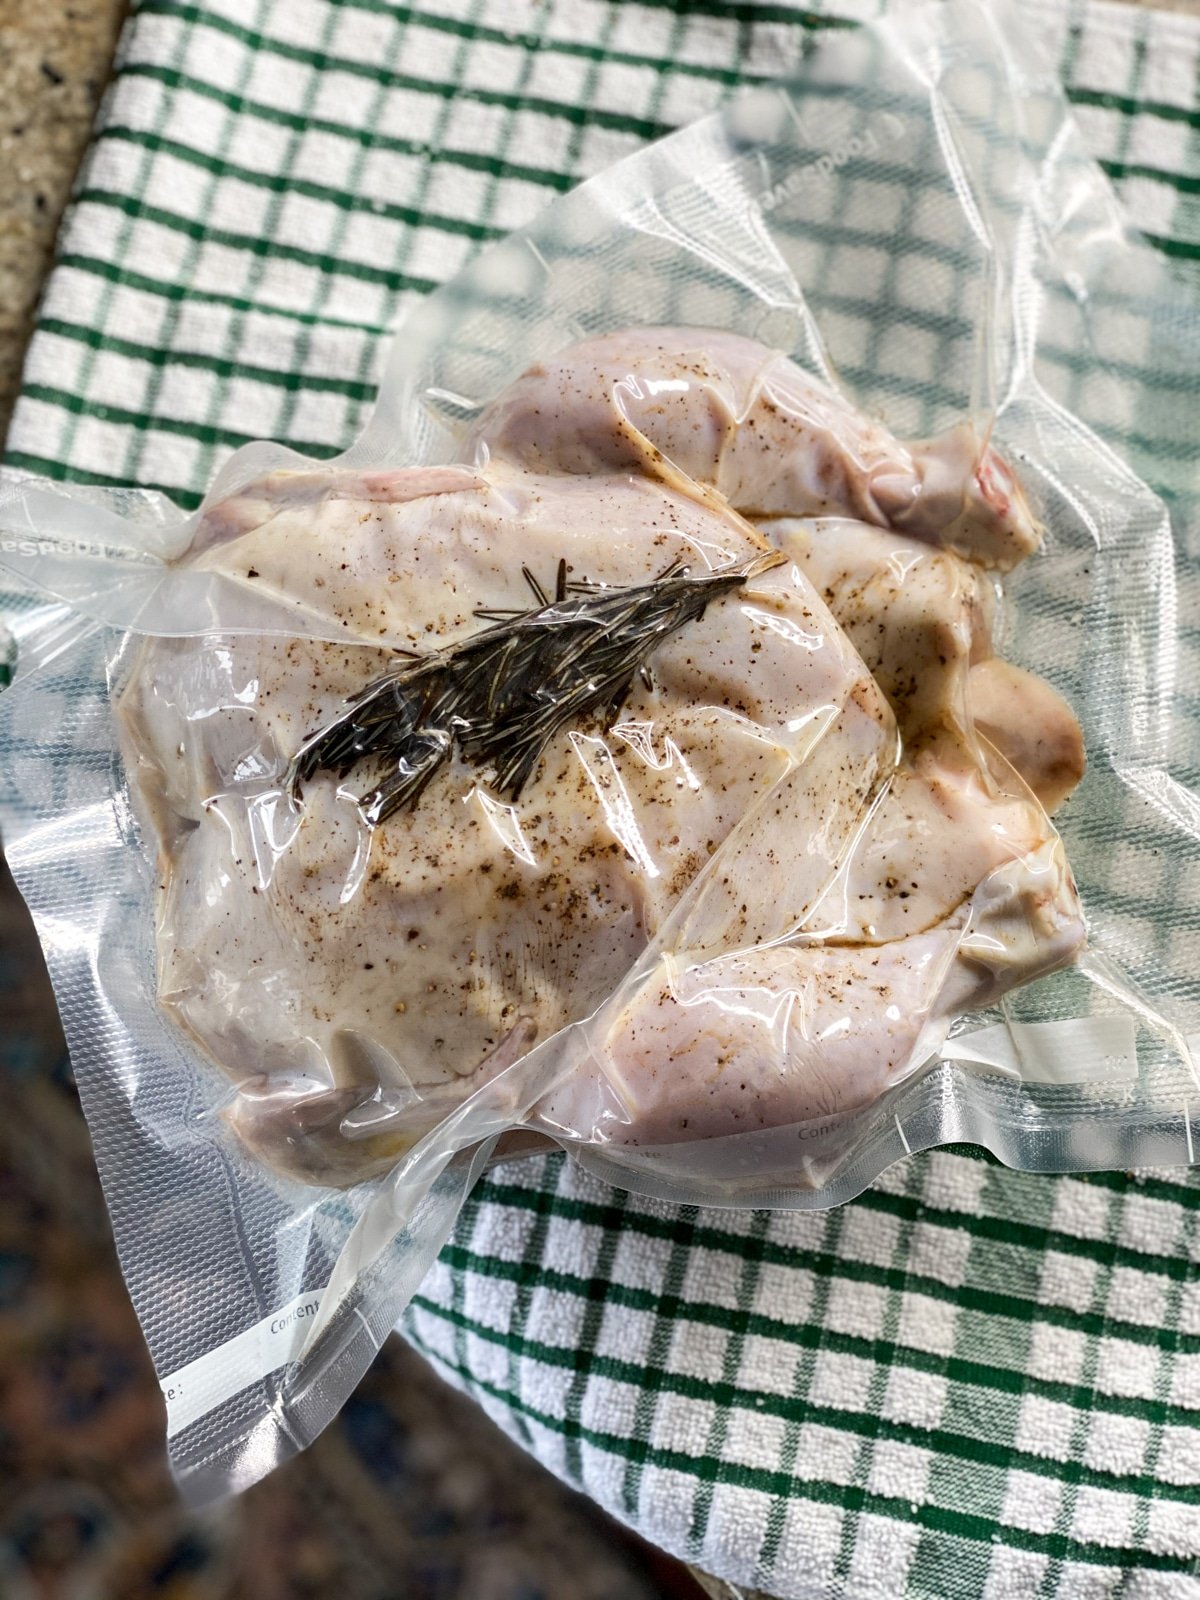
Flat Arrangement Technique for Faster Freezing
Arrange chicken pieces in a single layer rather than stacking them in the bag. Flat packages freeze more quickly, which preserves texture and flavor better than slow freezing. For boneless breasts, place parchment paper between pieces to prevent sticking while allowing you to separate portions later. This method creates space-efficient packages that stack neatly in your freezer and thaw more evenly when you’re ready to cook.
Master Air Removal Techniques That Prevent Freezer Burn
Water Displacement Method for Perfect Vacuum-Like Results
Fill your freezer bag with chicken, seal it three-quarters closed, then slowly lower it into a bowl of cold water. The water pressure forces air out through the remaining opening. Once fully submerged with air expelled, complete the seal. This technique works better than manual air squeezing for irregularly shaped pieces and creates near-vacuum conditions without special equipment.
Straw Method for Pinpoint Air Extraction
Insert a clean drinking straw into the corner of your nearly-sealed bag, press out remaining air by gently sucking through the straw, then quickly remove the straw and finish sealing. This simple trick targets trapped air pockets in corners that manual pressing misses. For best results, work on one small section at a time rather than trying to remove all air at once.
Why Vacuum Sealers Are Worth Considering for Frequent Users
If you regularly freeze chicken in bulk, a vacuum sealer pays for itself through reduced food waste. These devices remove nearly all air and create heat-sealed packages that maintain quality 2-3 times longer than standard freezer bags. While the initial investment seems high, the savings from eliminating freezer burn and extending shelf life make it worthwhile for households that buy chicken in bulk.
Implement Foolproof Labeling and Organization Systems
What to Include on Every Freezer Bag Label
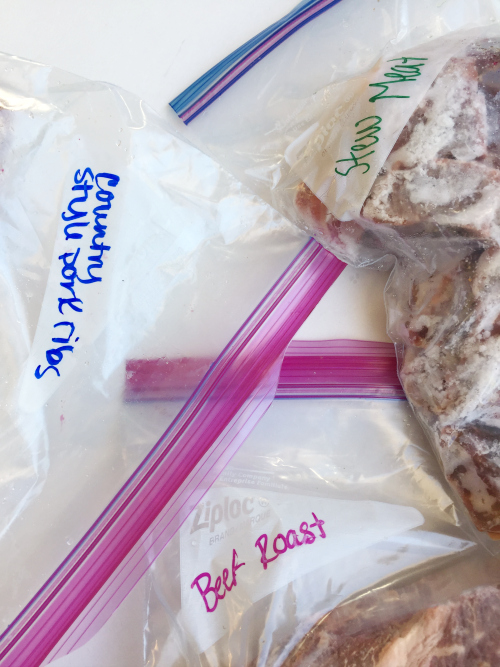
Record the date frozen, chicken type (breast, thigh, whole), quantity, and any special preparation notes like “marinated for fajitas” or “boneless, skinless.” Use a permanent marker directly on the bag or freezer-safe labels that won’t peel off when frozen. This simple step prevents the common problem of “mystery chicken” buried in your freezer for years.
First-In, First-Out Freezer Organization Method
Place newly frozen packages behind older ones so you naturally use the oldest chicken first. Check your freezer inventory monthly and move packages forward as you remove older items. This system prevents chicken from getting lost in the back of your freezer where it eventually gets discarded after excessive storage time.
Digital Freezer Inventory Tracking Solutions
Take a photo of your organized freezer monthly or maintain a simple spreadsheet noting contents and dates. Some home cooks use whiteboards on their freezer doors for quick visual reference. This practice transforms how efficiently you manage frozen inventory, reducing duplicate purchases and ensuring you use chicken while still at peak quality.
Thaw Chicken Safely Without Compromising Quality
Refrigerator Thawing: The Safest Method for Busy Schedules
Place frozen chicken in a bowl to catch condensation and allow 24 hours for every 4-5 pounds to thaw completely. This slow method keeps chicken at safe temperatures throughout and gives you flexibility—you can cook immediately upon thawing or refrigerate for 1-2 more days before cooking. Plan ahead by moving chicken to the refrigerator the night before you need it.
Cold Water Thawing for Last-Minute Needs
Submerge the sealed freezer bag in cold water, changing the water every 30 minutes to maintain safe temperatures. This method takes about 30 minutes per pound but requires your attention. Cook chicken immediately after thawing—never refreeze raw chicken thawed this way without cooking it first.
Microwave Thawing as a Last Resort
Use only when you’re minutes from cooking. Work in short intervals on defrost setting, checking and rotating chicken frequently to prevent partial cooking. Cook immediately after thawing since some areas may have reached temperatures where bacteria grow rapidly.
Avoid These 5 Costly Freezing Mistakes
Freezing Warm Chicken That Raises Freezer Temperature
Adding chicken that hasn’t cooled to refrigerator temperature first causes your freezer to work harder, potentially partially thawing other items. Always cool chicken in the refrigerator for 30-60 minutes before packaging or spread it on a baking sheet to cool quickly.
Using Damaged Bags That Compromise Protection
Tiny holes from previous use or weak seals allow air infiltration that causes freezer burn. Inspect bags before use and replace any showing signs of wear. Store unused bags away from sharp objects that could puncture them.
Overfilling Bags That Prevent Proper Air Removal
Fill bags no more than three-quarters full to allow room for arrangement and sealing. Overfilled bags prevent effective air removal and slow the freezing process, leading to larger ice crystals that damage texture.
Storing Chicken Next to Strong-Smelling Foods
Chicken readily absorbs odors from its surroundings. Keep it away from fish, strong cheeses, or highly spiced foods in your freezer. If your freezer has lingering odors, clean it thoroughly before adding fresh chicken packages.
Forgetting Date Labels That Lead to Wasted Food
Without clear dates, you can’t track storage time, leading to chicken that gets buried and forgotten. Implement a simple labeling system that tells you exactly what you have and when it went in—your future self will thank you when meal planning.
By following these precise techniques for freezing chicken in freezer bags, you’ll transform how you manage protein in your kitchen. Properly frozen chicken maintains excellent texture and flavor for months, giving you restaurant-quality results from your freezer stash. The small investment in correct packaging pays off every time you reach for convenient, ready-to-cook chicken that tastes nearly as good as fresh. Implement these methods today and never waste chicken to freezer burn again.