How to Fix Puncture Hole in Freezer
Finding a puncture hole in your freezer can send panic through any homeowner. That small hole in your freezer wall isn’t just a cosmetic issue—it’s actively destroying your appliance’s cooling capability as refrigerant leaks out. When the refrigerant escapes through a puncture, your freezer loses its ability to maintain freezing temperatures, putting all your stored food at risk of spoilage. This guide shows you exactly how to identify, assess, and repair a puncture hole in your freezer before your entire food supply becomes compromised. You’ll learn whether you can safely perform a DIY fix or when you absolutely need professional help to save both your appliance and your wallet.
Identifying Freezer Puncture Damage Before It’s Too Late

Before attempting any repair, you must confirm you’re dealing with an actual puncture rather than other common freezer issues. A punctured freezer typically shows these unmistakable warning signs that distinguish it from simple frost buildup or thermostat problems.
How to Confirm Refrigerant Is Leaking From Your Freezer
Listen for a faint hissing sound near the puncture site—this indicates escaping refrigerant under pressure. Check if your freezer runs constantly but never reaches proper freezing temperatures below 0°F (-18°C). Feel for unusually warm spots on the freezer walls where the refrigerant lines run. Most critically, inspect for oil residue around potential puncture sites, as refrigerant carries compressor oil that leaks out with it. If your freezer has suddenly stopped cooling effectively and you notice these combined symptoms, you’re likely dealing with a puncture rather than a simple electrical or thermostat issue.
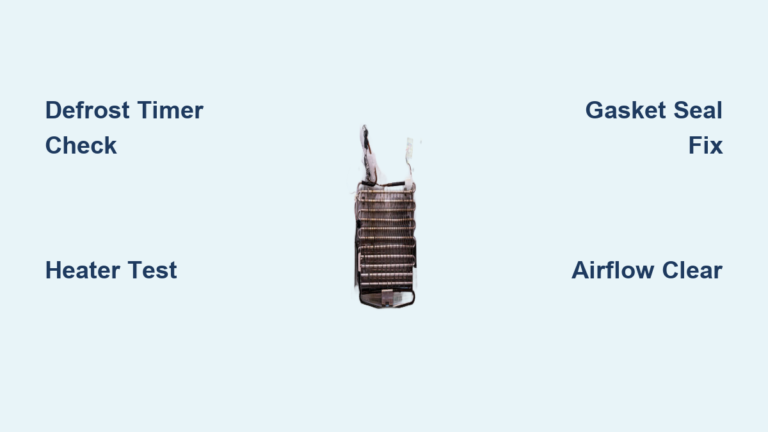
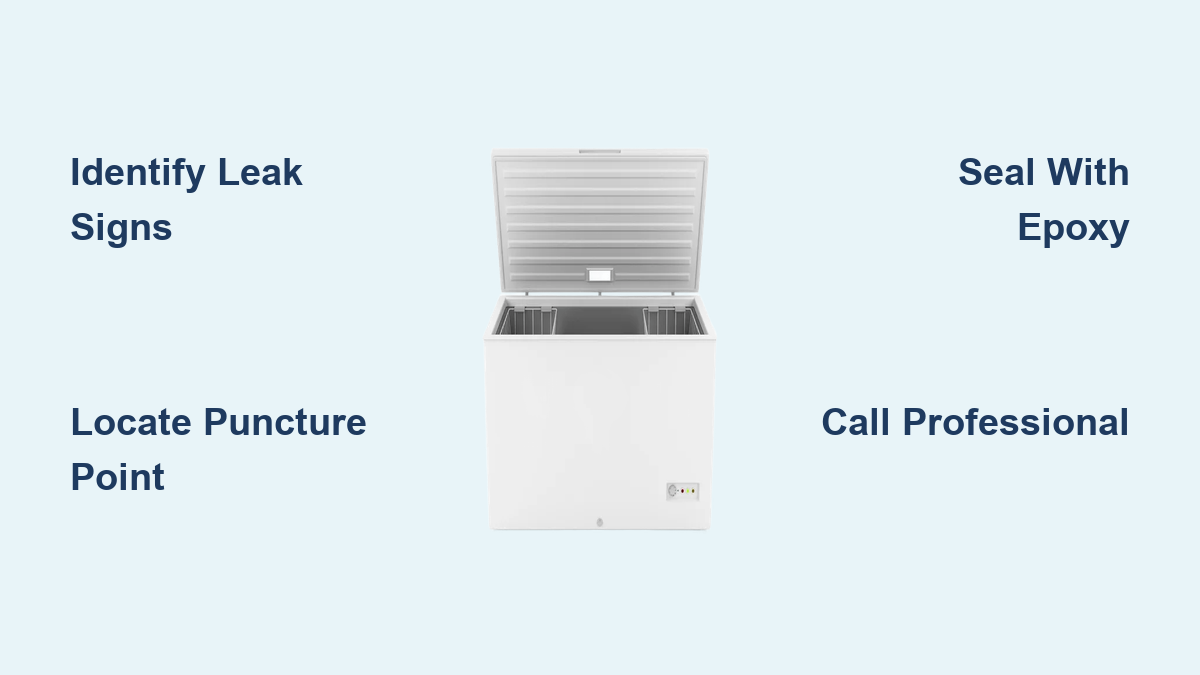
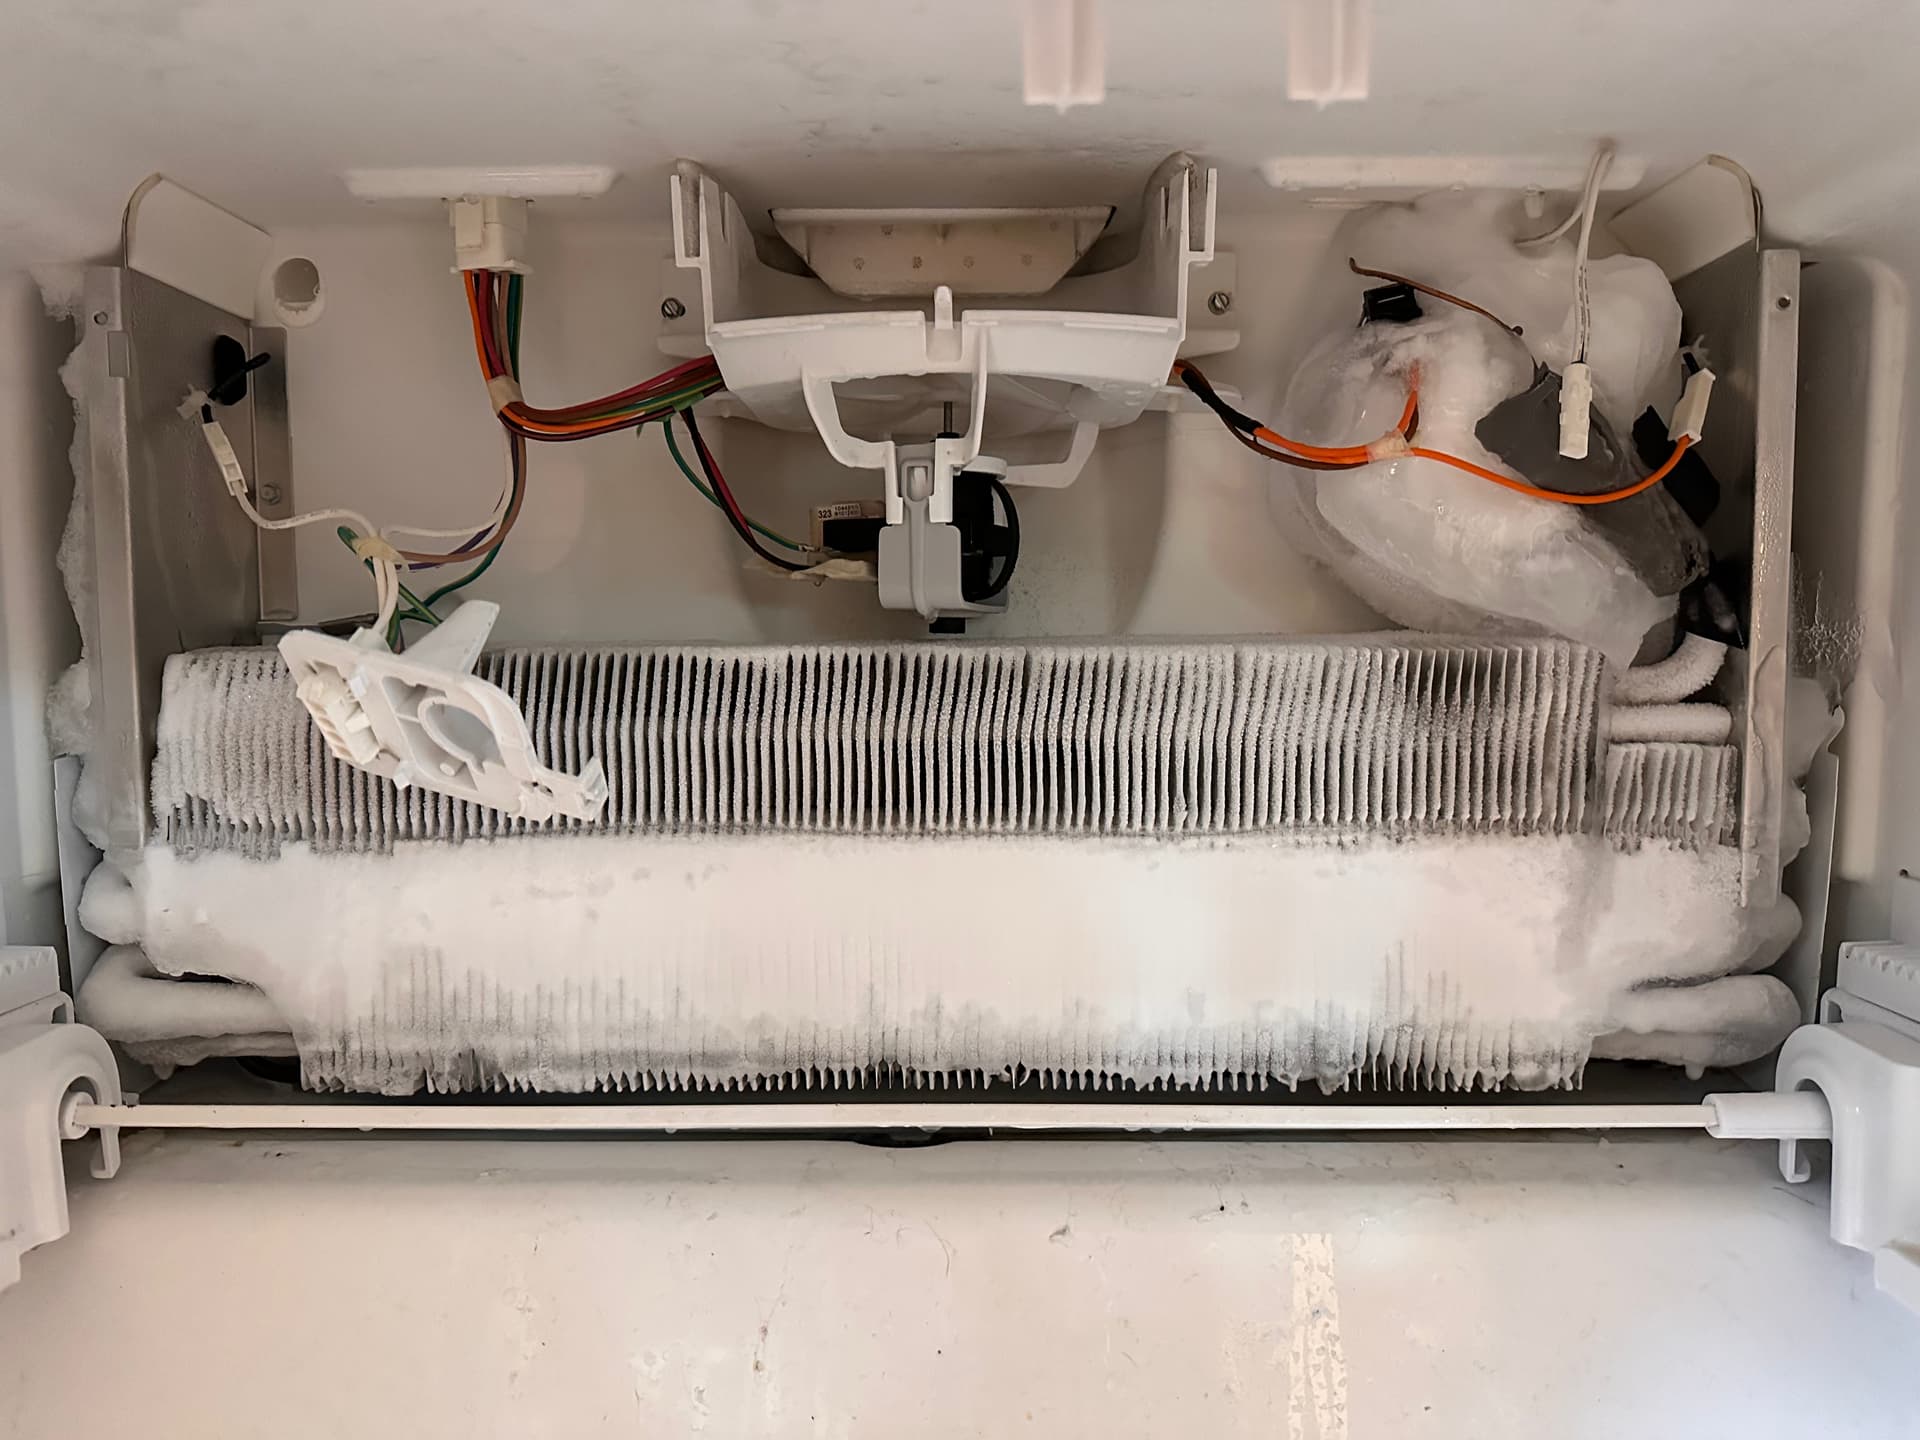
Locating the Exact Puncture Point in Your Freezer
Begin your search at common puncture locations: behind the interior liner where installation screws might have penetrated, near the evaporator coils typically hidden behind the back panel, and along the door seal area where accidental impacts occur. Remove all food items and shelves to access all interior surfaces. Use a flashlight to examine walls for tiny holes, dents, or visible damage—sometimes as small as a pinprick. For hidden punctures, apply a soapy water solution to suspected areas; escaping refrigerant will create visible bubbles at the leak point. Mark the puncture location clearly with tape once identified before proceeding.
Immediate Actions to Take When You Discover a Freezer Puncture
Your response in the first hour after discovering a puncture significantly impacts whether you can save your appliance or must replace it entirely. Taking these critical steps immediately can prevent total system failure and give you time to arrange proper repairs.
Safely Power Down Your Compromised Freezer
Unplug your freezer immediately to prevent compressor damage from running with insufficient refrigerant. Transfer perishable items to a cooler with ice packs to preserve them during repairs. Leave the freezer door open to prevent moisture buildup inside while the unit is off. Never attempt puncture repairs while the freezer remains plugged in or while the refrigerant system is still pressurized—this creates serious safety hazards.
Assessing Whether Your Freezer Puncture Is Repairable
Not all punctures warrant repair attempts. Freezers with punctures larger than 1/8 inch, multiple puncture sites, or damage to the compressor itself typically require full replacement rather than repair. Consider your freezer’s age—units older than 10 years often aren’t worth repairing when professional service costs approach half the price of a new appliance. Evaluate repair costs versus replacement value; if the puncture repair would cost more than 40% of a comparable new freezer, replacement becomes the more economical choice. Document the puncture size and location with clear photos before deciding your next steps.
Professional Repair vs. DIY Fix: Making the Right Choice
Choosing between professional service and DIY repair depends on several critical factors that impact both your safety and your wallet. Understanding these considerations prevents costly mistakes that could turn a simple puncture into a complete appliance failure.
When You Absolutely Need a Professional Technician
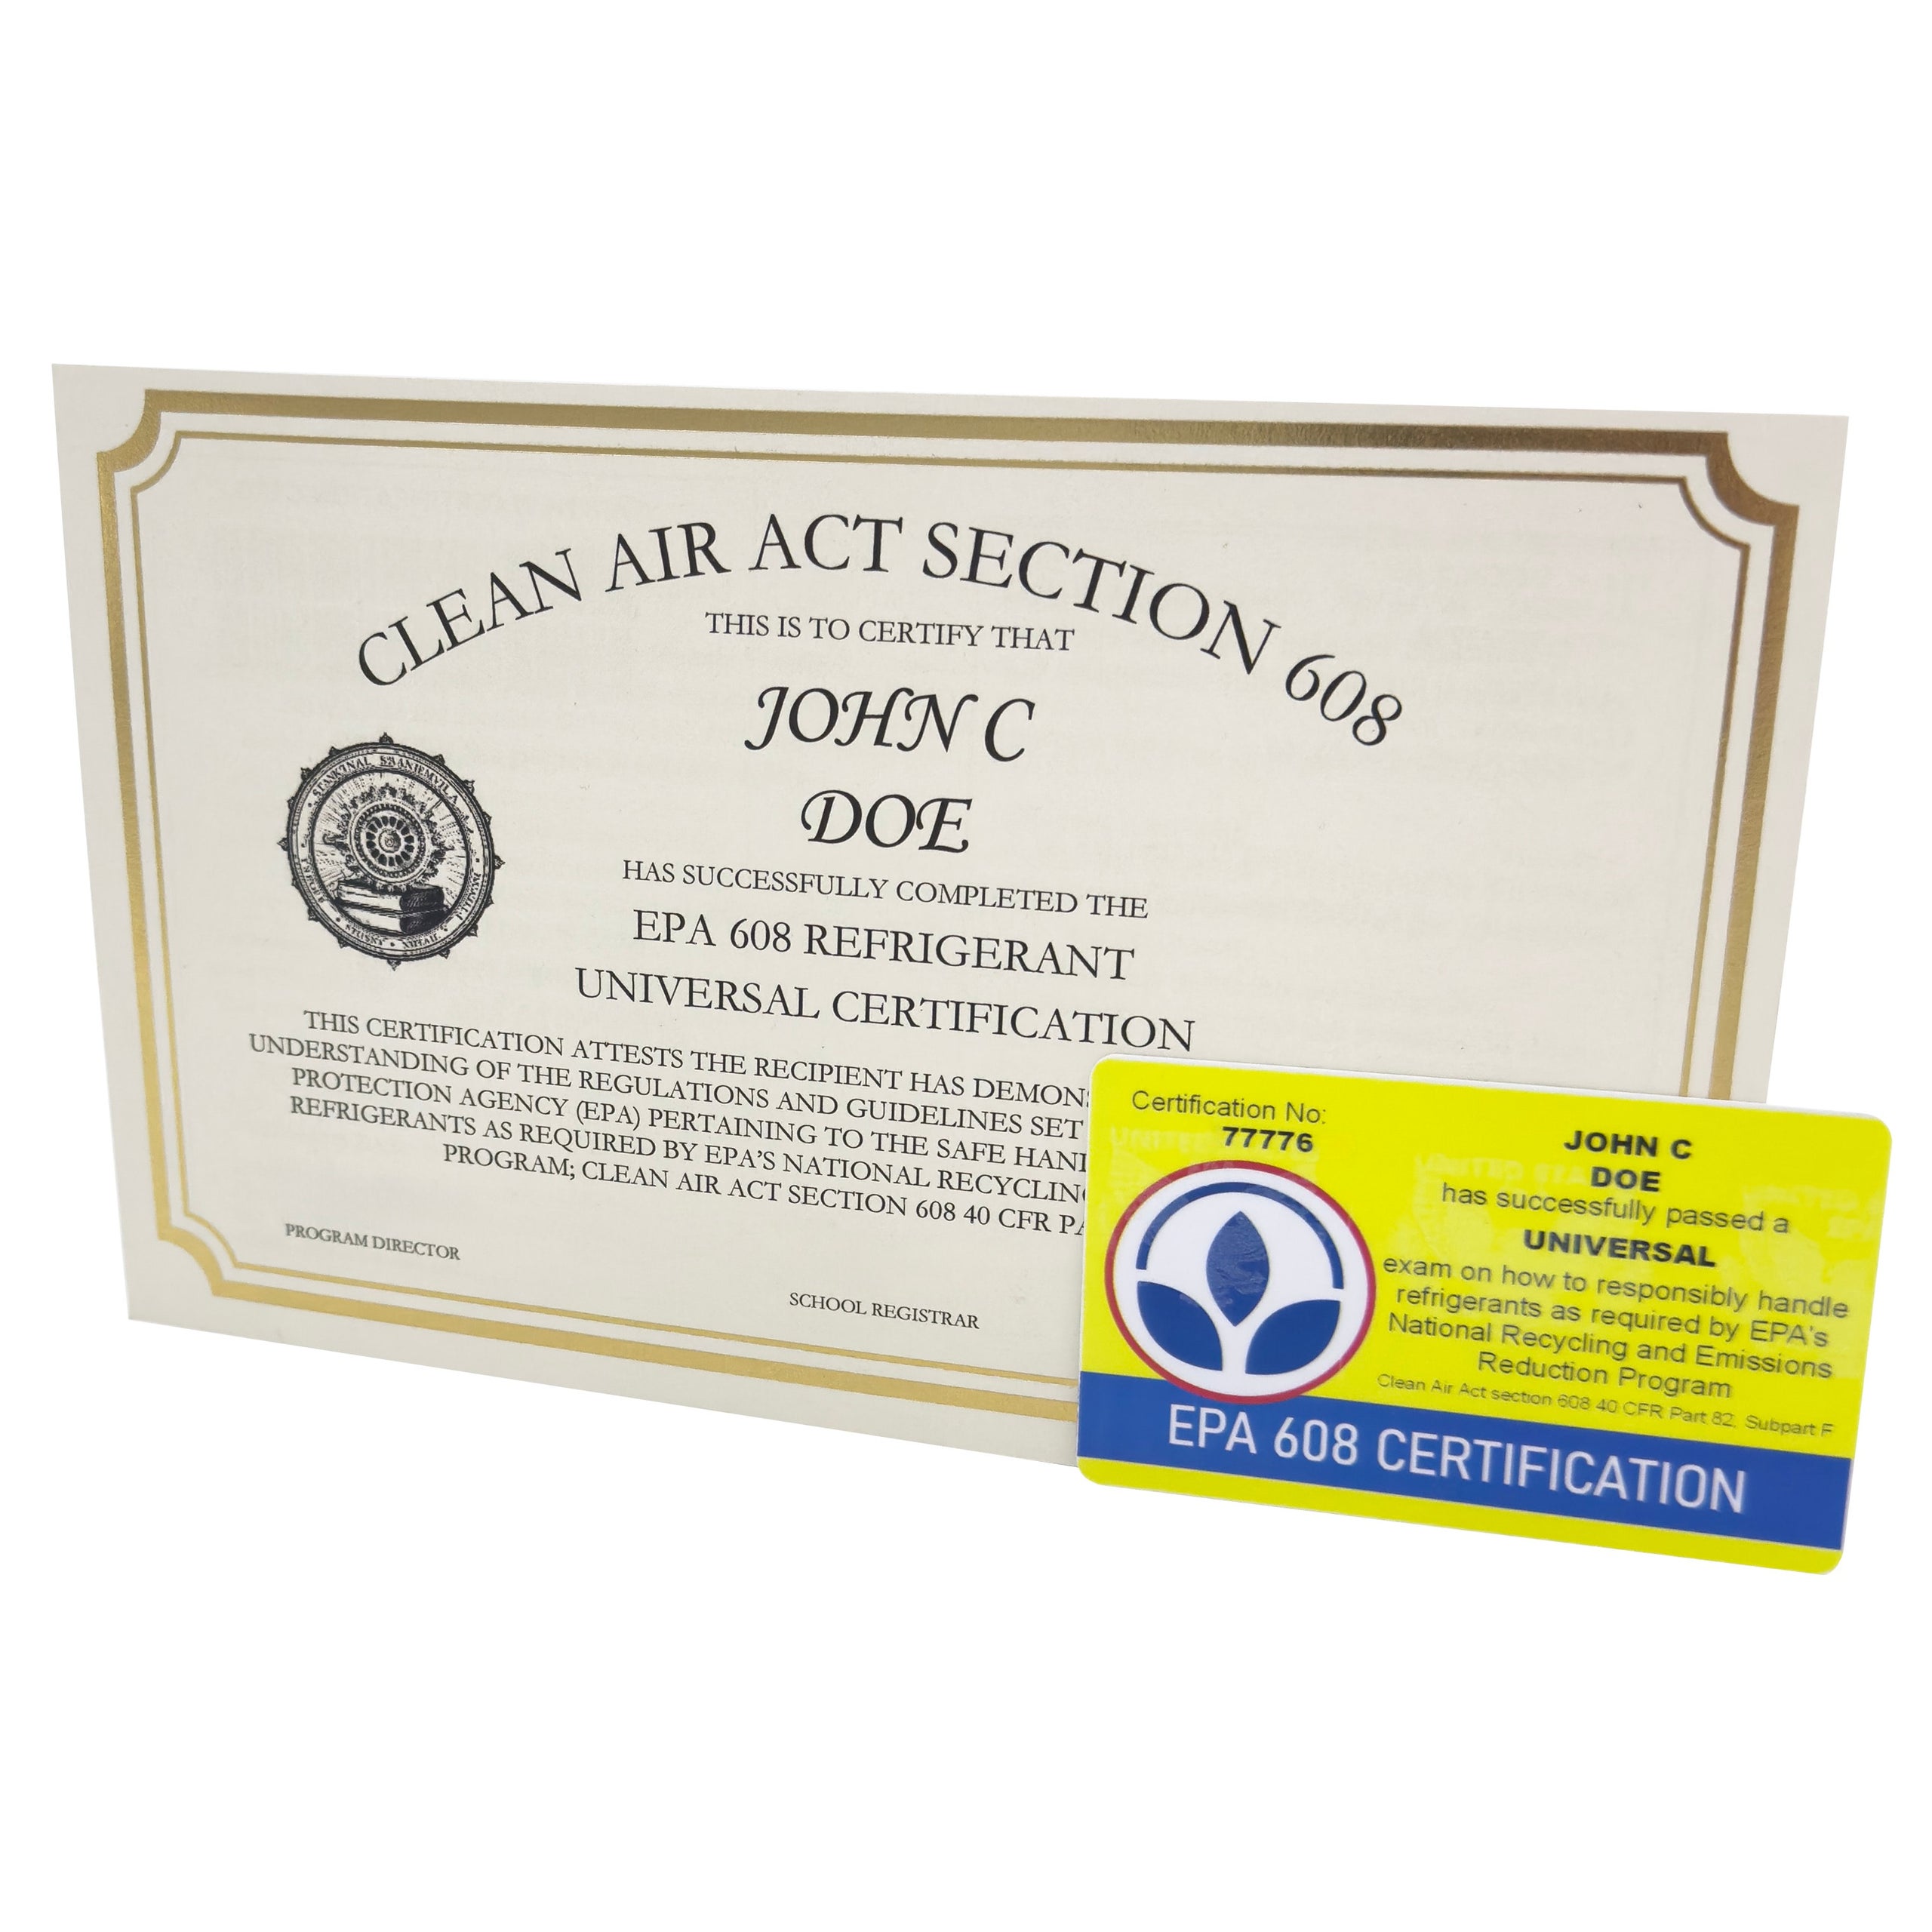
Refrigerant handling requires EPA certification that DIYers don’t possess, making professional help mandatory for proper system recovery and recharge. If your puncture involves the compressor, condenser coils, or any pressurized components, attempting DIY repair creates serious safety risks including refrigerant exposure and electrical hazards. Freezers under warranty often void coverage if unauthorized repairs are attempted. Most critically, improper refrigerant handling harms the environment and violates federal regulations—never attempt to recharge refrigerant without proper certification and equipment.
Situations Where DIY Puncture Repair Makes Sense
Small punctures (under 1/8 inch) in the freezer’s outer shell—not the refrigerant lines themselves—can sometimes be safely sealed with epoxy without refrigerant system intervention. If the puncture occurred in a non-pressurized area like the outer cabinet shell, creating an airtight seal may prevent moisture intrusion without requiring refrigerant work. Freezers you plan to replace soon but need temporary functionality from can benefit from emergency sealing solutions. Always confirm with an appliance technician whether your specific puncture qualifies for DIY treatment before proceeding.
Step-by-Step Guide to Temporarily Sealing a Small Freezer Puncture
This emergency repair method creates a temporary seal for small punctures in non-pressurized areas, buying you time until professional service arrives. Never use this method on active refrigerant lines or large punctures requiring system recharge.
Preparing Your Repair Area for Maximum Adhesion
Remove all frost and ice from the puncture area using a hairdryer on low heat—never use sharp tools that could enlarge the hole. Clean the surrounding surface thoroughly with isopropyl alcohol to remove oil, moisture, and contaminants that prevent proper adhesion. Dry the area completely with a clean cloth, ensuring no moisture remains before applying any sealant. Sand the area lightly around the puncture with fine-grit sandpaper to create a better bonding surface for the epoxy.
Applying Epoxy Sealant to Your Freezer Puncture
Mix a two-part epoxy compound according to manufacturer instructions, working quickly before it cures. Apply generous pressure when pressing the epoxy into the puncture hole to ensure complete penetration. Smooth the epoxy outward from the puncture in a circular motion, creating a dome-shaped patch at least 1 inch in diameter. Allow the epoxy to cure completely according to product specifications—typically 24 hours—before restoring power to the freezer. Never rush the curing process as incomplete bonding will fail under temperature cycling stress.
Preventing Future Freezer Punctures During Daily Use
Most freezer punctures occur from preventable accidents during normal household use. Implementing these simple protective measures significantly reduces your risk of future damage that could compromise your appliance’s integrity.
Safe Storage Practices That Protect Your Freezer Walls
Avoid placing sharp or pointed objects directly against freezer walls—always use containers with smooth edges. Never use ice picks or sharp tools to break up ice inside the freezer; opt for plastic scrapers specifically designed for appliance use. Store long items like frozen vegetables standing upright rather than sliding them horizontally where they might puncture walls. Keep heavy items on lower shelves to prevent accidental drops that could damage freezer compartments.
Installing Protective Barriers Against Accidental Damage
Apply clear plastic liner sheets to interior walls in high-traffic areas where accidental impacts occur most frequently. Install rubber bumper strips along door edges to absorb impact if items are carelessly inserted. Place protective corner guards in areas where shelves meet walls to prevent punctures during shelf adjustments. Consider magnetic freezer organizers that hold items away from walls without requiring drilling or permanent modifications.
When Your Freezer Puncture Repair Has Failed
Despite your best efforts, some puncture repairs fail due to hidden damage or improper sealing. Recognizing these failure signs quickly prevents further damage to your appliance and food supply.
Recognizing Failed Puncture Repairs Before Total System Failure
Watch for recurring frost buildup concentrated around the repaired area, indicating moisture infiltration through an incomplete seal. Listen for returning hissing sounds that suggest refrigerant continues to leak from the puncture site. Monitor temperature fluctuations where the freezer struggles to maintain consistent freezing temperatures despite proper settings. Check for oil residue reappearing near the repair site—a clear sign refrigerant is still escaping through the compromised area.
Emergency Measures When Your Repair Fails Overnight
Immediately unplug the freezer and transfer all contents to alternative cold storage. Place desiccant packs inside to absorb moisture while the unit remains off. Contact a certified appliance repair technician first thing in the morning—don’t attempt multiple repair attempts that could worsen the damage. Document the repair failure with photos and notes to help the technician diagnose the underlying issue more efficiently.
Extending Your Freezer’s Lifespan After Puncture Repair
A successfully repaired puncture doesn’t mean your freezer is out of danger. Implement these maintenance practices to maximize your appliance’s longevity and prevent future catastrophic failures.
Monthly Maintenance Checks To Catch Problems Early
Inspect interior walls for new dents, punctures, or developing weak spots before they become serious issues. Verify consistent temperature performance using an independent thermometer placed in various freezer zones. Listen for unusual operational sounds that might indicate developing problems with the refrigeration system. Clean condenser coils every three months to maintain optimal cooling efficiency and reduce strain on the repaired system.
Knowing When to Replace Rather Than Repair Again
After any puncture repair, track your freezer’s performance carefully. If you experience multiple cooling issues within six months of repair, the underlying system has likely sustained more damage than initially apparent. Consider replacement if your freezer requires frequent defrosting, makes loud operational noises, or shows inconsistent temperature performance despite successful puncture repair. Remember that continued repairs on a compromised system often cost more in the long run than timely replacement with a new, energy-efficient model.
Final Note: While temporary puncture repairs can extend your freezer’s life, remember that refrigerant system damage requires professional handling. Always prioritize safety over convenience when dealing with appliance repairs, and consult certified technicians for any work involving refrigerant handling or electrical components. Proper maintenance after repair significantly increases your chances of avoiding future punctures and keeping your food safely frozen.