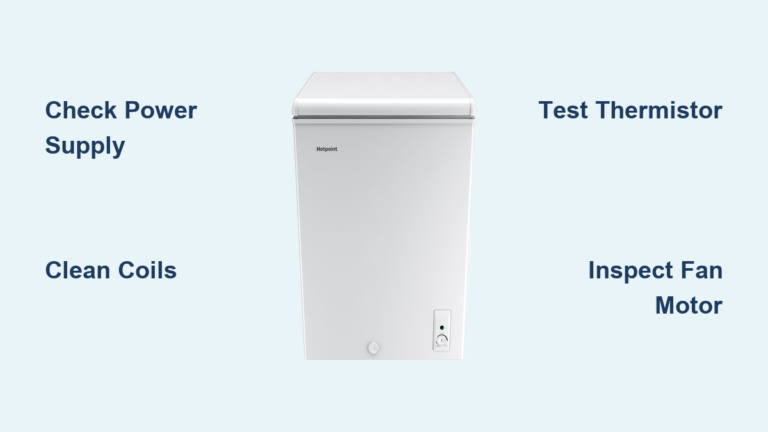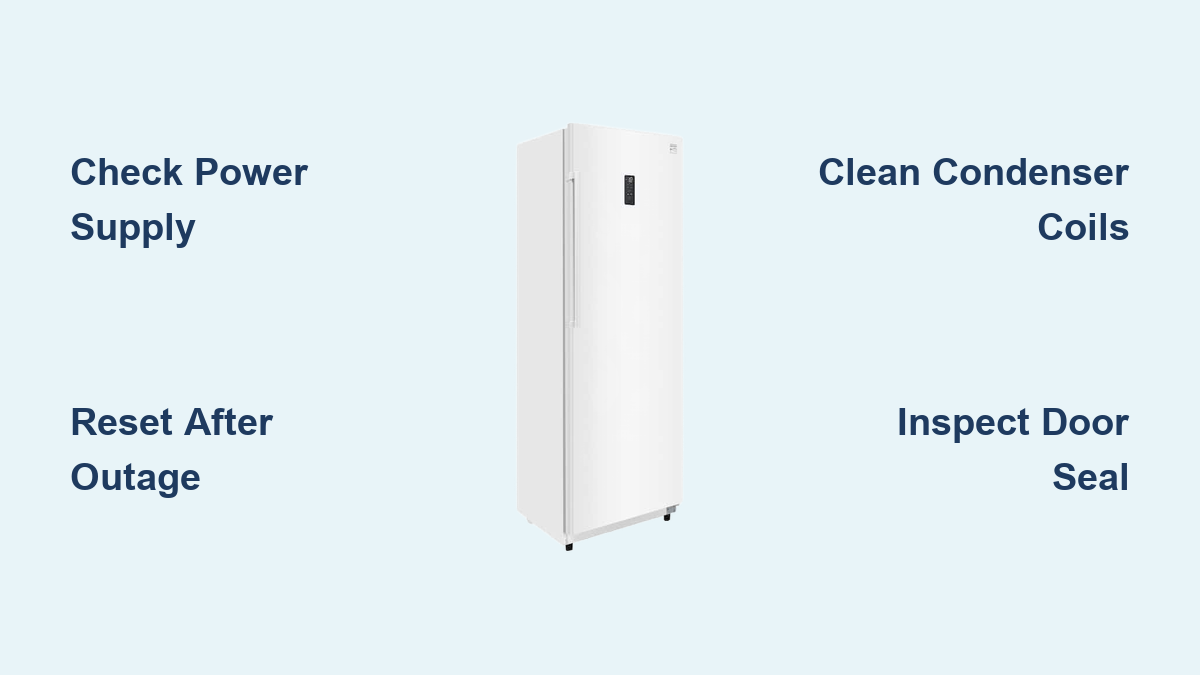
How to Fix Kenmore Freezer Not Freezing
Your Kenmore freezer suddenly stops freezing properly, and you’re staring at soft ice cream and thawing meat. This common appliance emergency can turn your frozen food stash into a costly disaster within hours. When your freezer fails to maintain 0°F temperatures, the problem usually stems from one of several predictable causes that you can diagnose and fix yourself. This step-by-step guide walks you through the most effective troubleshooting methods—from simple power checks to component testing—so you can restore proper freezing function and save your food inventory without immediately calling a technician.
Don’t panic if your freezer seems to be running but isn’t freezing. Most cooling failures result from straightforward issues like blocked vents, faulty door seals, or simple electrical problems rather than catastrophic compressor failure. By following this systematic approach, you’ll methodically eliminate potential causes starting with the easiest fixes before moving to more complex diagnostics. Remember that freezer cooling systems rely on multiple components working together: the compressor circulates refrigerant, fans distribute cold air, and thermostats monitor temperature to control the system. When any single component malfunctions, the entire freezing process breaks down.
Confirm Your Kenmore Freezer Has Power
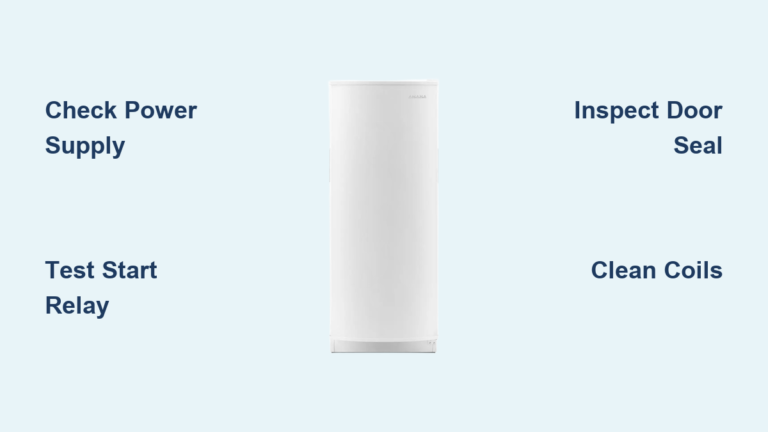
Before investigating internal components, verify that your Kenmore freezer actually receives electrical power—this simple check solves many “not freezing” problems immediately.
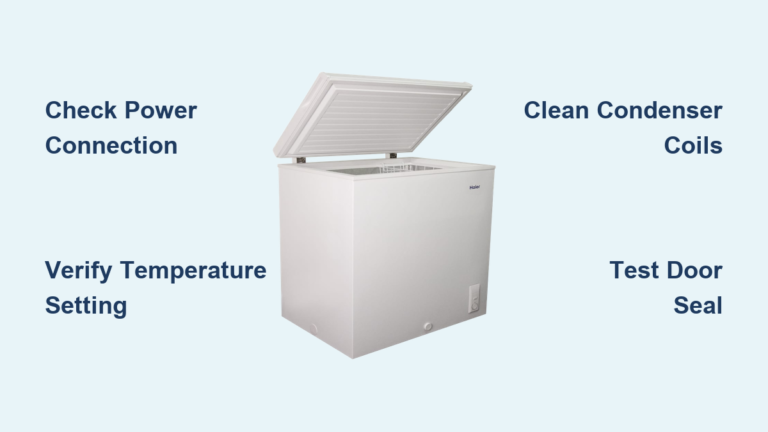
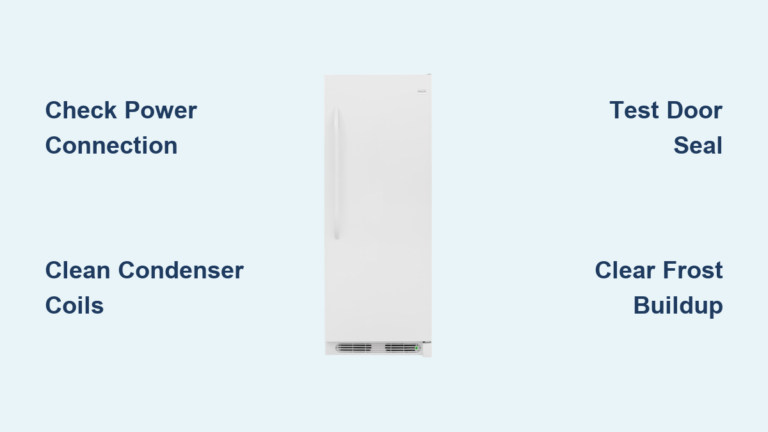
Plug a lamp or phone charger into the same outlet to confirm it’s working. Power cords often work loose during cleaning or household activities, so check that the freezer’s cord is fully inserted. If the outlet tests dead, check your circuit breakers for a tripped switch controlling the freezer circuit. GFCI outlets (common in kitchens) can trip without affecting other outlets—press the reset button if present.
If the freezer was recently moved, inspect the power cord for damage like cuts, fraying, or kinks that might indicate internal wire breakage. A damaged cord requires immediate replacement for safety. If you find no power issues but the freezer still won’t freeze, move to the next diagnostic step.
Reset Your Freezer After Power Surges
Electrical glitches after power outages often cause freezing problems that resolve with a simple reset.
Unplug your Kenmore freezer for 5-10 minutes to allow the control board to fully reset. Alternatively, switch off the circuit breaker supplying power, wait several minutes, then restore power. This clears any error states in the electronic control system that might prevent normal operation.
After resetting, allow 24 hours for temperatures to stabilize—don’t check results prematurely. The refrigerant system needs time to reestablish proper cooling cycles. If your freezer still won’t freeze after this reset, proceed to temperature setting verification.
Verify Correct Temperature Settings
Incorrect temperature settings cause more freezing failures than most homeowners realize.
Locate your Kenmore’s temperature control—typically a digital display, mechanical knob inside the freezer, or external control panel. Confirm it’s set between 0-5°F, the ideal range for food preservation. After adjusting settings, wait 24 hours before checking results, as cooling systems need time to stabilize.
If your freezer shows temperature readings, verify accuracy with a standalone thermometer placed in the center of the compartment. Significant discrepancies (more than 5°F difference) indicate a faulty temperature sensor needing replacement. Remember that freezer thermometers work best when surrounded by frozen items rather than placed against walls.
Fix Damaged Door Seals Causing Warm Air Leaks
A compromised door gasket lets warm, humid air enter your freezer every time the door opens, overwhelming the cooling system.
Perform the paper test: Close the door on a dollar bill at multiple points around the perimeter. The bill should resist removal with noticeable tension. If it slides out easily at any location, your seal is compromised at that spot—common failure areas include corners and hinge points.
Critical warning: Never force the door closed to improve the seal, as this can damage hinges and worsen the problem. If the gasket is torn, cracked, or no longer creates suction when closed, replace it using your exact model number (found inside the freezer compartment). When installing a new gasket, clean the mounting channel thoroughly and allow 4-6 hours with the door closed for the seal to set properly.
Diagnose Evaporator Fan Motor Failure
The evaporator fan circulates cold air throughout your freezer compartment—if it fails, cold air stays trapped near the coils.
Listen for the fan’s steady hum when doors are closed (it typically shuts off when doors open). No sound indicates potential motor failure. Try turning the fan blade by hand—if it doesn’t spin freely, the motor bearings are failing. If it spins smoothly but won’t run, test for electrical continuity with a multimeter after disconnecting power.
Pro tip: Check for ice buildup around the fan first—this indicates a separate defrost system problem that caused the blockage. If ice is present, defrost completely before testing the fan motor. Most evaporator fans are accessible behind a panel at the back of the freezer compartment after removing shelves.
Clean Condenser Coils Clogged with Dust and Debris
Dirty condenser coils force your compressor to work harder, eventually causing inadequate freezing performance.
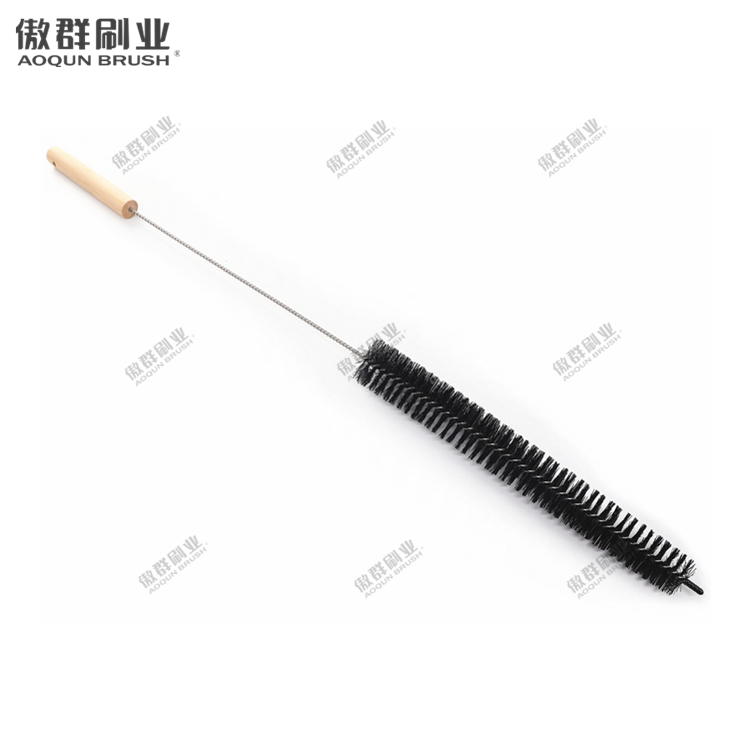
Unplug the freezer and move it away from the wall to access coils typically located at the back or underneath the unit. Use a soft-bristle coil brush to gently remove dust, pet hair, and debris from the serpentine tubes. For stubborn buildup, follow with a vacuum cleaner nozzle attachment.
Time estimate: Complete coil cleaning takes 15-20 minutes and should be done every 6-12 months (more frequently in pet households). Avoid bending the delicate fins during cleaning, as this reduces heat dissipation efficiency. After cleaning, verify the condenser fan spins freely—this fan cools both the coils and compressor.
Test the Start Relay and Overload Protector

A failed start relay prevents your compressor from starting properly, causing intermittent or complete cooling failure.
Locate the relay mounted directly on the compressor terminals at the rear of the unit. Signs of failure include clicking sounds when the compressor tries to start or the unit running briefly then stopping. Test by disconnecting the relay and checking continuity between start and run terminals with a multimeter.
Warning: If the relay housing shows burn marks, melting, or emits a burnt smell, replace it immediately—these indicate dangerous electrical faults. Some relays can be tested by gently shaking them; a rattling sound inside means internal components have failed. Replacement relays must match your specific compressor model.
Fix Defrost System Failures Causing Ice Buildup
Automatic defrost system failures cause progressive ice accumulation that eventually blocks airflow, preventing proper freezing.
Check for thick ice (more than ¼ inch) on the back wall or evaporator coils—this indicates defrost problems. Test the defrost heater for continuity (should show ~20 ohms resistance); an open circuit means replacement is needed. Similarly, test the defrost thermostat by cooling it in a freezer then checking for continuity—it should close when cold.
Critical step: If ice completely blocks airflow, unplug the freezer and allow 24 hours for complete defrosting before further testing. Never use sharp objects to chip ice, as this can puncture refrigerant lines. After defrosting, clean the interior with a mild bleach solution (1 tbsp per gallon of water) to prevent mildew.
Replace Faulty Temperature Sensors
A malfunctioning thermistor sends incorrect temperature readings to the control board, causing improper cooling cycles.
Test resistance values with a multimeter: At 32°F, expect ~16,000 ohms; at 0°F, expect ~30,000 ohms. Significant deviations indicate sensor failure. The thermistor is usually mounted with a clip inside the freezer compartment and connects to the control board with two wires.
Expert note: When replacing, ensure the new sensor matches your model’s specifications—thermistor resistance curves vary between manufacturers. Incorrect replacement sensors cause persistent temperature control issues despite appearing to fix the problem initially.
Clear Airflow Blockages Inside the Freezer
Blocked vents prevent cold air circulation, creating warm spots where food fails to freeze properly.
Inspect all vents and air passages inside the compartment. Rearrange food items to ensure at least 2 inches of clearance around all vents—large containers against vents are a common culprit. Manual-defrost models should have only a thin frost layer (⅛ inch or less) on the back wall; thicker buildup indicates underlying problems.
Maintenance tip: Every time you restock your freezer, verify vents remain unobstructed. Proper loading prevents uneven cooling and reduces compressor strain, extending your appliance’s lifespan significantly.
Determine When to Call a Professional Technician
Some freezing problems require specialized tools and expertise beyond DIY capabilities.
Contact a professional when you suspect refrigerant leaks (indicated by oily residues on coils or compressor), when multiple components fail simultaneously, or when electronic control boards need diagnosis. Sealed system repairs involving refrigerant must be performed by EPA-certified technicians due to environmental regulations.
Cost consideration: For freezers over 10 years old with compressor or sealed system failures, replacement often costs less than repair. Newer models under warranty should be serviced by authorized technicians to avoid voiding coverage. Always keep your model and serial numbers handy when calling for service.
Prevent Future Freezing Problems with Regular Maintenance
Monthly: Test door seals with the paper test and verify temperature settings
Quarterly: Inspect for vent blockages and clean exterior condenser areas
Semi-annually: Clean interior with mild sanitizer and replace water filters (if applicable)
Proven strategy: Minimize door opening frequency and duration—each opening introduces warm, humid air that strains the cooling system. Train household members to gather needed items before opening the door. Proper maintenance extends your Kenmore freezer’s life by 3-5 years on average and prevents 80% of common cooling failures. With these troubleshooting steps and preventive measures, you’ll keep your frozen foods safely preserved for years to come.