How to Fix a Freezer Fan Not Working
Your freezer suddenly stops maintaining proper temperatures, food begins softening in certain spots, and you notice excessive frost building up on the back wall. The culprit? A malfunctioning freezer fan. Learning how to fix a freezer fan yourself saves you from expensive service calls while preventing food spoilage and potential compressor damage. This critical component circulates cold air throughout your freezer, and when it fails, your entire cooling system suffers.
When the evaporator fan stops working, your freezer can’t distribute cold air effectively, creating dangerous temperature inconsistencies. You might hear unusual clicking sounds or complete silence where you normally hear the fan whirring. Without proper airflow, your compressor works overtime trying to compensate, which can lead to costly secondary damage. The good news is that most freezer fan issues can be diagnosed and repaired with basic tools and some mechanical know-how.
This guide walks you through identifying your specific problem, from simple ice blockages to complete motor replacement. Whether you’re dealing with a stuck door switch or a burned-out fan motor, you’ll find clear, actionable steps to restore your freezer’s performance. Most repairs take under an hour and cost less than $50 in parts—far cheaper than professional service.
Why Your Freezer Fan Stopped Working Suddenly
Identifying the exact cause of your fan failure saves time and prevents unnecessary part replacements. Most problems fall into predictable categories, each requiring a different repair approach.
Evaporator Motor Burnout Signs
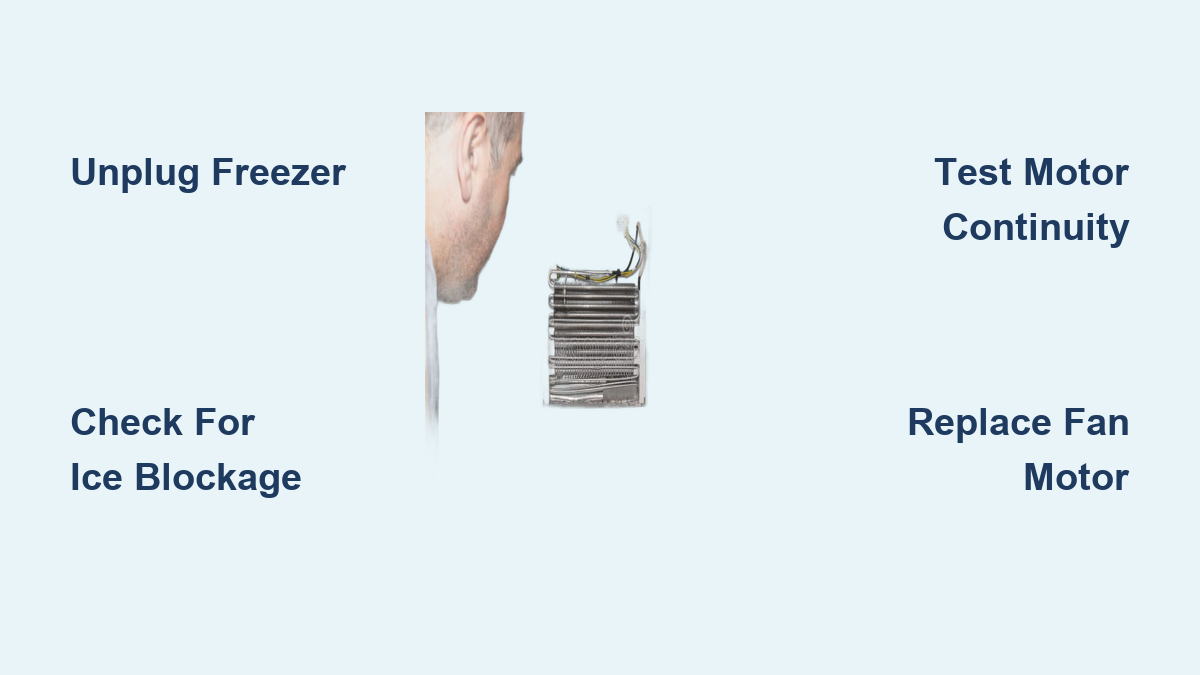
When your evaporator fan motor fails (the most common issue at 70% of cases), you’ll notice specific warning signs. Try this quick test: unplug your freezer, remove the back panel, and manually spin the fan blades. If they feel stiff, grind when turning, or don’t spin freely, the motor bearings have worn out. Listen for that distinctive humming sound when the compressor kicks on—if it’s completely silent where the fan should be running, your motor has likely burned out.
Critical warning: If you smell burning or see smoke near the fan housing, unplug the unit immediately. Continuing to operate with a failing motor risks electrical damage to other components. A multimeter test showing no continuity between the motor terminals confirms replacement is necessary—this is the definitive test most technicians use.
Door Switch Failure Symptoms
That small plastic button on your freezer door frame? It’s more important than you think. When the door switch malfunctions (20% of fan failures), it tricks your system into thinking the door is always open, preventing the fan from running. Here’s how to diagnose it: press the switch manually while the door is closed and listen for the fan to activate. No response? The switch has likely failed.
Door switches often fail due to ice buildup around the mechanism or simple wear from repeated use. Before replacing it, clean the area thoroughly with a soft cloth and compressed air. Sometimes debris jams the switch, and a simple cleaning restores function—saving you both time and money on unnecessary parts.
Control Board Electrical Issues
When both the fan motor and door switch check out, the problem may lie with the control board (8% of cases). This component regulates power to all freezer functions, and when it fails, it can cut power to your fan while leaving other systems operational. Look for these telltale signs: the fan runs during diagnostic mode but not during normal operation, or you notice multiple electrical issues like display errors alongside the fan problem.
Testing the control board requires advanced electrical knowledge, so if you’re not comfortable with multimeter diagnostics, consider calling a professional. However, if you see visible burn marks or melted components on the board, replacement is definitely needed. This repair is more complex but follows similar principles to fan motor replacement.
How to Diagnose Fan Problems in 10 Minutes
Before disassembling anything, perform these quick checks that solve half of all apparent fan failures.
Ice Blockage Emergency Check
Ice buildup around the fan blades physically prevents rotation, mimicking motor failure. Here’s what to do: unplug the freezer and inspect through the rear vent for visible frost or ice. If you see ice, unplug the unit completely and allow it to defrost for 4-6 hours—never use sharp objects to chip ice away, as you risk damaging refrigerant lines.
Pro tip: Speed up defrosting by placing bowls of hot water inside and closing the door. Once melted, dry all surfaces thoroughly before restoring power. If the fan works after defrosting but ice returns quickly, you have a separate defrost system problem needing attention.
Airflow Obstruction Verification
Food items blocking air vents create identical symptoms to fan failure. Check this in under 30 seconds: open your freezer and ensure nothing touches the back wall where vents are located. Rearrange items to maintain at least 2 inches of clearance around all vents. Overpacking is a surprisingly common cause of “fan failure”—fixing it costs nothing and takes seconds.
Replacing a Failed Freezer Fan Motor

When testing confirms motor failure, replacement is straightforward with basic tools.
Safety-First Disassembly Steps
Unplug your freezer immediately—this isn’t optional for electrical safety. Move frozen food to a cooler with ice packs, then remove all shelves and drawers blocking rear access. Take photos of the interior before disassembly to guide reassembly. You’ll need a Phillips screwdriver, nut driver, and work gloves for protection.
Critical caution: Never work on electrical components while the unit remains plugged in. Double-check that power is disconnected at the circuit breaker if you’re unsure about the plug location.
Motor Replacement Procedure
- Remove the evaporator cover by extracting all mounting screws (typically 6-8 screws around the panel perimeter)
- Disconnect the fan’s electrical connector by pressing the release clip
- Remove the 4 mounting bolts securing the fan motor to its bracket
- Carefully extract the old fan assembly, noting its exact position
For the new motor: if your replacement includes just the motor, transfer the blade from the old unit by compressing the spring retainer. Ensure the new blade seats fully on the shaft before securing it. Position the new assembly in the bracket, reinstall mounting bolts (don’t overtighten), and reconnect the electrical connector with a firm click.
Post-Installation Verification
After reassembly, plug in the freezer and listen for the fan within 5-10 minutes. If it doesn’t run: check that the door is fully closed (some models won’t activate the fan otherwise), verify all connections are secure, and ensure the fan blade spins freely without obstruction. Most new fans activate immediately once the compressor cycles on.
Why Your New Freezer Fan Isn’t Running
Even after replacement, problems can persist—here’s how to troubleshoot.
Diagnostic Mode Testing
Access your freezer’s diagnostic mode (instructions are usually on a technical sheet behind the kick plate) to force the fan to run independently. If it works in diagnostic mode but not normally, the control board isn’t sending proper signals. This common issue requires board replacement—more complex but doable with proper guidance.
Wiring Connection Verification
Most “failed” new fans simply have loose connections. Check this: unplug the unit, remove the evaporator cover again, and ensure the connector is fully seated with the clip engaged. Test continuity between the control board and fan connection with a multimeter—if no signal reaches the fan, you have a wiring harness issue needing repair.
Prevent Future Fan Failures With These Maintenance Tips
Extend your freezer fan’s lifespan with simple monthly habits.
Quarterly Door Seal Inspection
Check gaskets for cracks, tears, or deformation that allow humid air inside. Test seal integrity: close a dollar bill in the door—if you pull it out easily, replace the seal. Faulty seals accelerate frost buildup around the fan, causing premature failure.
Airflow Management Strategy
Never block vents with food containers, and leave 2-3 inches of space between items and the back wall. Pro organization tip: store frequently accessed items in the front, reserving the rear for less frequently used items to maintain proper airflow patterns.
Freezer Fan Repair FAQs
How do I know if my freezer fan is actually broken?
Listen for the characteristic humming sound when the compressor runs—if it’s silent where the fan should be, or you feel warm spots in certain freezer areas, your fan has likely failed. Manually spinning the blades should feel smooth; resistance indicates motor bearing failure.
Can I temporarily use my freezer with a broken fan?
Operating with a non-functioning fan is risky—you’ll experience temperature inconsistencies leading to food spoilage, and the compressor will overwork trying to compensate. At minimum, consolidate food to the coldest areas and monitor temperatures closely until repair.
What tools do I need to fix a freezer fan?
Most repairs require just a Phillips screwdriver, nut driver set, and multimeter for testing. For basic ice removal or door switch cleaning, you might need nothing more than a soft cloth and compressed air.
How long does a typical freezer fan repair take?
Simple fixes like ice removal or switch cleaning take 15-30 minutes. Complete motor replacement typically requires 45-60 minutes for first-time DIYers. Control board replacement adds another 30 minutes due to additional wiring checks.
Is fixing a freezer fan worth the effort compared to replacement?
Absolutely—professional repair costs $150-300 while DIY parts cost $30-80. With basic mechanical skills, you’ll recoup your tool investment after just one repair. Most freezers last 10-15 years with proper maintenance, making repairs economically sensible.
When should I call a professional instead of attempting repair?
If you’re uncomfortable working with electrical components, smell burning insulation, or the problem persists after multiple repair attempts, call a professional. Refrigerant line damage from improper handling creates serious safety hazards beyond typical electrical risks.