How to Defrost Jenn Air Freezer: Quick Steps
Ice accumulation in your Jenn-Air freezer isn’t just inconvenient—it directly impacts cooling performance and signals that your defrost system needs attention. Whether you’re dealing with a sudden frost layer or performing routine maintenance, knowing how to properly defrost your freezer prevents costly repairs and preserves your food. This guide walks you through manual defrosting procedures, component testing, and maintenance strategies to keep your Jenn-Air freezer running efficiently for years.
Jenn-Air refrigerators and freezers rely on an automatic defrost system to manage frost buildup on evaporator coils. When this system fails, ice accumulates progressively until cooling suffers. The good news is that most defrost problems can be diagnosed and resolved with basic tools and systematic testing. Below you’ll find everything needed to defrost your freezer manually and troubleshoot underlying system failures—without calling a technician.
Complete Manual Defrosting Procedure for Jenn-Air Freezers
Follow this precise sequence to safely defrost your Jenn-Air freezer without damaging the appliance or your flooring.
Start with Essential Safety Precautions
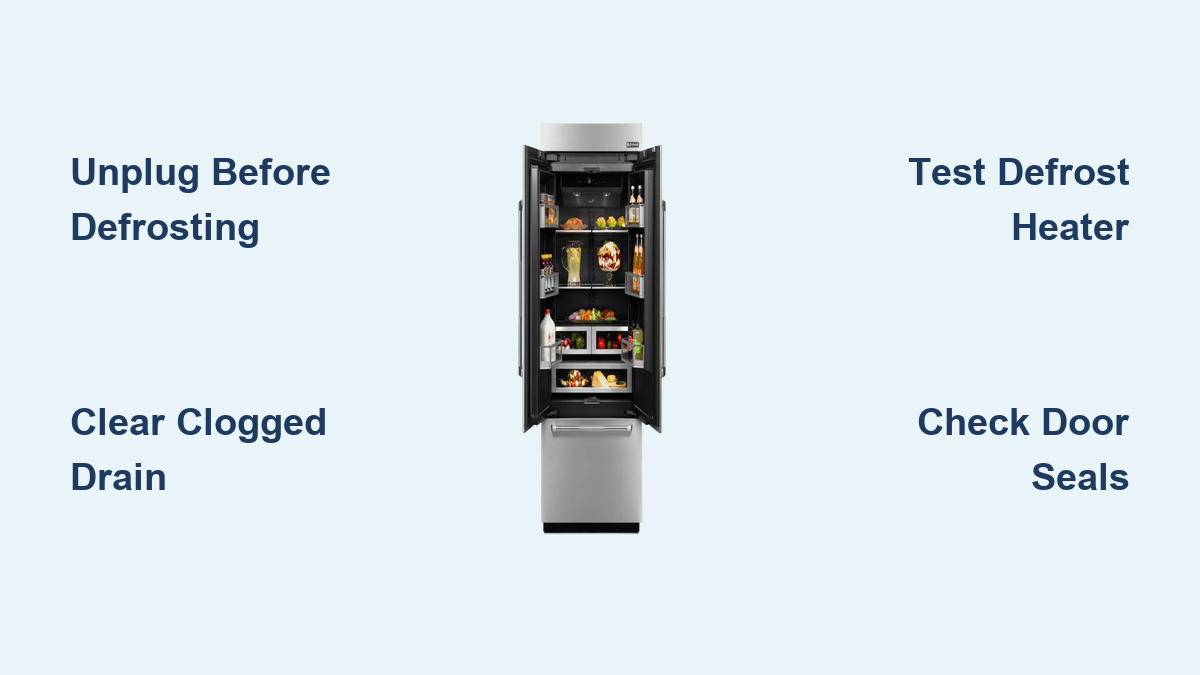
Unplug your Jenn-Air unit completely from the power source before beginning. This critical safety step prevents electrical shock and protects sensitive components from damage. Remove all food items from the freezer compartment and transfer them to a cooler with ice packs or to another refrigerator to prevent spoilage. Place multiple absorbent towels or a shallow drip pan beneath the freezer door opening to catch melting water—expect several gallons if ice buildup is severe.
Optimize the Natural Defrost Process
Leave the freezer door fully open to maximize air circulation, which accelerates natural frost melting. The complete defrosting process typically takes 24-48 hours depending on ice thickness and room temperature. Never use sharp tools to chip away ice—this can puncture refrigerant lines, damage interior surfaces, or compromise the sealed system. Patience pays off: rushing with improper tools often creates more problems than it solves.
Critical Post-Defrost Preparation
Once all frost has melted and no ice remains on any surface, thoroughly clean and dry the interior before restoring power. Use clean towels to remove standing water, then wipe down all surfaces with a dry cloth. Pay special attention to corners, crevices, and the drain area where moisture can hide. A completely dry interior is essential—any residual moisture will immediately begin refreezing once the appliance operates, potentially recreating the same problem within days.
Essential Food and Floor Protection Measures
Protecting your food and flooring requires specific preparation that many homeowners overlook.
Strategic Food Transfer Protocol
Transfer perishable items to a temporary cooler with ice packs or to another operational refrigerator. Remember that the freezer and refrigerator compartments share a single compressor, so unplugging the unit affects both sections simultaneously. For defrosting periods exceeding 4 hours, monitor food temperatures in your refrigerator compartment—use a thermometer to ensure items stay below 40°F for safety. Minimize opening the refrigerator door during this period to preserve residual cooling.
Professional-Grade Floor Protection
Place multiple layers of towels beneath the freezer door opening, extending at least 2 feet into the room. For severe ice buildup, position a shallow plastic tray underneath the towels to catch overflow. Rotate towels frequently as they become saturated—wet towels lose absorption capacity. If defrosting overnight, consider placing a plastic sheet under the towels to protect hardwood or sensitive flooring from potential leaks.
Safe Defrost Acceleration Techniques for Time-Critical Situations
When waiting 48 hours isn’t practical, these professional methods safely speed up defrosting without damaging your Jenn-Air.
Steam-Based Defrosting Method
A handheld garment steamer provides the most efficient, gentle heat for accelerating frost melting. The consistent steam application melts ice evenly without creating dangerous hot spots. Hold the steamer nozzle 4-6 inches from ice surfaces and move continuously—never hold stationary on any one area. This method typically reduces defrost time to 4-6 hours for moderate ice buildup.
Controlled Heat Application Protocol
If using a hair dryer, maintain constant motion while keeping it 6-8 inches from ice surfaces. Set to medium heat only—high heat can warp plastic components. For best results, place bowls of hot water inside the freezer with the door closed, replacing the water every 15-20 minutes as it cools. This enclosed steam method significantly reduces defrost time while minimizing risk to components.
Critical Safety Warnings
Never apply direct flame or high-heat appliances to ice buildup. Avoid metal scrapers or chisels at all costs—even seemingly stubborn ice releases once sufficient warmth penetrates. The risk of puncturing refrigerant lines or damaging internal components far outweighs any time saved with aggressive methods.
Why Ice Builds Up in Your Jenn-Air Freezer
Understanding the defrost system helps identify why ice accumulates in your specific situation.
The defrost system operates automatically through a coordinated sequence controlled by either a defrost timer or electronic control board. During normal cooling operation, the compressor runs to remove heat while frost gradually accumulates on evaporator coils. At predetermined intervals based on compressor run time, the system initiates the defrost cycle.
During defrost, the compressor and evaporator fan turn off while power applies to the defrost heater. The heater warms the coils, melting accumulated frost. Water drains through the defrost drain system. The defrost thermostat monitors temperature and opens to cut heater power once temperatures rise above freezing. When any component in this chain fails, frost builds progressively until cooling performance degrades.
Ice buildup patterns provide diagnostic clues. If ice builds only on the back wall, the defrost heater or its connection is likely the problem. If frost appears throughout the compartment including door gaskets, a door seal problem may be contributing. Water pooling on the floor indicates a clogged defrost drain.
Test Defrost Heater with Multimeter

The defrost heater generates heat to melt frost during each defrost cycle. When it fails, frost accumulates until cooling suffers.
Proper Testing Procedure
First, unplug the refrigerator completely from the power source. Disconnect one wire from the defrost heater to isolate it from the circuit. Using a digital multimeter set to the lowest resistance scale (typically 200 ohms), check for continuity across the heater terminals. A properly functioning defrost heater typically shows approximately 20 ohms of resistance. If the multimeter shows no continuity (infinite resistance), the heater is faulty and requires replacement.
Safety First Approach
Exercise extreme caution when testing—the defrost heater reaches high temperatures during operation and can cause severe burns if touched. Always verify complete power disconnection before touching electrical components. Never test the heater while the unit operates unless specifically measuring voltage at the component terminals with proper training.
Replace Defrost Thermostat When Faulty
The defrost thermostat monitors temperature during the defrost cycle and signals when sufficient heat has been applied.
Accurate Testing Protocol
Disconnect one wire from the defrost thermostat before testing to avoid parallel circuit interference. Use a multimeter to check for continuity. The thermostat should read 0 ohms when frozen (cold), as it remains closed at low temperatures. The thermostat opens just above freezing, so ensure the component is still frozen before conducting the test. If it fails to show continuity when cold, replacement is necessary.
Visual Inspection Checklist
In addition to electrical testing, visually inspect the thermostat for damage. Replace it if the component appears bulged or swollen, even if it tests okay during continuity checks. Physical deformation often indicates internal failure that may not yet be apparent in electrical testing but will likely fail soon. Ensure the thermostat makes proper contact with the evaporator coils after replacement.
Diagnose Timer and Control Board Failures
The defrost timer or control board determines how frequently the defrost cycle runs and controls timing of all defrost operations.
Systematic Diagnostic Approach
Before concluding the control board is defective, first test and verify that both the defrost heater and defrost thermostat function properly. A control board should only be suspected after all other components are eliminated as potential causes. For mechanical defrost timers, slowly advance the timer dial into the defrost cycle while observing system behavior. During a properly functioning defrost cycle, the compressor should turn off and the defrost heater should turn on.
Voltage Testing Protocol
Perform a live voltage test to definitively test the control board: check for 120 volts across the heater/defrost thermostat combination while the unit is in defrost mode. If voltage is present at the component but the heater does not heat, the control board is defective. If the timer does not send power to defrost components or does not advance out of the defrost cycle within approximately 30 minutes, the timer requires replacement.
Clear Clogged Defrost Drain Properly
The defrost drain removes water generated during each defrost cycle. When clogged, water accumulates and refreezes.
Strategic Drain Clearing Method
Locate the drain opening (typically on the floor of the freezer compartment or behind the evaporator cover). Use a soft tube or pipe cleaner to gently clear any debris. Flush the drain with warm water using a turkey baster to ensure proper flow. Work slowly to avoid pushing debris further into the drain tube.
Drain Strap Verification
Some Jenn-Air models feature a defrost drain strap—a small copper or aluminum piece that attaches to the defrost heater and extends into the drain. This strap conducts heat from the heater through the metal into the drain, melting ice that may have accumulated further down the tube. Verify the drain strap is properly positioned—if missing or disconnected, the drain may freeze over repeatedly even with a functioning heater.
Essential Maintenance to Prevent Future Frost Buildup
Proactive measures minimize frost accumulation and defrost system stress.
Door Seal Inspection Protocol
Check door seals monthly by placing a dollar bill between the seal and cabinet frame—properly functioning seals will resist removal. Inspect seals for cracks, tears, or areas where they no longer make complete contact. Replace damaged seals immediately to prevent warm, humid air from entering the freezer.
Cooling Performance Monitoring
Pay attention to cooling quality in both compartments. Frost buildup on evaporator coils often manifests as reduced cooling before visible ice appears in the freezer. Address problems at the first sign of performance issues to prevent complete system failure.
Strategic Component Testing
Keep a digital multimeter ($15-$20) on hand for quick component testing. Test defrost system components annually as part of routine maintenance. This small investment pays for itself by preventing unnecessary part orders—rather than guessing which component failed, electrical testing confirms exactly which part needs replacement.
Final Note
Defrosting your Jenn-Air freezer and maintaining its defrost system doesn’t require professional expertise. By following these manual defrosting procedures, testing components systematically, and performing regular maintenance, you can keep your appliance running efficiently for years. Always disconnect power before testing electrical components, use a multimeter to verify failures before ordering replacements, and ensure the interior is completely dry before restarting the unit. If component testing reveals multiple failures or you encounter situations beyond basic troubleshooting, contact a qualified appliance repair technician for assistance. With these techniques, you’ll extend your Jenn-Air freezer’s lifespan while keeping food safely frozen.