How to Lower Freezer Temperature: Quick Steps
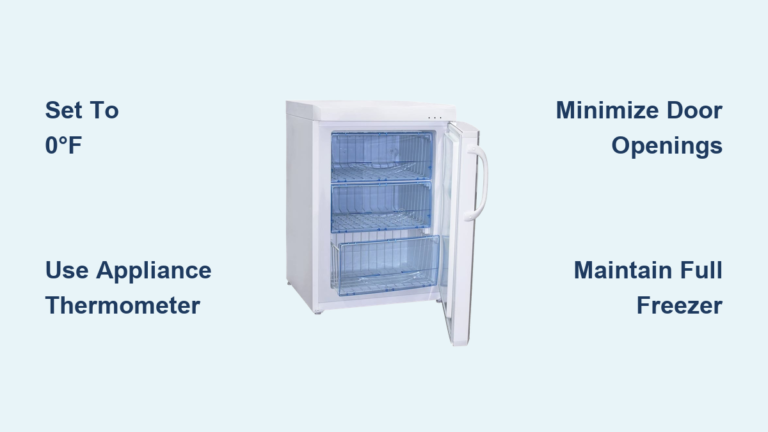
Nothing spoils your grocery budget faster than thawing frozen foods or discovering freezer burn on carefully stored meals. When your ice cream softens, frozen vegetables lose their crispness, or you notice unusual frost patterns, it’s time to learn how to decrease freezer temperature effectively. Most household freezers should maintain a consistent 0°F (-18°C) to keep food safely frozen and preserve quality for months. Whether you’re dealing with a sudden temperature rise or preparing for a large food delivery, knowing the proper adjustment techniques saves your provisions and prevents costly appliance strain.
This comprehensive guide provides step-by-step instructions for safely lowering your freezer temperature without damaging your appliance or wasting energy. You’ll discover how to accurately measure internal temperatures, make precise thermostat adjustments, and identify common obstacles that prevent your freezer from reaching optimal coldness.
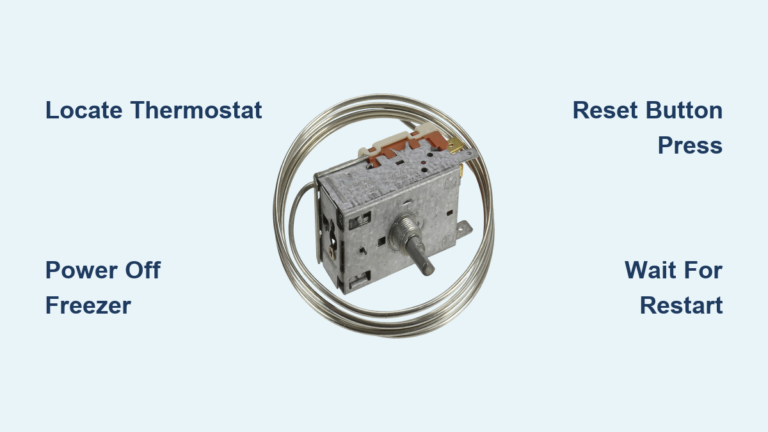
Locate Your Freezer’s Thermostat Control
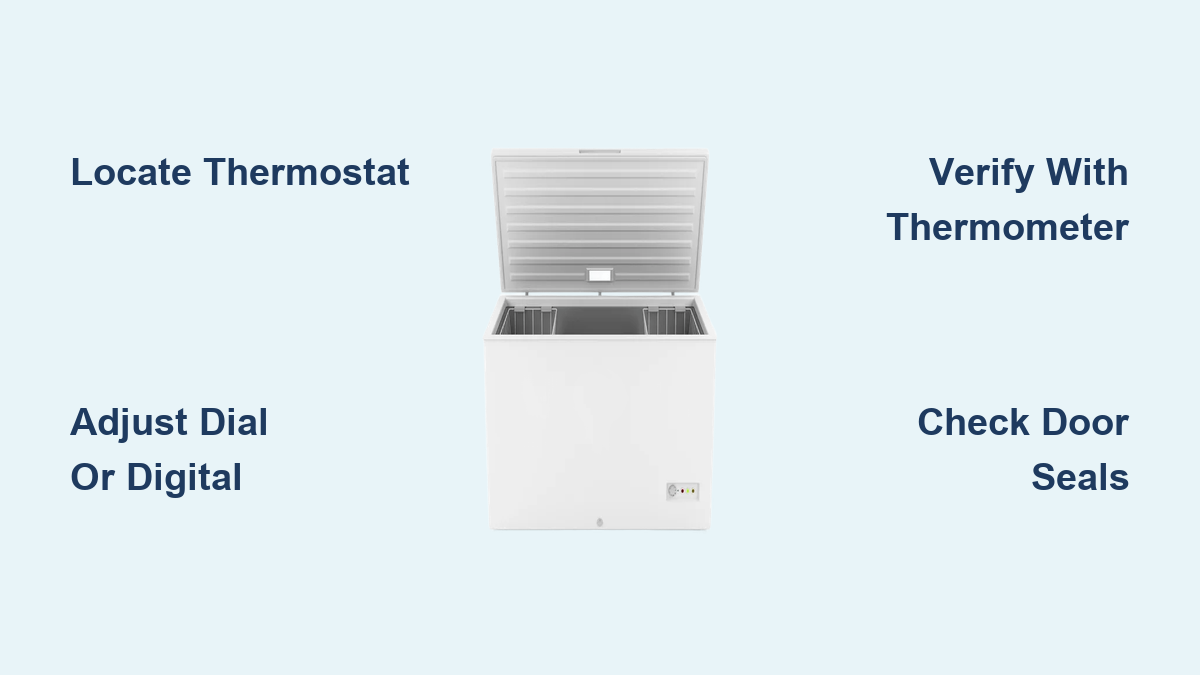
Before you can decrease freezer temperature, you must find the thermostat control—which varies significantly across freezer models and brands. Standalone chest freezers typically feature a dial control inside the unit, often mounted on the side wall near the top. Upright freezers usually have either a dial on the interior ceiling or a digital panel on the front.
Refrigerator-freezer combinations present more variation: some place the freezer thermostat inside the freezer compartment, while others integrate it into the main refrigerator control panel. In many modern French door refrigerators, you’ll need to access temperature settings through a digital display on the front of the unit, sometimes requiring specific button combinations to enter freezer adjustment mode.
Digital displays often show both the current internal temperature and the target temperature setting. If you’re unsure where your control is located, check your owner’s manual or search online for “[Your Brand] [Your Model Number] thermostat location.” Never attempt to adjust temperature by placing ice or cold packs inside the freezer—that’s a temporary fix that can damage temperature sensors and waste energy.
Adjust the Thermostat for Colder Settings

Once you’ve located your thermostat, understand how to make precise adjustments that actually decrease freezer temperature without causing operational problems.
Manual Dial Adjustments
For traditional dial thermostats marked with numbers (typically 1-7 or 1-9), increasing the number decreases the temperature. Counterintuitively, higher numbers mean colder settings. If your dial currently reads “4” and you want to decrease the temperature, turn it toward “5” or “6”—but only incrementally. Each number typically represents a 4-5°F change, so jumping multiple numbers at once can cause excessive frost buildup and strain the compressor.
Always make adjustments when the freezer isn’t running (listen for the compressor sound stopping) to prevent electrical issues. After adjusting, wait at least 24 hours before checking results, as freezers take time to stabilize at new settings.
Digital Control Adjustments
Digital controls offer more precision for decreasing freezer temperature. Press the freezer temperature button (often labeled with a snowflake icon) until the display shows your desired setting. Most manufacturers recommend 0°F (-18°C) for optimal food preservation, but you may need to go lower for specific situations.
When adjusting digital controls, note whether the display shows the current internal temperature or the target temperature. Some models require holding a button for 3 seconds to switch between these modes. If your freezer has separate controls for refrigerator and freezer sections, ensure you’re adjusting the correct setting—many users accidentally adjust the refrigerator temperature when trying to decrease freezer temperature.
Verify the Temperature After Adjustment

The most critical step many homeowners skip when trying to decrease freezer temperature is verifying the actual internal temperature. Thermostat settings don’t always match reality due to sensor drift, placement issues, or calibration errors.
Place an appliance thermometer in the center of the freezer, surrounded by frozen items but not touching the walls. Avoid placing it near the door or vents where temperature fluctuates more. Check the thermometer after 24 hours—this gives the freezer time to stabilize at the new setting.
If the thermometer reads warmer than your target, decrease the setting by one increment and wait another 24 hours. Never judge temperature by touch or by how “hard” ice feels—these methods are highly unreliable. For accurate monitoring, invest in a digital freezer thermometer with remote display that shows real-time temperature changes without opening the door.
Check Door Seals and Vents Before Adjusting
Before making further thermostat adjustments, eliminate common obstacles preventing your freezer from maintaining cold temperatures. A faulty door seal can let in enough warm air to raise internal temperature by 10°F or more, making your attempts to decrease freezer temperature futile.
Test your door seal by closing it on a dollar bill at various points around the perimeter. If you can pull the bill out with little resistance, the seal needs cleaning or replacement. Clean seals with warm, soapy water and a soft cloth—avoid harsh chemicals that can damage rubber. Pay special attention to the bottom seal, which often collects food debris and moisture that compromise its effectiveness.
Simultaneously check for blocked vents, especially in frost-free freezers. Many models have internal vents that circulate cold air between compartments. If frozen items obstruct these vents, cold air can’t circulate properly, creating warm spots even when the thermostat reads correctly. Maintain at least 1-inch clearance around all vents for optimal airflow.
Allow Adequate Cooling Time After Changes
Impatience causes many temperature adjustment failures. When you decrease freezer temperature, the compressor must complete multiple cooling cycles before the entire interior stabilizes at the new setting. A fully loaded freezer requires 24-48 hours to reach equilibrium after thermostat changes.
During this stabilization period, minimize door openings—each 30-second opening can raise internal temperature by 10-15°F. Avoid adding new items to the freezer during adjustment, as warm food introduces additional heat load that delays stabilization. If you recently added large quantities of unfrozen food, wait until everything is solidly frozen before making temperature adjustments.
Remember that temperature fluctuations are normal during compressor cycles. The freezer naturally warms slightly during defrost cycles (in frost-free models) and when the compressor shuts off. Judge temperature stability over 24-hour periods, not momentary readings.
Reduce Freezer Temperature for Specific Situations

Certain scenarios require temporarily decreasing freezer temperature below standard settings. When adding large quantities of fresh food, lower the temperature 5-10°F 24 hours before loading. This creates extra cooling capacity to freeze new items quickly without raising the temperature of existing contents above safe levels.
Before anticipated power outages, decrease freezer temperature to its lowest setting and fill empty space with frozen water bottles. This increases thermal mass, helping maintain safe temperatures longer during outages. A fully loaded freezer maintains 0°F for approximately 48 hours when unopened, compared to 24 hours for a half-full unit.
When storing temperature-sensitive items like vaccines or specialty ice creams, temporarily decrease freezer temperature to -10°F for optimal preservation. Return to standard settings afterward to prevent excessive energy use and potential freezer burn on regular food items.
Avoid These Common Temperature Adjustment Mistakes
Many well-intentioned homeowners make critical errors when trying to decrease freezer temperature. Setting the thermostat to maximum cold doesn’t speed up cooling—it forces the compressor to run continuously, increasing wear and energy consumption without significantly reducing stabilization time.
Frequently opening the freezer to “check” progress introduces warm, humid air that condenses into frost, insulating the walls and reducing cooling efficiency. Each opening can raise internal temperature by 10-15°F, resetting the cooling process.
Ignoring frost buildup is another common mistake. More than ¼-inch of frost acts as insulation, preventing cold transfer from evaporator coils. If your freezer isn’t maintaining temperature despite correct settings, defrost it completely before attempting further adjustments.
Maintain Optimal Temperature Long-Term
Once you’ve successfully decreased freezer temperature to your target, implement these maintenance practices to maintain stability. Clean condenser coils every six months using a dedicated coil brush—dust buildup reduces heat transfer efficiency by up to 30%. Locate coils on the back or bottom of the unit, unplugging the freezer before cleaning.
Check door seals monthly for flexibility and adhesion. Replace hardened or cracked seals immediately—they’re relatively inexpensive but critical for temperature stability. Keep your freezer approximately two-thirds full for optimal thermal mass; use frozen water bottles to fill empty space when needed.
Monitor temperature weekly with your appliance thermometer, especially during seasonal changes. Ambient temperature fluctuations affect freezer performance—during hot summer months, you may need to decrease freezer temperature slightly to compensate for increased heat load.
When to Seek Professional Help
If proper thermostat adjustments and maintenance don’t resolve temperature issues, professional service may be needed. Persistent frost buildup despite regular defrosting indicates defrost system failure. A compressor that runs constantly but fails to reach target temperatures suggests refrigerant issues or component failure.
Unusual noises like clicking, buzzing, or grinding often signal mechanical problems requiring expert diagnosis. If your freezer temperature fluctuates more than 10°F despite correct settings, the thermostat or temperature sensor likely needs replacement.
Attempting complex repairs without proper training can void warranties and create safety hazards. Certified appliance technicians have specialized tools to diagnose issues accurately and perform repairs safely. For persistent temperature problems after following these adjustment procedures, contact a qualified service professional rather than continuing to decrease freezer temperature in hopes of compensating for underlying mechanical issues.
Final Verification and Long-Term Stability
After successfully decreasing freezer temperature to your target, conduct a final verification test over three days. Record temperature readings at the same time each day to identify patterns. Consistent readings within 2-3°F of your target indicate proper operation.
Implement a simple maintenance schedule: monthly seal checks, bi-annual coil cleaning, and quarterly temperature verification. This proactive approach prevents most temperature-related issues and extends your freezer’s lifespan. Remember that proper temperature adjustment isn’t just about turning a dial—it’s understanding your appliance’s operation and maintaining it for reliable performance. With these techniques, you’ll keep your frozen foods perfectly preserved while maximizing energy efficiency and appliance longevity.