How to Clean Sub Zero Freezer: Easy Steps
Your Sub Zero freezer’s performance directly impacts food preservation quality and energy efficiency. When ice buildup accumulates or odors develop, it’s time for a thorough cleaning session. This specialized appliance requires particular care to maintain its premium functionality without damaging sensitive components. By following the exact procedures outlined here, you’ll restore your Sub Zero freezer to optimal condition while protecting your significant investment in high-end kitchen technology.
Unlike standard freezers, Sub Zero models feature advanced cooling systems and specialized materials that demand specific cleaning approaches. Taking the time to clean properly prevents costly service calls and extends your appliance’s lifespan significantly. Whether you own a 600, 700, or newer series model, this guide provides actionable steps you can implement immediately.
Remove Contents and Prepare Your Sub Zero Freezer
Before cleaning begins, properly preparing your freezer prevents food spoilage and protects your appliance. Work efficiently to minimize the time your freezer remains empty and unplugged.
Transfer frozen items to a temporary cold storage solution within 20 minutes of starting. Use multiple coolers packed with ice packs or dry ice for longer cleaning sessions. Group similar items together—meats, vegetables, prepared meals—to simplify reorganization later. Check expiration dates as you remove items and discard anything showing freezer burn or excessive ice crystals.
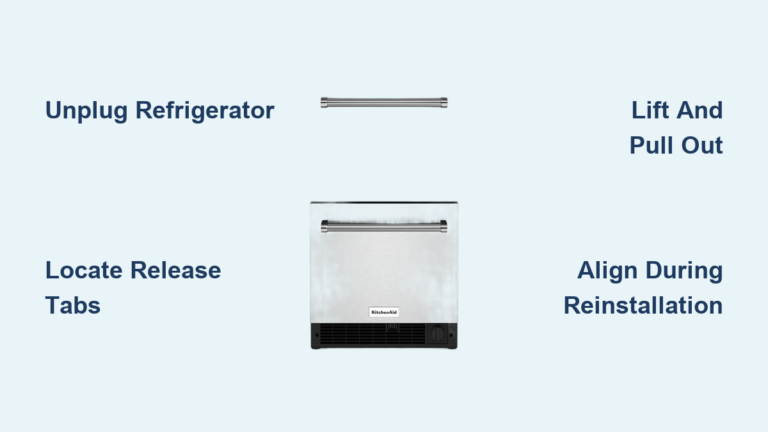
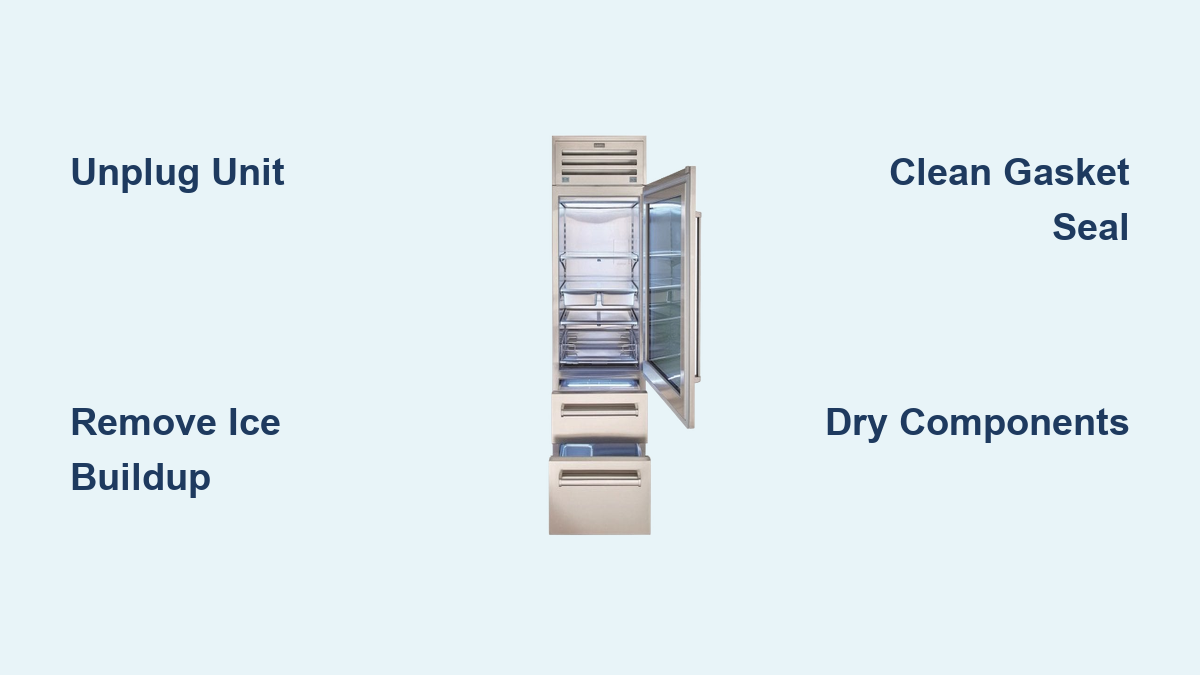
Unplug your Sub Zero unit completely by switching to service mode or disconnecting power at the circuit breaker. For integrated models, locate the service switch behind the kickplate rather than pulling the plug abruptly. Allow the freezer to sit unplugged for 15 minutes before proceeding—this gives internal components time to adjust gradually, reducing stress on the sealed system.
Remove all interior components systematically starting from the top. Glass shelves, wire baskets, and plastic drawers should be placed on a clean, dry surface. Take photos of each shelf configuration before removal to simplify reassembly. Sub Zero’s adjustable shelving systems often have specific placement requirements that affect airflow and cooling efficiency.
Eliminate Ice Buildup Without Damaging Components
Excessive frost indicates potential issues with door seals or humidity control, but requires careful removal to avoid puncturing refrigerant lines. Never use sharp tools or excessive force when addressing ice accumulation.
Allow natural defrosting for the first hour with towels placed around the base to absorb melting water. Position shallow pans inside to catch runoff, preventing water from reaching electrical components. For faster results, place several bowls of hot (not boiling) water inside and close the door for 10-15 minute intervals, checking progress between sessions.
Address stubborn ice with plastic tools only—never metal scrapers that could damage interior surfaces. A plastic putty knife works well for gently loosening ice from walls and floors. For ice clinging to evaporator coils (visible through rear panels on some models), use a soft brush dipped in warm water to carefully melt buildup without bending delicate fins.
Clear the drain system thoroughly as ice melts. Locate the drain hole near the bottom rear and use a turkey baster with warm water to flush the tube. Prevent future clogs by inserting a pipe cleaner or flexible brush to remove debris buildup. Sub Zero recommends monthly drain maintenance to prevent water accumulation during normal operation.
Clean Interior Surfaces with Appliance-Safe Solutions
Standard household cleaners can damage Sub Zero’s specialized interior coatings and affect food safety. Using the right cleaning agents ensures effective results without compromising your appliance’s integrity.
Mix your cleaning solution properly using one tablespoon of mild dish soap per quart of warm water. Avoid vinegar or bleach solutions that can corrode metal components and leave lingering odors in frozen food. For stubborn stains, add two tablespoons of baking soda to create a gentle abrasive paste that won’t scratch surfaces.
Wipe all interior surfaces methodically starting from the top and working downward. Use microfiber cloths that won’t leave lint behind, changing to clean sections frequently. Pay special attention to door pockets, shelf tracks, and corners where spills accumulate. For stainless steel interior models (found in some commercial units), use a dedicated stainless cleaner applied to the cloth, not directly on surfaces.
Sanitize critical areas effectively with a solution of one part hydrogen peroxide to three parts water. Apply to areas prone to bacterial growth like the drain channel and door gasket channels. Allow the solution to sit for five minutes before wiping clean—this dwell time ensures proper sanitization without harsh chemical residues.
Restore and Maintain Door Seal Integrity

The rubber door gasket creates the critical airtight seal that maintains your Sub Zero freezer’s temperature stability. Proper cleaning and maintenance prevent costly energy waste and performance issues.
Clean gasket channels thoroughly using an old toothbrush to dislodge trapped debris. Mix baking soda with water to form a paste that penetrates crevices without damaging rubber. Wipe clean with a damp cloth and dry completely—moisture left in channels promotes mold growth and compromises the seal.
Test seal effectiveness by placing a dollar bill between the door and frame at multiple points. Close the door and try to pull the bill out—if it slides easily, the seal needs attention. Sub Zero recommends replacing gaskets showing cracks, tears, or permanent compression, as even small gaps significantly impact performance.
Condition rubber components after cleaning with a small amount of food-safe mineral oil applied with a soft cloth. This maintains flexibility and prevents drying and cracking. Avoid petroleum-based products that can degrade rubber over time. Properly maintained gaskets should last 7-10 years before requiring replacement.
Reassemble Components and Verify Performance
Proper reassembly ensures your Sub Zero freezer operates at peak efficiency immediately after cleaning. Rushing this stage can lead to misaligned components that affect cooling performance.
Dry all components completely before reinstallation—residual moisture creates immediate frost buildup. Use clean, lint-free towels to dry glass shelves, plastic bins, and metal components thoroughly. Allow 10-15 minutes for evaporation in a warm room before reinstalling parts.
Reinstall components in correct sequence following your reference photos. Sub Zero’s airflow system depends on precise component placement—shelves must align with air vents, and drawers need proper clearance. Test drawer movement before closing the door; they should slide smoothly without binding or resistance.
Monitor startup performance carefully after restoring power. The compressor should engage within 5 minutes, and internal temperature should reach -5°F to 0°F within 4 hours. Check for unusual noises or vibration that might indicate misaligned components. Verify door closure by ensuring consistent resistance when opening after the unit has stabilized.
Establish a Maintenance Schedule That Prevents Deep Cleaning Needs
Regular upkeep between deep cleanings maintains your Sub Zero freezer’s performance and reduces the frequency of complete cleaning sessions.
Implement weekly quick checks taking less than two minutes: wipe spills immediately, verify door closure, and check for developing odors. Keep a microfiber cloth stored near the freezer for instant cleanup of drips or splatters before they freeze.
Schedule monthly maintenance tasks including gasket cleaning, drain channel inspection, and temperature verification using an independent thermometer. This prevents minor issues from developing into major problems requiring service intervention.
Note performance changes immediately—Sub Zero freezers operate quietly and consistently when functioning properly. Increased running time, unusual sounds, or temperature fluctuations warrant prompt attention before they escalate into costly repairs.
Proper Sub Zero freezer maintenance preserves your investment while ensuring optimal food preservation conditions. By following these specific cleaning procedures, you’ll extend your appliance’s lifespan and maintain its premium performance characteristics. Remember that consistent, smaller maintenance efforts prevent the need for frequent deep cleaning sessions. When in doubt about any procedure, consult your specific model’s manual or contact Sub Zero’s customer service for model-specific guidance—never attempt repairs beyond your expertise that could void your warranty. Your attention to proper cleaning techniques today ensures reliable frozen food storage for years to come.