How to Clean a Freezer Drawer
A messy freezer drawer isn’t just an eyesore—it directly impacts your food’s quality, your appliance’s efficiency, and your electricity bill. When ice crystals accumulate, spills harden into permanent stains, and odors infiltrate your frozen goods, you’re dealing with more than just aesthetics. These issues force your freezer to work harder, increasing energy consumption by up to 30% while compromising food safety. The good news? A thorough freezer drawer cleaning takes less than 45 minutes and delivers immediate benefits for food preservation and appliance performance.
This comprehensive guide gives you the exact steps to restore your freezer drawer to optimal condition. You’ll learn how to safely remove stubborn ice buildup without damaging your appliance, eliminate odors that transfer to food, organize contents for maximum efficiency, and establish a maintenance routine that prevents future problems. Whether you’re facing an emergency defrost situation or performing routine upkeep, these proven techniques will help you maintain a clean, efficient freezer drawer that keeps your food fresh and your appliance running smoothly.
Gather Essential Cleaning Supplies Before Starting
Assemble all necessary tools before unplugging your freezer to maintain momentum during cleaning. Having everything within arm’s reach prevents unnecessary delays that could compromise frozen food quality.
Critical supplies include a box of baking soda for safe odor neutralization without chemical residue, white vinegar for natural disinfection, soft microfiber cloths that won’t scratch surfaces, and a plastic scraper specifically designed for ice removal. You’ll also need a shallow baking sheet to catch melting ice, several clean towels for drying, and a small brush for cleaning drawer tracks. For food storage during cleaning, prepare a cooler with ice packs sufficient to maintain frozen temperatures for 30-45 minutes—the typical cleaning window for most freezer drawers.
Avoid damaging tools like metal ice picks, harsh chemical cleaners, or abrasive scrubbers that can puncture interior liners or leave toxic residues near food. Never use boiling water directly on freezer surfaces as the extreme temperature change can crack plastic components. Instead, keep a spray bottle filled with warm water ready to gently loosen stubborn ice formations without risking appliance damage.
Empty and Prepare the Freezer Drawer Properly
Begin by safely transferring contents to temporary storage while preparing your appliance for cleaning. This critical step ensures food safety and prevents cross-contamination during the cleaning process.
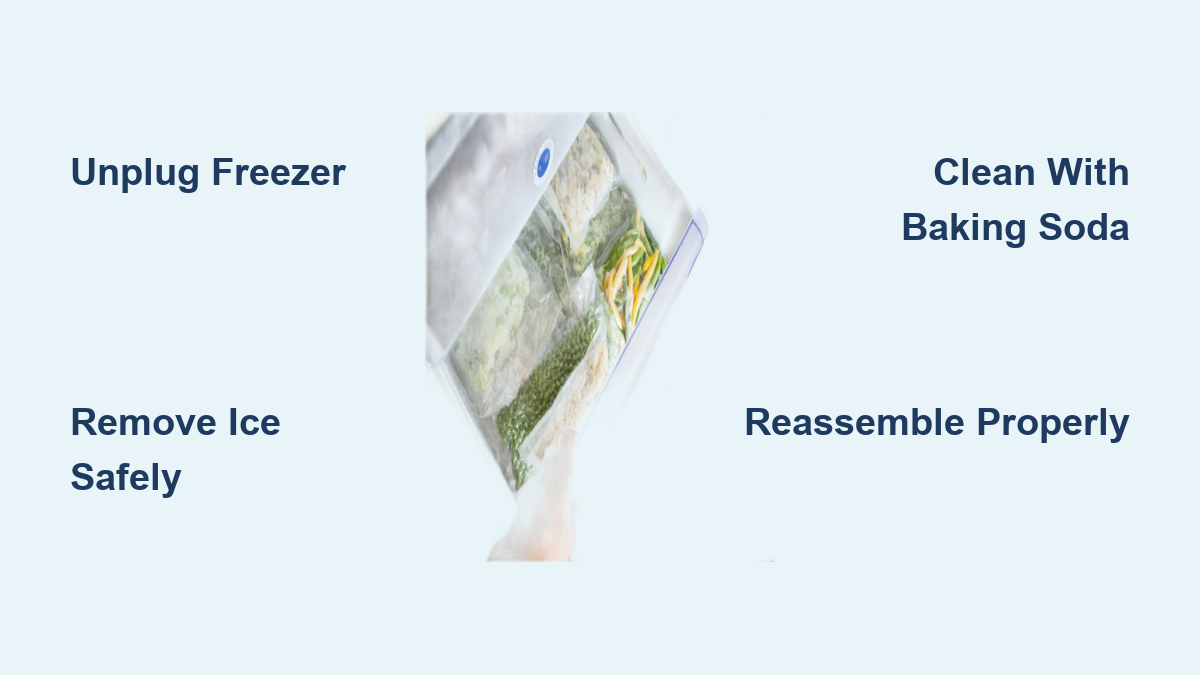
Unplug your freezer before removing contents to start the natural defrosting process. For refrigerator-freezer combinations, locate the power cord behind the appliance or use the circuit breaker for complete disconnection. Standalone freezers simply require unplugging from the wall outlet. This safety measure prevents electrical hazards while allowing interior temperatures to gradually rise, making ice removal significantly easier.
Transfer frozen items to your prepared cooler in organized groups—meats together, vegetables together, etc.—to maintain inventory control. As you remove items, check for freezer burn (whitish, dried patches on food surfaces) and discard anything showing significant deterioration. This inventory process typically reveals forgotten items past their prime, reducing food waste while creating space for better organization upon return.
Remove all drawer components including dividers, baskets, and shelves for separate cleaning. Take quick photos of the drawer configuration with your phone to simplify reassembly later. This documentation proves invaluable when reinstalling multiple components, especially in complex drawer systems with specialized compartments.
Remove Ice Buildup Without Damaging Your Appliance
Ice accumulation directly impacts your freezer’s efficiency, with just a quarter-inch layer increasing energy consumption by 20-30%. Removing this buildup requires patience and proper technique to avoid costly damage.
For light frost (less than 1/4 inch thick), the safest method involves simply leaving the drawer open and allowing room temperature air to melt the ice naturally. Place towels around the freezer base to absorb dripping water and replace them as needed. This passive approach takes 1-2 hours but eliminates risks associated with artificial defrosting methods. A small fan aimed at the open drawer can reduce this timeframe by 30-40% through increased air circulation.
For stubborn ice, accelerate melting by placing shallow pans of hot (not boiling) water inside the closed drawer. Replace the water every 10-15 minutes as it cools, creating continuous steam that softens ice from within. Alternatively, use a hair dryer on the lowest heat setting held 8-10 inches from ice surfaces, constantly moving to prevent localized overheating. Once ice begins separating from surfaces, gently loosen chunks with your plastic scraper—never force removal as this can damage interior components.
Critical safety warnings: Never use sharp metal tools that could puncture refrigerant lines hidden behind interior panels. Avoid direct heat sources like heat guns or hair dryers on high settings that can warp plastic components. If you hear hissing or notice an unusual chemical smell during defrosting, stop immediately and contact a professional—these indicate potential refrigerant leaks requiring expert attention.
Clean and Deodorize Interior Surfaces Thoroughly

With ice removed and components soaking, focus on eliminating stubborn stains and odors that compromise food quality and appliance performance.
Create an effective cleaning solution by mixing 2 tablespoons of baking soda with 1 quart of warm water in a spray bottle. This gentle formula lifts grime while neutralizing odors without chemical residues. For tougher jobs, add 1 tablespoon of white vinegar to enhance cleaning power while maintaining food-safe properties. Always test solutions on a small inconspicuous area first to ensure compatibility with your freezer’s interior finish.
Scrub all surfaces methodically, starting from the top and working downward to prevent dirty water runoff on cleaned areas. Pay special attention to drawer corners, seam lines, and areas beneath shelves where spills frequently accumulate. Use your small brush to clean around the drawer seal perimeter, removing trapped debris that prevents proper closure. For stubborn sticky residues, apply paste made from baking soda and water, let it sit for 5 minutes, then gently scrub with a soft cloth.
Eliminate persistent odors by placing an open container of activated charcoal inside the empty drawer for 24 hours before final wiping. Unlike baking soda which becomes saturated after 30 days, activated charcoal continues absorbing odors for several months. For immediate odor control, wipe surfaces with a 1:3 solution of hydrogen peroxide and water, which kills odor-causing bacteria without leaving chemical smells.
Clean Components and Reassemble Strategically

While the main drawer dries, give removed components the attention they deserve to maintain optimal functionality and appearance.
Wash all removable parts in warm, soapy water using a soft brush to reach crevices. Pay special attention to drainage holes in baskets and dividers that often clog with food particles. Rinse thoroughly with clean water to remove all soap residue, which can attract dirt and affect food quality. Allow components to air dry completely—never reinstall damp parts as this restarts the ice buildup cycle immediately.
Inspect components for damage during cleaning. Check for hairline cracks in plastic baskets, warped dividers, or worn drawer rollers that affect smooth operation. Replace significantly damaged parts through your appliance manufacturer to ensure proper fit and function. Minor surface scratches typically don’t affect performance but deep gouges can harbor bacteria and should be addressed.
Reorganize contents strategically upon reassembly, placing frequently used items toward the front for quick access. Group similar items together (meats, vegetables, prepared meals) and use labeled bins for better visibility. Leave at least 1 inch of space between items and the drawer walls to maintain proper air circulation, which prevents localized frost buildup and ensures consistent temperatures throughout the compartment.
Establish a Preventative Maintenance Routine

Proactive care prevents the heavy ice accumulation that makes deep cleaning necessary while extending your appliance’s lifespan.
Perform quick monthly checks by wiping spills immediately, checking for frost exceeding 1/4 inch, and verifying proper drawer seal contact. Test seal integrity by closing a dollar bill in various spots around the drawer—if you can pull it out easily, the seal needs attention. These 5-minute inspections prevent small issues from becoming major problems requiring intensive cleaning sessions.
Schedule quarterly deep cleans to maintain optimal performance without overwhelming effort. This regular maintenance prevents the gradual buildup of residues that become increasingly difficult to remove over time. During these sessions, check temperature settings with an appliance thermometer to ensure your freezer maintains 0°F (-18°C) or below—the ideal temperature for long-term food storage.
Implement smart storage practices by always using airtight containers and labeling items with dates. This simple habit reduces moisture release that causes frost buildup while preventing forgotten items from becoming freezer-burned mysteries. Properly packaged foods maintain quality longer and contribute to a cleaner, more efficient freezer environment.
By following these steps consistently, you’ll maintain a clean, efficient freezer drawer that preserves food quality, reduces energy consumption, and eliminates unpleasant odors. The entire process takes less than an hour when performed regularly, saving you from the 2-3 hour deep cleaning sessions required when neglecting maintenance. Remember that prevention is always easier than correction—just 5 minutes of monthly attention keeps your freezer drawer operating at peak performance while protecting your frozen food investment.