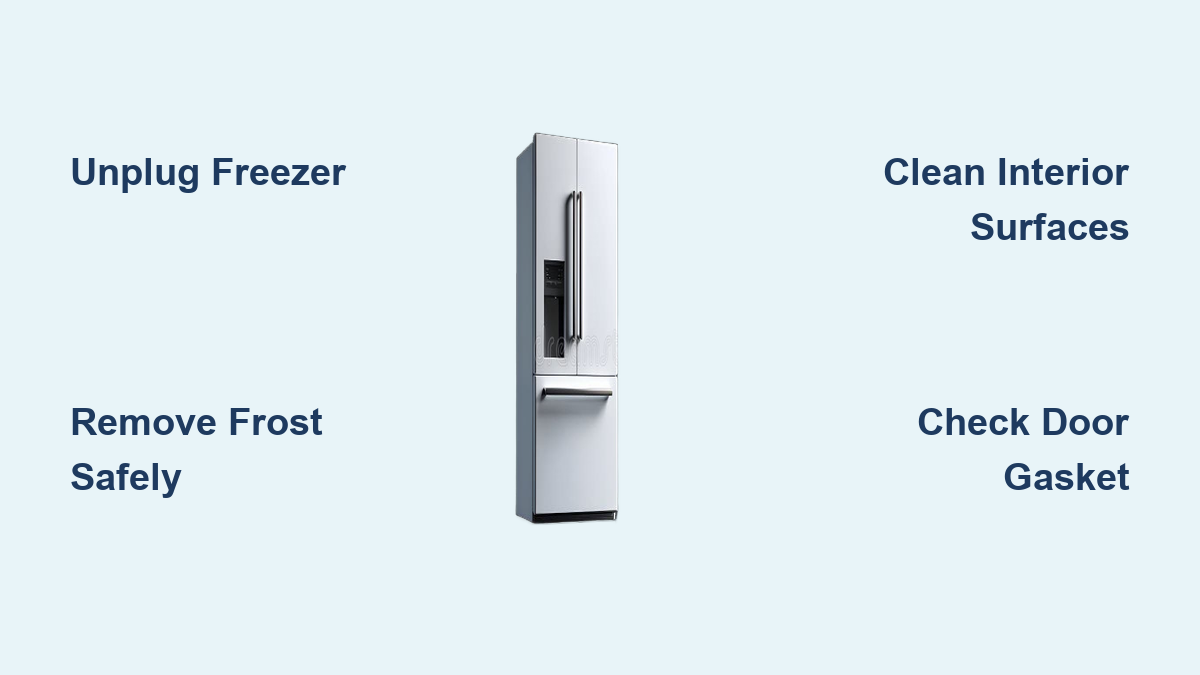
How to Clean a Bottom Freezer: Easy Steps
Nothing ruins your kitchen routine like opening your bottom freezer to find frost-covered shelves, mysterious spills, and that unmistakable freezer odor. Bottom freezers offer convenient access to fresh foods while keeping frozen goods within easy reach, but they require proper maintenance to function efficiently. When frost accumulates beyond a quarter inch or spills harden into ice, your appliance works harder, consumes more energy, and jeopardizes food safety. Learning how to clean a bottom freezer correctly prevents these issues while extending your appliance’s lifespan. This guide delivers actionable steps to transform your icy mess into a spotless, odor-free storage space—without damaging components or wasting food.
Gather Essential Cleaning Supplies Before Starting
Skipping proper preparation turns freezer cleaning into a messy disaster. Before removing a single item, assemble these critical supplies to ensure a smooth process. A large cooler packed with ice packs maintains frozen food temperatures for several hours—essential for preserving meat, dairy, and other temperature-sensitive items during cleaning.
For cleaning solutions, combine one quart of warm water with two tablespoons of baking soda in a spray bottle—this gentle mixture cuts through grime without harsh chemical residues. Keep clean microfiber cloths (at least six) for wiping surfaces and dry towels for immediate moisture removal. A soft-bristled brush handles stubborn residue without scratching plastic components, while a plastic scraper (never metal) safely removes frost without puncturing refrigerant lines. Don’t forget a shallow pan to catch defrosting water and rubber gloves to protect hands from cold surfaces.
Properly Prepare Your Freezer for Deep Cleaning
Turning off power without proper food protection guarantees wasted groceries and potential foodborne illness risks. First, set your cooler in the coolest part of your home—like a basement or garage—to maximize frozen food preservation. As you remove items, sort them into three categories: keep, discard (freezer-burned or expired), and immediate-use (items needing quick consumption).
Unplug the freezer completely—don’t rely on control panel settings alone—to prevent accidental startup during cleaning. If your model has an internal drain plug (typically at the bottom rear), place your shallow pan directly beneath it. Remove all shelves and drawers, noting their positions with quick smartphone photos if needed. For models with ice makers, press the shut-off button or lift the sensor arm to prevent automatic ice production during cleaning. This preparation prevents 90% of common cleaning mistakes that lead to damaged components or spoiled food.
Accelerate Frost Removal Without Damaging Components
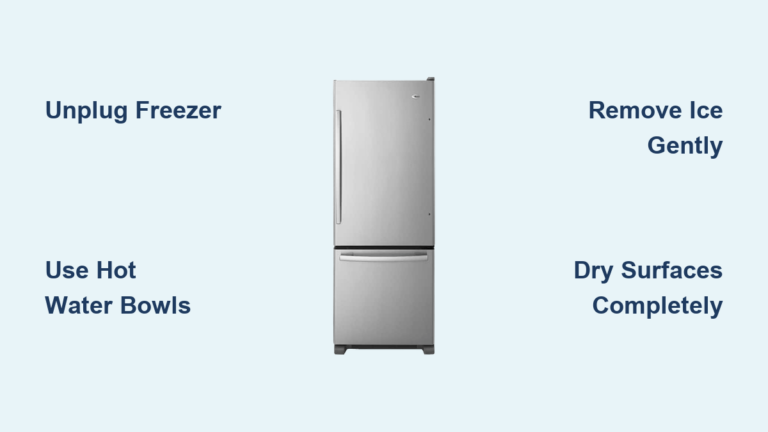
Thick frost buildup forces your freezer to work 30% harder, significantly increasing energy costs—yet improper removal risks costly damage. Never use sharp tools or heat guns, which can puncture evaporator coils or crack plastic liners. Instead, place two bowls of near-boiling water inside the freezer and close the door for 15 minutes—the steam safely loosens ice from interior walls.
After opening, immediately wipe away melted water with absorbent towels before it refreezes. For stubborn ceiling frost, apply warm (not hot) damp towels directly to buildup and wait 10 minutes for natural release. Work systematically from top to bottom, using your plastic scraper at a 45-degree angle only on loosened ice. If water pools despite your drain pan, use a wet/dry vacuum on low suction to remove excess before it seeps into electrical components. This method removes frost safely in 45-60 minutes versus hours of passive thawing.
Deep Clean Interior Surfaces for Maximum Hygiene
Cleaning residue left behind becomes tomorrow’s stubborn stains, so thoroughness matters more than speed. Spray your baking soda solution on all interior surfaces, letting it sit for five minutes to break down grease and odors. Start wiping from the ceiling down to the floor, paying special attention to door gasket channels where crumbs and mold accumulate.
For sticky residue around the drain hole, mix a paste of three parts baking soda to one part water and apply with a toothbrush, working in circular motions. Rinse surfaces by wiping with clean water-dampened cloths—never spray directly near electrical components. Immediately dry all areas with microfiber towels; moisture left behind will refreeze into new frost within hours. Check corners with a flashlight to ensure no hidden spills remain, as these become odor sources within days.
Restore Shelves and Drawers to Like-New Condition

Glass shelves require special handling to prevent thermal shock cracks when returning to subzero temperatures. Let them warm to room temperature for at least 30 minutes before reinstalling—never place cold glass directly into freezing conditions. Wash components in warm soapy water, using your soft brush on textured surfaces where food particles hide.
Inspect drawer seals for cracks that allow cold air leakage—run your thumb along edges feeling for gaps. Replace damaged seals immediately to prevent 20% efficiency loss. For plastic bins with persistent odors, soak in a vinegar-water solution (1:1 ratio) for 20 minutes before final rinse. Dry all components completely with lint-free towels; even small moisture spots will freeze and bond shelves to walls upon restart.
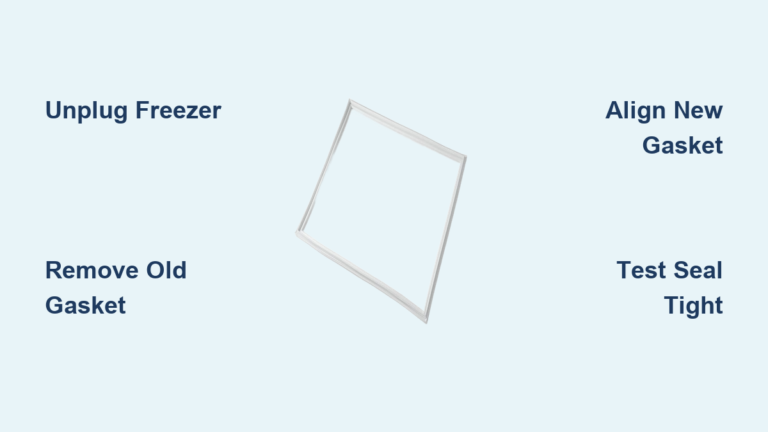
Seal Out Moisture With Proper Gasket Maintenance
A compromised door gasket causes 75% of frost buildup issues in bottom freezers. Remove the rubber seal carefully by pulling outward from the door channel—work slowly to avoid tearing. Soak it in warm soapy water for 10 minutes, then scrub with a soft brush focusing on the inner sealing edge where debris collects.
While removed, clean the gasket channel with a cotton swab dipped in vinegar solution to remove mold spores. Before reinstalling, perform the paper test: close a dollar bill in the door seal and try pulling it out—significant resistance means a good seal, easy sliding indicates replacement is needed. Press the gasket firmly into place, ensuring no twists or gaps remain. This simple maintenance prevents thousands of dollars in premature compressor failure.
Maintain Exterior Components for Optimal Performance
Stainless steel exteriors show fingerprints and water spots that degrade appearance within days. Clean with a vinegar-water solution (1:4 ratio) applied in the direction of the metal grain, then dry immediately with a microfiber cloth. For models with external ice/water dispensers, remove the drip tray and soak in warm soapy water to eliminate bacterial growth.
Vacuum the front kickplate area thoroughly—this hidden zone collects dust bunnies that block airflow to critical components. Wipe control panels with disinfecting wipes, paying special attention to crevices around buttons where bacteria thrive. If your model has a water filter indicator, reset it after cleaning to maintain proper ice quality.
Clean Condenser Coils to Reduce Energy Consumption

Dirty condenser coils force freezers to consume up to 30% more electricity—yet most homeowners never clean them. Locate the front access panel beneath the freezer door (usually snap-on) and remove it carefully. Use a narrow vacuum attachment to remove loose debris, then gently brush coils from bottom to top with a dedicated coil brush.
For pet hair buildup, wrap a piece of duct tape (sticky side out) around your fingers to lift embedded fur without bending delicate fins. Never use compressed air—it packs debris deeper into coils. After cleaning, vacuum the surrounding area thoroughly before replacing the panel. Perform this maintenance every six months to maintain factory efficiency levels.
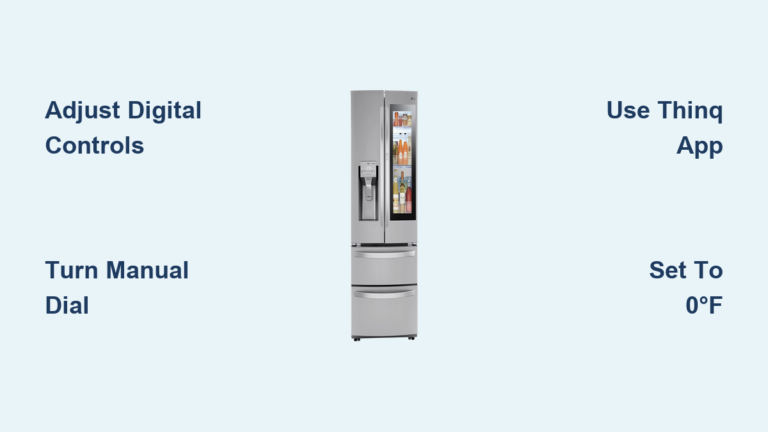
Safely Restart and Restock Your Clean Freezer
Rushing food return sabotages your hard work—allow 45 minutes for temperature stabilization before restocking. Set the thermostat to -5°F during the first hour to accelerate cooling, then return to standard 0°F settings. Place items strategically: heavy items on bottom shelves, frequently used items near the front, and raw meats in sealed containers on lower levels.
Discard any food that reached 40°F for over two hours during cleaning—when in doubt, throw it out. To prevent immediate frost buildup, let hot items cool completely before freezing and always use airtight containers. Within 24 hours, check that the interior temperature has stabilized at or below 0°F using an independent freezer thermometer.
Establish a Maintenance Schedule That Works
Prevent next deep clean from becoming overwhelming with these simple habits. Wipe spills immediately with a baking soda solution before they freeze—this takes 30 seconds but saves 30 minutes later. Every Sunday, quickly check for frost buildup and wipe the door gasket with a vinegar-dampened cloth.
Schedule thorough cleaning every six months—mark it on your calendar when daylight saving time changes occur. Keep your cleaning supplies stored near the freezer for quick access. Monthly, perform the paper seal test and vacuum the kickplate area. These five-minute tasks prevent the need for emergency defrosting and extend your freezer’s lifespan by up to seven years.
Regular bottom freezer maintenance protects your food investment, reduces energy bills, and prevents premature appliance failure. By following these specific, actionable steps during your next cleaning session, you’ll transform a dreaded chore into a quick, efficient process that keeps your freezer performing like new for years to come. Your family’s food safety and your wallet will thank you every time you open that spotless, odor-free freezer compartment.