How to Change Temperature on Hisense Freezer
Your Hisense freezer’s temperature control might seem confusing at first glance, but mastering how to change temperature on Hisense freezer models ensures your frozen foods stay safely preserved while optimizing energy efficiency. Whether you’ve just installed a new unit or need to adjust settings after noticing frost buildup, understanding the precise adjustment process prevents food spoilage and unnecessary energy consumption. This guide reveals exactly where to find controls on your specific model and walks you through making accurate temperature adjustments that maintain food safety without wasting electricity.
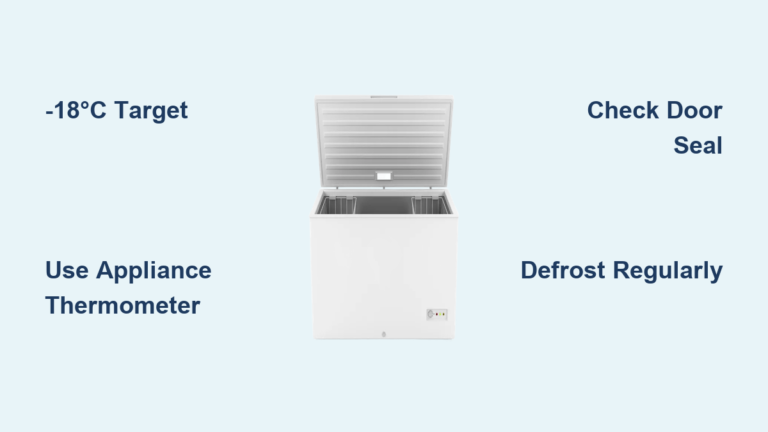
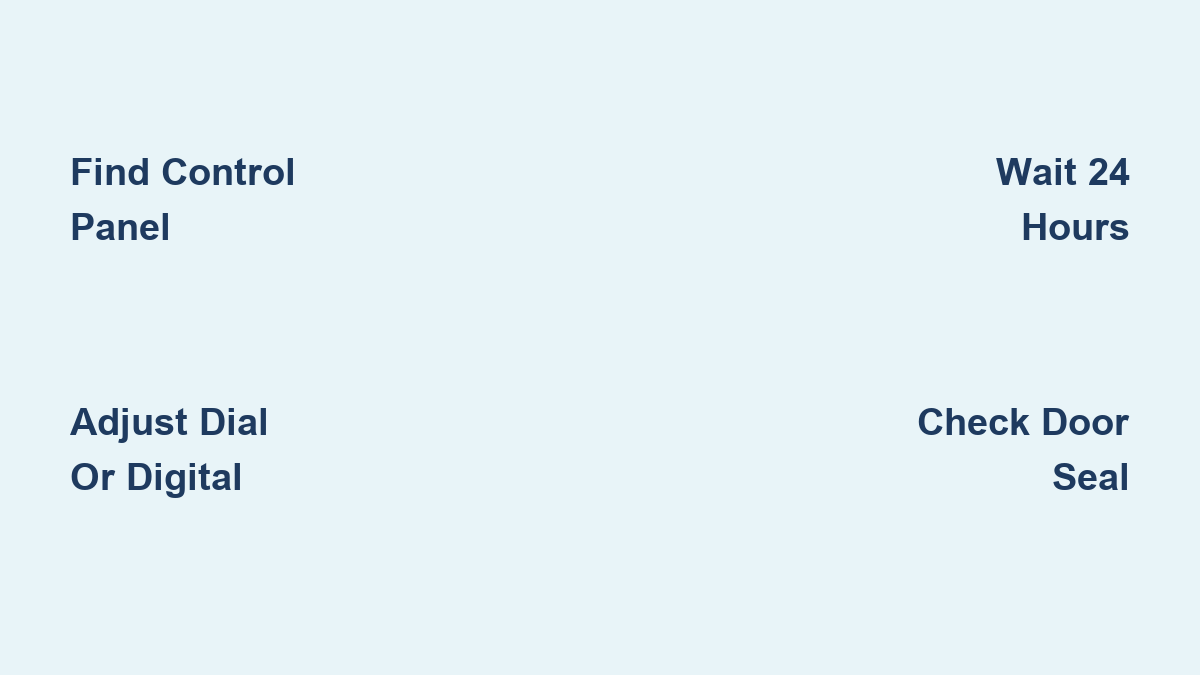
Most Hisense freezers operate within a temperature range of -12°C to -24°C (10°F to -11°F), with the optimal setting sitting at -18°C (0°F) for safe long-term food storage. The adjustment method differs significantly between dial-controlled and digital models, so identifying your control type first prevents frustration during the adjustment process. Remember that temperature changes require 24-48 hours to fully stabilize—resist the urge to keep adjusting after each minor fluctuation.
Find Your Specific Control Panel Location
Hisense places temperature controls in different locations depending on your freezer model, so checking the right spot saves time and prevents unnecessary disassembly. Upright freezers typically feature interior-mounted controls on the side wall or ceiling inside the compartment, often as a dial with numbers 1-7 where higher numbers indicate colder temperatures.
Chest freezers usually have exterior-mounted dials positioned on the front panel near the top edge or occasionally on the inside front wall. These mechanical controls withstand the chest freezer’s frequent opening and closing better than delicate digital displays. If your freezer has a French door design, look for a digital touch panel integrated into the front exterior for easy access without opening the door.
Digital models display the current temperature numerically and allow precise adjustments in 1°C increments. If you can’t locate controls after checking these common areas, consult your specific model’s manual since some Hisense freezers hide controls behind small flip-up panels to maintain a clean aesthetic while preventing accidental changes.
Adjust Mechanical Dial Controls Correctly

To change temperature on dial-controlled Hisense freezers, rotate the dial clockwise to make the freezer colder or counterclockwise to warm it up. Most dials follow a 1-7 scale where setting 4 corresponds to the recommended -18°C (0°F), with each number representing approximately 2-3°C (4-5°F) difference. Setting 1 provides the warmest temperature around -12°C (10°F), while 7 delivers maximum cold at approximately -24°C (-11°F).
Critical tip: After making adjustments, wait at least 24 hours before checking results—earlier verification leads to over-adjustment as the compressor cycles through multiple cooling phases. During this stabilization period, avoid opening the freezer unnecessarily as each door opening introduces warm, humid air that temporarily raises internal temperatures.
If your food shows signs of freezer burn despite proper settings, try increasing the temperature by one increment rather than decreasing it. Excessively cold temperatures can actually accelerate moisture loss from food packaging, causing freezer burn even when temperatures remain below safe thresholds.
Program Digital Temperature Settings Precisely
Digital Hisense freezers require specific button sequences to access temperature controls. Press the “Temp” or “Settings” button once to activate the display, then use the up and down arrows to select your desired temperature between -12°C and -24°C. The display typically shows both the current setting and your adjustment in real-time.
Pro tip: Many Hisense digital models require you to press “Set” or “OK” to confirm changes, while others automatically register adjustments after 5 seconds of inactivity. Watch for a confirmation beep or brief display flash indicating your new setting has been accepted. Some advanced models even show a countdown timer indicating when the new temperature will stabilize.
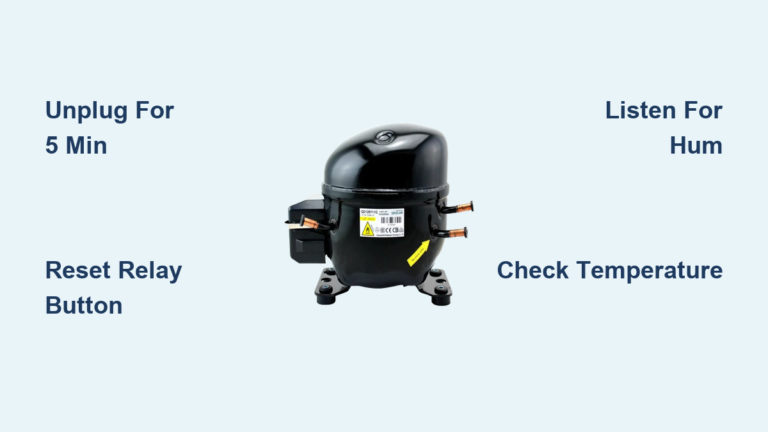
If your display shows dashes or error codes during adjustment, unplug the freezer for 5 minutes to reset the control board before trying again. Persistent display issues after reset indicate an electrical problem requiring professional service rather than simple user adjustment.
Set the Perfect Food-Safe Temperature
Maintain your Hisense freezer at exactly -18°C (0°F) for optimal food preservation—this temperature satisfies USDA safety standards while avoiding unnecessary energy consumption. Temperatures warmer than -15°C (5°F) allow slow bacterial growth that eventually compromises food safety during extended storage, while settings colder than -20°C (-4°F) increase energy use by 3-5% per degree without providing meaningful food safety benefits.
Warning: Never set your freezer colder than necessary to “be safe.” Excessively cold temperatures waste electricity and can actually damage certain foods, particularly fruits and vegetables with high moisture content that may develop ice crystals affecting texture and flavor. The sweet spot between food safety and efficiency always sits at -18°C (0°F) for most household needs.
Use an independent appliance thermometer placed between food packages to verify actual internal temperatures rather than relying solely on control panel readings. Position the thermometer away from air vents where temperature fluctuations occur more dramatically during normal operation cycles.
Activate Quick Freeze When Adding New Food

Hisense freezers equipped with quick freeze function temporarily lower temperatures to rapidly freeze new food additions without raising the overall compartment temperature. Activate this feature by pressing and holding the quick freeze button for 3 seconds until an indicator light illuminates or the display shows “QF.”
When to use it: Engage quick freeze whenever adding more than 2 pounds of unfrozen food at once, such as after grocery shopping or preserving garden harvests. The feature typically runs for 24 hours before automatically returning to normal settings, preventing unnecessary energy consumption from prolonged maximum cooling.
Avoid using quick freeze unnecessarily—running this high-power mode when not adding significant food volume increases energy consumption without benefit and stresses the compressor through extended maximum operation cycles.
Troubleshoot Common Temperature Problems

When your Hisense freezer won’t maintain proper temperatures despite correct settings, systematically check these three critical areas before assuming mechanical failure. First, inspect the door gasket for cracks, tears, or food debris preventing a tight seal—clean with mild soap and water and replace if damaged.
Next, verify nothing blocks interior air vents that circulate cold air throughout the compartment. Food packages, ice buildup, or improperly stored items restricting airflow create temperature variations that make your freezer work harder while failing to maintain consistent cold temperatures.
Quick test: Place a dollar bill in the door seal and try to pull it out. If it slides easily without resistance, the seal needs cleaning, adjustment, or replacement. A proper seal creates noticeable tension when attempting to remove the bill.
Decode Temperature Error Messages
Digital Hisense freezers display specific error codes when temperature sensors detect problems. The E1 or E2 code indicates a temperature sensor malfunction requiring professional service, as these components aren’t user-replaceable. The HI code means high temperature—check door seals and verify you haven’t recently added large amounts of room-temperature food.
The LO code signals temperatures have dropped below normal operating range, often occurring temporarily during quick freeze operation. If LO persists when not using quick freeze, allow 24 hours for natural adjustment before contacting service.
Important: Never ignore persistent error codes—addressing temperature sensor issues promptly prevents food spoilage and protects your investment in frozen food supplies.
Maintain Peak Temperature Performance
Schedule these simple maintenance tasks to keep your Hisense freezer maintaining accurate temperatures: Check internal temperature monthly with a separate appliance thermometer, clean door seals quarterly with mild soap, and vacuum condenser coils annually. These quick actions prevent 90% of common temperature maintenance issues.
Defrost your freezer when ice buildup exceeds 6mm (1/4 inch), as excessive frost insulates walls and prevents proper temperature transfer. Never use sharp objects to remove ice—this risks puncturing coolant lines. Instead, unplug the unit, remove food to coolers, and allow natural melting with occasional hot water bowl placement to accelerate the process.
Pro tip: Keep your freezer about 75% full—sufficient frozen items retain cold better than empty air, but overcrowding restricts airflow needed for even temperature distribution throughout the compartment.
Contact Support for Persistent Issues
Call Hisense customer support if your freezer runs continuously without cycling off, displays persistent error codes after reset attempts, or shows temperature fluctuations exceeding 5°C despite proper settings and maintenance. Have your model number ready—typically found on a sticker inside the door or on the rear exterior panel—to receive model-specific guidance.
Professional service becomes essential when troubleshooting reveals internal component failures like faulty thermistors, compressor issues, or refrigerant leaks. Attempting DIY repairs on these complex systems often creates additional problems and voids your warranty coverage.
Final Note: Properly changing temperature on your Hisense freezer involves identifying your specific control type, making deliberate adjustments, and allowing adequate stabilization time. By following these precise steps and maintenance practices, you’ll maintain optimal food safety while maximizing energy efficiency. Always verify actual temperatures with an independent thermometer and contact Hisense support when persistent issues exceed basic troubleshooting capabilities.