How to Fix Haier Chest Freezer Not Working
You open your Haier chest freezer to find soft ice cream and thawing meat instead of the expected solidly frozen contents. This panic-inducing scenario affects thousands of households annually when their Haier chest freezer stops working unexpectedly. Before you rush to replace expensive food or call a technician, understand that most “not working” cases stem from simple, fixable issues. This guide provides a systematic approach to diagnosing and resolving your Haier chest freezer problems, potentially saving you hundreds in unnecessary service calls and food replacement costs.
When your Haier chest freezer not working situation occurs, the underlying cause typically falls into one of several categories: power supply interruptions, thermostat malfunctions, compressor failures, ventilation obstructions, or temperature control issues. The good news? Approximately 60% of these problems can be resolved without professional assistance. By methodically working through this guide, you’ll identify whether your issue requires a 5-minute fix or professional intervention, putting you in control of the repair process rather than at the mercy of service technicians.
This comprehensive troubleshooting resource walks you through every critical diagnostic step, from basic power checks to advanced component testing. You’ll learn to interpret indicator lights, recognize compressor problems, and perform essential maintenance that prevents future failures. Most importantly, you’ll gain the confidence to determine whether a DIY repair is feasible or if professional service represents the smarter investment for your specific Haier model and situation.
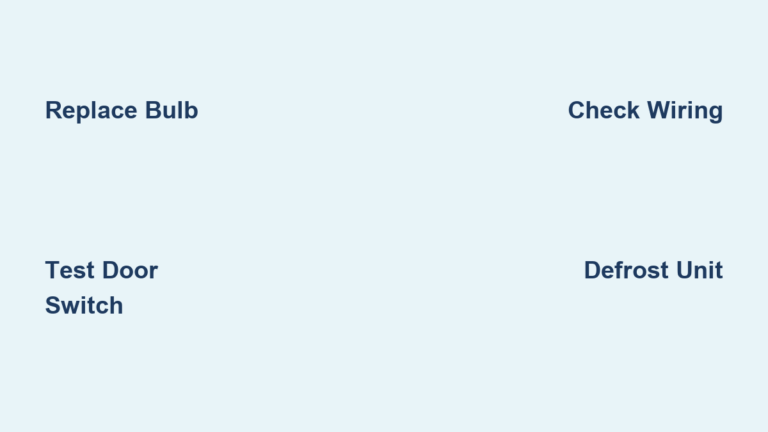
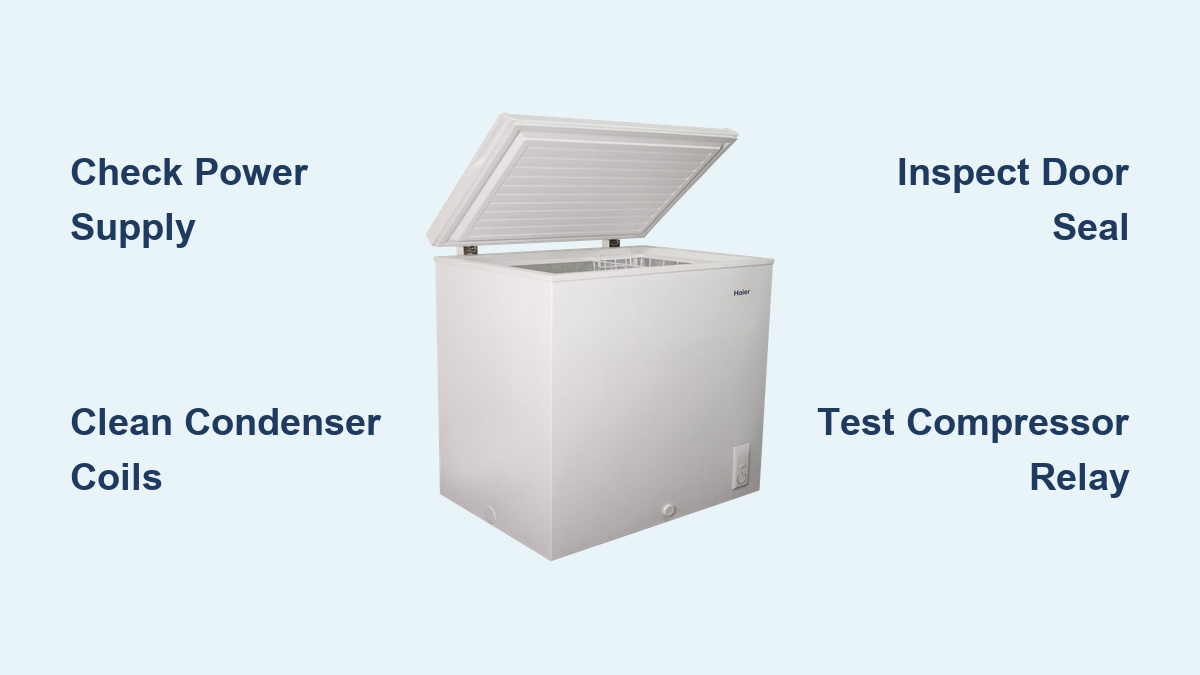
Check Power Supply First
Before assuming your Haier chest freezer has suffered a catastrophic failure, verify the most fundamental requirement: electrical power. This simple step resolves nearly one-third of all “not working” reports and takes less than five minutes to complete. Many users overlook basic power issues when confronted with a freezer full of thawing food, immediately jumping to worst-case scenarios about compressor failure.
Verify Outlet Functionality
Start by testing the wall outlet with another device like a lamp or phone charger. If the test device doesn’t operate, check your home’s circuit breaker panel for tripped breakers—freezers often share circuits with other kitchen appliances that may have overloaded the system. Some homes have GFCI outlets that can trip without obvious cause; press the “reset” button if present. Older homes may have worn outlets that no longer make proper contact with plugs, requiring replacement by a qualified electrician.
While checking power, inspect your Haier chest freezer’s power cord thoroughly. Run your hands along its entire length feeling for soft spots, kinks, or damaged insulation that could interrupt electricity flow. Pay special attention to where the cord enters the freezer body and the plug connection points—these areas experience the most stress. If you find damage, replace the cord immediately with a manufacturer-specified replacement; using a damaged cord creates fire and shock hazards.
Decode Indicator Light Patterns
Modern Haier chest freezers feature sophisticated diagnostic systems that communicate problems through indicator lights. Learning to interpret these signals transforms confusing blinking patterns into precise diagnostic information, eliminating guesswork about what’s wrong with your Haier chest freezer not working.
Understanding Light Color Meanings
A solid green light typically indicates normal operation—your freezer is running but may still have cooling issues. A red or amber light signals a problem requiring attention, such as high internal temperatures or component malfunctions. Rapid blinking often indicates sensor failures, while slow, rhythmic blinking suggests temperature control problems. Consult your owner’s manual for your specific model’s light pattern interpretation; Haier provides detailed decoding instructions for each model’s diagnostic system.
If your Haier chest freezer shows no indicator lights when plugged in, you’re facing a complete power interruption. This usually points to a failed power cord, blown internal fuse, or defective control board. Try a known-good replacement cord if available—this simple test often identifies the problem without requiring technical expertise. Internal fuses protect against power surges but rarely blow without cause; replacing one without addressing the underlying issue may lead to immediate re-blowing.
Perform Visual Inspection

A ten-minute visual inspection often reveals problems that sophisticated diagnostics might miss. This critical step requires only your eyes but can identify issues ranging from simple door seal problems to serious compressor damage.
Check for External Damage
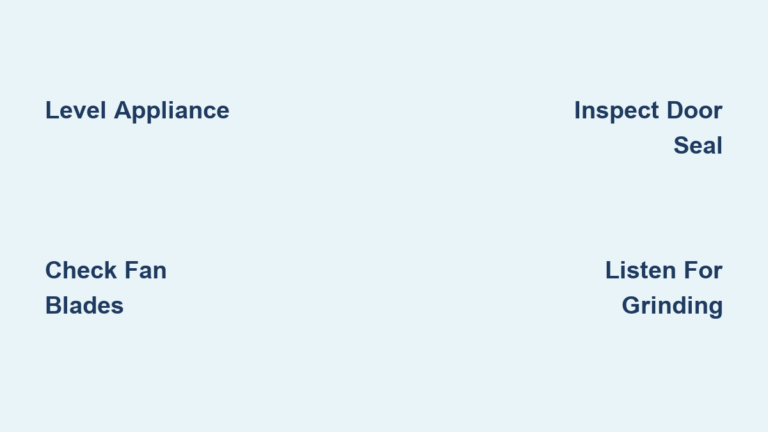
Examine your Haier chest freezer’s exterior for impact damage, dents, or warping that might indicate the unit was dropped. Pay particular attention to the back where the compressor and condenser reside—dents here often accompany cooling system failures. Inspect the door gasket thoroughly for cracks, tears, or deformation. Test the seal by closing the door on a dollar bill; if you can easily pull the bill out anywhere along the perimeter, the gasket needs replacement.
Examine Compressor Area
The compressor at the back bottom of your Haier chest freezer is the heart of the cooling system. Look for oil stains indicating refrigerant leaks, excessive rust suggesting moisture intrusion, or unusual deposits signaling electrical problems. Listen carefully when the freezer attempts to run—a healthy compressor produces a steady, low hum. Repeated clicking sounds without running indicate a starting relay failure, while buzzing that never transitions to running suggests a locked compressor.
Clean Condenser Coils
Dirty condenser coils cause your Haier chest freezer to work harder, eventually leading to overheating and compressor failure. This single maintenance task extends your freezer’s lifespan significantly and resolves many cooling issues.
Locating and Accessing Coils
Haier chest freezer condenser coils typically appear on the back or beneath the unit. Unplug the freezer, then remove any rear panel or base cover to expose the coils. Expect significant dust and debris accumulation—this represents reduced heat dissipation capability directly impacting cooling efficiency.
Proper Cleaning Technique
Use a coil cleaning brush to gently remove dust between coil fins, working in the direction of the fins to avoid damage. Follow with a vacuum cleaner using a brush attachment to remove dislodged debris. For stubborn buildup, compressed air works effectively (use outdoors). After cleaning, allow 24 hours for the unit to stabilize before reloading food. This simple maintenance resolves many marginal cooling performance issues.
Identify Compressor Problems
The compressor represents the most critical and expensive component in your Haier chest freezer’s cooling system. Accurate diagnosis prevents unnecessary replacement costs when a simpler fix might suffice.
Starting Relay Failure
The starting relay provides the initial electrical surge needed to start the compressor. A failing relay typically produces repeated clicking sounds without successful engagement. Testing requires removing it (with power disconnected) and checking for burn marks or performing a continuity test. Starting relay replacement costs $20-50 and takes 15-30 minutes—often resolving “compressor won’t start” scenarios.
Complete Compressor Failure
When the compressor itself fails, you may hear no sounds at all or persistent clicking/buzzing that never transitions to steady operation. Compressor replacement typically costs $300-500 for parts plus $200-400 labor. For freezers over 8-10 years old, this investment often exceeds the cost of a new energy-efficient model that offers better temperature stability and manufacturer warranties.
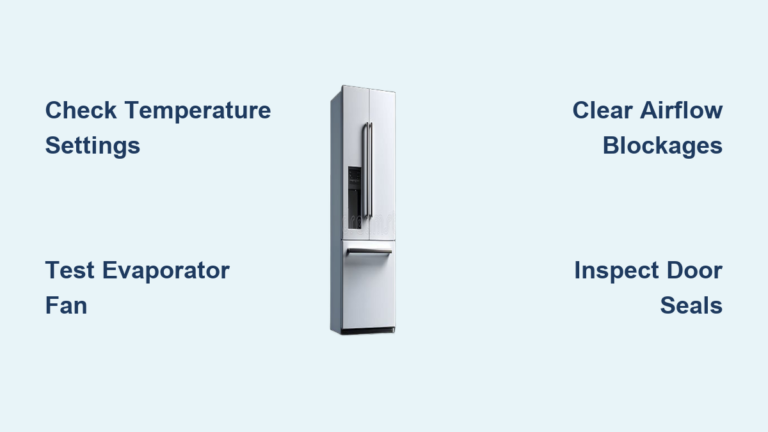
Address Frost Buildup Issues
Excessive frost accumulation exceeding 1/4 inch indicates defrost system problems that eventually lead to cooling failure as ice insulates the evaporator coils.
Defrost System Components
Haier chest freezers use automatic defrost systems with timers, heaters, and thermostats. A failed timer prevents defrost cycles entirely, while a failed heater allows ice accumulation regardless of timer function. Diagnosing requires sequential component testing—starting with the most accessible parts.
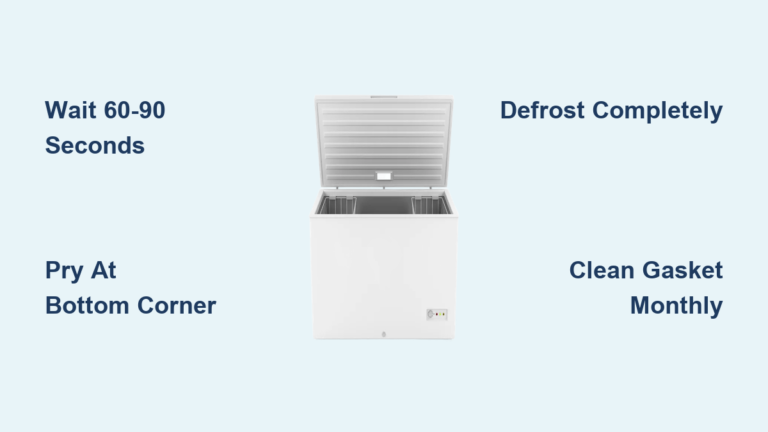
Manual Defrost Procedure
For immediate relief from frost buildup, unplug the freezer and prop the door open. Remove all food to coolers, then allow ice to melt naturally. Speed the process with a fan circulating room-temperature air, but never use sharp objects to chip ice—this can puncture refrigerant lines. Once melted, dry thoroughly before reloading food after 4-6 hours stabilization time.
When to Call a Professional
Certain situations require professional diagnosis and repair to prevent further damage, ensure safety, and ultimately save money.
Safety Warning Signs
If you smell burning, hear popping sounds, or notice smoke, immediately unplug the unit and contact a technician. These indicate electrical failures posing fire hazards. Unusually hot exteriors or signs of electrical arcing also warrant professional service. Refrigerant leaks present health hazards—oily residues, hissing sounds, or constant running without cooling indicate potential leaks requiring certified technician handling.
Economic Repair Threshold
As a general guideline, if repair costs exceed 50% of a comparable new freezer’s price, replacement is typically smarter. Haier chest freezers typically last 10-15 years with proper maintenance—units approaching this age often become candidates for replacement rather than major repair. Professional diagnosis typically costs $75-150, often applied toward repairs performed.
Final Note: A Haier chest freezer not working situation requires systematic troubleshooting starting with simplest possibilities. Most problems stem from power issues, dirty coils, or minor component failures rather than catastrophic compressor failure. Regular maintenance—especially coil cleaning and gasket inspection—prevents many common problems. When in doubt about electrical repairs or refrigerant handling, contact a qualified technician. For units nearing the end of their service life, consider that new models offer improved energy efficiency, better temperature stability, and warranty protection that often makes replacement the wiser investment over major repairs. By following this guide, you’ll make informed decisions that protect both your food and your budget.