How to Fix General Electric Freezer Not Working
When your General Electric freezer stops freezing while the refrigerator section continues cooling normally, you’re dealing with a specific failure pattern that points to a narrowed range of potential causes. This common issue occurs because GE refrigerators operate on a shared-cooling architecture where the freezer serves as the primary cooling source. Understanding this fundamental design is essential—you’ll typically notice soft ice cream, thawing frozen items, or temperature displays showing +2°F instead of the required 0°F. The good news is that most causes are repairable without replacing the entire unit, often for less than $150. This guide walks you through the critical diagnostic steps to identify and fix your GE freezer not working problem.
Diagnose Failed Temperature Sensors First
The freezer thermistor (temperature sensor) causes freezer-specific failures more frequently than any other component in GE refrigerators. This small sensor monitors freezer temperatures and communicates with the control board to regulate cooling cycles. When it fails, your freezer may display misleading temperature readings or fail to trigger proper cooling cycles while the refrigerator continues functioning normally.
Look for these specific thermistor failure symptoms in your GE freezer:
– Freezer temperature displays between -5°F to +5°F while refrigerator remains at 37°F
– Ice buildup on evaporator coils despite the compressor running
– Erratic temperature fluctuations throughout the day
Testing requires a multimeter to check resistance at different temperatures, but many technicians recommend direct replacement since GE thermistors typically cost only $30-$75. The sensor usually lives behind the rear panel inside the freezer compartment. If you’re uncomfortable with electrical testing, consider professional diagnosis—documented cases show this repair costing around $147 with a 50% discount for parts and labor. Pro tip: When replacing the thermistor, apply a small amount of thermal paste to the sensor tip for more accurate temperature readings.
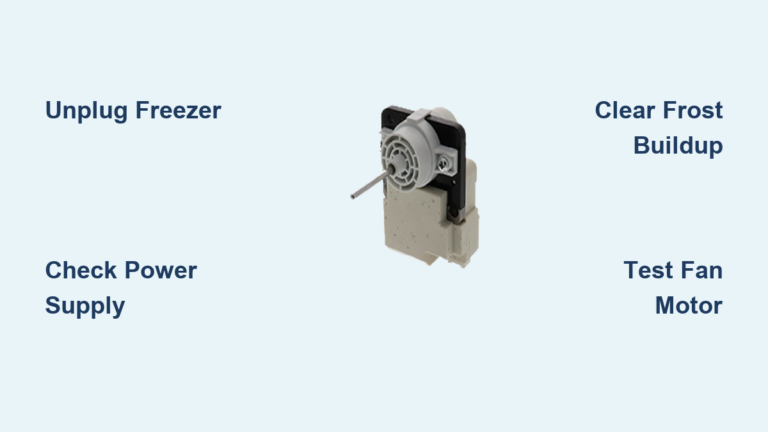
Test Your Evaporator Fan for Silent Failures
The evaporator fan circulates cold air from the evaporator coils throughout your freezer compartment and into the refrigerator section. A failed fan creates the classic symptom pattern where the freezer feels slightly cool but cannot maintain freezing temperatures. This happens because the evaporator coils are cold, but without proper air circulation, the freezer can’t reach 0°F.
Diagnose fan failure with these specific steps:
1. Listen for the characteristic hum when closing the freezer door (stand quietly near the unit)
2. Remove the rear panel inside the freezer to visually inspect the fan blades
3. Check for ice accumulation on the fan housing, which indicates a defrost system issue
If the fan isn’t running but you hear the compressor operating (a low humming sound from the back/bottom of the unit), the fan motor has likely failed. Replacement costs typically range from $50-$150 depending on your GE model. Critical warning: Never operate your refrigerator with the rear panel removed—the fan blades can cause serious injury when power is restored.
Identify Defrost System Component Failures

GE refrigerators initiate automatic defrost cycles approximately four times daily to prevent frost buildup on evaporator coils. When any component in this system fails, frost accumulates progressively, eventually creating an insulating barrier that blocks heat transfer and air circulation. This explains why your freezer may feel slightly cool but cannot reach freezing temperatures.
The defrost system has three critical components that commonly fail:
– Defrost heater (test for continuity with multimeter; open circuit = failure)
– Defrost thermostat (must open when cooled below 32°F)
– Defrost timer (controls cycle initiation; often integrated with control board)
Visual inspection provides immediate clues—remove the rear freezer panel and check for heavy frost accumulation on the coils. If present, test the defrost heater first, as it’s the most common failure point. Many GE owners successfully resolve this issue with a $25-$50 heater replacement. Pro tip: After replacing defrost components, run a manual defrost cycle by unplugging the unit for 24-48 hours to ensure complete ice melt before testing.
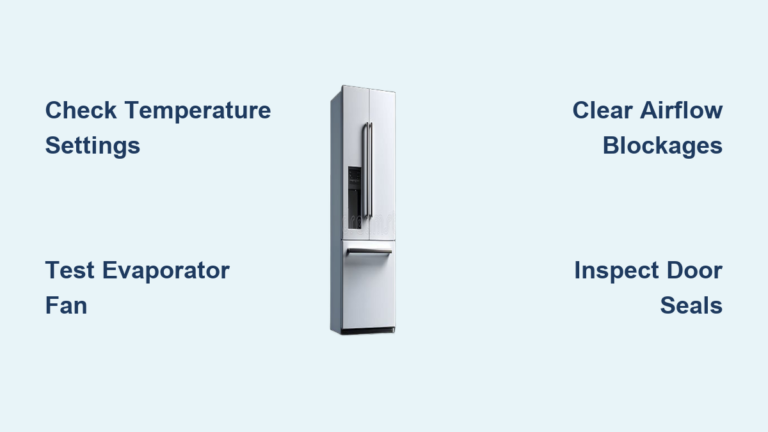
Verify Basic Settings and Blockages Before Complex Repairs
Before pursuing component-level diagnostics, eliminate simple causes that mimic serious failures. GE recommends precise temperature settings: 0°F for freezers and 37°F for refrigerators. Display readings of -2°F to +5°F in the freezer indicate developing problems requiring investigation.
Complete these essential basic checks:
– Confirm no food containers block air vents inside compartments
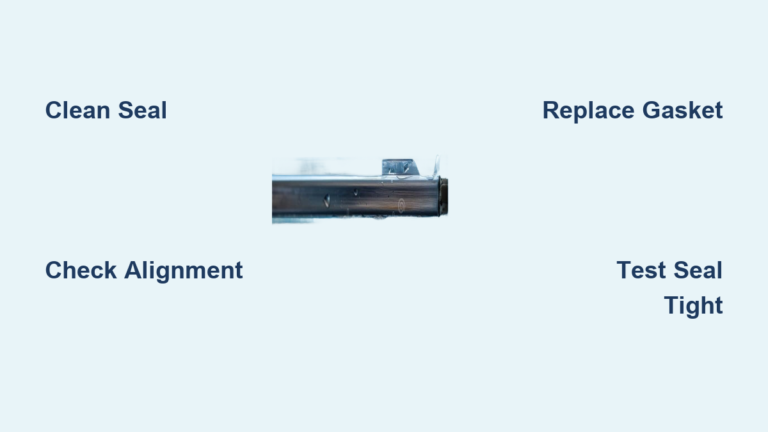
– Test door seals using the dollar bill test (difficulty removing bill = good seal)
– Clean condenser coils located beneath the unit or at the rear
– Perform a manual defrost by unplugging for 24-48 hours
Many documented cases show that simply clearing blocked vents or performing a manual defrost resolves the “GE freezer not working” issue. One verified repair involved powering off a refrigerator for one day to melt ice blocking airflow between compartments—restoring normal function without component replacement.
Clear Critical Airflow Pathways to Restore Cooling
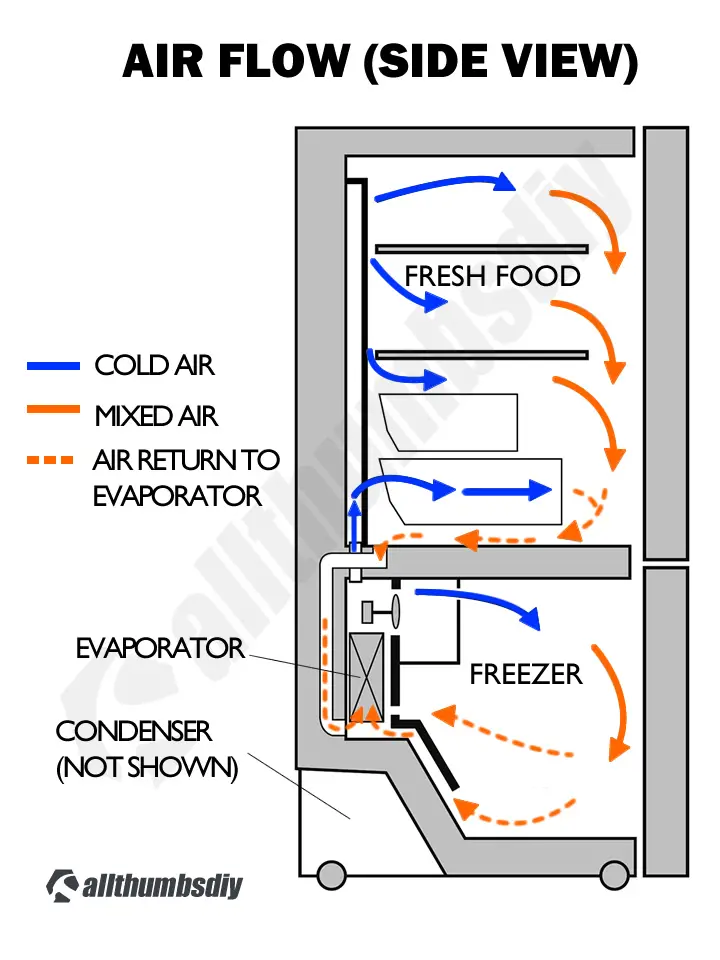
GE refrigerators rely on precise airflow between compartments through dedicated supply vents, return vents, and a motorized damper. Blockage at any point prevents proper freezer temperature maintenance while potentially allowing the refrigerator to appear functional.
Locate and inspect these critical airflow points:
– Supply vents: Typically in freezer ceiling or upper walls
– Return vents: Often near refrigerator bottom or behind crisper drawers
– Damper assembly: Controls cold air transfer between compartments
Remove all items blocking these pathways and check for ice buildup. The damper itself can fail mechanically when gears strip or plastic housing warps. If you hear clicking sounds but no temperature change, the damper motor may need replacement ($40-$100). Critical step: After clearing blockages, monitor temperatures for 24 hours using a standalone appliance thermometer—not just the display—to verify proper cooling restoration.
Recognize When You Have a Sealed System Failure

Refrigerant leaks and compressor failures represent the most serious repair scenarios for GE freezer problems. These issues typically show progressive symptoms where the freezer gradually warms while the refrigerator maintains near-normal temperatures—until both compartments eventually fail.
Identify potential sealed system failures by checking:
– Compressor operation (should feel warm but not hot)
– Frost patterns on evaporator coils (uneven or minimal frost)
– Hissing sounds indicating refrigerant leakage
A documented case involved a GE GSH25JSFSS model where the compressor ran normally, the fan operated, and coils were clean—yet the freezer failed to freeze. Professional diagnosis revealed insufficient refrigerant, requiring compressor replacement. Critical warning: Sealed system repairs require EPA-certified technicians with specialized equipment. Attempting DIY repairs can be dangerous and illegal.
Know When to Call a GE Appliance Specialist
Professional service becomes necessary when:
– Basic diagnostics reveal no obvious causes
– You suspect refrigerant system involvement
– Multiple components appear to be failing simultaneously
– The compressor runs but produces inadequate cooling
Consider these cost-benefit factors before calling a technician:
– Units under 5 years old: Most repairs are economically justified
– Units 5-10 years old: Evaluate repair cost versus replacement
– Units over 10 years old: Sealed system repairs often exceed replacement value
Many technicians recommend proactive replacement of defrost components (timer, heater, fan) in aging units showing cooling inconsistencies. This approach prevents repeated service calls and ensures comprehensive system reliability for another 3-5 years.
Regular maintenance prevents most common GE freezer failures. Clean condenser coils every 6-12 months, inspect door seals monthly, and monitor temperatures using a standalone thermometer. A freezer gradually warming from 0°F to +5°F indicates developing issues requiring attention, while sudden temperature changes suggest acute component failures. Remember that freezer problems will eventually affect refrigerator performance if left unaddressed—making timely diagnosis crucial for food safety and appliance longevity.