Freezer Not Working After Unplugging? Fix It Fast
Your freezer was running perfectly until you unplugged it for cleaning, moving, or a power outage. Now it’s sitting silent, and all your frozen food is at risk. This frustrating scenario happens more often than you might think, and the causes range from simple oversights to serious mechanical failures. Understanding why your freezer won’t work after being unplugged—and knowing how to diagnose the problem—can save you expensive repairs or premature replacement. Most issues can be identified through systematic troubleshooting, and many have straightforward solutions you can handle yourself.
This guide walks you through the exact steps to diagnose and fix a freezer that won’t operate after unplugging. You’ll learn how to verify power delivery, test critical components, recognize signs of specific failures, and determine when professional help is necessary. By the end, you’ll have a clear understanding of what’s wrong and what it will take to fix it.
Test Outlet and Power Connection Immediately
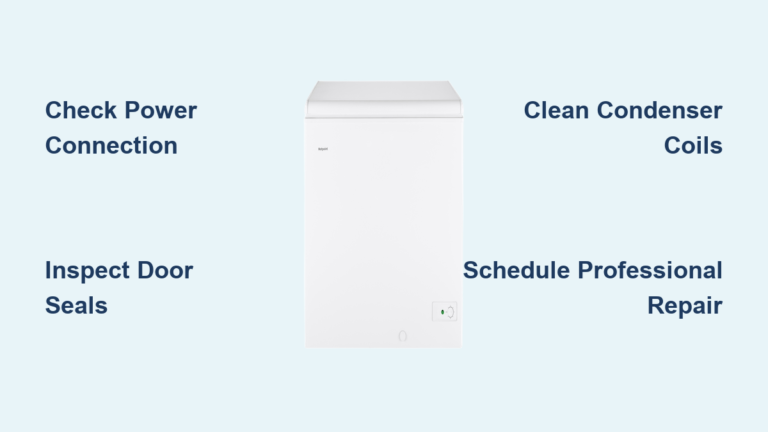
Don’t assume your freezer is broken before confirming electricity is reaching the unit. Power delivery issues account for nearly half of all “freezer not working after unplugging” cases and are the easiest problems to resolve. A tripped breaker, loose outlet connection, or damaged power cord can all prevent operation without any internal failure.
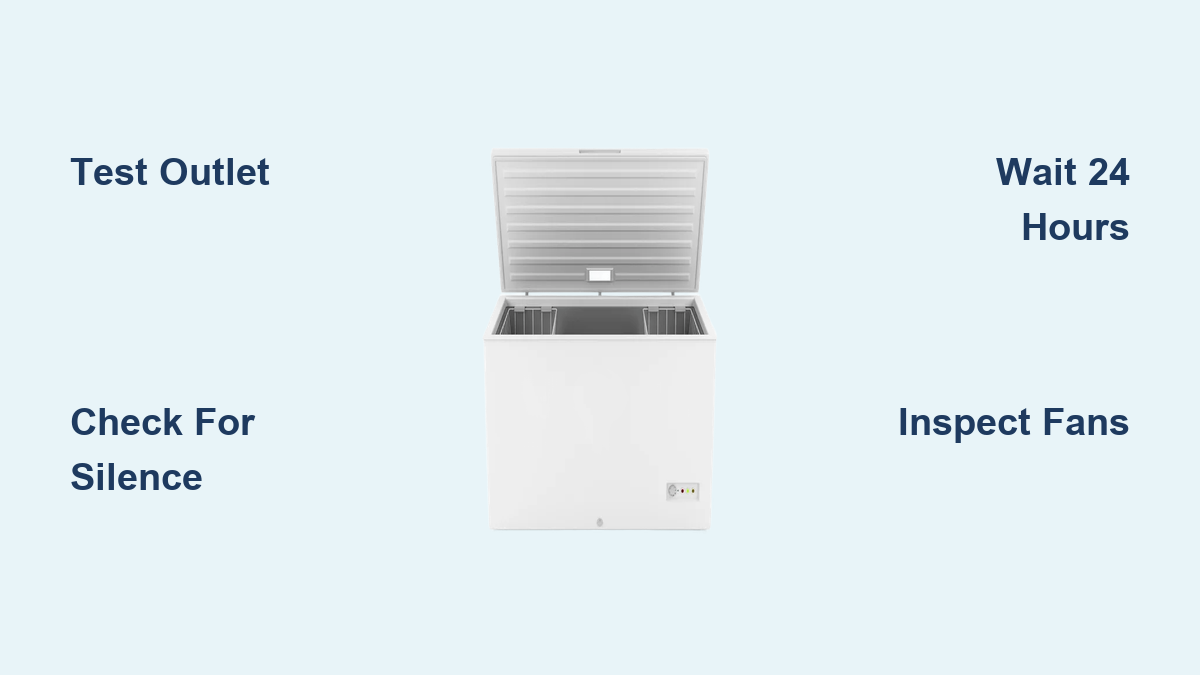
Plug a lamp, phone charger, or outlet tester into the same wall socket to verify power delivery. If the test device doesn’t work, check your home’s circuit breaker for a tripped switch and reset it if needed. Carefully inspect the freezer’s power cord along its entire length for fraying, cuts, or bent plug prongs that could interrupt power flow. If you’re using an extension cord, connect the freezer directly to the wall outlet—extension cords often can’t handle the freezer’s power demands.
Critical warning: If your outlet tests fine but your freezer shows absolutely no signs of life (no interior light, no fan noise), unplug the unit and wait 5-10 minutes before proceeding. This gives capacitors time to discharge, reducing electrical shock risk during further troubleshooting.
Identify Your Freezer’s Specific Failure Pattern

The sounds and behaviors your freezer exhibits after plugging it back in provide crucial diagnostic clues. Learning to interpret these symptoms helps you pinpoint the problem quickly and avoid unnecessary parts replacements or service calls. A freezer that makes no sound at all has a different issue than one that clicks repeatedly or hums without cooling.
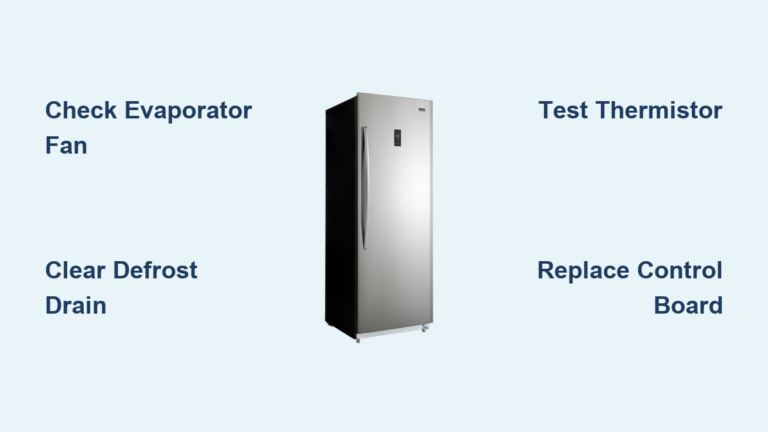
Complete silence after 30 minutes of operation typically indicates a power delivery problem in the start relay, overload protector, or thermostat. If you hear absolutely no hum or click from the back of the unit, the compressor circuit is likely interrupted. Repeated clicking without sustained operation usually means a failing start relay that can’t complete the compressor startup sequence—the compressor tries to start, fails, and the thermal overload trips, creating a cycling pattern of clicks.
Humming without cooling suggests the compressor is running but the refrigeration system isn’t functioning properly. This could indicate a refrigerant leak, blocked airflow, or failed fan. If the hum stops after a few minutes and doesn’t return, the overload protector may be tripping due to overheating. Pay attention to these specific patterns during the first hour after plugging in—they’re your most valuable diagnostic tools.
Wait 24 Hours Before Declaring Failure
One of the most common mistakes owners make is concluding their freezer is broken when it simply needs time to reach operating temperature. Freezers cannot freeze food instantly—they require extended runtime to remove heat from the cabinet walls, insulation, and interior air. An empty freezer takes significantly longer because there’s no thermal mass (already frozen items) to help stabilize the temperature.
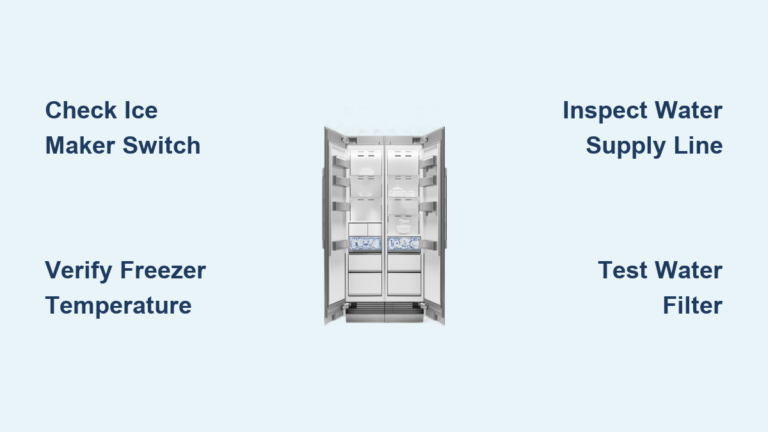
After plugging in your freezer following any unplugging event, allow at least 24 hours for the unit to reach its target temperature of 0°F (-18°C) or below. During this initial cooling period, the compressor runs continuously to remove accumulated heat. Every time you open the door, you release cold air and introduce warm room air, extending the cooling time. Before concluding your freezer is malfunctioning, verify the actual temperature using a dedicated freezer thermometer placed inside for 12+ hours.
Pro tip: Perform the water freeze test—fill a plastic container halfway with water, place it in the freezer, and check after 24 hours. If the water hasn’t frozen solid, you have a genuine problem worth investigating further.
Test Start Relay and Overload Protector
The start relay provides the initial electrical boost your compressor needs to begin running, while the overload protector prevents overheating. Both are common failure points after unplugging events and relatively inexpensive to replace ($15-40 for parts).
Unplug your freezer and locate the start relay (a small plastic device attached to the compressor terminals). Remove it carefully and shake gently—a rattling sound indicates internal failure. Use a multimeter to check for continuity between terminals; infinite resistance means the relay needs replacement. Start relays fail frequently when freezers are unplugged during operation, as the compressor attempts to start against high refrigerant pressure.
Check the overload protector (a small cylindrical device about 1 inch in diameter) for proper electrical function. Test it with a multimeter for continuity when the unit is cool. The thermal overload may have tripped during startup and should reset automatically after cooling, but repeated failures indicate component wear. If both components test faulty, replace them together—they often fail simultaneously.
Inspect Evaporator and Condenser Fans
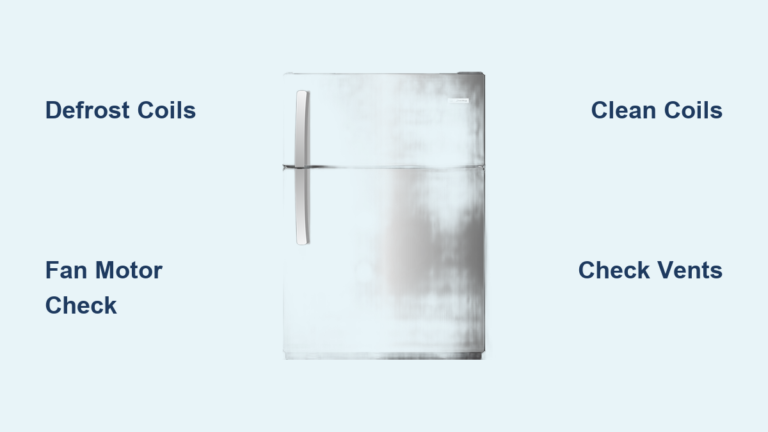
Two fans work together to maintain proper freezer operation: the evaporator fan circulates cold air inside the compartment, while the condenser fan dissipates heat at the back or bottom. Either fan can fail due to age, debris, or physical disturbance during cleaning or moving.
Listen for unusual clicking or whirring sounds indicating evaporator fan problems. Signs of failure include warm temperatures in one section while others remain cold, or complete absence of air circulation. Accessing this fan typically requires removing the rear panel inside the freezer and checking for physical damage, debris, or electrical connection issues.
Check the condenser fan for obstructions, clean accumulated dust from the blades, and verify it spins freely when manually rotated. A malfunctioning condenser fan causes the compressor to overheat and shut down. Replacement evaporator fan motors cost $80-100 for the part, with total repair costs ranging from $250 to $285 including professional labor.
Reset Temperature Controls Properly
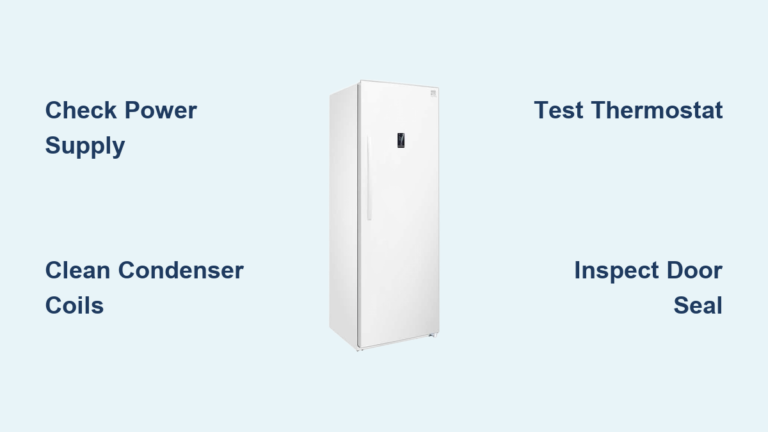
Temperature controls can malfunction after unplugging due to moisture exposure, static discharge, or accidental bumps during cleaning. Modern freezers have digital controls with error codes, while older models use mechanical thermostats—both can fail in ways that prevent cooling.
Locate your temperature control and verify it’s set to maximum cooling. On mechanical controls, turn the dial to the highest number and listen for a click indicating the thermostat is closing the circuit. On digital models, access settings to confirm the freezer isn’t in defrost or vacation mode.
Some compact freezers require a specific reset procedure: turn the control to the lowest setting (zero), unplug for 5 minutes, plug back in, then gradually increase to maximum. This recalibrates the thermostat if it became inaccurate. After adjustment, allow 24 hours for the unit to respond before reevaluating.
Check for Physical Damage from Moving

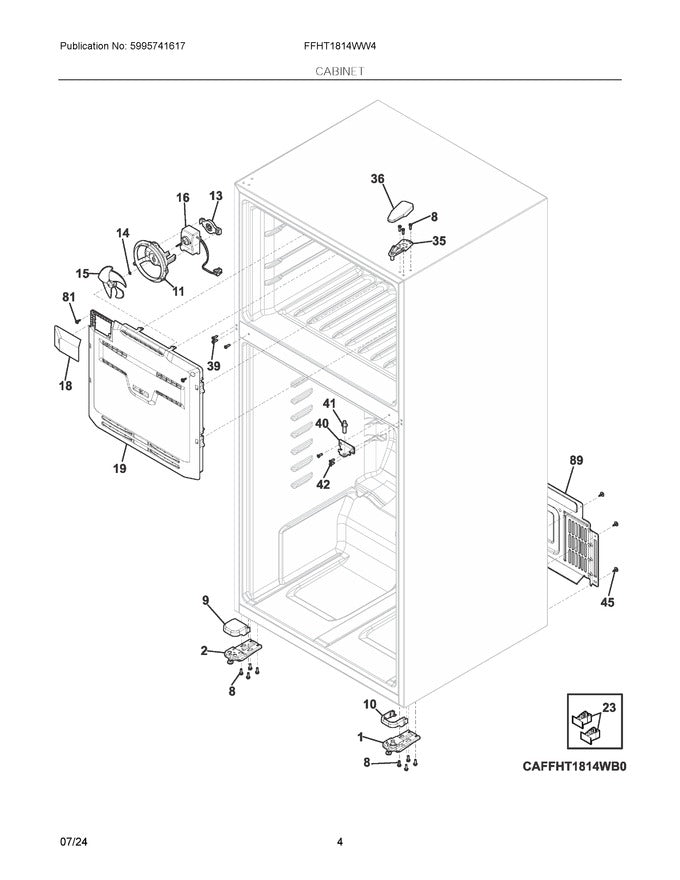
A thorough visual inspection can reveal problems electrical testing might miss. Physical damage from moving or cleaning can cause immediate or delayed failures. Examine both exterior and interior carefully for signs of impact or component failure.
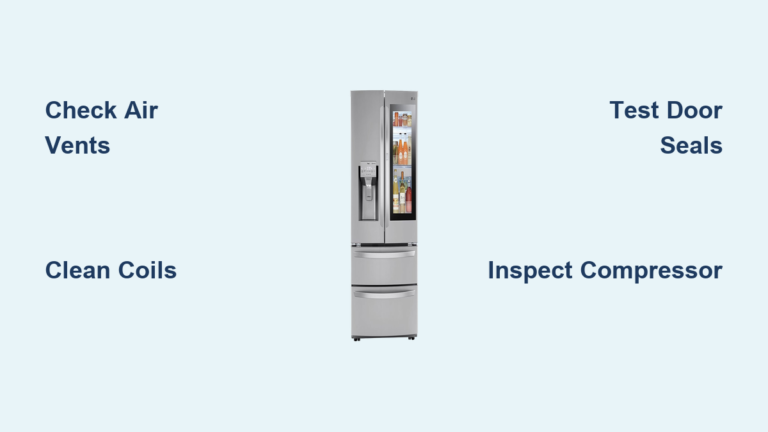
Check the door seal (gasket) for tears or deformation that allows warm air infiltration. Perform the dollar bill test: close the door on a bill at multiple points—easy removal indicates seal failure. Inside, look for unusual ice patterns that might indicate defrost system issues—uniform light frost is normal, while heavy buildup suggests problems.
Inspect for dents or cracks from impacts during moving, and check internal components for loose wiring or signs of burning. Even minor physical disturbances can disconnect critical components after unplugging.
Prevent Future Unplugging Problems
Once resolved, implement proper procedures for future unplugging to prevent recurrence. Always wait 30 minutes before plugging a freezer back in after unplugging—this allows refrigeration system pressure to equalize, preventing compressor damage from immediate restart attempts.
If your freezer was moved or not kept upright, allow two full days before operating. Freezers contain oil that lubricates the compressor, and this oil drains into refrigerant lines if tilted. Running without proper lubrication risks catastrophic damage. The two-day minimum is conservative—some manufacturers recommend up to 24 hours per inch of tilt.
When to Call a Professional Technician
Certain symptoms indicate problems requiring professional diagnosis rather than DIY troubleshooting. Hissing, bubbling, or gurgling sounds suggest refrigerant leaks that consumers can’t safely address. Visible oil pooling around the base indicates a significant refrigeration system leak. Burning smells, smoking, or electrical arcing pose fire hazards and require immediate professional attention.
If systematic troubleshooting eliminates common problems but your freezer still fails, professional diagnosis is warranted. Compressor replacement costs $500-1,100 including labor, often exceeding the value of older units. When evaluating repair versus replacement, consider your freezer’s age, repair costs relative to replacement, and whether it still meets your needs.
Quick Diagnostic Checklist for Failed Freezers
When your freezer won’t work after unplugging, follow this efficient sequence:
- Test the wall outlet with another device and check the circuit breaker
- Listen for compressor sounds: Silence suggests electrical failure; clicking indicates start relay issues; humming points to airflow or refrigerant problems
- Wait 24 hours before concluding failure—verify temperature with a thermometer
- Test the start relay by shaking for rattling and checking continuity with a multimeter
- Check the overload protector and thermostat for proper electrical function
- Verify both fans are operating and unobstructed—clean debris from blades
- If all tests pass, contact a professional—the problem likely involves the compressor or refrigerant system
Most “freezer not working after unplugging” problems stem from temporary conditions that resolve with time, simple component failures that are inexpensive to replace, or user misunderstanding about normal cooling timelines. By following proper unplugging procedures, allowing adequate rest periods after moving, and maintaining regular cleaning schedules, you can prevent most post-unplugging problems entirely. When failures do occur, systematic troubleshooting identifies the cause efficiently and helps you determine whether professional repair is necessary or whether a new freezer makes more financial sense.