Freezer Evaporator Not Working: Quick Fix Tips
When your freezer stops keeping food frozen but the refrigerator section still seems cold, the evaporator system is often the culprit. This hidden component works silently behind the scenes, circulating cold air throughout your freezer compartment. When it fails, you may notice frost buildup on the walls, warm temperatures despite proper settings, or strange noises coming from the back of your unit. Understanding how to diagnose and address these issues can save you hundreds in repair costs and prevent food spoilage. This guide walks you through the most common causes of evaporator failure, step-by-step diagnostic procedures, and practical solutions you can attempt before calling a professional.
The evaporator is essentially the heart of your freezer’s cooling system. It’s located behind the back panel of your freezer compartment and contains coils that absorb heat from the air inside. A small fan blows air across these coils, distributing the cold air throughout the freezer space. When any component in this system fails— whether it’s the fan motor, defrost heater, or temperature controls— your freezer’s ability to freeze food becomes compromised. Recognizing the early warning signs and understanding the underlying causes empowers you to take swift action and protect your food investment.
Identify Critical Evaporator Failure Symptoms
Pinpointing evaporator problems requires careful observation of specific symptoms rather than general cooling issues. Many homeowners mistakenly assume compressor problems when the evaporator system is actually failing. Learning to distinguish these specific indicators helps you target your troubleshooting efforts effectively and avoid unnecessary repairs.
Temperature and Frost Irregularities
One of the first signs of evaporator trouble is inconsistent freezing temperatures. You might notice ice cream becoming soft despite your freezer being set to its usual temperature setting. The freezer compartment may feel warmer than normal when you place your hand near the back wall, or you might find thawed food that was frozen just days earlier. Conversely, excessive frost accumulation inside the freezer signals a different but related problem— typically involving the defrost system rather than the evaporator itself.
Look for frost buildup on the back wall of your freezer compartment or on the floor beneath frozen items. This ice accumulation often appears as a thick, white frost that doesn’t match the light frost you might see after leaving the door open briefly. If you notice ice forming in unusual patterns or quantities, your evaporator coils may be icing up due to a defrost system malfunction, which prevents proper heat exchange and eventually causes the evaporator to stop working effectively. Pro Tip: Place a thermometer in the center of your freezer—readings consistently above 10°F indicate evaporator system problems.
Unusual Sounds and Behavior
A failing evaporator fan motor often announces its problems before complete failure. Listen for clicking, buzzing, or grinding noises emanating from the back of your freezer. The fan might cycle on and off more frequently, run intermittently, or stop completely despite the compressor running. Some homeowners describe the sound as a humming that suddenly cuts out, followed by silence where there should be a gentle fan noise.
The compressor running without the familiar hum of the evaporator fan is a clear indicator that something has gone wrong. If you hear the compressor cycling normally but notice warm temperatures inside the freezer, the fan motor is likely the first component to inspect. Addressing these sounds early can prevent the fan from seizing entirely, which sometimes causes additional damage to other system components. Warning: Persistent clicking sounds often indicate electrical issues that require immediate attention to prevent fire hazards.
Common Causes of Evaporator System Failure
Understanding the root causes of evaporator failure helps you target your troubleshooting efforts effectively. Most evaporator problems stem from a handful of common issues, each with distinct characteristics and repair approaches. By familiarizing yourself with these causes, you can make more informed decisions about which repairs to attempt yourself and when to seek professional assistance.
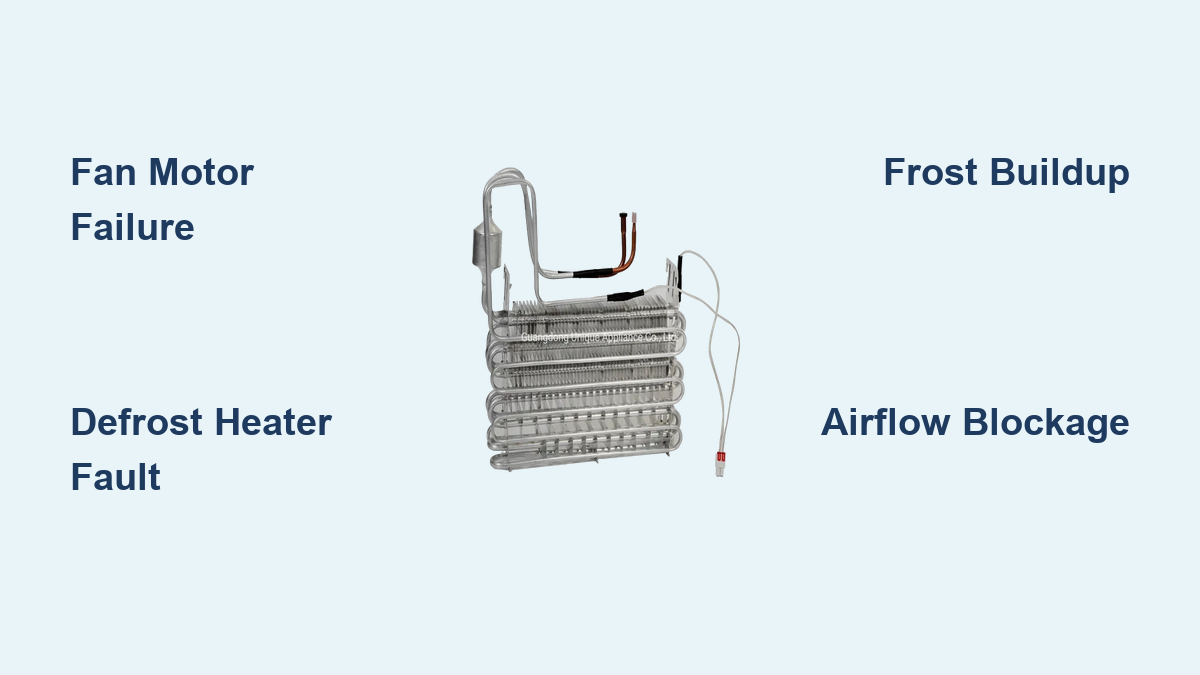
Evaporator Fan Motor Failure
The evaporator fan motor is the most frequent cause of evaporator system failure. This motor runs continuously to circulate cold air across the evaporator coils and throughout the freezer compartment. Over time, the motor bearings wear out, the motor windings fail, or debris accumulates around the fan blades, causing the motor to labor and eventually stop working entirely.
Signs of fan motor failure include loud operational noises, intermittent operation, or complete silence from the freezer compartment while the compressor continues running. In some cases, the motor may run briefly before overheating and shutting down, creating a cycling pattern that prevents adequate cooling. Age, dust accumulation, and electrical surges all contribute to motor degradation, making regular maintenance and prompt attention to warning signs essential for longevity. Expert Note: Most fan motors last 8-12 years—replace yours proactively if your freezer is approaching this age bracket.
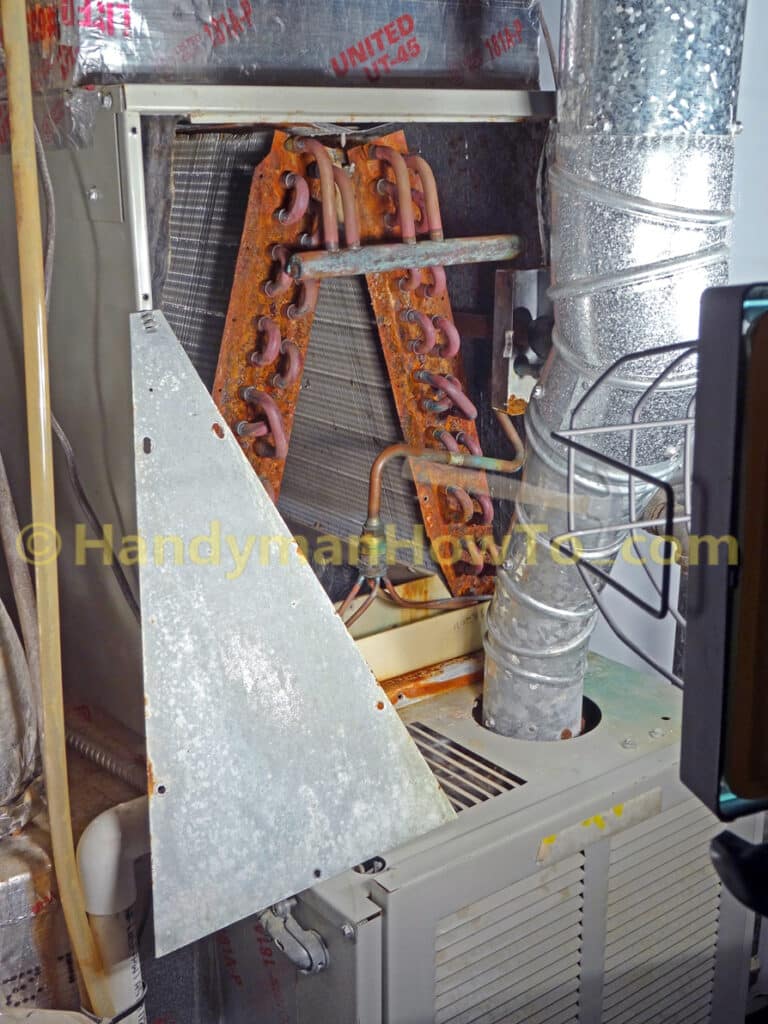
Defrost System Malfunctions
Your freezer’s defrost system prevents ice from building up on the evaporator coils. When this system fails, frost accumulates on the coils, insulating them and preventing proper heat absorption. The system typically consists of three components: a defrost heater that melts frost, a defrost thermostat that monitors coil temperature and cycles the heater, and a timer or control board that initiates defrost cycles at regular intervals.
If any of these components fail, frost builds up progressively with each cooling cycle. Eventually, the ice layer becomes thick enough to block airflow completely, even if the evaporator coils themselves are functioning properly. You might notice the freezer cooling adequately for a few days after manual defrosting, only to develop the same problem again, indicating an underlying defrost system issue that needs attention. Time-Saving Shortcut: Manually defrost your freezer every 3-4 months to extend the life of your defrost system components.
Airflow and Ventilation Problems
Blocked air vents and restricted airflow can mimic evaporator failure by preventing cold air from reaching all areas of the freezer. Sometimes, overstuffed freezer compartments or improperly stored items block the vents that allow air circulation. In other cases, ice blockages from previous defrost failures partially obstruct airflow passages.
Check that items in your freezer aren’t pressed against the back wall or blocking the vents near the evaporator area. Ensure that the freezer isn’t packed so tightly that air cannot circulate freely between items. Sometimes simply reorganizing your storage resolves airflow issues without any component replacement being necessary. Common Mistake: Storing large containers directly against the back wall restricts airflow and accelerates frost buildup.
Step-by-Step Evaporator Diagnostic Procedures
Before attempting any repairs, you need to accurately diagnose which component has failed. Systematic troubleshooting saves time, prevents unnecessary part purchases, and helps you understand whether the repair falls within your skill level. These diagnostic steps work for most common refrigerator-freezer combinations and can be performed safely with basic tools.
Test the Evaporator Fan Motor
Begin your diagnosis by unplugging the refrigerator and accessing the evaporator fan, which is typically located behind a panel in the freezer compartment. Remove any screws securing the panel cover and set it aside carefully. Once exposed, visually inspect the fan blades for damage, ice accumulation, or debris that might be obstructing rotation.
Manually try spinning the fan blade. It should rotate freely with only slight resistance from motor bearings. If the blade doesn’t turn at all, or if you feel grinding or binding, the motor likely needs replacement. For a more thorough test, use a multimeter to check for continuity through the motor windings. No continuity indicates an open circuit and a failed motor that requires replacement.
Listen carefully as you plug the refrigerator back in and observe the fan’s behavior. The fan should start spinning within thirty seconds of the compressor beginning to run. Note any delays, unusual sounds, or intermittent operation, as these all indicate developing problems that will likely worsen over time. Difficulty Indicator: Fan motor testing is beginner-friendly (15-20 minutes).
Check Defrost System Components

The defrost system requires systematic testing of each component. Start by locating the defrost heater, which is typically mounted at the bottom of the evaporator coils. Unplug the connector and use your multimeter to test for continuity across the heater terminals. No continuity means the heater has burned out and needs replacement.
The defrost thermostat monitors temperature at the evaporator coils and closes to allow current flow when temperatures drop below a set point. During normal operation, the thermostat should have continuity when cold and open when warm. Remove the thermostat from its mounting location and place it in your freezer for a few minutes to see if it closes. Alternatively, test it while it’s still mounted by checking for continuity between its terminals when the coils are cold.
The defrost timer or control board initiates the defrost cycle at regular intervals. You can usually hear the timer clicking as it advances through its cycle. If you don’t hear clicking or if the defrost cycle never seems to activate, the timer or board may be defective. Some timers can be manually advanced by turning the adjustment screw with a screwdriver, which allows you to test whether the mechanism is functional. Expert Note: Defrost system diagnostics require intermediate skills (30-45 minutes).
Practical Repair Solutions for Evaporator Issues
Once you’ve identified the failing component, most repairs can be completed with basic tools and moderate DIY experience. Always unplug your refrigerator before performing any repairs, and work carefully around sharp sheet metal edges and electrical components. Taking photos during disassembly helps ensure correct reassembly.
Replace the Evaporator Fan Motor
Evaporator fan motor replacement typically requires removing the evaporator cover panel and disconnecting the motor’s electrical connector. Note the exact routing of wires and the position of any mounting brackets before removal. The motor is usually held in place by mounting screws or a clip mechanism that releases with gentle pressure.
When installing the new motor, ensure that the fan blade is oriented correctly and that the motor seats fully in its mounting position. Spin the blade by hand before reassembly to confirm that nothing interferes with rotation. Replace any damaged wire harnesses or connectors, as these can cause premature motor failure. Once installed, plug in the refrigerator and verify smooth, quiet operation. Pro Tip: Apply a small amount of electrical contact cleaner to the new motor’s electrical connector to prevent future corrosion.
Repair or Replace Defrost Components
Defrost heater replacement involves removing the mounting clips or brackets that hold the heater against the evaporator coils. Carefully note how the old heater was positioned, as proper placement ensures effective frost removal during defrost cycles. The new heater should follow the same path and make the same contact with the coils as the original.
Defrost thermostat replacement requires cutting the wires at their connection points and splicing in the new thermostat using wire nuts or appropriate connectors. Ensure that the new thermostat mounts in the same location as the original, as its ability to sense coil temperature depends on correct positioning. After replacement, verify that the defrost cycle activates normally by manually advancing the timer or waiting for the automatic cycle. Common Mistake: Incorrect thermostat placement causes premature defrost cycle termination.
Prevent Future Evaporator System Failures
Regular maintenance extends the life of your evaporator system and prevents unexpected failures. Implementing a few simple habits can significantly reduce the likelihood of future problems and keep your freezer running efficiently for years to come.
Keep the freezer compartment organized to maintain proper airflow around vents and the evaporator area. Avoid pushing items directly against the back wall or blocking the air passages that distribute cold air. Allow hot foods to cool before placing them in the freezer, as warm items introduce excess moisture that can contribute to frost buildup and defrost system stress.
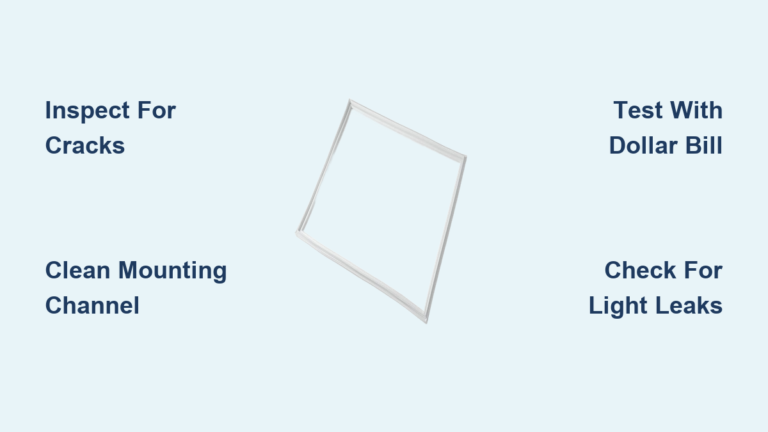
Periodically check the door seals for damage or deterioration. Worn gaskets allow warm, humid air to enter the freezer, increasing the workload on the evaporator and defrost systems. Replace any damaged seals promptly to maintain proper temperature control and reduce energy consumption. Clean the door seals regularly with mild detergent to remove food residue and ensure a tight seal. Maintenance Schedule: Perform evaporator coil inspections every 6 months and replace door seals every 3-5 years.
By understanding how your freezer evaporator system works, recognizing early warning signs of failure, and following systematic diagnostic and repair procedures, you can maintain reliable freezer performance and avoid the inconvenience and expense of unexpected cooling failure. Most evaporator issues can be resolved with basic tools and moderate DIY skills, saving you hundreds in service calls while extending the life of your appliance.