Freezer Evaporator Coil Freezing Up? Causes and Fixes
You’ve opened your freezer to find ice completely encasing the evaporator coil, turning what should be a smooth cooling surface into a solid block of ice. This frustrating problem not only forces your freezer to work harder but also compromises food preservation as temperatures rise above safe levels. When your freezer evaporator coil freezing up occurs, it creates a vicious cycle where frost insulation reduces heat transfer, causing the coil to get even colder and accumulate more ice. Understanding why this happens—and how to fix it—can save you from costly repairs and prevent food spoilage. This guide walks you through the most common causes of evaporator coil freezing, proven diagnostic steps, and practical solutions you can implement today.
The evaporator coil serves as the heart of your freezer’s cooling system, absorbing heat from the interior air through refrigerant evaporation. Under normal operation, this coil maintains temperatures just above water’s freezing point, typically around 15 to 20 degrees Fahrenheit. However, when conditions disrupt this delicate balance—whether from airflow problems, control failures, or refrigerant issues—the coil temperature drops below freezing, causing moisture in the air to condense and freeze on the coil surface. As frost accumulates, it creates an insulating barrier that further reduces heat transfer, accelerating the freezing process. Whether your freezer is a manual-defrost model or a modern frost-free system, evaporator coil freezing represents one of the most frequent appliance service calls—and many cases can be prevented or resolved with proper maintenance.
Why Your Freezer Evaporator Coil Freezes Solid
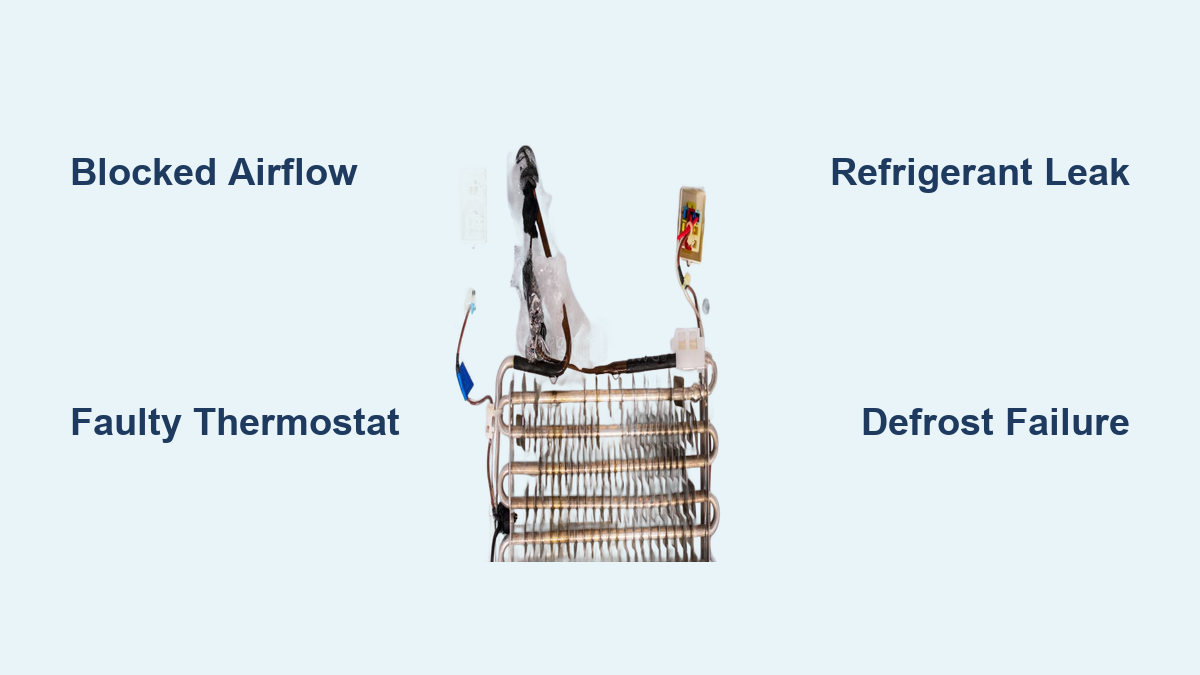
Evaporator coil freezing begins when conditions cause the coil temperature to drop below water’s freezing point. Under normal operation, refrigerant inside the coil absorbs heat from warm air passing over the coil surface, changing from liquid to gas as it completes its cooling task. This phase change requires precise temperature and pressure conditions. When those conditions shift due to airflow problems, control failures, or refrigerant issues, the coil suddenly becomes too cold, and moisture in the air begins depositing as frost on the coil’s surface.
Several interconnected factors trigger this temperature imbalance. Insufficient airflow across the coil means less heat reaches the refrigerant, causing progressive cooling until frost forms. A malfunctioning thermostat might keep the compressor running continuously, driving coil temperatures dangerously low. Refrigerant leaks reduce the system’s cooling capacity, forcing the remaining refrigerant to work harder and drop to lower temperatures. In frost-free systems, a failed defrost timer or heater allows frost to accumulate with each cooling cycle rather than melting away during regular defrost periods. Understanding which factor—or combination of factors—affects your specific situation is essential for effective diagnosis and repair.
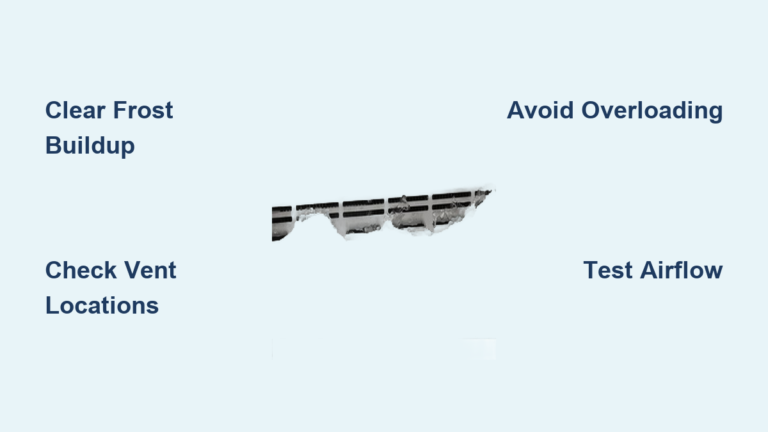
Blocked Airflow Causing Ice Buildup on Coils
Restricted airflow stands as the single most common cause of evaporator coil freezing in household freezers. When warm air cannot circulate properly over the coil surface, the refrigerant inside absorbs heat more slowly than designed, causing the coil temperature to drop progressively lower with each passing minute. This temperature drop leads to frost formation, which further insulates the coil and reduces heat transfer even more—a vicious cycle that eventually encases the coil in ice and severely impairs cooling performance.
How Food Placement Triggers Coil Freezing
The positioning of food items within your freezer significantly impacts airflow patterns. Large items placed directly in front of air vents, frozen food stacked against the back wall near the evaporator coil, or containers that block natural air pathways all contribute to localized cooling problems that can trigger coil freezing. Organization within the freezer should always maintain clearance around all air vents and allow several inches of space between stored items and the compartment walls to ensure unimpeded air circulation. A good rule of thumb: if you can’t see past or around the items in your freezer, you’ve likely restricted airflow enough to cause problems.
Fixing Airflow Restrictions in 3 Steps
- Clear all obstructions – Remove items blocking air vents and rearrange contents to maintain at least one inch of clearance around all air pathways
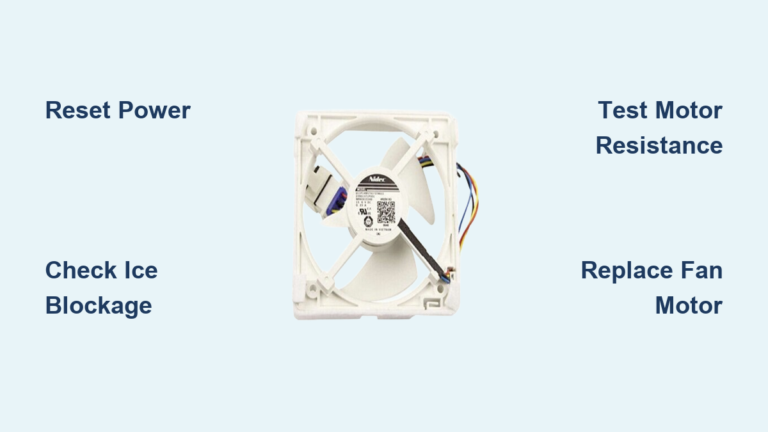
- Check the evaporator fan – Listen for the fan running when the compressor operates; silence indicates possible failure or ice obstruction
- Clean the coil area – Vacuum dust and debris from around the evaporator coil access panel using a soft brush attachment
Faulty Thermostat Triggering Continuous Cooling
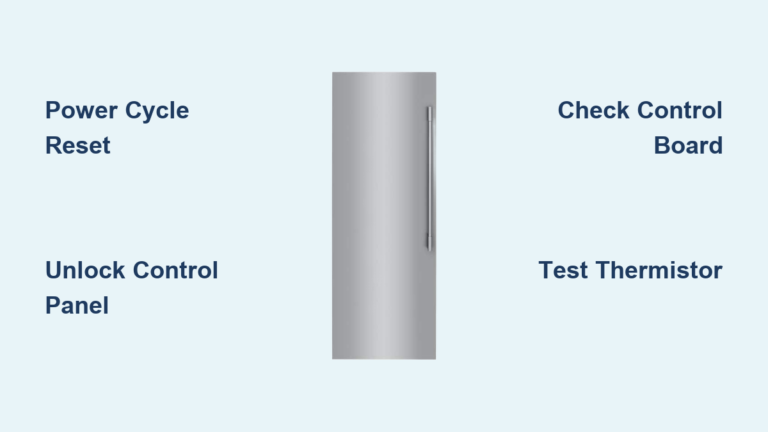
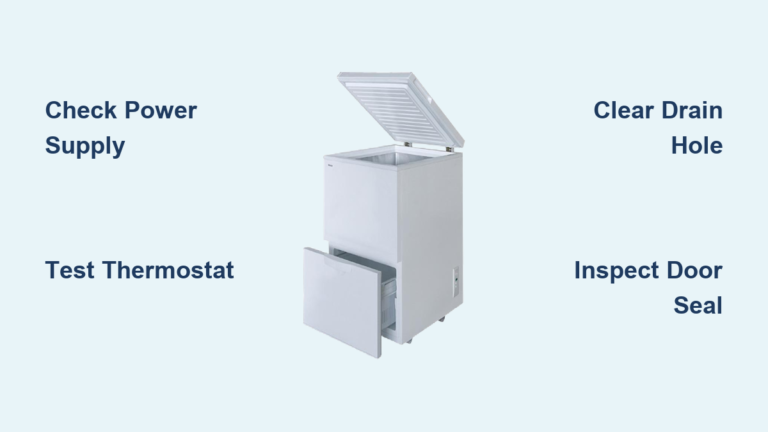
The thermostat or temperature control system acts as the brain of your freezer’s cooling operation, sensing internal temperatures and cycling the compressor on and off to maintain your desired setting. When this control system malfunctions, it can cause the compressor to run excessively, driving the evaporator coil temperature far below its normal operating range. A stuck thermostat in the “on” position, a failed temperature sensor, or problems with the electronic control board can all result in continuous compressor operation that eventually causes the coil to drop below freezing and accumulate frost.
Testing Your Freezer’s Temperature Control
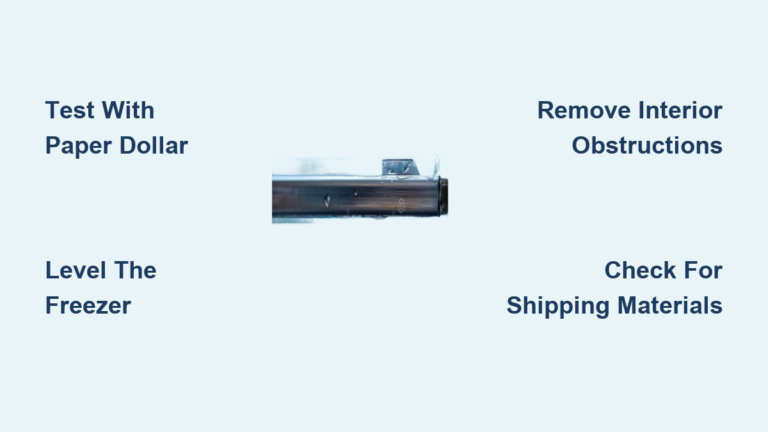
If you suspect thermostat problems, perform this simple test: adjust the temperature setting from cold to warmer and listen for the compressor to cycle off within 10-15 minutes. Then adjust back to colder and verify it restarts. If the compressor continues running regardless of setting adjustments, your thermostat likely needs replacement. Warning: Never set your freezer colder than 0 degrees Fahrenheit—this wastes energy and increases freezing risk without improving food preservation.
Refrigerant Leaks Creating Ice Blockages

Both low refrigerant charge and excessive refrigerant can lead to evaporator coil freezing problems. In a properly charged system, refrigerant enters the evaporator coil at specific pressure and temperature to ensure complete evaporation. When the charge is insufficient, each pound of refrigerant must absorb more heat, causing the coil temperature to drop lower than designed during operation.
Identifying Refrigerant Problems by Frost Pattern
- Frost starting at inlet end of coil → Indicates low refrigerant charge
- Uniform frost along entire coil length → Suggests airflow problems
- Ice forming only in specific coil sections → May indicate overcharging
Critical note: Refrigerant leaks require professional repair—never attempt DIY fixes as this violates EPA regulations and creates safety hazards. Look for oil stains near refrigeration lines as evidence of leaks.
Defrost System Failure in Frost-Free Models
Modern frost-free freezers incorporate automatic defrost systems designed to prevent frost accumulation on the evaporator coil. These systems operate on timed cycles, activating a heating element at regular intervals to melt accumulated frost. When any component of this defrost system fails, frost accumulates progressively until the freezer’s performance is severely compromised.
Testing Your Defrost System in 4 Steps
- Locate the defrost timer (usually on rear panel or behind access cover)
- Manually advance the timer using a screwdriver until you hear a click
- Verify compressor stops and defrost heater activates (should feel warm in 5-10 minutes)
- Check for melting frost within 15-30 minutes of entering defrost cycle
If the heater doesn’t activate during this test, you likely have a failed defrost timer, thermostat, or heater element requiring replacement.
Recognizing Early Warning Signs of Coil Freezing
Spotting evaporator coil freezing early prevents major ice blockages that compromise cooling performance. The most obvious indicator is frost or ice on the coil itself—typically starting as light, feathery crystals that progressively become thicker and denser. In freezers with hidden coils, visible signs include frost on food items, ice formation on interior walls, or frost behind the rear panel.
Pro tip: Food items becoming stuck together, wrapped in frost, or developing ice crystals despite proper packaging often signals that your freezer’s internal temperature has dropped below normal due to evaporator coil problems. Soft, mushy ice cream in a properly functioning freezer indicates inadequate cooling caused by frost-insulated coils—don’t wait for complete ice blockage to address the problem.
Diagnosing Freezer Coil Freezing Problems

Effective diagnosis requires a systematic approach that eliminates potential causes one by one. Begin by assessing airflow throughout the freezer compartment. Remove items blocking air vents and verify natural airflow patterns are clear. Check both freezer and refrigerator compartments in side-by-side models, as some systems share airflow between sections. If you can access the evaporator fan, visually inspect it for damage, ice accumulation, or obstruction.
Temperature Monitoring for Accurate Diagnosis
Place calibrated thermometers in several locations within the freezer compartment—near the top, middle, bottom, and close to the evaporator coil area. Record temperatures at regular intervals over 24-48 hours to establish operating patterns. A properly functioning freezer should maintain 0 degrees Fahrenheit with minimal temperature fluctuation (±2 degrees). Consistent temperatures of 15-20 degrees despite continuous compressor operation indicate insufficient cooling capacity, often due to airflow restriction or refrigerant issues.
Fixing Airflow Problems Causing Coil Freezing
Resolving airflow-related coil freezing typically requires identifying and eliminating specific restrictions. When blocked vents cause the problem, simply rearranging items to maintain adequate clearance around air passages often resolves the issue. Maintain at least one inch of clearance between stored items and freezer walls, avoid placing items directly in front of air vents, and don’t overfill the freezer beyond its rated capacity.
Dealing with Ice-Bound Evaporator Fans
If the evaporator fan is frozen by ice accumulation, turn off the freezer and allow the ice to melt naturally, or use careful application of warm—not hot—water to accelerate the process. Once cleared, test the fan motor to ensure proper operation; a motor that was frozen may resume normal function after ice removal, or it may require replacement if damaged during icing. After resolving immediate icing, identify why the ice accumulated initially to prevent recurrence.
When to Call a Professional for Evaporator Coil Issues
Certain signs indicate problems requiring professional diagnosis and repair rather than DIY troubleshooting. Any indication of refrigerant leaks—such as oil stains beneath the freezer, hissing sounds from the refrigeration system, or consistently low cooling performance despite proper operation—warrants immediate professional attention. Refrigerant handling requires EPA-certified technicians with specialized equipment.
Critical warning: Electrical problems including burning smells, sparking, frequent circuit breaker tripping, or shock sensations when touching the freezer present serious safety hazards. Unplug the freezer immediately and contact a licensed appliance repair service—these issues should only be addressed by qualified technicians.
Preventing Future Evaporator Coil Freezing Problems
Routine inspection and cleaning significantly reduce evaporator coil freezing risks. Check your freezer interior periodically for early frost accumulation and address it promptly before it becomes a larger ice mass. Inspect door seals for cracks, tears, or deformation that might allow warm air infiltration, and clean them regularly to maintain sealing effectiveness.
Proper Freezer Loading Practices
- Never place food items directly against the rear wall where the evaporator coil is located
- Allow hot foods to cool to room temperature before placing in the freezer
- Maintain 0 degrees Fahrenheit for optimal food preservation and to minimize freezing risk
- Keep the area beneath your freezer clean of dust and debris that can affect condenser performance
Annual professional maintenance checks refrigerant charge levels, tests defrost system operation, and verifies proper airflow—catching developing problems before they cause evaporator coil freezing. By understanding the causes—airflow restriction, control failures, refrigerant issues, and defrost system problems—you can take proactive steps to keep your freezer running efficiently and prevent the frustrating cycle of coil freezing and inconsistent temperatures.