How to Fix Deep Freezer Not Cooling
Discovering your deep freezer isn’t maintaining proper freezing temperatures can transform your carefully stocked food supply into a costly disaster overnight. Whether you’re preserving seasonal harvests, buying in bulk to save money, or storing emergency food supplies, a malfunctioning freezer represents both financial loss and food safety concerns. The reality is that most cooling failures stem from preventable issues you can diagnose and often fix yourself without calling a technician. This guide delivers actionable steps to systematically identify why your deep freezer not cooling properly and restore its performance before your food spoils.
When your freezer stops cooling, immediate action is critical—food begins to thaw within hours, risking spoilage and potential foodborne illness. Don’t panic or assume you need an expensive replacement. Most problems originate from common causes like blocked airflow, dirty components, or simple power issues that can be resolved with basic tools and minimal technical knowledge. Working through these diagnostic steps in order can save you hundreds of dollars in unnecessary service calls or premature appliance replacement.
Power Supply Verification
Electrical problems account for nearly 30% of apparent cooling failures, yet they’re the quickest to diagnose and often the easiest to resolve. Before assuming complex mechanical issues, methodically eliminate power supply problems through these specific checks.
Check Power Cord and Outlet Connection
Examine your freezer’s power cord from plug to appliance connection for physical damage including frayed insulation, bent prongs, or signs of overheating. Even minor cord damage creates fire hazards and should be addressed immediately with a manufacturer-approved replacement. Next, verify the cord is fully inserted into both the freezer and wall outlet—loose connections prevent proper power transfer. Test the outlet by plugging in a known-working device like a lamp; if it doesn’t operate, the problem lies with your electrical system rather than the freezer itself. For freezers on dedicated circuits, check if the GFCI outlet has tripped—a common issue in garages or basements where many freezers are located.
Test the Outlet Directly
Many homeowners overlook simple outlet failures that mimic appliance malfunctions. Use a multimeter set to AC voltage to test your outlet—proper readings should show 115-125 volts in North American homes. If readings fall below 110 volts, voltage fluctuations could be preventing your compressor from starting. Alternatively, plug your freezer into a different circuit known to handle heavy appliances (like a refrigerator circuit). If the freezer operates normally elsewhere, your original circuit may have inadequate capacity or faulty wiring. Persistent tripping of circuit breakers when connecting the freezer indicates either an overloaded circuit or an internal short in the appliance requiring professional attention.
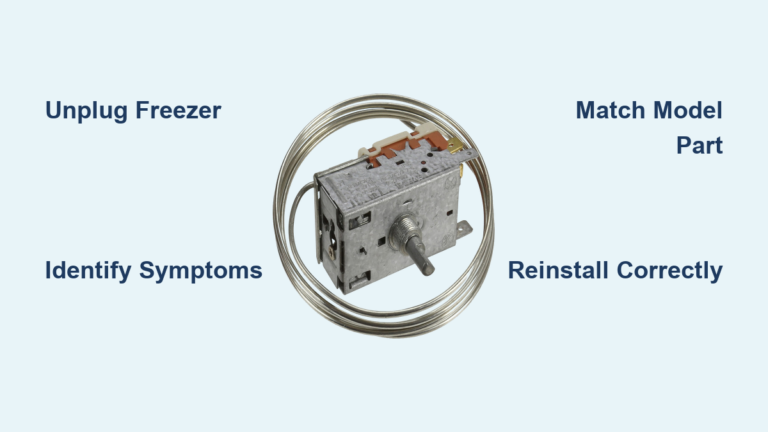
Thermostat Assessment
Your freezer’s thermostat regulates cooling cycles based on internal temperature readings. When this component malfunctions, your deep freezer not cooling properly becomes an immediate concern regardless of other systems functioning correctly.
Verify Thermostat Settings
Accidental temperature adjustments happen more often than you’d expect—especially in busy households. Locate your thermostat control (typically inside the freezer compartment or on the exterior panel) and confirm it hasn’t been bumped to a warmer setting or accidentally turned off. For dial models, ensure the setting is between 3-5 (on a 1-7 scale) for proper freezing. Digital displays should read 0°F (-18°C) or lower. If your freezer has recently experienced a power outage, some models reset to default settings that may not provide adequate cooling. Reset the thermostat to its coldest setting temporarily while you monitor temperature recovery.
Test Thermostat Functionality
Place an independent freezer thermometer in the center of your appliance and monitor readings over 24 hours. If temperatures remain above 10°F despite correct thermostat settings, the thermostat likely isn’t signaling the compressor to run. Test functionality by turning the thermostat to its coldest setting—you should hear the compressor engage within 15 minutes. No response suggests thermostat failure. Some thermostats can be manually tested by bypassing connections (consult your manual), but improper handling risks electrical shock. When in doubt, professional diagnosis ensures safe component verification.
Condenser Coil Cleaning

Clogged condenser coils cause approximately 25% of cooling failures in deep freezers. These critical components release heat from your freezer into the surrounding environment, and when coated with dust and debris, they can’t dissipate heat effectively.
Locate Your Condenser Coils
Coil placement varies significantly by model—chest freezers typically have coils along the exterior sides or back, while upright models often house them behind front grilles or rear panels. Consult your owner’s manual for precise location, as improper access attempts can damage components. Some modern freezers feature “hidden” coils integrated into cabinet walls, requiring professional service for cleaning. If you can’t locate coils after basic inspection, your model likely has a sealed system needing specialized maintenance.
Proper Coil Cleaning Technique
Unplug the freezer and pull it away from the wall for safe access. Use a specialized coil brush (available for $5-10 at hardware stores) to gently dislodge accumulated dust without bending delicate fins. Work from top to bottom, following coil direction to avoid damage. For stubborn buildup, combine brushing with a vacuum’s crevice tool to capture loosened debris. Avoid using water or compressed air which can force debris deeper or create electrical hazards. After cleaning, allow coils to dry completely before restoring power. Establish a quarterly cleaning schedule if you have pets or live in a dusty environment—this simple maintenance prevents most cooling failures.
Airflow Pathway Clearance

Restricted internal airflow creates uneven temperatures and forces your compressor to work harder, eventually leading to cooling failure in your deep freezer not cooling properly.
Clear Vents and Air Passages
Inspect all interior surfaces for blocked air vents—many freezer models have discreet vents along walls or under shelves that users accidentally cover with food containers. Rearrange items to maintain at least two inches of clearance around all interior surfaces. Check for ice buildup around evaporator coils (typically behind a rear panel) which restricts airflow; if present, perform a complete defrost cycle before reloading the freezer. Pay special attention to door shelves where items often protrude against walls, blocking critical air channels.
Organize Storage Contents
Overpacking your freezer restricts necessary air circulation—aim to keep it 70-85% full for optimal performance. Group similar items together to minimize door-open time when retrieving specific foods. Avoid placing warm or recently cooked foods directly into the freezer; allow them to cool to room temperature first to prevent overworking the cooling system. If you’ve recently added large quantities of unfrozen food, expect temporary temperature fluctuations—monitor with an independent thermometer until temperatures stabilize below 0°F.
Door Seal Inspection and Replacement
A compromised door seal allows warm, moist air to enter your freezer continuously, forcing the cooling system to work overtime until it fails.
Visual Gasket Inspection
Perform the dollar bill test: close the door on a bill at various points around the perimeter. If you can pull the bill out easily without resistance, that section of the gasket isn’t sealing properly. Look for visible cracks, tears, or areas where the gasket has become dislodged from its channel. Pay special attention to corners where gaskets commonly pull away from the door frame. Check for ice buildup along the seal which indicates warm air infiltration—this often occurs when doors aren’t closed completely or gaskets have lost flexibility.
Clean or Replace Damaged Gaskets
Clean gaskets monthly with warm, soapy water and a soft cloth to maintain flexibility and sealing ability. For stiff gaskets, apply a small amount of food-safe silicone lubricant to restore pliability. Replace gaskets showing cracks, permanent deformation, or persistent gaps—most manufacturers offer model-specific replacements. Installation typically involves removing retaining clips or screws, sliding out the old gasket, and carefully positioning the new one. Allow 24 hours after installation before loading the freezer to ensure proper seating.
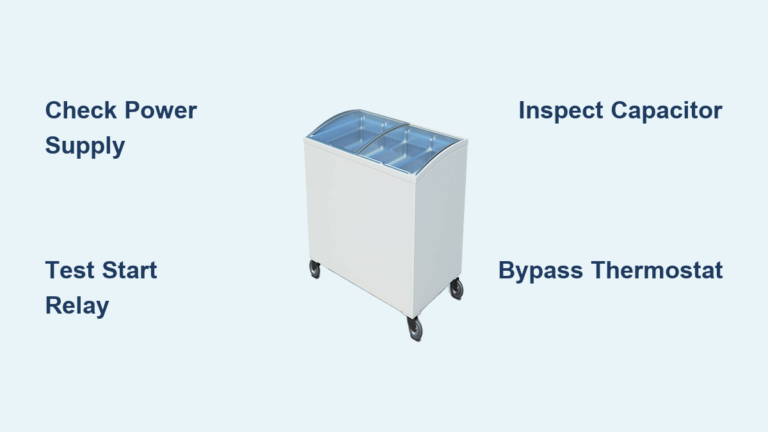
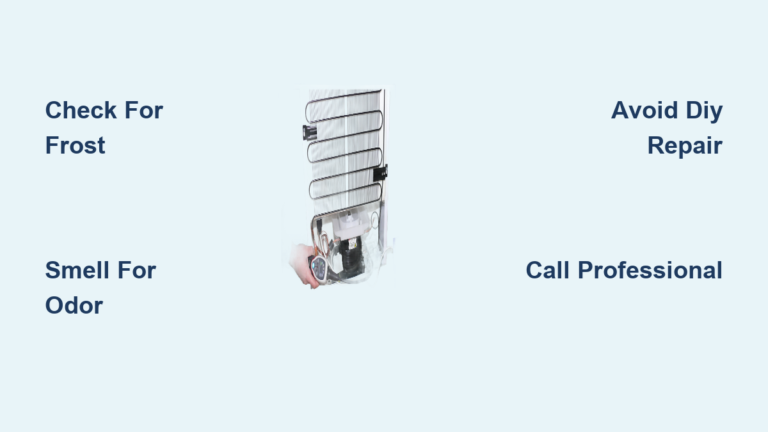
Compressor and Cooling System Diagnostics
When power, thermostat, coils, and seals check out but your deep freezer not cooling persists, the problem likely involves the sealed cooling system requiring professional attention.
Listen for Compressor Operation
With the freezer unplugged, locate the compressor (usually at the rear bottom). Plug in the unit and listen for characteristic sounds: a healthy compressor produces a steady hum when running, with occasional clicks during startup. No sound suggests power isn’t reaching the compressor. Clicking without humming typically indicates a failed start relay—a relatively inexpensive component that helps the compressor motor initiate rotation. Persistent clicking may signal capacitor failure. If you hear the compressor running but temperatures remain inadequate, the issue likely involves refrigerant levels or internal component failure requiring professional diagnosis.
Preventive Maintenance Schedule
Regular maintenance prevents 80% of cooling failures in deep freezers. Implement these simple routines to protect your investment:
Monthly:
– Verify temperature with independent thermometer
– Clean door gaskets and check seal integrity
– Remove expired or spoiled items
Quarterly:
– Clean condenser coils
– Check for proper leveling (uneven freezers strain door seals)
– Inspect power cord for damage
Annually:
– Perform complete interior cleaning with baking soda solution
– Verify thermostat calibration
– Check for unusual noises during operation
A non-cooling deep freezer doesn’t automatically mean replacement. By methodically working through these troubleshooting steps, you’ll resolve most cooling issues yourself—preserving your food investment and extending your appliance’s lifespan significantly. When problems persist after completing all basic diagnostics, consult a certified technician with experience in freezer repair to evaluate whether professional service or replacement makes the most economic sense for your situation.