How to Fix Chest Freezer Gasket Leak
That silent energy thief in your garage isn’t a vampire—it’s your chest freezer with a failing gasket. When the rubber seal around your freezer lid degrades, warm air infiltrates the compartment, forcing your compressor to work 30% harder while risking food spoilage. Chest freezer gasket repair solves this invisible problem by restoring the critical airtight barrier that maintains temperatures between -10°F and -20°F. This guide delivers the precise steps needed to diagnose gasket failure, select the perfect replacement, and complete the repair yourself—saving you $100+ compared to professional service. Whether you’re battling frost buildup or hearing your compressor run constantly, you’ll learn exactly how to identify the problem and implement a lasting solution.
Spot These 3 Critical Gasket Failure Signs
Your chest freezer communicates distress through observable symptoms that demand immediate attention. Ignoring these warning signs leads to spoiled food and electricity bills that climb by 10-30% without explanation.
Your Compressor Runs Nonstop
A compromised gasket forces the compressor into marathon cooling sessions to maintain target temperatures. If you notice the motor running almost continuously—especially during warm weather—check your gasket first. The air leakage creates a thermal burden that compounds with each failed seal cycle. Listen for the compressor clicking on immediately after closing the lid; this indicates warm air infiltration that the system must constantly counteract.
Frost Builds Up Along Specific Patterns
Excessive frost accumulation following the gasket’s outline reveals exactly where air is infiltrating. Unlike normal frost from occasional lid openings, problematic buildup appears in concentrated patterns matching the gasket’s path. Pay special attention to the bottom edge where chest freezer gaskets experience maximum compression stress. If you’re scraping thick ice from corners or specific sections daily, your gasket has developed localized gaps that require repair.
The Lid Won’t Stay Closed Firmly
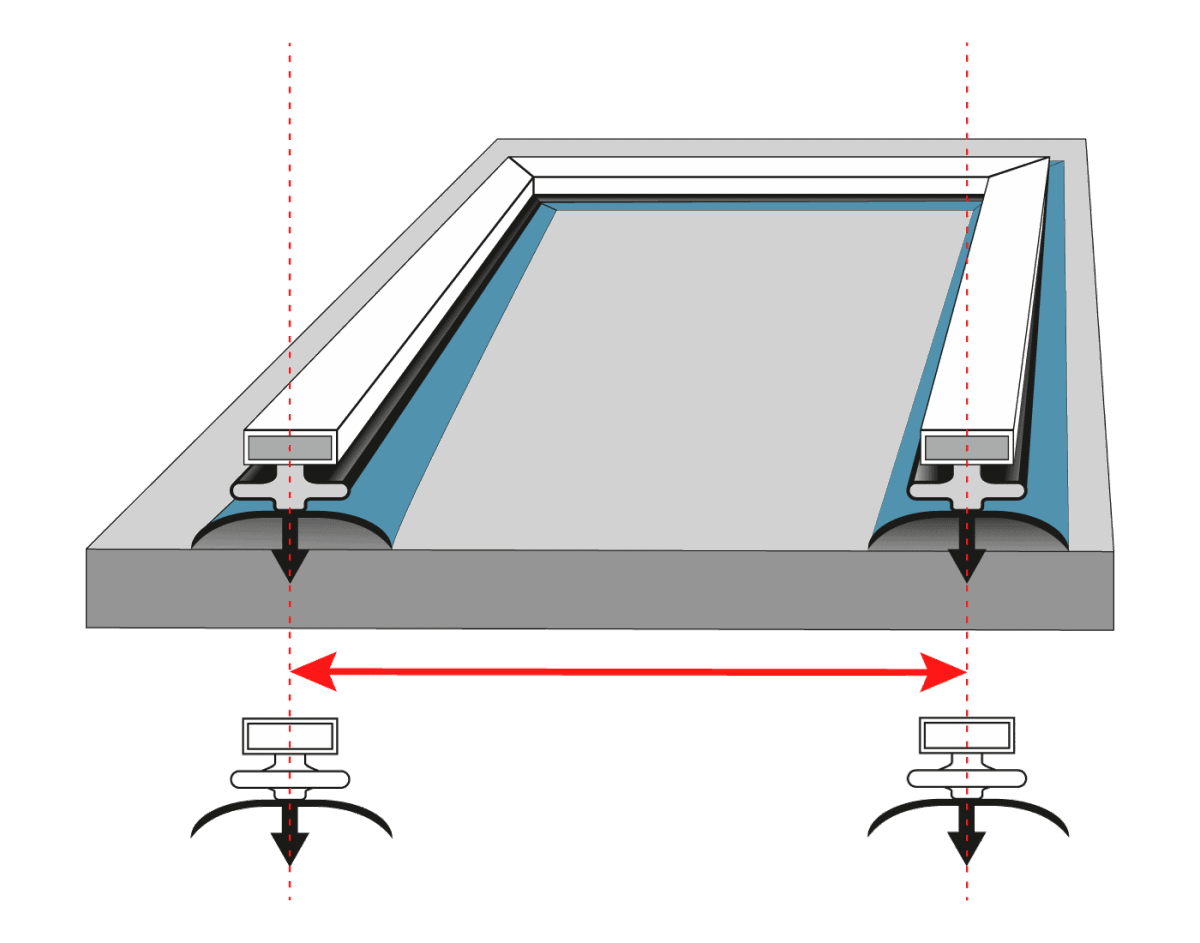
A healthy gasket creates enough resistance that the lid stays shut when released. If your freezer lid bounces open slightly or closes with a loose “thud” instead of a solid “thunk,” the seal has lost compression. Test this by closing the lid on a dollar bill at multiple points—you should feel consistent resistance when trying to pull the paper out. Sections where the bill slides free indicate failed sealing zones that compromise the entire system.
Execute the Dollar Bill Diagnostic Test Properly
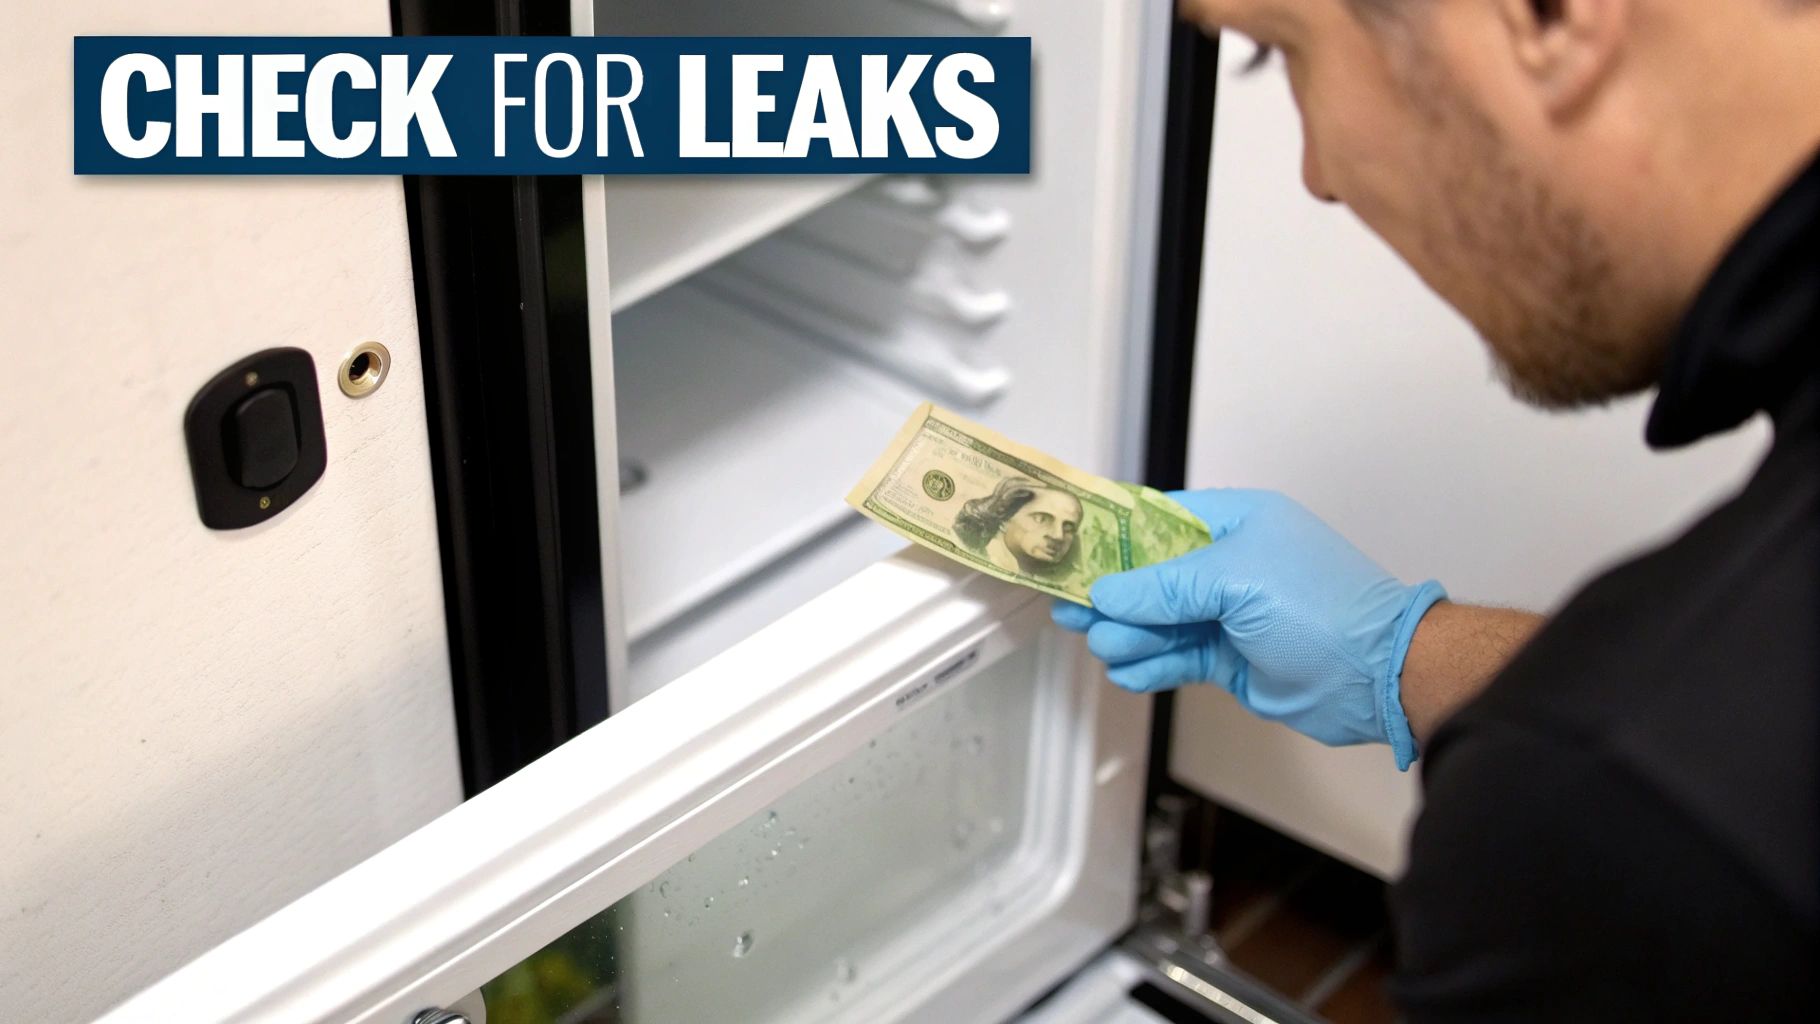
This two-minute test delivers definitive evidence of gasket failure without special tools. Chest freezer designs concentrate wear along the bottom edge due to gravity-assisted compression, making precise testing essential.
Close the lid on a dollar bill or standard printer paper at eight strategic points: all four corners, midpoints of each side, and both ends of the bottom edge where failure most commonly occurs. At each location, attempt to withdraw the paper while maintaining lid closure. A functional seal resists removal with consistent force throughout the perimeter. Document exactly where the paper slides out easily—these gaps correspond directly to air infiltration points causing your energy waste. For chest freezers, pay particular attention to the bottom center section where the lid’s weight creates maximum compression stress during closure.
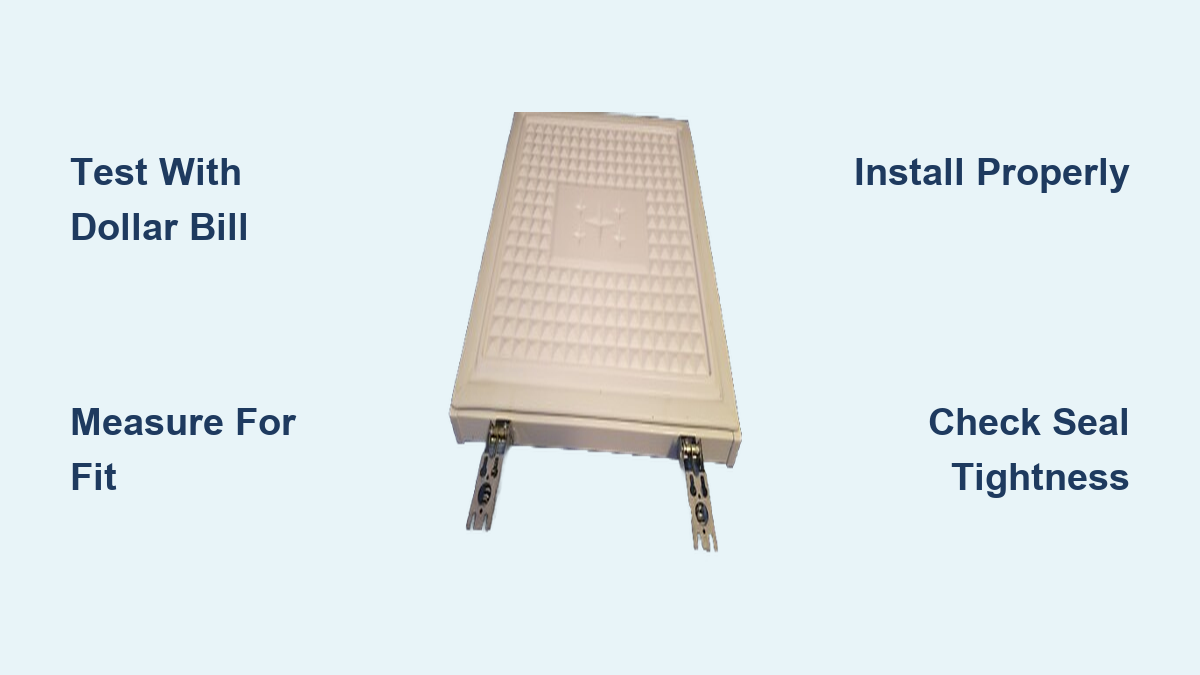
Measure Your Gasket for Perfect Replacement Fit
Accurate measurements prevent installation headaches and ensure proper sealing. Chest freezer gaskets require precise dimensional matching since improper fit creates gaps that defeat the repair’s purpose.
Remove the old gasket completely from its mounting channel before measuring—you’ll see the true profile and can compare directly with replacement options. Measure along the gasket’s centerline from corner to corner for total length, noting any variations in cross-sectional shape at corners. Record the mounting flange width (where it secures to the lid frame) and sealing lip thickness (where contact occurs with the cabinet). Compare these measurements against replacement specifications, allowing for minor tolerance ranges. When exact matches prove impossible, universal gaskets cut to custom sizes or custom-manufactured seals provide necessary flexibility—this small extra investment prevents frustrating returns and delays.
Choose the Best Replacement Gasket for Your Budget

Your selection balances cost against longevity, with options spanning from $13 economy strips to $104 OEM parts. Understanding these tradeoffs guides you toward the optimal solution.
OEM Parts Versus Aftermarket Options
Original Equipment Manufacturer gaskets like the GENUINE Frigidaire 5304507199 ($103.92) guarantee exact fit and proven materials, validated by 581 reviews averaging 4.3 stars. This premium price reflects assured compatibility for Frigidaire, Kenmore, Crosley, or Gibson freezers. Aftermarket alternatives typically cost 50-70% less while offering similar functionality—the Upgraded 5304507199 at $49.99 provides Frigidaire compatibility at half the OEM price with a strong 4.5-star rating from early adopters.
Budget-Friendly Solutions Worth Considering
When cost dominates your decision, mid-range options between $50-$58 deliver the best value. The Upgraded 5304507200 Refrigerator Door Gasket ($52.90 with 10% coupon) and Whole Parts Freezer Door Gasket ($52.98) both feature magnetic strips and broad model compatibility. These options balance cost against reliability better than either economy strips or premium OEM parts for most DIY repairs. Avoid ultra-cheap weather stripping ($12.97) unless as a temporary fix—its design for doors/windows lacks freezer-specific material properties.
Remove the Old Gasket Without Damaging the Frame
Proper removal creates a clean mounting surface for your new gasket. Rushing this step causes installation complications that undermine your repair’s effectiveness.
Begin with the freezer lid fully open to access the entire perimeter. Locate the mounting flange—the strip securing within the door frame channel—and carefully pry it loose from one corner using a flathead screwdriver. Work gradually along the flange, releasing the friction fit or adhesive bond without tearing the material. Some gaskets feature retaining clips at the bottom corner—inspect before prying to avoid damaging mounting hardware. Pull the gasket outward and downward to release it completely from the channel, then remove it from the lid. Clean the mounting channel thoroughly with mild soapy water to remove debris and old adhesive residue, then dry completely before installation.
Install Your New Gasket in 4 Critical Steps
Correct installation ensures your replacement creates an effective seal without gaps or misalignment. This process requires patience but no specialized skills.
-
Test-fit first: Position the new gasket within the mounting channel without securing it, starting at one corner and working around the perimeter. Verify the sealing lip faces inward and corners align properly without stretching.
-
Check alignment: Ensure continuous contact along the entire length—no gaps or bunching—and confirm the magnetic strip (if present) aligns with the metal frame.
-
Secure gradually: For friction-fit gaskets, press the mounting flange firmly into the channel while working around the perimeter. For adhesive-backed versions, peel the backing gradually as you press the flange into place.
-
Allow curing time: Let adhesive cure for 24-48 hours before fully closing the lid or loading food—this ensures maximum bonding strength before compression stress occurs.
Verify Your Repair With These 3 Tests
Thorough testing confirms your repair succeeded before you trust it with valuable frozen goods. These validation steps catch installation errors while they’re still easy to correct.
Re-run the dollar bill test at all eight points, documenting resistance levels. Consistent pull force indicates proper installation, while easy withdrawal reveals sections needing adjustment. Listen for the distinctive “whoosh” of air escaping as the lid closes—that sound confirms proper compression and airtight closure. Monitor temperature performance over 24-48 hours; the compressor should cycle normally without extended run times, and interior temperatures should stabilize within the -10°F to -20°F range. If frost reappears along specific patterns, recheck the dollar bill test to identify lingering gaps.
Extend Your New Gasket’s Lifespan With These Maintenance Practices
Proper care significantly extends gasket longevity, protecting your repair investment for years. These simple habits take minutes but prevent premature failure.
Clean the gasket monthly using mild soap solution and a soft cloth, removing food residue and ice buildup that compromises the sealing surface. Avoid abrasive cleaners that damage rubber—vinegar solutions work well for stubborn deposits. Ensure the gasket dries completely before closing the lid to prevent moisture freezing in the seal. Inspect monthly for developing cracks or deformation, addressing minor surface damage promptly with rubber repair compounds. Keep the sealing surface clear of ice by minimizing lid opening frequency and ensuring stored items don’t protrude high enough to interfere with closure.
Know When to Call a Professional Instead
Some gasket issues require expert assessment rather than DIY repair. Recognizing these situations prevents wasted effort and potential damage.
If your new gasket still fails to seal despite proper installation, the problem may involve a warped lid frame or damaged mounting surface rather than the gasket itself. Similarly, if multiple installation attempts fail despite correct measurements, underlying structural issues may be preventing success. For older freezers where replacement parts are discontinued, professionals may access custom fabrication solutions or assess whether repair remains economically viable. When in doubt, consult a technician before proceeding—your freezer’s compressor longevity depends on a perfect seal.