How to Fix Cafe Freezer Not Working
Your GE Café refrigerator hums along normally—the fresh food compartment stays cold, lights illuminate when you open the doors, and the compressor runs as expected. But something’s wrong with your freezer. Ice cream has turned into soup, frozen vegetables are soft, and that thick layer of frost you expected to see inside isn’t there. The freezer compartment sits warm, around 70°F, while your refrigerator continues chilling everything else perfectly. This exact pattern—functional refrigerator with a non-functional freezer—points to specific component failures that you can diagnose and often repair yourself.
When your cafe freezer stops working, you’re not alone. This particular failure mode affects various GE Café models including side-by-side and French door configurations, with the CVE28DP3NBD1 and CYE23TSDCSS being frequently documented in repair records. The good news is that this symptom pattern follows predictable failure modes, meaning you can systematically diagnose the problem without guessing. Understanding what causes a cafe freezer not to work while the refrigerator continues functioning helps you either tackle the repair yourself or communicate effectively with a service technician.
This guide walks you through the complete diagnostic process, from simple checks you can perform in minutes to component-level testing that identifies the exact failed part. You’ll learn which parts fail most often, how to test them with basic tools, and when professional service makes more sense than DIY repair. By the end, you’ll have a clear understanding of what’s wrong with your freezer and the confidence to take the next step toward fixing it.
Confirm Your Cafe Freezer Not Working Symptoms
Before diving into complex diagnostics, verify you’re dealing with the specific pattern of a cafe freezer not working while the refrigerator functions normally. This distinction matters because it rules out whole-system problems and points directly to components affecting only the freezer compartment.
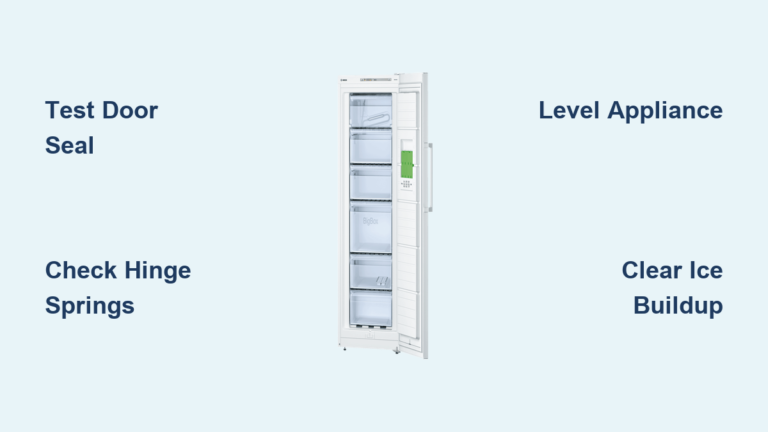
The primary symptom is unmistakable: the freezer compartment fails to maintain freezing temperatures despite the refrigerator side continuing to cool effectively. Open your freezer door and place your hand inside—the interior should feel cold enough to freeze, but instead it feels merely cool, comparable to room temperature. Check any items you stored there; popsicles have melted, ice cream has turned to liquid, and frozen foods are soft to the touch. The absence of frost on the freezer walls provides an important clue that distinguishes this failure from defrost system problems.
Listen carefully when you open the freezer door. You should hear the evaporator fan running—a steady, quiet hum indicating air circulation. If the compartment feels warm and you hear no fan noise, that’s a strong indicator of fan motor failure. Some users report hearing unusual noises before the problem manifests, while others experience complete failure without warning. The sudden onset without gradual degradation suggests an electrical or mechanical component failure rather than a progressive clog or restriction.
Listen for Compressor Operation
Begin diagnosis by listening for the compressor when the refrigerator doors are closed. You should hear a steady humming sound from the back or bottom of the unit—the compressor running indicates that the basic refrigeration cycle is functioning. Since your refrigerator compartment is working normally, the compressor is likely operating properly, which means you’re dealing with an airflow or distribution problem rather than a complete system failure.
Open the freezer door and listen closely for the evaporator fan operating inside the compartment. This fan should activate when the compressor runs, circulating cold air over the evaporator coil and into the freezer space. If you hear the compressor running but detect no fan noise, you’ve likely isolated the problem to the evaporator fan motor or its control circuit.
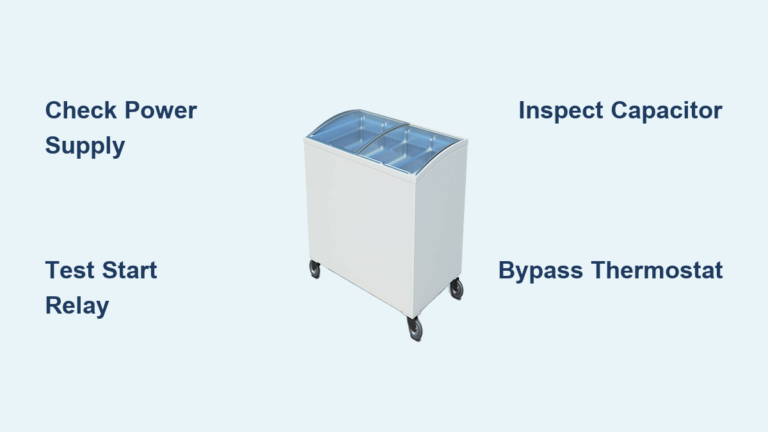
If neither the compressor nor the fan makes any sound, the problem may involve electrical supply, the start relay, or the compressor itself. However, since your refrigerator compartment is functioning normally, the compressor is probably running. The characteristic pattern of a working refrigerator with a non-working freezer strongly suggests the compressor and refrigerant system are intact—you’re dealing with an airflow or distribution problem.
Access and Test the Evaporator Fan Motor

Begin fan diagnosis by accessing the motor through the rear freezer panel. First, disconnect power at the outlet or circuit breaker—this is essential for safety during internal component inspection. Remove all freezer drawers and storage baskets to expose the panel mounting hardware. For most GE Café models, this requires pulling out drawers completely and removing 5/16-inch screws located on each side of the drawer assembly. Once drawer fronts are removed, you’ll see the rear panel secured with quarter-inch screws that require a corresponding nut driver for removal.
With the panel removed, visually inspect the evaporator fan and surrounding components. The fan should be positioned near the evaporator coil, which typically has frost or ice accumulation during normal operation. Manually spin the fan blades—they should rotate freely without mechanical binding or resistance. If the blades spin easily with no resistance and make no attempt to run when power is restored, the motor has likely failed electrically.
Electrical testing confirms motor failure. Using a multimeter set to resistance (ohms) mode, disconnect the motor leads and check continuity across the windings. No continuity—indicated by a display showing “OL” or infinite resistance—means the motor windings have failed and the motor requires replacement. The part number 5304462432 is commonly used for GE Café side-by-side models experiencing this failure.
Test the Start Relay and Control Board
If the evaporator fan motor tests functional but still fails to operate, the problem likely lies in the electrical control system. The electronic control board (PCB) sends activation signals to the fan motor, and PCB failure accounts for approximately 28% of GE Café freezer cooling issues. Test for voltage at the fan motor connector to distinguish between motor failure and control board failure.
With the refrigerator powered on and the compressor running, use a multimeter set to DC volts to check for approximately 12V at the fan motor connector. No voltage present indicates the control board is not sending the activation signal, pointing to PCB failure. Voltage present at the connector with a non-operating motor confirms motor failure despite earlier continuity tests suggesting otherwise.
The start relay requires similar electrical testing if compressor operation seems questionable. Located on the compressor body, this relay can be tested by removing it and checking resistance across its terminals with a multimeter. Start relay failure accounts for roughly 30% of freezer cooling problems, making it slightly more common than control board issues. The relay provides the initial surge needed to start compressor operation, and failure prevents proper cooling throughout the system.
Inspect the Defrost System Components

The automatic defrost system prevents ice accumulation on the evaporator coil, maintaining efficient heat transfer and proper airflow. When defrost components fail—specifically the defrost heater, defrost thermostat, or defrost thermistor—ice can accumulate on the coil and surrounding areas, eventually blocking airflow to the freezer section.
Unlike pure fan motor failures, defrost system problems often present with observable frost or ice buildup inside the freezer compartment. Test the defrost heating element for continuity using your multimeter. With power disconnected, disconnect the heater terminals and check resistance across the element. No continuity indicates a failed heating element requiring replacement.
The defrost thermostat or thermistor monitors temperature and controls heater activation during defrost cycles. Test the thermostat by checking for continuity at various temperatures—it should close (show continuity) when cold and open (show no continuity) when warmed above its trigger point. A defective thermostat may fail to allow current to the heater, preventing defrost cycles and allowing ice to accumulate over time.
Replace the Failed Component
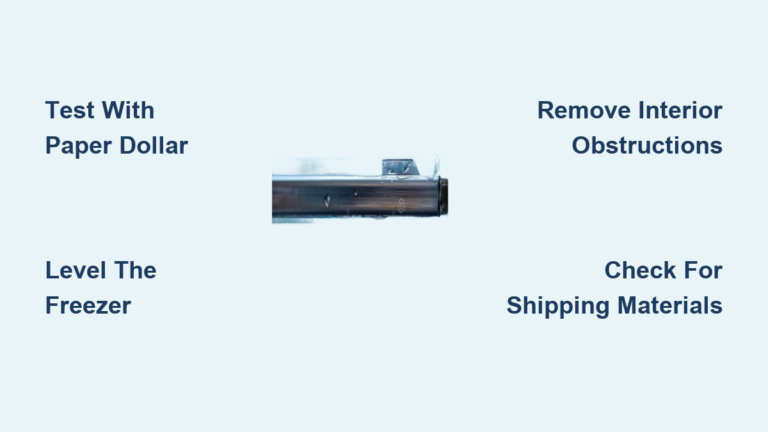
Once you’ve identified the failed component through systematic diagnosis, replacement follows a straightforward procedure. For evaporator fan motor replacement, remove the mounting screws securing the motor to its bracket after disconnecting the electrical connector. Note the orientation and positioning of any vibration-dampening materials or shipping spacers during removal—these must be reinstalled correctly to prevent excessive noise or vibration.
Install the replacement motor using the reverse procedure, ensuring all mounting screws are tightened securely and the electrical connection is properly seated. Before reassembling the freezer panel, restore power and test fan operation by listening for immediate startup when the compressor engages. The fan should begin running within seconds of compressor activation, providing audible confirmation of successful repair.
For control board replacement, the documentation you created during removal becomes essential. Connect each labeled connector to its corresponding position on the new board, ensuring full seating and secure locking. Program any required settings according to model specifications and verify proper operation of all controlled components including fans, compressor, and defrost system.
When to Call a Professional Technician
While many diagnostic procedures can be performed by technically capable homeowners, certain situations warrant professional service technician involvement. If basic troubleshooting steps—cleaning condenser coils, verifying fan operation, and checking temperature settings—fail to resolve the issue, sealed system problems may exist that require specialized equipment and certification.
Sealed system repairs include low refrigerant charge, refrigerant leaks, and compressor problems that demand evacuation, charging, and pressure testing equipment beyond typical consumer capability. These repairs also require environmental certifications for handling refrigerants, making them legally and practically the domain of licensed professionals. Additionally, PCB replacement requires proper handling procedures and potentially programming that may only be available through authorized service channels.
Professional appliance repair services typically provide same-day or next-day response for urgent situations, particularly around holiday periods when refrigerator failure creates immediate food storage concerns. Service technicians perform comprehensive diagnostic procedures using specialized equipment to identify root causes accurately, preventing unnecessary part replacements and associated costs.
Prevent Future Cafe Freezer Not Working Issues
Regular maintenance significantly extends your GE Café freezer’s lifespan and prevents unexpected cooling failures. Condenser coils should be cleaned periodically using a coil brush or vacuum attachment to remove accumulated dust and debris. Restricted condenser airflow reduces cooling efficiency and places additional stress on compressor components, eventually leading to premature failure.
The evaporator fan area should be inspected during your rear panel access for any obstructions or ice accumulation that might impede airflow. While automatic defrost systems minimize ice buildup, occasional inspection ensures the defrost system functions properly. Interior temperature monitoring using a standalone thermometer provides early warning of cooling degradation before complete failure occurs, allowing you to address developing problems before they leave you with a warm freezer.
Proper placement ensures adequate ventilation and prevents overheating that accelerates component failure. Maintain minimum clearance requirements specified in your use and care manual, typically including rear clearance for condenser airflow and side clearance for heat dissipation. Avoid placing hot items directly in the freezer compartment, as this places thermal stress on the system and can trigger protective shutdowns in electronic control systems. Keep door seals clean and properly sealing to prevent cold air loss that forces the system to operate continuously.