How to Fix Bottom Freezer Not Working
Your bottom freezer drawer has stopped freezing food while the refrigerator above keeps working perfectly. This frustrating scenario affects millions of households annually, and it’s more common than you might think. When your bottom freezer not working issue strikes, you’re facing a compartment-specific cooling failure that typically stems from one of several predictable causes. The good news? Most of these problems can be diagnosed and often fixed without professional help. Bottom freezer refrigerators use a shared cooling system where cold air must travel upward from the freezer compartment to reach the refrigerator section. When something interrupts this airflow or damages critical components, the freezer loses its ability to maintain freezing temperatures while the refrigerator continues functioning normally.
Before you panic about expensive repairs or consider replacing your entire unit, understand that 85% of bottom freezer not working cases stem from just five common issues that require nothing more than basic tools and some patience. This guide will walk you through a systematic troubleshooting process that starts with the simplest checks and progresses to more advanced diagnostics. You’ll learn exactly why your freezer drawer has stopped working and determine whether it’s a DIY fix or requires professional attention. Most importantly, you’ll save hundreds of dollars by avoiding unnecessary service calls for problems you can solve yourself.
Verify Temperature Settings and Power Supply
When you discover your bottom freezer drawer isn’t freezing, start with these fundamental checks before diving into complex diagnostics. These initial steps often reveal the culprit and save you hours of unnecessary troubleshooting.
Check Freezer Temperature Configuration
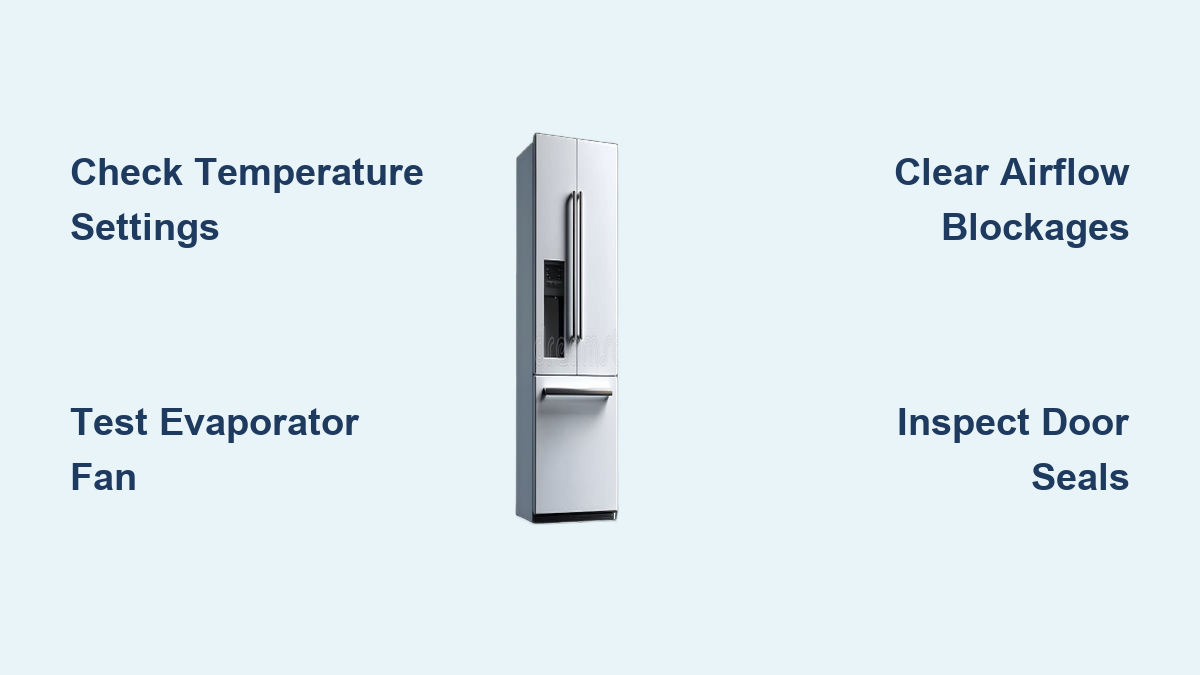
Confirm that your freezer’s temperature settings haven’t been accidentally changed. The control panel or adjustment dial might have been bumped during routine cleaning or by curious children. Navigate to your refrigerator’s temperature controls—typically located inside the fridge compartment or on an exterior panel—and verify the freezer is set to 0°F (-18°C), the recommended temperature for frozen food storage.
If settings appear correct, lower the freezer temperature by 5-10 degrees and wait 24 hours to see if this resolves the issue. Sometimes the cooling system needs a stronger demand signal to maintain freezing temperatures, especially if ambient room temperatures have recently increased. Document any changes you make and their effects, as this information proves valuable if you need professional service later.
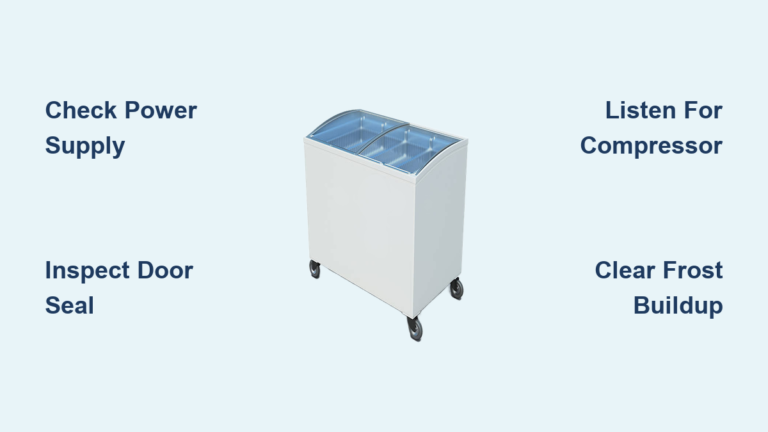
Confirm Electrical Power to Compressor
Electrical issues can cause confusing symptoms that mimic mechanical failures. Check that the refrigerator’s power cord is fully inserted into the wall outlet and test the outlet with another appliance. Some homeowners discover their “broken” refrigerator was simply unplugged or had tripped a circuit breaker.
Listen for the compressor when you open the freezer door—it should produce a low humming sound during normal operation. If you hear the compressor running but the freezer isn’t freezing, this points toward an airflow problem rather than a complete cooling system failure. If the compressor isn’t running at all, you may be dealing with a start relay failure that requires replacement.
Inspect and Test the Evaporator Fan
The evaporator fan causes 60% of bottom freezer not working cases when the refrigerator section still functions. This critical component sits behind a panel in your freezer compartment and circulates chilled air throughout the entire unit. When it fails, the freezer may feel cool but cannot reach freezing temperatures.
Access and Visually Inspect the Fan Assembly
Begin by unplugging the refrigerator to eliminate electrical hazards. Remove items blocking access to the rear panel of the freezer drawer. Locate and remove the mounting screws securing the evaporator fan cover—typically 2-4 screws along the edges.
Once exposed, inspect the fan blades for ice accumulation. Ice physically obstructs rotation and blocks airflow, even if the motor functions perfectly. If you find ice, clear it using a plastic scraper or allow it to melt naturally—never use sharp tools that could damage refrigerant lines. After clearing ice, manually rotate the blades to verify they spin freely without resistance or grinding noises.
Test Fan Motor Electrical Functionality
If the fan appears intact but isn’t running, determine whether the motor failed or isn’t receiving power. With the refrigerator plugged in and the freezer door closed (or door switch engaged), listen near the evaporator fan location for any attempt to start.
For definitive testing, use a multimeter set to measure AC voltage. Access the fan motor’s electrical connector and probe the terminals while an assistant holds the door switch closed. If your meter shows proper voltage (typically 120V AC) but the fan doesn’t run, the motor has failed and requires replacement. If no voltage is present, the problem lies upstream in wiring or control systems.
Clear Hidden Airflow Blockages

Even with all mechanical components functioning, airflow obstructions can prevent your bottom freezer from maintaining freezing temperatures. These blockages often form in invisible locations within enclosed ductwork, making diagnosis challenging without proper inspection.
Defrost the Air Channel Between Compartments
The air channel connecting freezer and refrigerator compartments is particularly susceptible to ice blockage in bottom freezer models. This channel runs along the side or rear of the unit and accumulates frost when humid air enters—often from doors left ajar or failing seals.
For minor ice accumulation, use the turkey baster technique: Force warm water through the channel using a baster or syringe, with towels positioned below to catch drainage. This works when the channel remains partially open.
Severe ice blockage requires more extensive defrosting:
– Remove all food from both compartments
– Unplug the refrigerator and leave doors open
– Allow 24-48 hours for natural ice melting
– Place towels around the base to protect flooring
– Position a fan to circulate room air and speed the process
Check Air Vents and Filter Systems
Inside the freezer compartment, locate air vents that allow cold air circulation. Clear any visible ice from vent openings and rearrange stored items to ensure at least 2 inches of clearance between contents and all vent surfaces.
Many modern refrigerators incorporate charcoal air filters that require replacement every six months. A clogged filter significantly restricts airflow—particularly in Frigidaire models where owners report immediate freezer performance improvement after filter removal. Locate your model’s filter (typically in the refrigerator compartment), remove it, and test freezer function. If performance improves, replace the filter with an authentic component designed for your specific model.
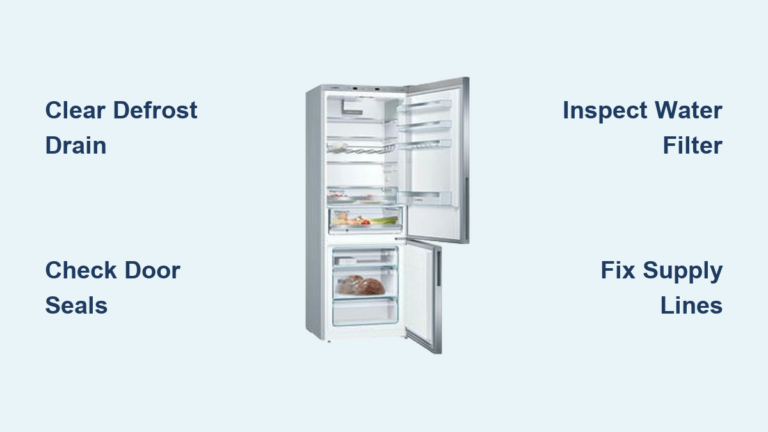
Inspect Door Seals and Gaskets

The freezer drawer gasket creates the primary thermal barrier between cold interior and ambient kitchen air. When compromised, warm air infiltrates the freezer compartment, forcing the cooling system to work harder while still struggling to maintain freezing temperatures.
Perform the Dollar Bill Seal Test
Close a dollar bill or piece of paper in the freezer drawer and attempt to pull it out. If the paper slides out easily without resistance, your gasket isn’t sealing properly. The seal should grip the paper firmly enough that you feel significant resistance when trying to remove it. Test multiple points around the entire gasket perimeter, as seal failures often occur in only one section.
Clean or Replace Damaged Gaskets
If your gasket appears dirty, clean it thoroughly using warm water and mild detergent. Pay particular attention to gasket folds and the magnetic strip surface. After cleaning, retest the seal. If the gasket shows tears, cracks, or fails to seal properly after cleaning, replacement is necessary.
Order the replacement gasket specific to your refrigerator’s model number. Installation typically involves removing the old gasket from mounting clips and pressing the new gasket into place. After installation, verify that the drawer closes with distinct magnetic resistance and lies completely flat against the cabinet surface.
Test Temperature Sensors and Control Systems
Modern bottom freezer refrigerators rely on electronic temperature sensors and control boards to regulate cooling cycles. When these components fail, they cause compartment-specific symptoms that mimic mechanical problems.
Check Defrost Temperature Sensor
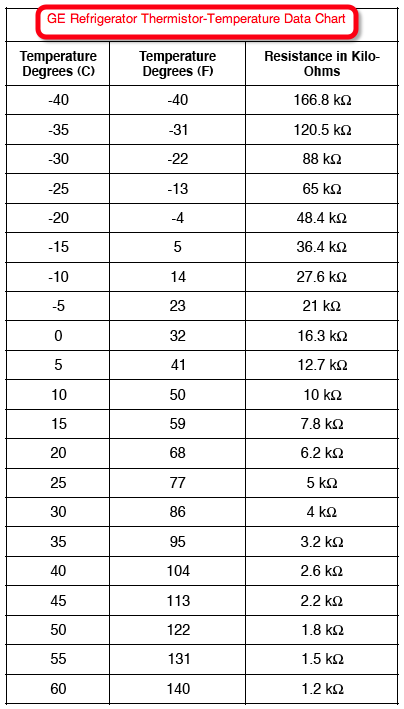
The defrost sensor monitors ice accumulation on evaporator coils. When it fails, the defrost system doesn’t activate properly, leading to excessive frost buildup that eventually blocks airflow. Locate the sensor (typically clipped to the evaporator coils behind the rear panel) and inspect for damage.
Test the sensor’s resistance with a multimeter and compare readings against manufacturer specifications. If readings fall outside the expected range, replace the sensor with an authentic component designed for your specific model.
Evaluate Control Board Functionality
The electronic control board manages compressor operation, fan cycling, and damper control. A defective board may fail to activate the evaporator fan properly or incorrectly regulate damper positions. For models with digital controls, access diagnostic mode (consult your service manual) to check for error codes.
If you suspect control board failure, professional diagnosis is recommended before replacement, as boards are expensive components and misdiagnosis can result in unnecessary costs.
Recognize Sealed System Problems
The sealed cooling system (compressor, condenser coils, evaporator coils, and refrigerant) occasionally causes bottom freezer not working issues while allowing the refrigerator to maintain adequate temperatures.
Identify Low Refrigerant Symptoms
Low refrigerant charge from a slow leak can gradually reduce cooling capacity until the system can no longer maintain freezing temperatures in the freezer compartment. The evaporator coils may still become cool—providing the mild refrigeration needed for the refrigerator—but lack capacity for freezer temperatures. This typically manifests as gradually worsening freezer performance over weeks or months.
Compressor Wear Indicators
A compressor losing pumping efficiency may generate sufficient cooling for the refrigerator’s modest requirements but cannot achieve lower freezer temperatures. This typically shows as:
– Compressor running constantly
– Abnormal cycling patterns
– Louder-than-normal operational sounds
– Excessive heat from the compressor during operation
Sealed system repairs require EPA-certified technicians due to specialized tools and refrigerant handling regulations.
When to Call a Professional
Recognize these situations requiring expert service to prevent further damage:
Critical Repair Scenarios
- Sealed system repairs (refrigerant recharge, leak detection, compressor replacement)
- Control board replacement (expensive components requiring accurate diagnosis)
- Compressor-related issues requiring electrical testing and professional assessment
Warranty Considerations
Check whether your refrigerator is still covered by manufacturer warranty before paying for repairs. New refrigerators typically have warranties covering parts and labor for specified periods, with compressors often having extended coverage up to 10 years. Document failure symptoms, date of discovery, and any contributing circumstances before contacting service.
Prevent Future Bottom Freezer Failures
Implement these maintenance practices to avoid recurring issues:
Monthly Maintenance
- Check freezer temperature with an appliance thermometer
- Verify proper drawer closure and seal integrity
- Inspect gasket for visible damage or debris
Quarterly Tasks
- Clean condenser coils using a coil brush and vacuum
- Check for airflow obstructions around the unit
Operating Best Practices
- Avoid leaving the freezer drawer open longer than necessary
- Don’t overload the drawer beyond designed capacity
- Distribute items evenly with clearance from rear walls
- Monitor operating sounds for changes indicating developing problems
Summary: Most Common Causes and Solutions
When your bottom freezer not working issue strikes but the refrigerator functions normally, investigate these causes in order of likelihood:
- Evaporator fan failure (most common): Access through rear panel and verify operation
- Airflow obstruction: Defrost air channel and check for door seal issues
- Clogged air filter: Remove and replace with authentic component
- Temperature sensor failure: Professional diagnosis typically required
- Low refrigerant charge: Requires professional pressure testing
- Compressor degradation: Professional assessment determines repair viability
By systematically working through these diagnostic steps, you’ll identify the specific cause of your bottom freezer failure and determine the most appropriate solution—whether it’s a simple DIY fix or professional repair. Most importantly, you’ll restore proper freezing function without unnecessary service calls or replacement costs.