Atosa Freezer Blinking Lights Solved
Your Atosa commercial freezer’s control panel lights suddenly start blinking erratically, leaving you staring at what seems like a coded message from an alien civilization. This frustrating scenario happens daily in restaurants, grocery stores, and commercial kitchens where food preservation is critical. When your Atosa freezer blinking lights issue strikes, time is literally money as perishable inventory sits at risk. Understanding these blinking patterns isn’t just convenient—it’s essential for preventing thousands in spoiled product and avoiding costly service calls. In this guide, you’ll learn exactly what each blinking sequence means for your specific Atosa model, how to diagnose the underlying problem, and most importantly, which issues you can fix yourself in under 30 minutes.
Atosa Freezer Light Patterns and Their Meanings

Atosa commercial freezers use blinking light sequences as their primary communication method for system status and error conditions. Unlike residential units, these commercial-grade appliances employ sophisticated diagnostic systems that translate specific problems into recognizable light patterns. Each blink sequence corresponds to a particular component failure or operational anomaly that requires attention. Recognizing these patterns immediately helps you determine whether you’re dealing with a simple user-fixable issue or a serious mechanical problem requiring professional service.
Common Atosa Light Blinking Error Codes
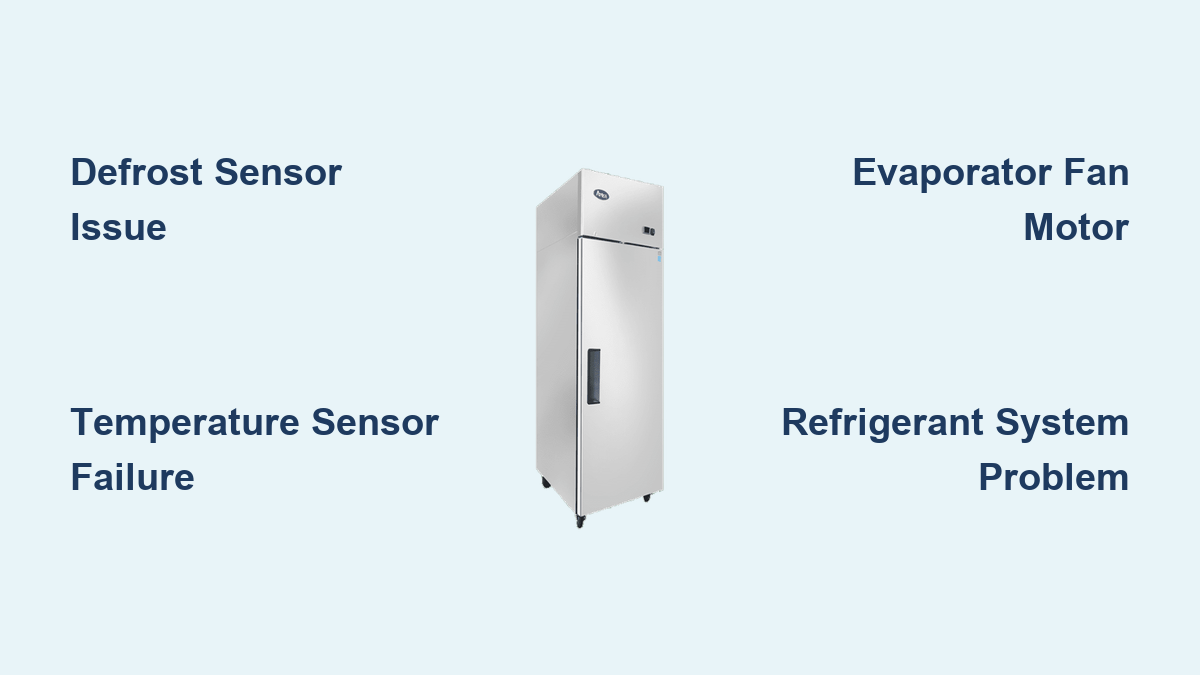
One blink followed by a pause: This pattern typically indicates a defrost sensor issue. The temperature sensor responsible for monitoring the evaporator coil during defrost cycles has failed or become disconnected. You’ll notice this pattern when your freezer starts developing excessive frost buildup while maintaining proper temperature.
Two blinks with a pause: This signals a malfunction with the main temperature sensor. Your freezer may be running constantly or failing to maintain proper temperature. Check if the unit feels warmer than normal or if food items are beginning to thaw.
Three rapid blinks: This pattern points to an evaporator fan motor problem. You won’t hear the characteristic fan noise when the compressor is running, and temperature distribution becomes uneven throughout the cabinet.
Four alternating blinks: This serious error indicates a refrigeration system problem, often related to refrigerant levels or compressor issues. Your freezer will struggle to reach or maintain freezing temperatures, putting all stored products at immediate risk.
How Atosa Freezers Communicate Multiple Errors
When multiple components fail simultaneously, Atosa freezers display compound error patterns that require careful observation. The unit will cycle through each error code sequentially with a brief pause between patterns. For example, if both the temperature sensor and defrost sensor fail, you’ll first see one blink pattern, then a pause, followed by two blinks. Document each pattern you observe in sequence before attempting any troubleshooting steps. This systematic approach prevents misdiagnosis and wasted effort on the wrong component.
Immediate Actions for Blinking Light Emergencies
When you first notice blinking lights on your Atosa freezer, taking the right initial steps can prevent minor issues from becoming major disasters. Your immediate response determines whether you’ll lose inventory or keep operations running smoothly while resolving the problem. These time-sensitive actions should become second nature to anyone responsible for commercial refrigeration equipment.
Power Cycle Procedures That Actually Work
Before panicking or calling for service, perform a proper power cycle that resets the control board without causing additional issues. First, remove all perishable items and place them in a backup freezer or cooler with adequate ice packs. Then, turn the thermostat to the “off” position and unplug the unit from the wall outlet—don’t just flip the circuit breaker, as this can cause electrical surges when restored. Wait exactly 15 minutes to allow capacitors to discharge and the control board to fully reset. During this waiting period, check for obvious issues like blocked vents or dirty condenser coils. After 15 minutes, plug the unit back in and monitor the light pattern. Many temporary glitches resolve with this simple procedure, saving you a service call.
Temperature Monitoring During Diagnostic Periods
While diagnosing blinking light issues, continuous temperature monitoring provides crucial diagnostic information that complements the error codes. Place a calibrated standalone thermometer in the geometric center of the freezer compartment, away from walls and shelves. Record temperature readings every 15 minutes alongside the observed light patterns. This data helps distinguish between sensor failures (where actual temperature remains stable despite error codes) and genuine cooling problems (where temperature rises steadily). For accurate readings, use a commercial-grade thermometer with a remote probe rather than relying solely on the unit’s internal temperature display, which may be affected by the same sensor issues causing the blinking lights.
Step-by-Step Component Checks You Can Perform
Many blinking light issues stem from simple problems that don’t require specialized tools or technical expertise. These component checks take minimal time but can resolve the majority of common Atosa freezer error conditions. Performing these diagnostics systematically saves money on unnecessary service calls while keeping your unit operational.
Evaporator Fan Motor Inspection and Testing
When facing a three-blink error pattern, check the evaporator fan motor with these specific steps:
- Locate the evaporator compartment behind the interior rear panel (remove shelves and panel screws)
- Verify the fan blades rotate freely by hand—frost buildup often binds the motor
- Clear any ice accumulation using a plastic scraper (never metal tools that could damage coils)
- Check electrical connections at the motor housing for corrosion or looseness
- Test operation by temporarily bypassing the defrost timer (if applicable to your model)
If the fan still doesn’t operate after clearing obstructions, the motor likely needs replacement—a straightforward repair requiring only basic hand tools and about 20 minutes of your time.
Temperature Sensor Verification Techniques

For two-blink error patterns indicating temperature sensor issues, verify sensor function with these precise methods:
- Locate the sensor (typically mounted near the evaporator coil)
- Check for physical damage to the wiring harness along its entire length
- Test resistance with a multimeter: at 32°F (0°C), a functioning sensor should read approximately 16K ohms
- Compare readings against a known good sensor if available
- Ensure proper seating in the sensor well with thermal compound intact
Many “failed” sensors simply have loose connections or damaged wiring that can be repaired with electrical tape and careful repositioning.
When to Call a Professional Technician
While many blinking light issues can be resolved in-house, certain conditions require professional intervention to prevent further damage or safety hazards. Recognizing these critical situations prevents well-meaning staff from creating more expensive problems while attempting repairs beyond their expertise.
Refrigerant System Warning Signs

Four-blink patterns often indicate refrigerant issues that require EPA-certified technicians. Warning signs include:
- Hissing or bubbling sounds from refrigerant lines
- Oil stains around connections indicating leaks
- Frost patterns on copper lines that don’t follow normal defrost cycles
- Compressor running continuously without achieving proper temperature
Attempting DIY repairs on refrigerant systems violates environmental regulations and can introduce moisture into the system, causing catastrophic compressor failure. Document the error pattern and temperature readings before calling your service provider for faster diagnosis.
Electrical Component Failures Requiring Specialized Tools
Certain blinking patterns point to control board or compressor issues that require specialized diagnostic equipment. These include:
- Intermittent blinking patterns that don’t match standard error codes
- Burning smells accompanying light errors
- Visible scorch marks on electrical components
- Tripped circuit breakers when attempting to restart
Professional technicians use specialized multimeters and diagnostic software to pinpoint these complex issues without causing further damage. The cost of a service call often pales in comparison to the expense of replacing multiple components damaged by improper troubleshooting.
Preventative Maintenance to Avoid Future Blinking Light Issues
The most effective approach to blinking light problems is preventing them through regular maintenance. Implementing these simple procedures extends component life, reduces emergency service calls, and maintains optimal freezer performance.
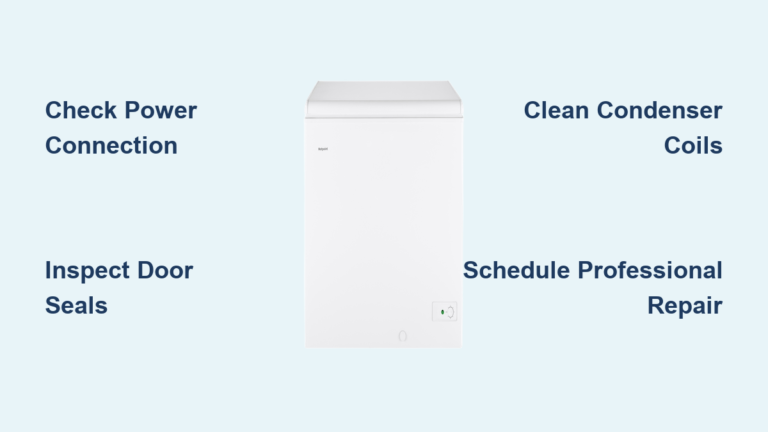
Monthly Condenser Coil Cleaning Protocol
Dirty condenser coils cause 68% of preventable Atosa freezer issues that trigger blinking error lights. Follow this cleaning procedure monthly:
- Turn off power at the circuit breaker
- Remove front grill access panel
- Use a soft brush to remove loose debris from coil surfaces
- Employ a commercial condenser coil cleaner according to product instructions
- Rinse thoroughly with low-pressure water (never high-pressure hoses)
- Allow complete drying before restoring power
This 15-minute maintenance task prevents overheating that triggers multiple error codes and extends compressor life by up to 40%.
Seasonal Sensor Calibration Checklist
Temperature and defrost sensors gradually lose accuracy, triggering false error codes. Calibrate twice yearly using this method:
- Prepare an ice bath with distilled water and crushed ice
- Submerge sensor probe completely (30 minutes for stable reading)
- Verify control board displays 32°F (0°C) ±1 degree
- Adjust calibration if your model allows (consult manual for procedure)
- Document readings for future comparison
Regular calibration prevents unnecessary service calls for “failed” sensors that are merely out of specification.
Final Note: Understanding your Atosa freezer’s blinking light patterns transforms confusing signals into actionable diagnostic information. By implementing these targeted troubleshooting steps and preventative measures, you’ll minimize downtime, protect inventory, and extend your equipment’s service life. Remember that consistent maintenance documentation provides invaluable data when professional service is eventually required, often reducing diagnostic time and costs. Keep this guide accessible near your freezer for quick reference during emergencies, and consider posting a simplified version of common error patterns inside the unit’s service panel for immediate access.