Commercial Fridge Freezer Repair: Quick Fix Tips
Commercial refrigeration problems can bring your business to a standstill. When your walk-in cooler drops below 32°F or your freezer can’t maintain -10°F, food safety violations and thousands in spoiled inventory become immediate concerns. This guide delivers precise repair solutions for the most time-sensitive commercial refrigeration failures, using field-tested diagnostic techniques that get your units running again—fast. You’ll learn exactly how to identify compressor failures, diagnose refrigerant leaks, and fix temperature control issues that threaten your bottom line.
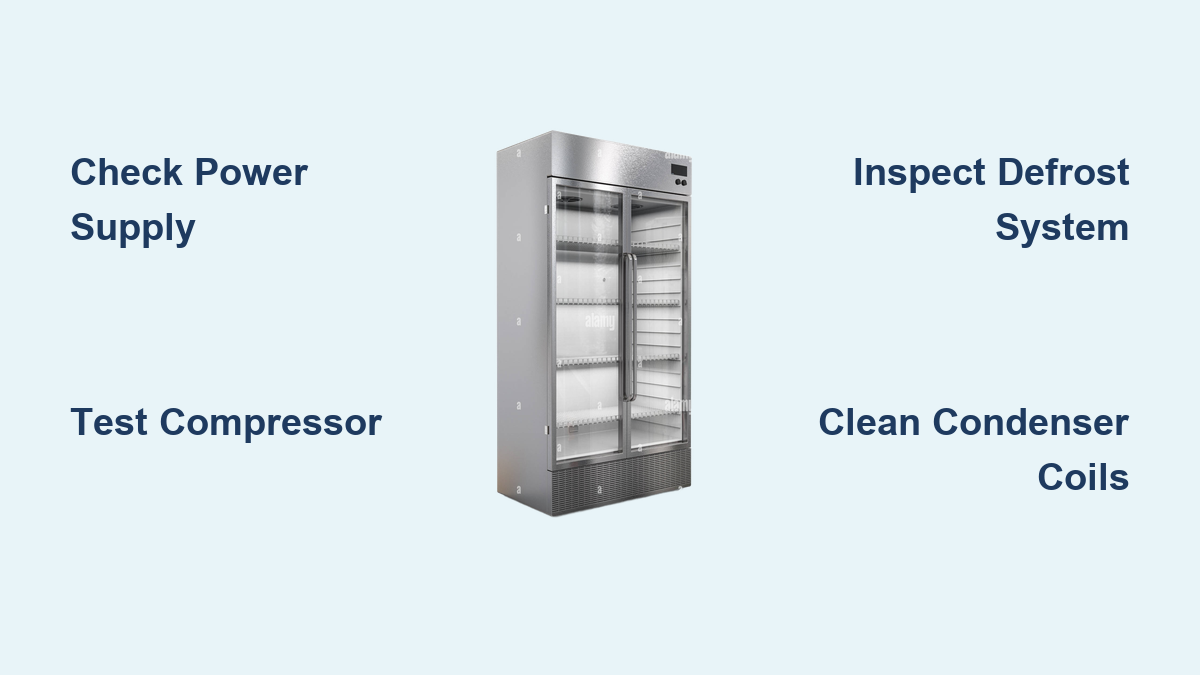
Immediate Actions for Complete Cooling Failure

When your commercial fridge or freezer stops cooling entirely, follow these critical first steps before calling a technician. Most businesses lose $1,200+ per hour when refrigeration fails, making rapid diagnosis essential for minimizing losses. These procedures help determine if you can restore cooling within 30 minutes or need professional intervention.
Verify Power Supply Issues Causing Total Shutdown
Check these often-overlooked power problems before assuming major component failure:
- Circuit breaker status: Commercial units frequently share circuits with other equipment—verify both the unit’s dedicated breaker AND main panel
- Voltage at compressor terminals: Use a multimeter to confirm 208-230V AC (±10%) with unit running—low voltage causes immediate compressor shutdown
- Disconnect switch position: Many technicians overlook this safety switch located near the unit
- Phase loss in 3-phase systems: Critical for larger walk-ins—use a phase meter to verify all three legs are active
Warning: Never bypass safety controls. Commercial refrigeration systems contain capacitors that can hold lethal charges even when unplugged.
Diagnose Compressor Lock-Up Symptoms
A locked compressor produces distinctive warning signs you can identify without tools:
- Humming sound without cooling: Listen at the compressor compartment for 5-10 seconds—continuous humming indicates seized compressor
- Overheating casing: Carefully touch (don’t hold) the compressor shell—excessive heat (over 200°F) suggests internal failure
- Clicking relay behavior: Repeated on/off cycling of the start relay indicates compressor can’t achieve rotation
Pro Tip: Before condemning the compressor, check the start components. A failed start capacitor (swollen casing) or PTC relay (burn marks) often mimics compressor failure.
Troubleshooting Temperature Fluctuation Problems
Inconsistent temperatures ruin food quality and violate health codes. Commercial units maintain tighter tolerances (±2°F) than residential models, making precise diagnosis critical. These methods identify the specific component causing your temperature swings.
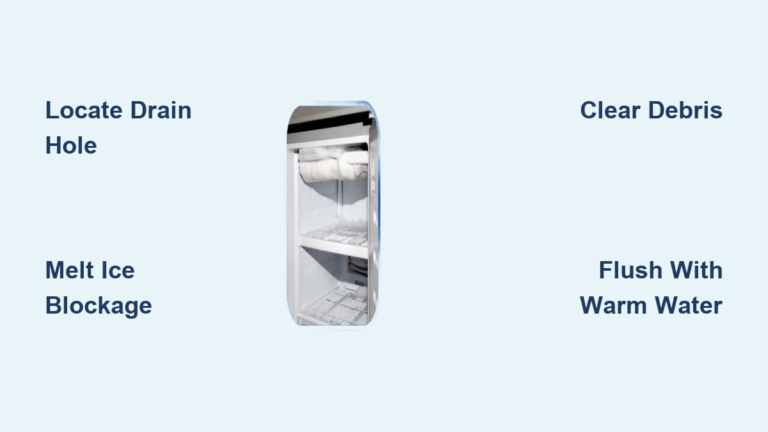
Identify Defrost System Malfunctions
Faulty defrost cycles cause the most common temperature fluctuations in commercial freezers:
- Ice buildup on evaporator coils: Visible through the access panel—more than 1/4″ ice indicates defrost failure
- Defrost heater continuity test: Disconnect power and check resistance across heater terminals (should read 15-30 ohms)
- Thermostat calibration check: Compare unit display to a calibrated thermometer at multiple locations
Time-Saving Shortcut: Force a manual defrost cycle using the control panel’s service mode—observe if heater activates and ice melts within 20 minutes.
Diagnose Thermostat and Sensor Failures
Electronic controls cause 30% of commercial temperature issues:
- Sensor placement verification: Ensure evaporator sensor is properly clamped to the coil tubing (not hanging loose)
- Resistance testing: Measure sensor resistance at operating temperature—compare to manufacturer’s R/T chart
- Control board error codes: Note any blinking LED patterns that indicate specific component failures
Critical Mistake: Never replace control boards based on symptoms alone—always verify sensor readings and voltage inputs first.
Refrigerant Leak Detection and Temporary Fixes
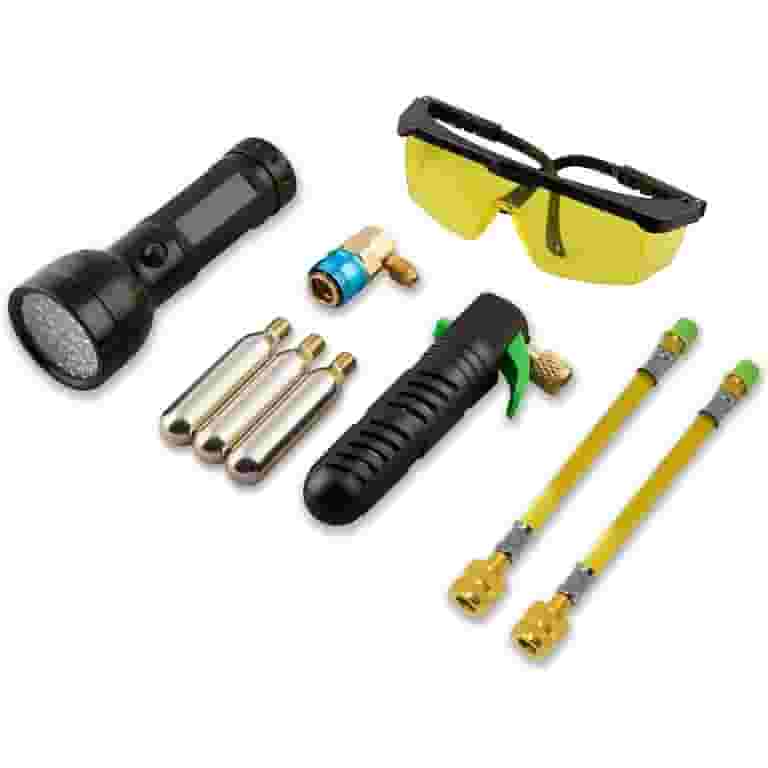
Refrigerant leaks cause gradual cooling loss that often goes unnoticed until inventory spoils. Commercial systems use different refrigerants (R-404A, R-134a) requiring specific handling procedures. These methods help locate leaks without expensive equipment.
Perform Visual Leak Inspection for Common Failure Points
Focus your search on these high-failure areas:
- Vibration points: Where refrigerant lines contact the compressor (look for oil stains)
- Schrader valve cores: The most common leak location in commercial units
- Evaporator coil joints: Especially where coils pass through insulated walls
- Filter drier connections: Vibration causes joint failures at these pressure points
Visual Cue: Greasy residue around copper lines indicates slow leaks—refrigerant carries oil from the compressor.
Apply Temporary Sealants for Emergency Repairs
When immediate technician dispatch isn’t possible:
- Leak stop additives: Only use commercial-grade products designed for your refrigerant type
- Epoxy putty application: For pinhole leaks in accessible copper lines (clean surface thoroughly first)
- Clamp-on repair couplings: For joint failures between service calls
Warning: Never use automotive AC sealants—commercial systems require different formulations. Temporary fixes last 24-72 hours maximum.
Evaporator Fan System Troubleshooting
Inadequate airflow causes uneven cooling and excessive frost buildup. Commercial units run fans continuously, making failures immediately apparent through specific symptoms.
Test Fan Motor and Control Circuits
Follow this diagnostic sequence:
- Verify power at fan terminals: Should read full line voltage when unit is running
- Check for ice obstruction: Freezers commonly develop ice blocking fan rotation
- Measure winding resistance: Disconnect power and test between common and each speed tap
- Inspect capacitor condition: Swollen or leaking capacitors cause weak starting
Pro Tip: Clean fan blades and housing with warm water—never use solvents that damage plastic components.
Identify Damaged Fan Blades and Mounts
Physical damage often gets overlooked:
- Blade warping: Causes vibration and reduced airflow (measure clearance from housing)
- Shaft play: More than 1/16″ movement indicates bearing failure
- Mounting bracket cracks: Common in high-vibration environments like kitchens
Time Estimate: Complete fan replacement takes 20-45 minutes depending on unit accessibility.
Preventative Maintenance That Avoids Emergency Repairs
Regular maintenance prevents 78% of commercial refrigeration failures. These procedures extend equipment life and maintain food safety compliance between professional service visits.
Condenser Coil Cleaning Protocol
Dirty condenser coils cause 40% of premature compressor failures:
- Frequency: Clean every 3 months in standard environments, monthly in high-dust kitchens
- Method: Use soft-bristle brush with coil cleaner—never high-pressure water
- Verification: After cleaning, condenser temperature should drop 15-20°F within 15 minutes
Critical Step: Always power down the unit before cleaning—condenser fans can restart automatically.
Door Seal Inspection and Replacement
Compromised seals waste 30% more energy and cause temperature fluctuations:
- Dollar bill test: Close door on bill—if you pull it out with no resistance, replace the gasket
- Seal alignment check: Ensure even compression around entire door perimeter
- Replacement technique: Heat old seal with hair dryer for easier removal
Expert Note: Commercial doors require magnetic seals rated for -20°F—never use residential replacements.
When to Call a Certified Technician Immediately
Some issues require EPA-certified professionals due to safety and regulatory requirements:
- Refrigerant system breaches: Only licensed technicians can legally recover and recharge
- Electrical faults above 50V: Commercial units often operate at 208-230V with dangerous current levels
- Compressor replacement: Requires vacuum pumps and micron-level verification
- Control board programming: Modern units need software calibration after replacement
Red Flag: If you smell burning insulation or see smoke—disconnect power immediately and call emergency service.
Final Note: Commercial refrigeration repairs demand precision—what works for household units often damages commercial systems. Document your findings before disassembly, label all wires, and never force components. For persistent issues, maintain detailed logs of temperature readings and error codes to help technicians diagnose faster. Implement quarterly maintenance checks focusing on condenser cleanliness and door seal integrity to prevent 90% of common failures. Remember that quick fixes for commercial refrigeration are temporary—the underlying cause must be addressed to ensure food safety and prevent costly breakdowns.