GE Freezer Ice Maker Not Working: Fix It Fast
You reach for ice to cool your morning coffee or prepare dinner drinks, only to find your GE freezer ice maker has stopped producing ice. This frustrating issue affects countless households with GE refrigerators, but the good news is most problems have straightforward solutions you can tackle yourself. Your GE freezer ice maker not working scenario typically stems from just a few common causes that don’t require professional help. By following this systematic approach, you’ll identify and resolve the problem in under an hour—saving you time, money, and the hassle of waiting for service.
Understanding how your GE ice maker functions reveals why failures occur. The system relies on precise coordination between temperature sensors, water delivery components, and mechanical parts. When any element malfunctions—whether it’s a frozen water line, clogged filter, or accidentally switched-off mode—ice production halts. This guide cuts through technical jargon to give you actionable steps that diagnose and fix your GE freezer ice maker not working problem, from simple checks to more involved repairs.
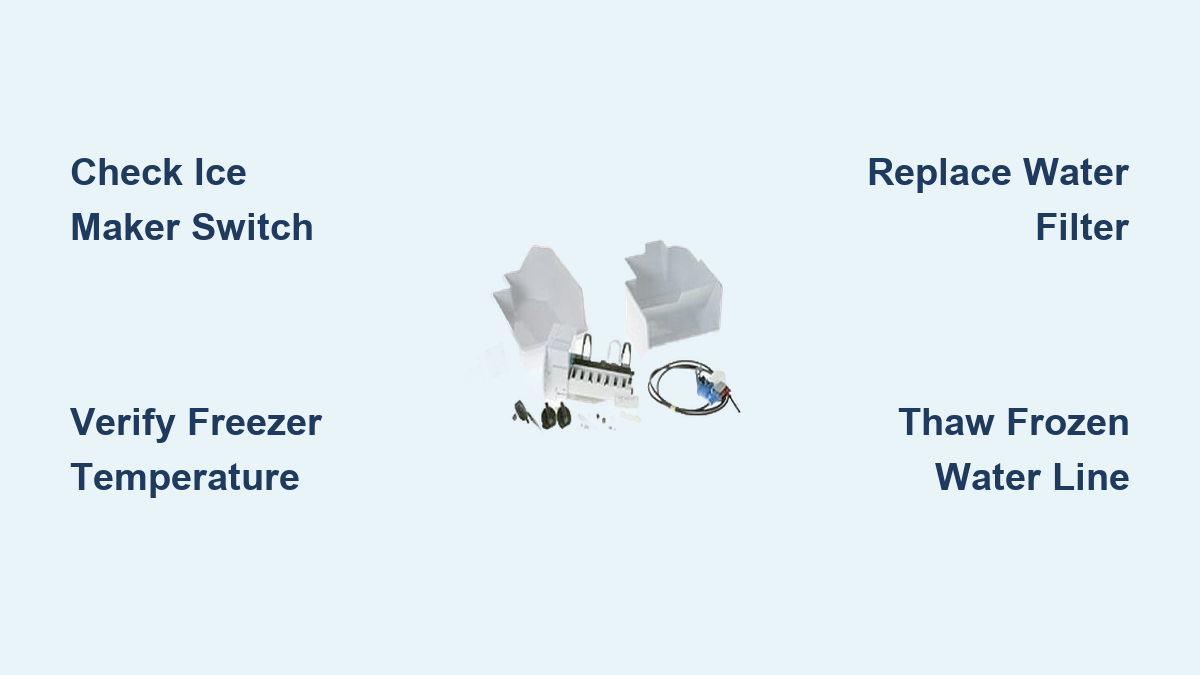
Confirm Ice Maker Isn’t Accidentally Switched Off
Before wasting time on complex diagnostics, verify your GE ice maker is actually enabled. Many owners unknowingly trigger the on/off switch when organizing freezer contents. On most GE models, look for a small switch on the right side of the ice maker assembly—often near the front where it’s easily accessible. Some units use a mechanical feeler arm that must remain in the downward position; raising this arm disables ice production.
Check your refrigerator’s digital display for any illuminated icons indicating the ice maker has been disabled. GE refrigerators with control panels frequently include a child lock feature that inadvertently turns off ice production when activated. If you see a lock symbol, consult your manual for the specific button combination to deactivate it. This simple fix resolves nearly 20% of “GE freezer ice maker not working” cases within minutes.
Ensure Freezer Temperature Is Cold Enough for Ice Production
Your GE ice maker requires freezer temperatures between 0°F and 5°F to function properly. Temperatures above this range prevent the internal thermostat from triggering ice cycles, resulting in no ice production despite normal refrigerator operation. After adding groceries or adjusting settings, allow 24 hours for temperature stabilization before diagnosing ice maker failure.
Place an independent freezer thermometer near the ice maker assembly to verify actual temperatures—built-in displays often show inaccurate readings. If your thermometer reads above 10°F, focus on cooling system issues before troubleshooting the ice maker itself. Blocked air vents from overpacking the freezer disrupt consistent temperatures, so rearrange items to ensure proper airflow around the ice maker compartment.
Replace Clogged Water Filter Causing Ice Maker Failure
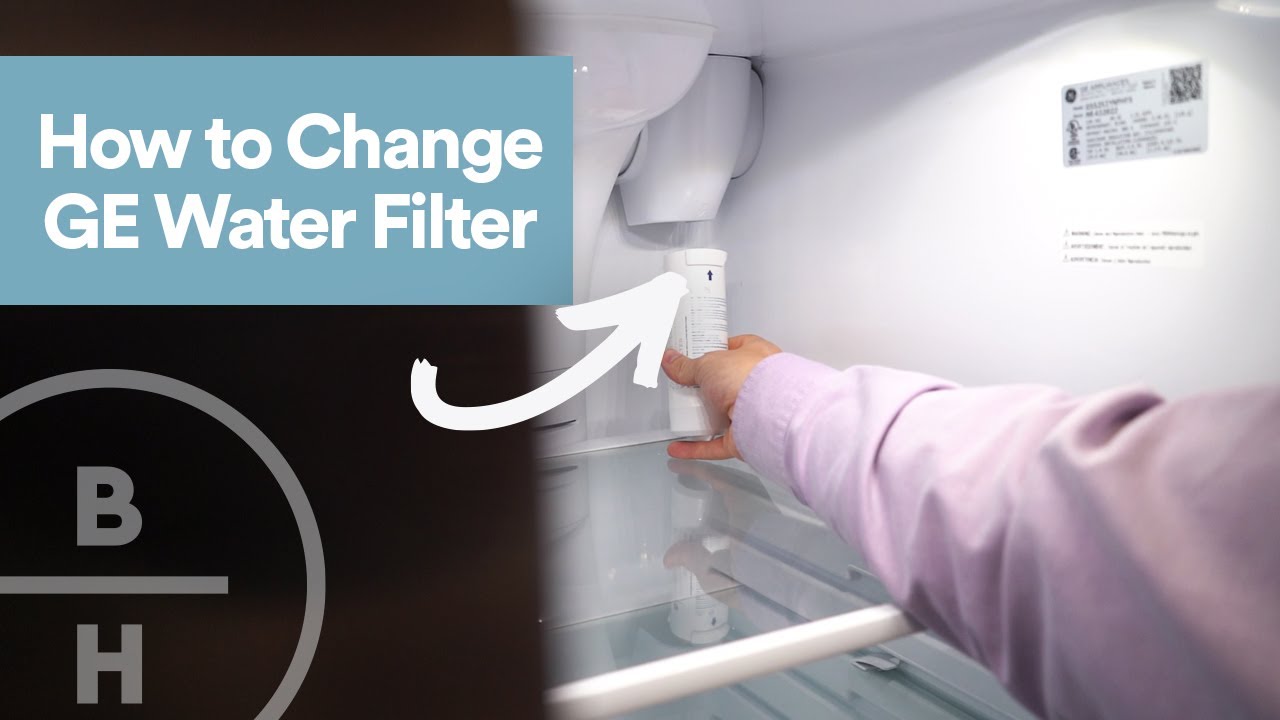
A clogged water filter ranks as the #1 overlooked cause of GE freezer ice maker not working issues. Filters should be replaced every 6 months, but hard water or high sediment areas may require more frequent changes. When filters become saturated, they restrict water flow to the point where the ice maker either produces tiny cubes or stops working completely.
After installing a new filter, flush the system by dispensing 3-5 gallons of water through the dispenser. Skipping this step leaves air pockets that prevent proper water delivery to the ice maker. Ensure the filter clicks securely into place—many post-replacement failures occur because the filter wasn’t fully seated. If your GE model has filter monitoring, it may automatically disable the ice maker when filters are overdue, so check for “filter reset” options in your settings menu.
Unclog Frozen Water Lines Blocking Ice Production
Frozen water lines cause nearly 30% of GE side-by-side refrigerator ice maker failures, especially in models like the GFE29HSDASS. The fill tube behind the ice maker is particularly vulnerable—when ice accumulates here, the unit cycles normally (you’ll hear motor sounds) but produces no ice. To diagnose:
- Remove the ice bin and inspect the fill tube area for visible ice buildup
- Use a hair dryer on low heat to thaw the tube (never use sharp objects)
- Direct warm air along the water line path starting from where it enters the freezer
- Allow 24 hours for full recovery after thawing
Prevent future freezing by ensuring your freezer maintains temperatures below 5°F and by insulating vulnerable water line sections with foam pipe insulation. If freezing recurs frequently, check for airflow issues or consider relocating the refrigerator away from cold exterior walls.
Perform Proper Ice Maker Reset Procedures
Resetting your GE ice maker clears electronic glitches that stop ice production. Use the method matching your model:
Standard reset: Locate the test/reset button on the ice maker assembly (usually white), press and hold for 5-10 seconds, then wait 2 minutes for cycling to resume.
Power cycle method: Unplug the refrigerator for 5 minutes to reset control boards, then wait 6-8 hours for ice production to restart.
Forced cycle test: Turn the ice maker off for 60 seconds, then on, and press the white paddle 3 times within 15 seconds. If the unit cycles but doesn’t fill with water, your problem lies in the water supply system rather than the ice maker itself—focus your efforts there next.
Check Water Inlet Valve for Proper Function

The water inlet valve controls water flow to your ice maker. When failing, it causes no ice production despite normal cycling sounds. Locate this component at the refrigerator’s rear where the water line connects.
Test for valve failure:
– Listen for a distinct “click” during fill cycles (no click = likely valve failure)
– Check for visible leaks around valve connections
– Verify water pressure at the household shutoff valve (should be 20-120 PSI)
If the valve clicks but delivers no water, remove and inspect the inlet screen for mineral deposits. Soak clogged screens in vinegar for 30 minutes before reinstalling. Warning: Valve replacement requires plumbing skills—improper installation causes major water damage. If uncomfortable with this repair, call a professional.
Inspect Mechanical Components for Ice Jams and Damage
Physical obstructions frequently stop GE ice makers. Remove the ice bin and examine:
- Ejector arm position: Should rotate freely when manually turned
- Ice jams: Clear packed ice with warm water (never sharp tools)
- Tray condition: Check for cracks that cause water leakage during freezing
If the ejector arm won’t move despite clearing visible ice, the motor or gear assembly has likely failed. GE ice maker assemblies typically require complete replacement rather than individual part repair. Before replacing, ensure the problem isn’t simply an ice jam by running the forced cycle test described earlier.
Interpret Diagnostic Error Codes Correctly
Modern GE refrigerators display error codes pinpointing ice maker issues. Access diagnostics by:
- Pressing and holding “Freezer” and ” refrigerator” buttons simultaneously for 3 seconds
- Watching for flashing lights or error codes on the display panel
Common codes include:
– ER 1F: Freezer thermistor failure
– ER 2F: Evaporator thermistor failure
– ER FF: Defrost system malfunction
Important: Diagnostic modes vary significantly by model—consult your specific manual for accurate code interpretation. If error codes persist after basic troubleshooting, professional service becomes necessary.
Know When to Call a Professional Technician
Some GE freezer ice maker not working scenarios require expert help:
- Water inlet valve replacement (risk of leaks)
- Control board failures (complex electronics)
- Refrigerant system issues (EPA certification required)
- Persistent problems after completing all troubleshooting steps
Cost consideration: If repairs exceed 50% of a new refrigerator’s price, replacement may be more economical—especially for units over 10 years old. GE refrigerators typically last 10-15 years, so weigh repair costs against the appliance’s remaining lifespan.
Prevent Future Ice Maker Failures With Simple Maintenance
Extend your GE ice maker’s lifespan with these proactive steps:
Every 6 months:
– Replace water filter (set calendar reminders)
– Clean ice bin with mild soap solution
– Check water line for kinks or damage
Annually:
– Verify freezer temperature with independent thermometer
– Inspect fill tube for early ice accumulation signs
– Clean condenser coils to maintain cooling efficiency
Immediately address:
– Slow water dispensing (indicates filter issues)
– Unusual noises during ice maker cycling
– Temperature fluctuations affecting freezer performance
By implementing this maintenance routine, you’ll prevent most GE freezer ice maker not working scenarios before they disrupt your daily routine. When problems do occur, this systematic approach helps you quickly identify whether the solution requires a 5-minute fix or professional assistance—saving you unnecessary service calls and keeping your ice supply flowing reliably.