How to Revive Sourdough Starter from Freezer
That neglected jar of sourdough starter lurking in the back of your freezer doesn’t have to be lost forever. Whether you froze it for safekeeping months ago or inherited a dormant culture from a friend, frozen sourdough starter can almost always be revived with proper technique. The freezing process puts your yeast and bacteria into suspended animation rather than killing them, and with the right thawing and feeding protocol, your starter can return to active, bubbly life within a week. This guide reveals exactly how to bring your frozen sourdough culture back to peak baking condition without wasting precious flour or time on ineffective methods.
Reviving frozen starter requires understanding what happens during freezing and thawing—ice crystals form that can damage microbial cell walls, but the hardy organisms in a healthy starter survive this stress remarkably well. Your success depends on careful temperature transitions and strategic feeding that gradually rebuilds the microbial population without overwhelming their recovering systems. Most frozen starters respond within 5-7 days when following the proper revival sequence, though those frozen longer than six months may need additional patience. By the end of this guide, you’ll know precisely how to assess your frozen starter’s condition, thaw it safely, and implement the feeding schedule that brings it back to reliable baking strength.
Thawing Frozen Starter Without Damaging Microbes
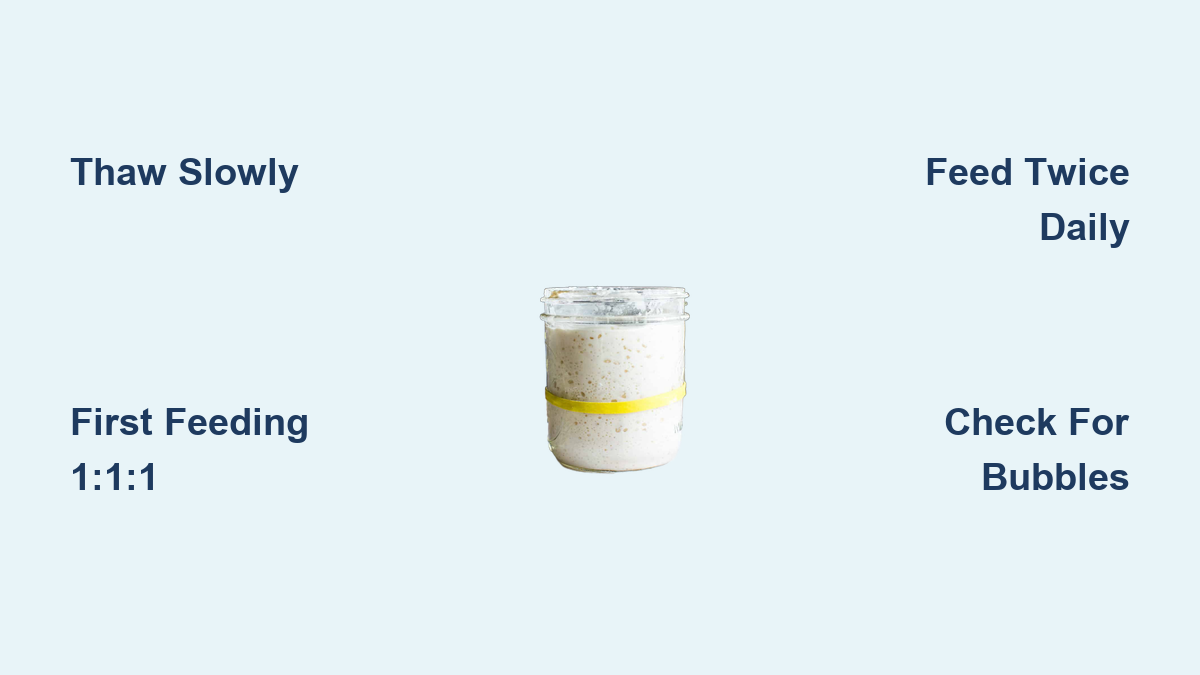
Rushing the thawing process creates thermal shock that can permanently damage your starter’s microbial community. Begin by transferring your frozen starter from the freezer to the refrigerator for slow defrosting over 12-24 hours—this gradual warming prevents ice crystals from expanding and rupturing cell walls. Never thaw frozen starter at room temperature or using warm water, as rapid temperature changes cause more cellular damage than slow thawing.
After refrigerated thawing, let your starter sit at room temperature for 2-4 hours before the first feeding. This additional warming phase ensures the entire mass reaches consistent temperature and begins metabolic activity gently. During this period, inspect carefully for signs of mold (fuzzy growth in colors other than white) or unusual odors—discard only affected portions while keeping the healthy interior. A thin layer of liquid (“hooch”) on top indicates hunger but not spoilage; simply pour it off before feeding.
Discard any starter showing pink, orange, or black discoloration, as these indicate contamination. However, don’t abandon revival efforts if the starter appears grayish or has a slightly alcoholic smell—these are common during revival and typically resolve with proper feeding. Healthy frozen starter should maintain a pale beige color throughout; significant darkening suggests freezer burn that may require discarding the outer layer while keeping the protected interior.
First Revival Feeding Protocol

Your initial feeding requires a lighter touch than regular maintenance to avoid overwhelming dormant microbes. Mix one tablespoon of thawed starter with equal parts (by weight) of room-temperature water and all-purpose flour in a clean jar. This 1:1:1 ratio creates a thin batter consistency that’s easier for recovering yeast and bacteria to metabolize than stiffer mixtures.
Whole grain flours like rye or whole wheat provide extra nutrients that boost revival success rates. Their higher mineral content supports microbial growth better than refined flours, making them ideal for the first 2-3 feedings. Use unchlorinated water—either filtered, bottled, or tap water left uncovered for 24 hours to allow chlorine to evaporate—as chlorine inhibits yeast activity.
Cover the jar loosely with a breathable material like cheesecloth or a paper towel secured with a rubber band. Avoid airtight sealing during revival, as the starter needs oxygen exchange during initial reactivation. Place in a warm spot (70-75°F) away from direct sunlight and check every 6-8 hours for signs of activity. Don’t be discouraged if no visible bubbles appear during the first 24 hours—microbial population rebuilding happens before visible signs emerge.
Building Starter Strength Through Strategic Feedings
After 24 hours, assess your starter’s response before proceeding. If you see small bubbles throughout the mixture or a slight rise in volume, proceed with your second feeding using a 1:2:2 ratio (one part starter to two parts flour to two parts water). If no activity appears, repeat the 1:1:1 feeding ratio for another 24 hours before increasing proportions.
During the second and third feeding cycles, maintain twice-daily feedings at 12-hour intervals to provide consistent nourishment. This frequent feeding schedule rapidly rebuilds microbial populations without allowing the culture to become overly acidic between meals. Measure ingredients by weight rather than volume for accuracy—use 20g starter, 40g flour, and 40g water for a manageable batch size that minimizes waste.
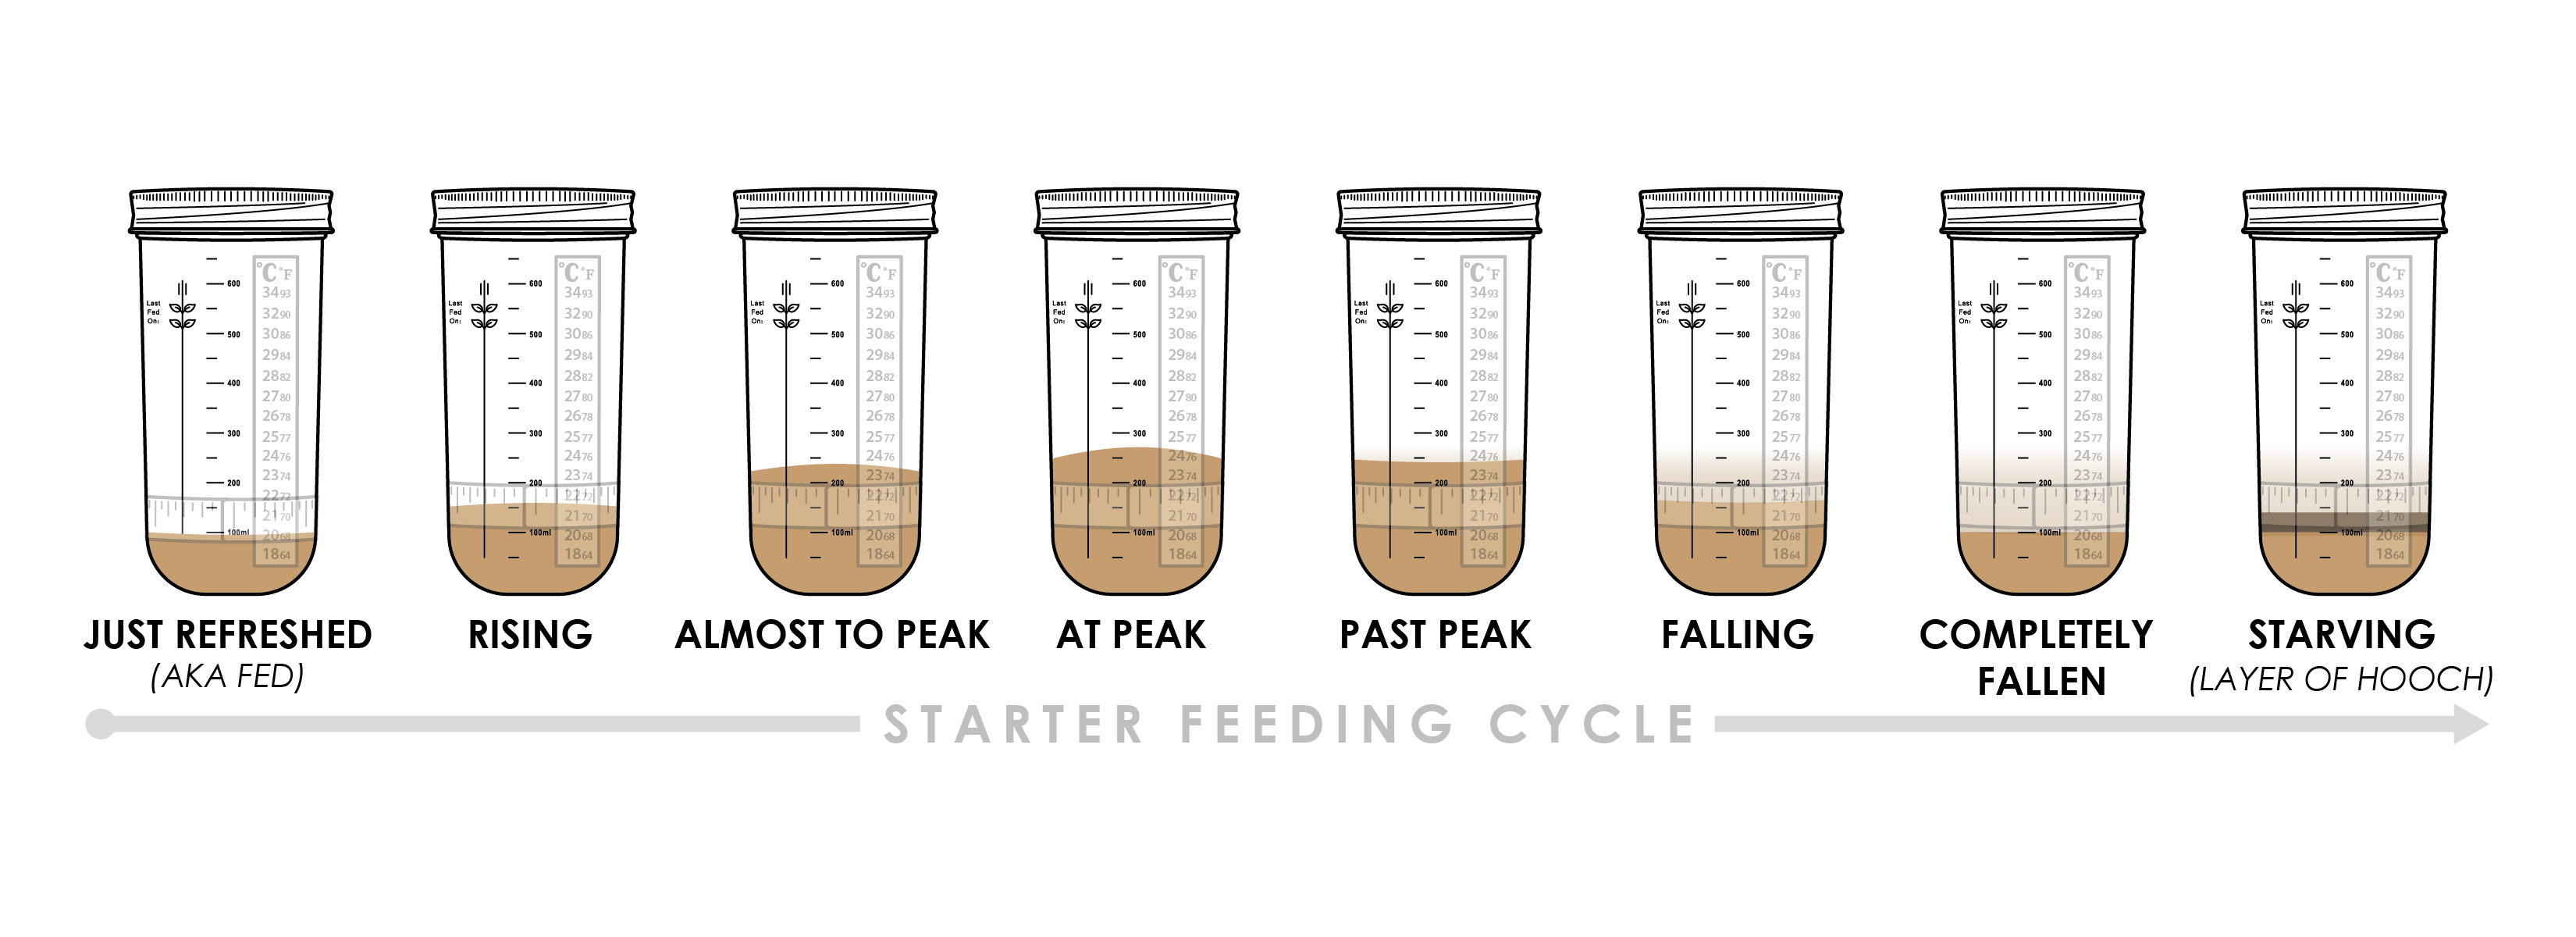
Monitor these key indicators of successful revival:
– Bubbling pattern: Bubbles should become larger and more numerous throughout the starter
– Aroma: Should develop a pleasant tangy, yogurt-like smell rather than sharp vinegar or acetone notes
– Volume increase: Starter should show at least 50% expansion within 4-6 hours of feeding
– Texture: Should become smooth and elastic rather than dense or stringy
If your starter develops a strong alcohol smell or dark liquid layer, it’s becoming too acidic between feedings—increase feeding frequency to every 8 hours until the aroma normalizes.
Troubleshooting Common Revival Roadblocks
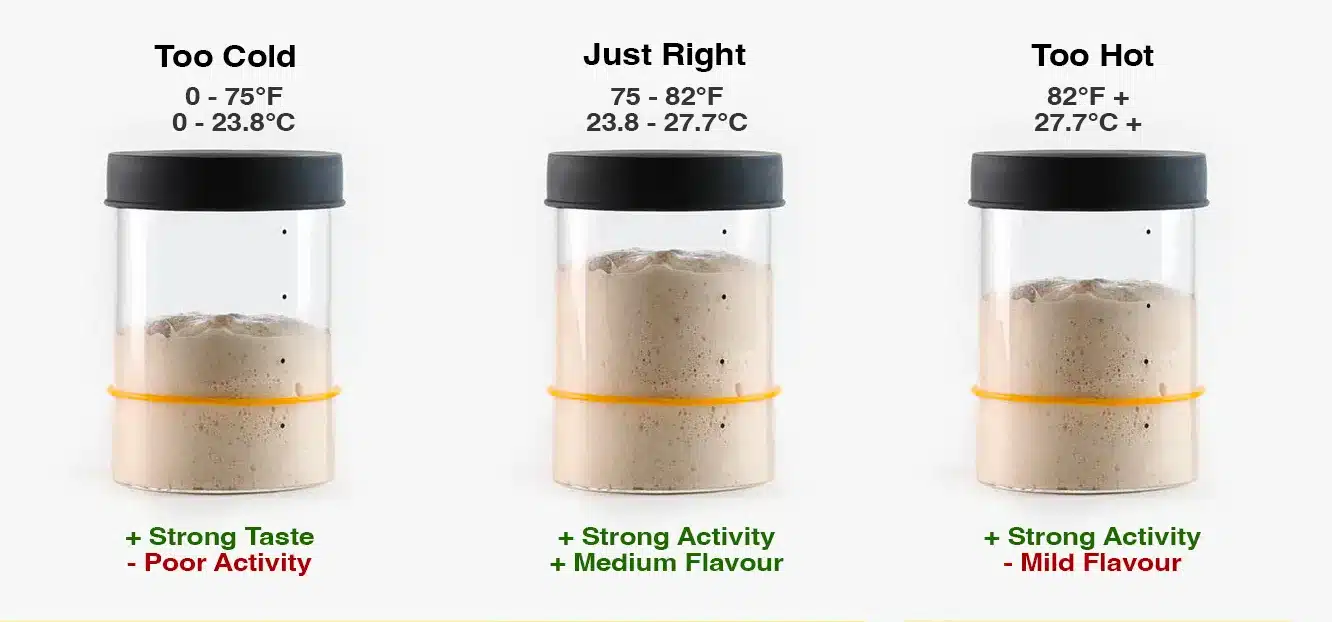
Temperature fluctuations represent the most frequent revival obstacle. Starter revival stalls below 65°F and becomes unpredictable above 85°F. Create a stable warm environment by placing your jar on a heating pad set to low, inside an oven with just the light on, or near (not directly on) a radiator. A consistent 75-80°F environment accelerates revival by 30-50% compared to cooler kitchens.
Weak activity after 3-4 days often responds to flour changes. Switch to 100% rye flour for one feeding cycle—its high amylase enzyme content provides readily available sugars that jump-start sluggish cultures. Alternatively, add 1-2 teaspoons of unsweetened pineapple juice to your feeding water; the natural acids help rebalance pH levels without harming beneficial microbes.
Contamination concerns frequently cause unnecessary abandonment of viable starters. Kahm yeast—a harmless but unattractive white film—can be safely scraped off without discarding the entire culture. True mold appears fuzzy with distinct colors (green, black, pink); if present, discard only the affected portion while keeping the uncontaminated starter beneath. Starter with occasional small black specks is usually safe if the underlying culture smells pleasant.
Transitioning to Baking-Ready Strength
Your revived starter has reached baking readiness when it consistently doubles in volume within 4-6 hours of feeding at room temperature. Perform this critical test: feed your starter using your standard ratio, mark the jar level, and time how long it takes to double. If it achieves this within 6 hours across two consecutive feeding cycles, it’s ready for baking.
Before attempting your first loaf, conduct a small-scale test bake. Mix 20g active starter with 20g flour and 20g water, cover, and let ferment at room temperature for 4 hours. The mixture should become bubbly and increase by 50-75%—if it does, your starter has sufficient strength for bread making. If not, continue twice-daily feedings for another 24-48 hours before retesting.
Don’t expect perfect results from your first post-revival bake. The microbial community continues stabilizing over subsequent baking cycles. Your initial loaves may have slightly different flavor profiles or rise characteristics than before freezing. This is normal—each successful bake further strengthens and balances your starter’s ecosystem.
Long-Term Maintenance After Successful Revival
Establish a consistent feeding schedule that matches your baking frequency. For daily bakers, maintain starter at room temperature with once-daily feedings using a 1:1:1 ratio. For occasional bakers, store in the refrigerator with weekly feedings—always feed, wait 2-4 hours until peaking, then refrigerate to maximize storage strength.
Preserve your revival success by creating new freezer backups immediately. Freeze 30g portions of peak-activity starter in labeled ice cube trays, then transfer to airtight freezer bags. Properly stored starter remains viable for 6-12 months, with shorter durations yielding more reliable revival. Always note the freezing date—older backups require more revival patience.
Document your starter’s revival timeline and characteristics in a baking journal. Note feeding ratios, temperature conditions, activity times, and any adjustments made. This record becomes invaluable when reviving future backups and helps you recognize your starter’s unique patterns. Some starters revive quickly but require frequent feeding, while others take longer but maintain strength with less attention—knowing your culture’s personality optimizes long-term care.
When Freezer Revival Isn’t Possible
Despite best efforts, some frozen starters cannot be revived. Discard immediately if you observe:
– Persistent pink, orange, or black mold throughout the culture
– Rancid, putrid, or sewage-like odors that don’t improve after multiple feedings
– Complete lack of activity after 10 days of twice-daily feedings with varied flours
If your revival attempts fail, consider obtaining a new starter from a baking friend or online community. Many experienced bakers happily share portions of their active cultures. When freezing your replacement starter, follow proper technique: freeze at peak activity in airtight containers with minimal air exposure, and always maintain a fresh backup in the refrigerator as insurance against future freezer failures.
The most successful sourdough bakers treat their starter revival process as valuable learning rather than frustration. Each revival experience deepens your understanding of your unique microbial ecosystem and builds confidence in managing your sourdough journey through all its phases—frozen storage, revival, and active baking. With this knowledge, you’ll never fear losing your starter to the freezer again.