How to Fix Freezer Temperature Issues
Your freezer should maintain a temperature of 0°F (-18°C) to keep food frozen safely and preserve its quality. When temperatures rise above this threshold, you risk food spoilage, ice cream becoming soft, and potential freezer burn on your stored items. Understanding how to diagnose and fix temperature issues can save you from costly food waste and prevent more serious appliance damage down the road.
Temperature problems in freezers typically stem from a few common sources: thermostat malfunctions, poor door seals, dirty condenser coils, airflow obstructions, or issues with the compressor or evaporator fan. The good news is that many of these problems can be identified and addressed without calling a professional technician. This guide walks you through systematic troubleshooting steps to diagnose the root cause and restore your freezer to proper working condition.
Diagnose Freezer Temperature Warning Signs

Before diving into repairs, confirm that you actually have a temperature problem and gather clues about what’s causing it. Appliances give warning signs when something’s wrong—learning to read these signals helps you diagnose issues faster and avoid unnecessary parts replacements.
Analyze Ice Formation Patterns
The appearance of ice inside your freezer offers valuable diagnostic information. Excessive frost buildup on the walls or around the door typically indicates a seal problem or defrost system failure. If you notice only partial frost coverage, with some areas showing heavy ice while others remain relatively clear, you may have an airflow obstruction or a failing evaporator fan. Conversely, if there’s no frost at all and the freezer isn’t maintaining temperature, the problem likely lies with the cooling system itself.
Uneven ice formation can also reveal airflow problems. When cold air doesn’t circulate properly, warm spots develop in certain areas while others freeze too aggressively. A quick visual inspection of your ice patterns often points directly to the underlying issue.
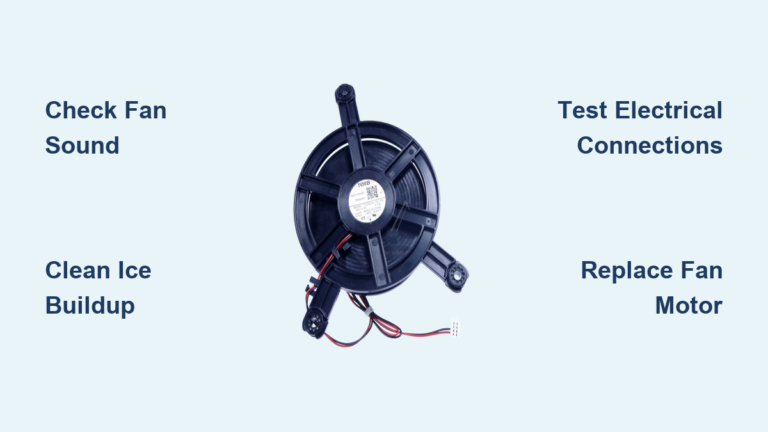
Identify Abnormal Operating Sounds
Your freezer’s normal operating sounds provide a baseline for detecting problems. A properly functioning compressor produces a low, consistent hum, while the evaporator fan makes a subtle whirring noise during its cycling. Pay attention to changes in these sounds—louder-than-normal compressor activity, clicking sounds that repeat frequently, or complete silence where you previously heard operation sounds all indicate potential issues.
Strange sounds often accompany temperature problems. If your freezer is running constantly without cycling off, the compressor may be struggling to achieve the target temperature due to another underlying issue. Clicking sounds sometimes signal a failing start relay, while buzzing noises might indicate problems with the condenser fan motor.
Confirm Temperature Accuracy with Proper Measurement
Before performing any repairs, confirm the temperature problem with an accurate measurement. Appliance displays and indicator lights aren’t always reliable—direct measurement gives you concrete data to work with and helps track whether your fixes are effective.
Use a Specialized Freezer Thermometer
Standard room thermometers aren’t accurate enough for appliance temperature verification. Purchase a dedicated freezer thermometer designed for low-temperature readings, or use a multimeter with a temperature probe if you have one. Place the thermometer in a cup of vegetable oil (which freezes at a lower temperature than water) inside your freezer to get a stable reading, or simply position it between frozen food items for several hours.
Allow the freezer to stabilize for 24 hours after making any adjustments or repairs before taking follow-up measurements. Temperature changes in freezers happen gradually, and measuring immediately after an intervention gives misleading results. Record your readings at different locations within the freezer to identify any hot or cold spots that might indicate airflow problems.
Repair Faulty Door Seals Causing Temperature Leaks
A compromised door seal is one of the most common and easily overlooked causes of freezer temperature problems. The gasket creates an airtight seal when the door closes—any damage, dirt, or deterioration on this seal lets warm air infiltrate the freezer, forcing the compressor to work overtime while still struggling to maintain temperature.
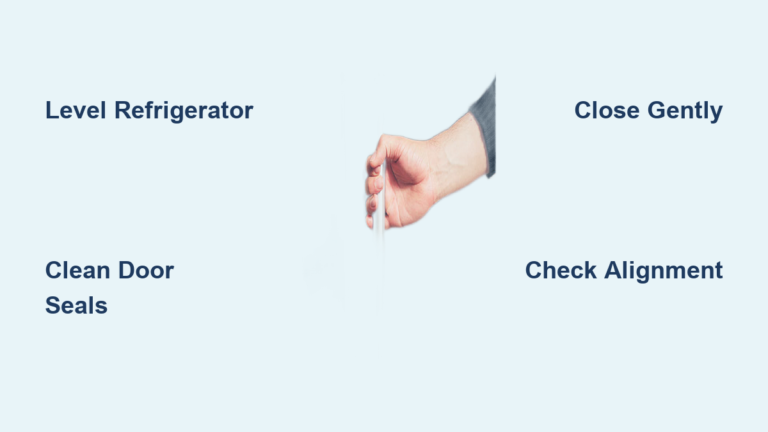
Test and Restore Door Seal Integrity
Close the door on a piece of paper or a dollar bill, then try to pull it out. If the paper slides out easily without resistance, your seal isn’t gripping properly and needs attention. Perform this test at multiple points around the door perimeter to identify weak spots. Examine the gasket itself for cracks, tears, brittleness, or sections that have pulled away from the door frame.
Run your fingers along the seal feeling for any gaps or areas where the rubber has lost its flexibility. Over time, door seals dry out and lose their sealing capability, especially on older units. Even seals that appear intact may have lost their ability to compress properly against the cabinet.
Clean or Replace Damaged Gaskets
If the seal appears dirty rather than damaged, cleaning it may restore proper function. Mix a solution of warm water and mild dish soap, then use this to clean the gasket thoroughly, paying attention to the crevices where the seal meets the door frame. Remove all food residue, ice buildup, and debris that might prevent a tight seal. After cleaning, apply a thin layer of petroleum jelly or specialized gasket conditioner to keep the rubber supple.
When cleaning doesn’t improve the seal’s performance, replacement becomes necessary. Door gaskets are typically held in place by screws or clips and can be removed and installed without professional help. Order a replacement gasket specific to your freezer model for the best fit. Before installing the new seal, clean the mounting surface thoroughly and ensure the door is properly aligned—a misaligned door can prevent even a new gasket from sealing correctly.
Clean Condenser Coils to Restore Cooling Efficiency

Condenser coils dissipate heat from the refrigerant as it circulates through the system. When these coils become coated with dust, pet hair, or household debris, their ability to release heat diminishes significantly. The compressor must work harder and longer to achieve the same cooling effect, which increases energy consumption and eventually leads to temperature problems.
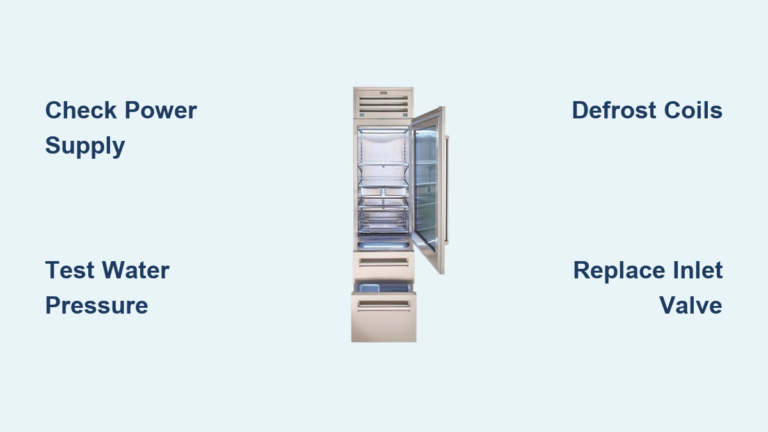
Locate and Access Your Condenser Coils
The placement of condenser coils varies by freezer type. On standalone freezers, the coils are typically located on the back of the unit. On chest freezers, you might find them beneath the cabinet or on the back panel. Refrigerator-freezer combinations often have coils concealed behind a kick-plate at the bottom front of the unit. Consult your owner’s manual if you’re unsure where to find the coils on your specific model.
Complete Condenser Coil Cleaning Procedure
Unplug the freezer before cleaning to ensure safety. For accessible back-mounted coils, use a coil brush or the brush attachment on your vacuum cleaner to gently remove accumulated debris. Work methodically along the coils, being careful not to bend or damage the refrigerant lines. If your coils are concealed behind a panel, remove the screws securing the panel and repeat the cleaning process inside.
After vacuuming loose debris, use a soft cloth to wipe down the coils and surrounding areas. For heavy buildup, a fin comb can help straighten any bent coil fins without damaging the tubing. Once cleaning is complete, reattach any panels, restore power, and allow the freezer to run for several hours before checking temperatures again. Regular condenser coil cleaning—typically twice yearly for most households—prevents this common cause of temperature problems.
Optimize Freezer Airflow for Consistent Temperatures
Proper airflow both inside and around your freezer is essential for maintaining consistent temperatures. Internal obstructions prevent cold air from reaching all areas of the cabinet, while inadequate external ventilation forces the cooling system to work against elevated ambient temperatures.
Ensure External Ventilation Requirements
Freezers require adequate clearance around their exterior to release heat effectively. Most manufacturers specify minimum clearance requirements—typically 1-3 inches on the sides and back, and sufficient space above for heat dissipation. Check your owner’s manual for your model’s specific requirements. If your freezer is built into cabinetry or positioned too close to walls, rearrange it to allow proper airflow.
Also consider the ambient temperature where the freezer operates. Units placed in garages, basements, or other unheated spaces may struggle during extreme temperatures. Most freezers are designed to operate within a specific ambient temperature range—operating outside this range, whether too hot or too cold, can cause temperature regulation problems.
Rearrange Internal Contents for Better Circulation
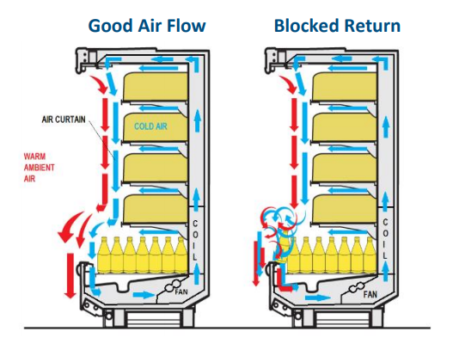
Overpacking your freezer blocks airflow channels and prevents cold air from circulating properly. Avoid pushing items directly against the walls or blocking the evaporator fan, which is typically located near the back of the freezer compartment. Leave space between items to allow air movement, and never block the return air vents that channel air back to the evaporator.
Also be mindful of what you place in the freezer. Hot food raises the internal temperature significantly and forces the system to work harder to recover. Always allow leftovers and freshly cooked items to cool to room temperature before freezing them. Similarly, opening the freezer door frequently or leaving it ajar introduces warm air that the system must remove.
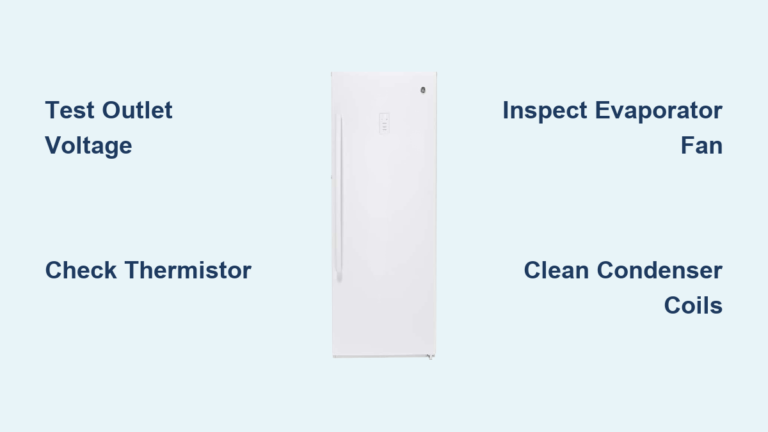
Test and Replace Faulty Thermostat Controls
If previous steps haven’t resolved your temperature problem, the thermostat itself may be faulty or improperly calibrated. The thermostat monitors internal temperature and signals the compressor when to cycle on and off—malfunction in this component can cause the freezer to run too much, too little, or not at all.
Verify Thermostat Settings and Function
First, check whether the thermostat is set to the correct temperature. Most freezers have a dial numbered 1-5 or 1-7, with higher numbers indicating colder settings. Ensure the dial hasn’t been accidentally bumped to a warmer setting. If your freezer has a digital display, verify that the temperature setting hasn’t been changed.
To test whether the thermostat is responding to temperature changes, turn the dial to its coldest setting and listen for the compressor to start within a few minutes. If the compressor doesn’t run, the thermostat or a related component may be faulty. A multimeter can test for continuity in the thermostat circuit, though this requires some technical comfort with electrical testing.
Maintain Proper Freezer Temperature Long-Term
Once you’ve fixed your freezer temperature problem, implementing regular maintenance habits prevents recurrence. Schedule quarterly checks of the door seal by performing the paper test, clean condenser coils twice yearly, and keep the interior organized to maintain proper airflow. Using a dedicated freezer thermometer and checking it monthly establishes a baseline for detecting future problems early.
Avoid placing hot items directly in the freezer, limit door opening frequency and duration, and ensure the freezer maintains adequate clearance from walls and other objects. In households with children, teach proper freezer door habits to prevent accidental door-left-open situations. These simple practices extend the life of your appliance and maintain consistent, safe temperatures for your frozen foods. Regular maintenance not only keeps your freezer running efficiently but also saves energy and protects your frozen food investment.