How to Fix Ice Buildup in Bottom of Freezer
Discovering a thick layer of ice pooling at the bottom of your freezer isn’t just annoying—it’s a clear warning sign that your appliance isn’t functioning properly. This ice accumulation reduces storage space, makes organization difficult, and indicates underlying issues with your refrigerator’s operation. The most common culprits include airflow problems, defrost system failures, or compromised door seals, all of which homeowners can often diagnose and resolve without professional assistance. Understanding why ice forms in this specific location and knowing the precise steps to address it can prevent food spoilage, improve energy efficiency, and extend your appliance’s lifespan.
The good news is that most cases of ice buildup at the bottom of the freezer stem from a handful of identifiable issues that respond well to targeted solutions. This guide provides a systematic approach to diagnose the root cause, implement effective repairs, and establish maintenance practices that prevent recurrence. By following these steps, you’ll restore your freezer to optimal performance and avoid the frustration of recurring ice problems.
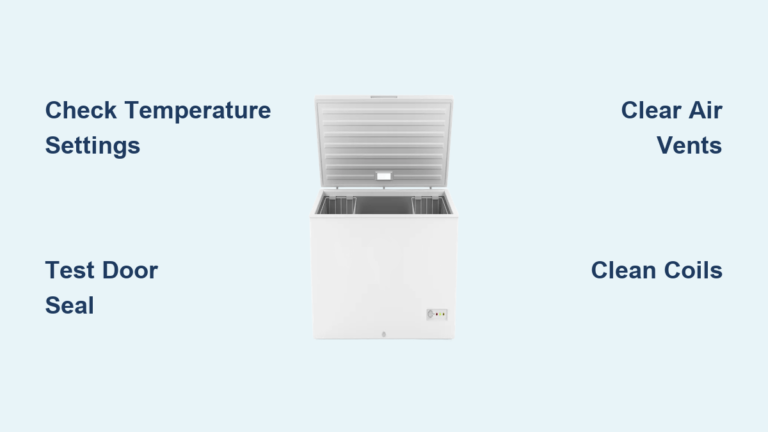
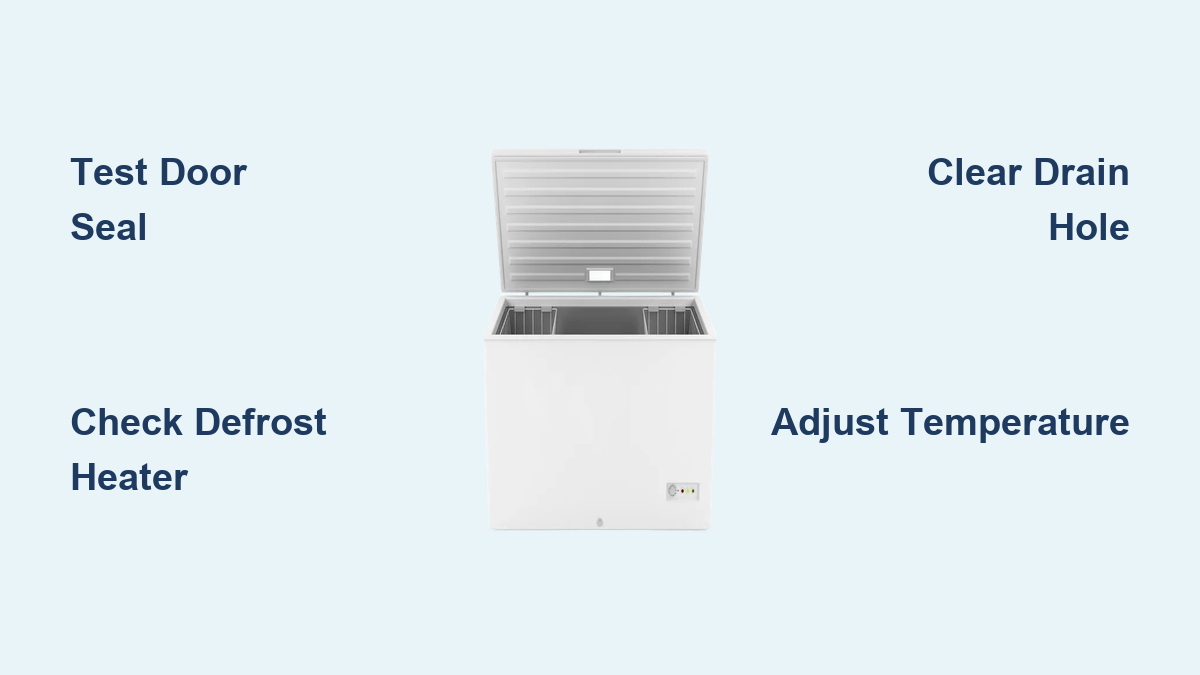
Test Door Seal Integrity Before Disassembling Components

A compromised door seal represents the most frequent cause of ice accumulation at the bottom of your freezer. Warm, humid air entering through gaps creates condensation that freezes on cold surfaces, with gravity pulling moisture downward to form that problematic ice layer.
Perform the paper test by closing your freezer door on a dollar bill or standard sheet of paper at multiple points around the seal. The paper should resist pulling out with moderate force—if it slides out easily at any location, that section of the gasket has failed. Test thoroughly along corners, edges, and near hinges, as seals often deteriorate unevenly. For a more definitive check, place a flashlight inside the freezer, turn off room lights, and examine the door perimeter for escaping light that reveals hidden gaps.
Inspect your gasket’s physical condition by running your fingers along its entire length. Feel for cracks, tears, or sections that have become stiff and inflexible. Check for food residue or debris trapped in the gasket channel that prevents proper sealing. A healthy gasket should be pliable enough to conform to the cabinet surface and spring back when pressed. Replace the gasket immediately if you find damage—delaying repair only worsens ice accumulation and increases energy consumption.
Check Defrost System Components When Ice Forms Throughout Compartment
If your door seals pass inspection but ice continues forming across the entire bottom surface, your defrost system likely needs attention. This system automatically melts frost buildup on evaporator coils during regular operation cycles, and failures cause frost to accumulate until it melts and pools at the lowest point.
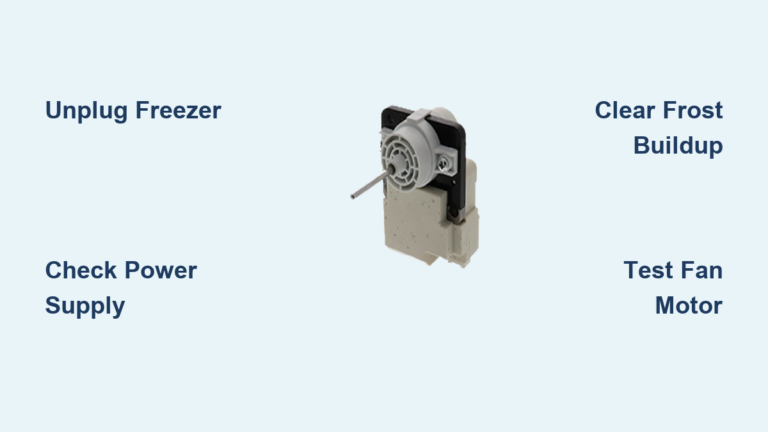
Access the defrost heater by removing the freezer’s rear panel, typically secured with screws. The heater appears as a thin metal rod mounted near the evaporator coils. Visually inspect for burns, breaks, or discoloration indicating failure. Test for continuity using a multimeter set to resistance mode—you should get a reading between 20-50 ohms. An infinite reading confirms a failed heater requiring replacement.
Examine the defrost thermostat clipped to the evaporator coils, which activates the heater at proper temperatures. Test this component by checking continuity with your multimeter. At room temperature, it should show continuity (closed circuit). If it fails this test or doesn’t open when warmed, replacement is necessary. Some models use electronic control boards instead of mechanical thermostats—look for visible damage like burnt components or bulging capacitors.
Manual Defrosting Procedure for Immediate Ice Removal

When ice has already accumulated significantly, manual defrosting provides immediate relief while you diagnose underlying causes. Begin by unplugging your refrigerator completely and removing all food to insulated coolers. Take out shelves and drawers obstructing access to the ice buildup.
Never use sharp tools to chip away ice, as this risks puncturing refrigerant lines. Instead, place bowls of hot water inside the freezer with the door closed, or direct a fan blowing room-temperature air into the compartment to accelerate melting. As ice loosens, carefully remove it with a plastic spatula and soak up water with towels.
Crucially, locate and clear the drain hole at the freezer’s bottom where melted frost should exit. Use a pipe cleaner, turkey baster, or gentle stream of warm water to remove blockages. Verify the drain tube extending to the drip pan beneath the appliance isn’t kinked or obstructed. After complete defrosting, dry the interior thoroughly before replacing components and restoring power.
Replace Faulty Door Seals with Model-Specific Gaskets
When testing confirms seal failure, replacing the gasket resolves air leakage issues causing ice buildup. Obtain the correct replacement by locating your refrigerator’s model number—typically found on an interior label—and providing it to an appliance parts supplier.
Installation follows a consistent pattern across most models. Carefully pry the old gasket from its channel around the door perimeter, noting its seating position. Clean the channel thoroughly of debris and old adhesive before pressing the new gasket firmly into place. Some models require screws to secure gasket ends near hinges—consult your manual for specific requirements.
After installation, repeat the paper test to verify proper sealing. Allow 24 hours for the new gasket to settle into position before fully loading the freezer. Establish a monthly cleaning routine using mild soap and water to maintain seal flexibility and prevent residue buildup that compromises effectiveness over time.
Address Defrost System Failures with Component Replacement
When testing identifies defrost system failures, targeted component replacement resolves the issue. Replacing the defrost heater requires accessing the evaporator compartment behind the rear panel. Note the heater’s mounting position and wiring configuration before removal—typically clamped or screwed to the coil assembly.
Install the new heater in identical fashion, ensuring good contact with the evaporator coils for effective heat transfer. Secure wire connections using wire nuts or original connectors, then replace the panel before restoring power. Similarly, replace the defrost thermostat by removing the old unit from its mounting position and installing the new component in the exact same location for accurate temperature sensing.
For models with electronic control boards, replacement requires careful documentation of wiring connections before disassembly. Label each wire before disconnecting and reconnect the replacement board identically. Some control boards require specific programming—consult service manuals for model-specific requirements before completing the installation.
Optimize Airflow and Temperature Settings Immediately
Even with functional components, improper airflow or temperature settings can trigger ice formation. Ensure all air vents inside the freezer remain completely unobstructed by food items or ice buildup. Maintain at least two inches of clearance between stored items and interior walls to allow proper air circulation.
Verify your freezer temperature using a standalone appliance thermometer placed in a cup of water. The ideal temperature is 0°F (-18°C)—settings significantly colder cause excess moisture to freeze rapidly. Adjust temperature controls upward in small increments if readings fall below this threshold, allowing 24 hours between adjustments for accurate measurement.
Minimize humidity exposure by avoiding placement of warm food directly in the freezer and closing the door promptly after access. In humid environments, consider using a dehumidifier in the kitchen to reduce ambient moisture levels that contribute to frost formation during normal door openings.
Implement Preventive Maintenance Practices Monthly
Establish a simple monthly maintenance routine to prevent ice buildup before it becomes problematic. Clean door seals with mild detergent solution to remove food residue that compromises sealing effectiveness. Inspect for developing cracks or tears that require early intervention before complete failure.
Check for frost accumulation even at early stages—addressing thin layers prevents the need for major defrosting later. Clear the drain hole and tube annually using warm water flushes to prevent blockages that cause water backup and refreezing. Monitor your freezer’s performance by noting compressor cycling patterns—consistent operation indicates proper function while continuous running suggests developing issues.
These simple maintenance steps take minimal time but significantly extend your appliance’s lifespan while maintaining optimal performance. By catching problems early, you avoid the frustration of dealing with significant ice accumulation and the potential food spoilage it causes.
Summary: Immediate Action Plan for Ice-Free Freezer Operation
When ice appears at the bottom of your freezer, follow this streamlined action plan: First, test door seal integrity using the paper method and replace gaskets showing failure. Next, verify proper temperature settings and clear air vents of obstructions. If ice persists, perform manual defrosting while checking the drain system for blockages. Finally, inspect and replace defrost system components as needed—starting with the heater and thermostat.
Implement monthly maintenance including seal cleaning, frost checks, and temperature verification to prevent recurrence. Address developing issues promptly before they escalate into major problems. With these steps, your freezer will maintain optimal performance without disruptive ice accumulation, preserving food quality while minimizing energy consumption. The investment of time in proper diagnosis and maintenance pays dividends through reliable appliance operation and extended service life.