How to Build a Blast Freezer: Step-by-Step Guide
When your food service operation needs to rapidly freeze products while preserving quality, a properly built blast freezer becomes mission-critical equipment. Unlike standard freezers that gradually reduce temperatures, blast freezers force cold air at high velocity to quickly pull products through the dangerous temperature zone (40°F to 140°F) in under two hours—locking in freshness and preventing bacterial growth. Whether you’re establishing a commercial kitchen, food processing facility, or pharmaceutical storage, understanding how to build a blast freezer ensures optimal performance and food safety compliance. This guide delivers the essential construction knowledge you need to create a reliable blast freezing system that meets commercial demands.
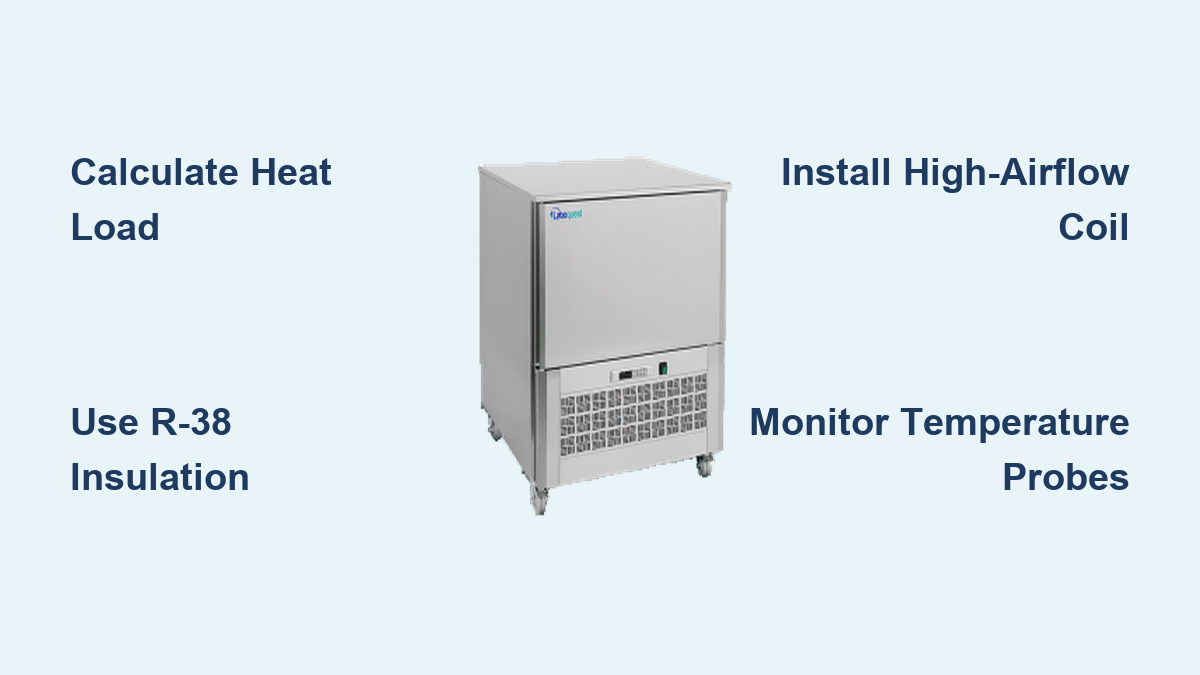
Calculating Your Blast Freezer Capacity Requirements
Before purchasing materials, determine your exact cooling needs to avoid underpowered systems that compromise product safety. The critical calculation involves your heat load—how much heat your system must remove to achieve target temperatures within your operational timeframe. For food applications, this includes heat from the product itself (approximately 1.2 BTUs per pound of water frozen), heat infiltration through walls, heat from lighting and motors, and heat introduced during door openings.
A restaurant freezing 300 pounds of cooked meals daily needs significantly different capacity than a food processor handling 2,000 pounds of raw product. As a rule of thumb, commercial blast freezers require 2-3 times more refrigeration capacity than standard freezers of equivalent size. For a 10’x10′ space, expect to need 5-7 horsepower of refrigeration capacity compared to 2-3 horsepower for a standard walk-in freezer. Underestimating capacity leads to extended freezing times that degrade product quality and increase bacterial risk—always consult with a refrigeration engineer to verify your calculations before proceeding.
Insulation System: Your Blast Freezer’s Thermal Barrier
The insulation system makes or breaks your blast freezer’s efficiency—standard freezer insulation won’t suffice for ultra-low temperature applications. While regular freezers typically use R-25 to R-30 insulation, blast freezers require R-38 or higher to maintain temperatures between -10°F and -30°F without excessive energy consumption. This thermal barrier prevents ambient heat from infiltrating your freezer space and keeps cold air contained.
Spray polyurethane foam (SPF) has become the industry standard for commercial blast freezer construction, delivering R-6 to R-7 per inch of thickness. A 6-inch application achieves R-36 to R-42—ideal for blast freezer applications. Unlike fiberglass batts that create thermal bridges at studs, SPF expands to fill every gap and crack, eliminating air infiltration points that cause frost buildup. Professional installation costs more upfront but pays dividends through lower operating costs and consistent performance. Never skimp on insulation thickness—every inch matters when maintaining extreme temperature differentials.
Floor Construction: Preventing Ground Freezing Issues
Floor construction requires special attention since concrete slabs efficiently conduct cold temperatures. A properly designed blast freezer floor includes a thermal break using extruded polystyrene foam (XPS) beneath the slab—typically 2-4 inches thick with R-5 per inch. In colder climates, incorporate a radiant heating system below the XPS layer to prevent ground freezing and subsequent slab heaving that can crack your foundation. The finished floor should feature a food-grade, non-slip surface that withstands frequent cleaning with sanitizing solutions without deteriorating.
Refrigeration System: Selecting the Right Components

Choosing appropriate refrigeration components determines whether your blast freezer achieves rapid freezing or struggles to maintain temperature. Unlike standard freezers, blast freezers require compressors rated for low-temperature applications that can maintain evaporator temperatures of -25°F to -40°F while rejecting heat to ambient conditions.
Remote vs. Self-Contained Systems
Commercial operations typically choose between two configurations: remote condensing units (outdoor compressor/condenser with refrigerant lines running to the evaporator) or self-contained “plug-in” systems (all components integrated in one cabinet). Remote systems offer quieter indoor operation, easier maintenance access, and better heat rejection—ideal for most commercial applications despite higher initial costs. Self-contained units simplify installation but create indoor noise and heat issues that become problematic in kitchen environments.
Evaporator Coil and Airflow Requirements
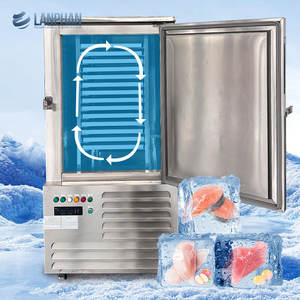
The evaporator coil must deliver high airflow rates—typically 500-800 feet per minute—to achieve the rapid heat transfer that defines blast freezing. Select a coil with sufficient surface area and fan capacity to circulate cold air effectively throughout your entire storage space. Electric defrost systems work for smaller installations, while hot gas defrost provides more efficient ice removal in larger commercial systems. Proper coil placement ensures even air distribution—position it to create a circular airflow pattern that moves cold air across all stored products without dead zones.
Temperature Control and Monitoring Systems
Precise temperature management separates functional blast freezers from reliable commercial-grade systems. Basic thermostats won’t suffice—modern digital controllers offer programmable setpoints, adjustable differentials, and remote monitoring that keep you informed about conditions even when you’re away from the facility.
Strategic Probe Placement
Install multiple temperature probes for accurate monitoring:
– Product probe at the thermal center of your typical load (the last spot to freeze)
– Air probe near the evaporator return to monitor coil performance
– Defrost termination probe to ensure ice melts completely during defrost cycles
Calibrate probes monthly using an ice-point reference (ice-water mixture at 32°F) to maintain accuracy. Data logging provides critical documentation for food safety compliance—record temperatures at least every 15 minutes and maintain logs for 90 days minimum. For high-value products, consider redundant monitoring systems that provide backup alarms if your primary system fails.
Electrical Requirements and Safety Compliance
Blast freezers demand substantial electrical power and require professional installation by licensed electricians. Most commercial units need 208V or 230V single-phase power, with larger installations requiring 230V or 460V three-phase service. Dedicated circuits prevent electrical overload—never share the compressor circuit with other equipment.
Local building codes and health department regulations govern blast freezer construction. Most jurisdictions require:
– Emergency release mechanisms inside the freezer (legally required in many areas)
– Proper grounding and bonding of all metal components
– GFCI protection for interior outlets
– Vapor-tight lighting fixtures to prevent condensation-related hazards
Obtain necessary permits before construction begins and schedule inspections at key milestones to avoid costly rework. Food service establishments must comply with additional health department requirements that may specify minimum temperatures, monitoring frequency, and record-keeping practices.
Construction Process: Step-by-Step Assembly
With planning complete, follow these critical construction steps:
-
Site preparation: Ensure a level, structurally sound floor capable of supporting equipment weight plus frozen product loads
-
Framing: Use pressure-treated lumber with studs spaced 16 inches on center for structural stability
-
Insulation installation: Apply spray foam in multiple layers, allowing proper curing between applications
-
Interior finishing: Install food-grade wall panels with sealed joints to maintain sanitary conditions
-
Door installation: Mount doors with heated frames and verify proper sealing—doors represent your weakest insulation point
-
Refrigeration installation: Mount evaporator coil, run refrigerant lines, install condensing unit per manufacturer specifications
-
System commissioning: Test temperatures, defrost cycles, and alarms before loading products
Common Construction Mistakes to Avoid
- Inadequate door sealing: Ice buildup around doors creates major heat infiltration points
- Poor airflow design: Blocking air circulation paths creates uneven freezing
- Insufficient maintenance access: Position equipment for service without disassembly
- Ignoring thermal bridging: Metal fasteners penetrating insulation create cold spots
- Underestimating electrical needs: Voltage drop affects compressor performance
Maintenance Practices for Long-Term Reliability
Regular maintenance extends equipment lifespan and prevents costly failures. Implement this schedule:
Daily: Verify temperatures, ensure doors close fully, note unusual sounds or frost patterns
Weekly: Check condensate drains, inspect door gaskets, clean debris from coils
Monthly: Deep clean coils with appropriate cleaner, check refrigerant pressures, test temperature calibration
Annually: Professional service including compressor amperage verification, capacitor testing, and safety system checks
Document all maintenance activities to demonstrate compliance during inspections and identify developing issues before they cause failures. Analyze temperature logs for patterns—gradually rising evaporator temperatures often indicate refrigerant leaks or developing coil icing problems.
Optimization Strategies for Maximum Efficiency
Once operational, implement these efficiency strategies:
- Airflow optimization: Maintain 2-inch clearance between walls and products, 4-6 inches between stacked items and evaporator
- Batch loading: Freeze full loads to maximize energy efficiency—partial loads waste energy cooling empty space
- Defrost management: Adjust defrost frequency based on actual ice buildup rather than fixed schedules
- Lighting upgrades: Install LED fixtures with motion sensors to reduce heat load and energy consumption
Consider hot gas defrost systems for installations over 10 horsepower—they recover heat that would otherwise be wasted, improving efficiency by 10-15% compared to electric defrost.
Building a blast freezer requires specialized knowledge of refrigeration principles, construction techniques, and regulatory requirements. While this guide provides essential construction knowledge, always consult with licensed refrigeration engineers and contractors for your specific project—they’ll ensure your system meets safety standards and performs reliably for years. Properly designed and constructed, your blast freezer will preserve product quality, enhance food safety, and deliver reliable performance that supports your business growth. Remember that cutting corners on insulation, refrigeration capacity, or safety features creates false economy—invest properly upfront for decades of trouble-free operation.