How to Prevent Freezer Frost Build-Up
Picture this: you reach for last night’s leftovers only to discover your entire freezer transformed into an icy cave. That frustrating layer of frost doesn’t just make finding food a winter expedition—it forces your appliance to work harder, driving up energy bills and shortening its lifespan. The culprit? Moisture-laden air sneaking in every time you open the door, condensing and freezing on contact with cold surfaces. Fortunately, preventing this icy invasion is entirely within your control. By understanding why frost forms and implementing these practical strategies, you’ll maintain a frost-free freezer that operates efficiently and protects your food properly.
Why Freezers Develop Frost
The Science Behind Ice Accumulation
Frost forms when warm, humid air meets the freezing surfaces inside your freezer. Each time you open the door, moisture-rich room air rushes in and immediately condenses on the evaporator coils—the extremely cold components that maintain your freezer’s temperature. This moisture quickly freezes into frost that, if left unchecked, insulates the coils and forces your compressor to work overtime.
This creates a vicious cycle: as frost builds up, the coils become less efficient at cooling, causing the compressor to run longer to maintain temperature. The extended runtime introduces more opportunities for warm air to enter during door openings, accelerating frost formation even further. Your freezer’s defrost system—whether automatic or manual—is designed to break this cycle by periodically melting the ice, but when humid air enters faster than the defrost cycle can handle, frost wins.
What Frost Actually Indicates
The location and pattern of frost provide valuable diagnostic clues about your freezer’s health. Frost concentrated along the door edge typically points to seal problems, while frost covering food items throughout the compartment suggests the door remained open or the seal failed completely. Frost appearing primarily on back walls often indicates issues with the defrost system or air circulation.
Light frost that appears occasionally is normal and results from typical door openings. However, thick, recurring frost accumulation signals a more serious underlying issue—usually a failing door seal, temperature miscalibration, or a malfunctioning defrost system. Recognizing these patterns helps you address the root cause rather than merely treating the symptoms.
Check Your Door Seals First

Testing Seal Effectiveness
Your freezer door seal (gasket) is your primary defense against frost-causing humidity. Over time, these rubber strips crack, lose elasticity, and develop gaps that allow warm air to seep inside. Perform the dollar bill test to evaluate your seal: close the door on a dollar bill positioned along the seal, then attempt to pull it out. If it slides out easily without resistance, your seal has lost its grip and needs attention.
Inspect the seal visually for cracks, tears, flattened areas, or sections detached from the door frame. Run your finger along the entire perimeter to feel for gaps where the seal doesn’t make contact with the cabinet. Even small openings allow enough humid air to enter and cause significant frost accumulation over time.
Replacing Worn Door Seals
When testing reveals seal problems, replacement is your most effective solution. Door seals press into a slot around the door’s outer edge and are held by tension alone. To remove a worn seal, carefully pry it out starting at a corner, noting the installation direction for the new seal.
Before installing the replacement, soften it by soaking in hot water or warming with a hair dryer on low heat. This pliability makes installation easier and ensures a proper fit. Work the seal into the slot all around the door, pressing firmly to engage the retaining clips. Test the new seal immediately with the dollar bill test—you should feel significant resistance when attempting to pull it free.
Replacement seals often cost less through online retailers than from appliance manufacturers. Have your model and serial number ready when ordering—typically found on the top right of the refrigerator cabinet or near the door.
Set Correct Freezer Temperature
Finding the Optimal Setting
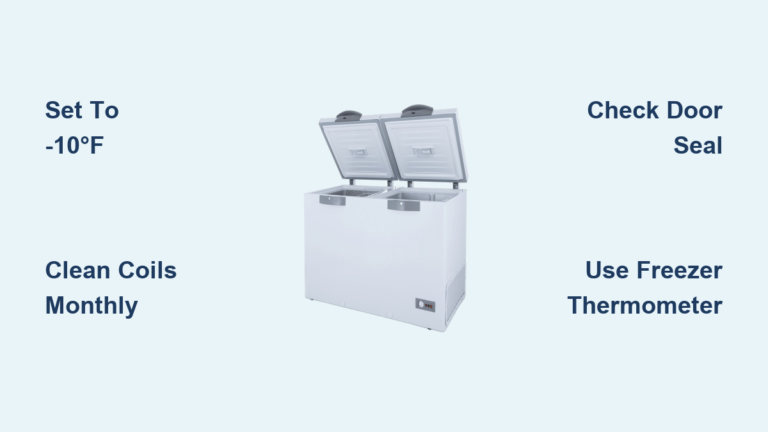
The recommended freezer temperature is 0°F (-18°C)—cold enough for food safety without forcing unnecessary energy consumption. Setting colder provides no additional benefit while making your appliance work harder. Warmer settings (above 0°F) allow more moisture to remain in the air, which then condenses and freezes on cold surfaces.
Verify your freezer’s actual temperature using an external appliance thermometer placed in a cup of vegetable oil (which freezes consistently). Built-in thermostats often become inaccurate over time. If actual temperature differs significantly from the setting, adjust the thermostat and recheck after 24 hours.
Maintaining Temperature Stability
Once you’ve established the correct temperature, avoid frequent adjustments that disrupt your freezer’s equilibrium. Position your unit away from heat sources like windows, ovens, or dishwashers that could destabilize internal temperatures. These heat sources force the compressor to cycle more frequently, creating inconsistent cooling that promotes frost formation.
Hot Food Causes Frost Problems
Why Warm Items Create Ice
Placing hot food directly into your freezer introduces two frost-inducing elements: heat and moisture. The heat raises internal temperature, disrupting the stable cold environment. The moisture from hot food steams and evaporates into the freezer air, eventually condensing and freezing on cold surfaces.
This thermal shock forces your freezer to work overtime to bring temperatures back down. During this extended cooling period, excess moisture circulates through the compartment and deposits frost on walls, shelves, and existing food items. Making this a habit creates chronic frost issues.
Proper Cooling Before Freezing
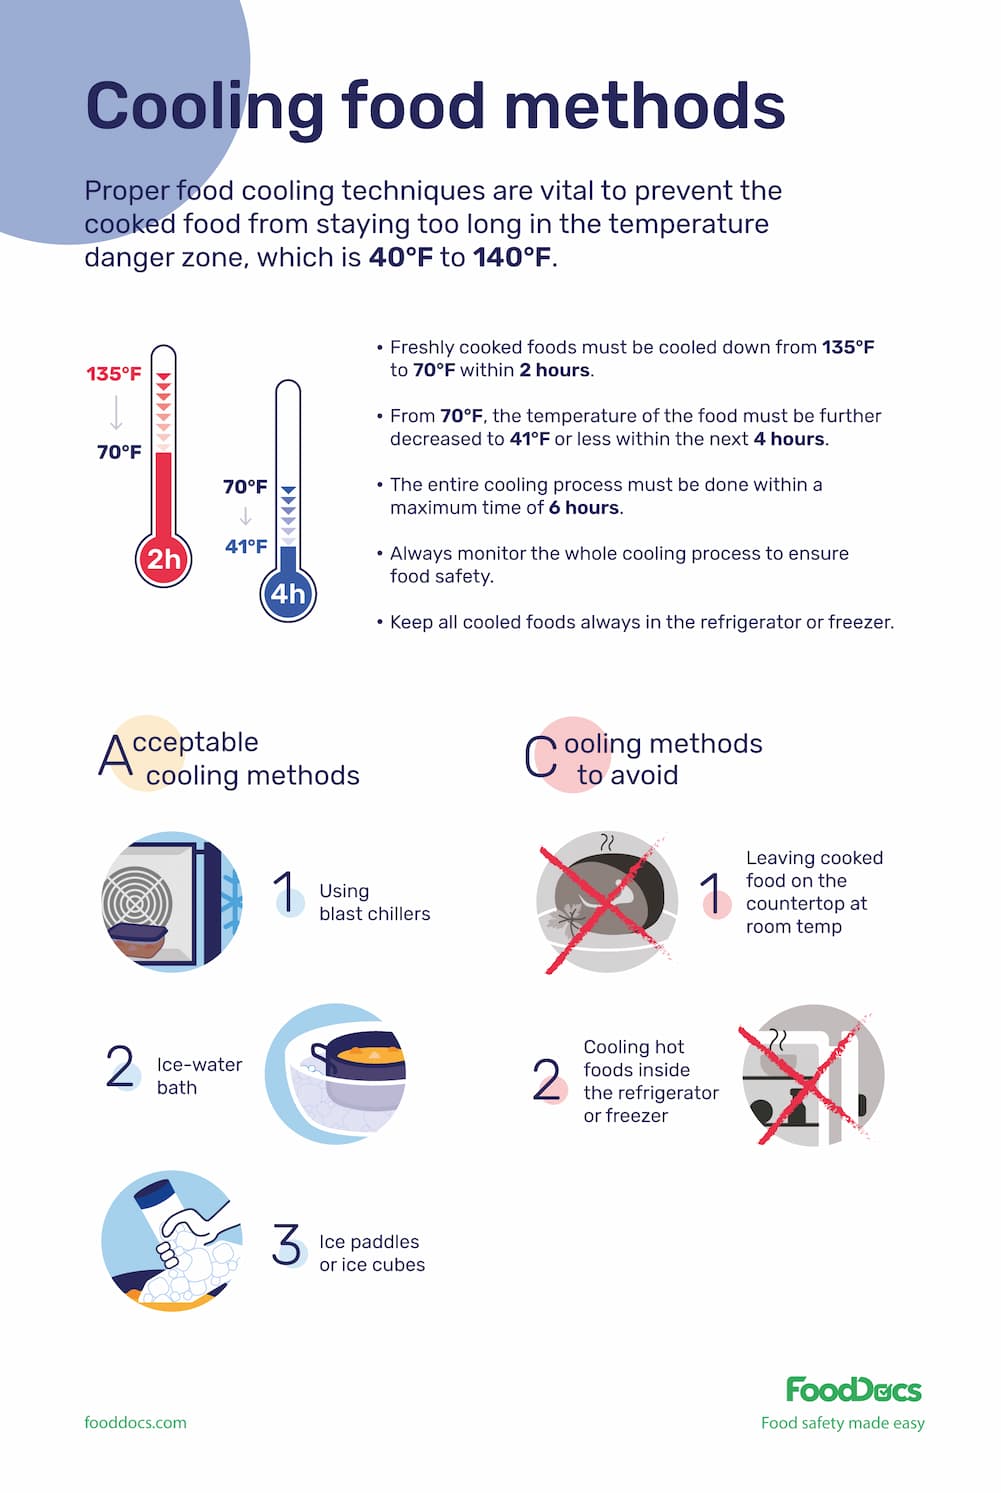
Always let cooked food cool to room temperature before transferring it to the freezer—but don’t let it cool so long that it enters the “danger zone” (40°F-140°F) where bacteria multiply rapidly. The ideal window is roughly 30 minutes of cooling on the counter.
For large quantities, divide into smaller portions using shallow containers that cool faster. Ice baths can speed cooling for containers that can be safely submerged, but ensure they’re sealed to prevent water intrusion.
Limit Door Openings Daily
Reducing Humidity Exposure
Every door opening exchanges cold interior air with warm, humid room air—introducing moisture that becomes frost. The longer the door remains open and the more frequently you open it, the more humidity accumulates and the faster frost develops.
Develop the habit of knowing exactly what you need before opening the door. Take a moment to plan your access, which can reduce door-open time by half, cutting humid air exposure significantly.
Organization Reduces Door Time
Group similar items together: all frozen vegetables in one area, meats in another, baked goods in a third section. Position frequently used items toward the front where they’re easily accessible.
For high-traffic kitchens, consider upgrading to a unit with a glass door. Commercial reach-in freezers with glass fronts allow you to see contents without opening the door, dramatically reducing air exchange.
Clean Condenser Coils Regularly
Why Coils Matter for Frost Prevention
Condenser coils release heat absorbed from inside your freezer to the surrounding air. When coated with dust and debris, they can’t release heat efficiently, forcing the compressor to work longer and harder. This strain can lead to inconsistent temperatures throughout the freezer and contribute to frost problems.
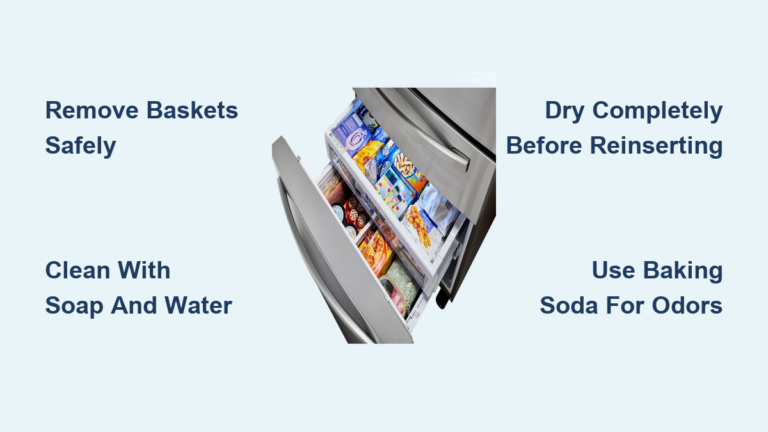
Cleaning Procedure
Unplug the freezer before cleaning coils. For coils behind a grille, remove the panel by pressing release clips or unscrewing fasteners. Use a coil cleaning brush or vacuum attachment to remove debris gently. Schedule coil cleaning every six months, or more frequently if you have pets that shed.
Defrost Manual-Defrost Models
When Defrosting Becomes Necessary
Older freezer models require manual defrosting when frost accumulates to approximately one-quarter inch thickness. Beyond this point, the frost layer insulates interior walls and reduces cooling efficiency.
Watch for these signs: frost visible on walls more than a quarter inch thick, difficulty closing the door due to ice bulging around the seal, frost forming on stored items, or the freezer running nearly continuously without achieving proper temperatures.
Defrosting Process
Empty the freezer completely, transferring contents to coolers with ice packs. Unplug the unit and prop the door open to allow warm air to accelerate melting. Place towels around the base to catch water.
Speed the process by placing bowls of hot water inside the freezer briefly—the steam transfers heat. Use a plastic spatula to gently chip away loosened ice, never metal tools. Once all ice is removed, dry thoroughly and clean with a baking soda solution (two tablespoons per quart of warm water).
Organize for Airflow Efficiency
Air Circulation Matters
Your freezer depends on proper air circulation to maintain consistent temperatures. When items are packed too tightly or block vents, cold air can’t flow freely, creating warm spots where moisture accumulates and freezes.
Avoid pushing items directly against walls or blocking interior vents. Leave several inches of space between stacked items and the back wall. Don’t cram the freezer so full that door closure is difficult—even a properly sealed door won’t close correctly if contents are jammed against it.
Storage Solutions for Frost Prevention
Use airtight, freezer-safe containers for loose items rather than open bags. Vacuum-sealed bags offer even better protection by removing air entirely. Group similar items together to create natural pathways for air circulation.
Fix Bottom Freezer Frost Issues
Diagnosing Compartment-Wide Frost
When frost appears on all interior surfaces of a bottom freezer—including top walls, sides, bottom, and covering stored items—the pattern strongly suggests the door didn’t seal properly for an extended period. This “blizzard” pattern indicates warm, humid air entered and circulated throughout the compartment before freezing.
Start by examining the door seal carefully. Even if the seal appears intact, it may not be making full contact with the cabinet. Run your hand around the door perimeter while closed to feel for cool air escaping.
Resolving Persistent Frost
Ensure the unit is level from front to back and side to side—an unlevel freezer can’t achieve a proper seal. When frost returns quickly after thorough cleaning and seal inspection, the door gasket almost certainly needs replacement. Order a model-specific replacement and install it following manufacturer instructions.
Maintain Long-Term Frost Prevention
Building Protective Habits
Implement these daily habits: check that the door closes firmly each time; avoid leaving the door open while deciding what to retrieve; let hot food cool before freezing; and wipe spills immediately. Monthly, inspect the door seal for wear or gaps and perform the dollar bill test.
Seasonal and Annual Maintenance
Twice yearly, clean the condenser coils and verify freezer levelness. Annually, verify temperature accuracy with an external thermometer and clean the interior with a baking soda solution. These simple maintenance steps, performed consistently, keep your freezer frost-free for years to come.
A frost-free freezer operates efficiently, consumes less electricity, and provides reliable food storage without ice buildup hassles. By understanding what causes frost and implementing these prevention strategies systematically, you take control of your appliance’s performance. The investment of a few minutes in maintenance and habit formation pays dividends in reduced energy costs, extended appliance lifespan, and the simple convenience of opening your freezer to find everything neatly frozen and frost-free.