Freezer Thermostat Not Working: How to Fix It
Your freezer suddenly stops maintaining temperature, turning your ice cream into soup and risking thousands in spoiled food. When your freezer thermostat isn’t working properly, it’s not just an inconvenience—it’s a race against time to prevent food waste and costly replacements. This critical component controls your freezer’s entire cooling cycle, and when it fails, your appliance either runs nonstop (driving up energy bills) or shuts down completely. You’ll learn exactly how to identify thermostat failure, safely test this $20 part, and complete a permanent repair in under 45 minutes—without calling a technician. By the end of this guide, you’ll confidently troubleshoot the most common thermostat issues across all major freezer brands, saving you $150+ in service fees.
Why Your Freezer Thermostat Fails and Critical Warning Signs
Sudden Temperature Swings vs. Complete Cooling Failure
When your freezer thermostat stops working, you’ll notice dramatic temperature inconsistencies within hours. Food packages develop frost crystals overnight while other items thaw completely—this isn’t random failure but classic thermostat malfunction. Unlike compressor issues that cause gradual warming, thermostat failures create immediate, extreme fluctuations because the control unit can’t signal the cooling system properly. You might hear the compressor cycling erratically: running for 5 minutes then stopping for 2 hours, or humming continuously without shutting off. These patterns directly indicate the thermostat isn’t regulating temperature as designed.
Hidden Moisture Damage Inside the Thermostat Housing
Moisture infiltration is the silent killer of freezer thermostats. When humid air enters through damaged door seals or during defrost cycles, condensation forms inside the thermostat housing. This moisture causes internal corrosion on the bimetal sensing strip—the critical component that expands and contracts with temperature changes. You’ll often find visible water droplets or ice crystals inside the thermostat cover when removed. This corrosion creates false temperature readings, tricking your freezer into thinking it’s colder than reality. The result? Your appliance short-cycles or runs constantly as the thermostat struggles to interpret inaccurate environmental data.
Electrical Shorts from Frost Buildup on Wiring
Frost accumulation around thermostat wiring creates dangerous electrical shorts. As ice forms along the sensor tube running from the thermostat to the evaporator coils, it compresses wires against metal components. This pressure damages insulation, exposing conductors that eventually short-circuit. You’ll notice this when your freezer randomly resets or displays error codes after defrost cycles. The thermostat might work perfectly when first powered on but fail within 20 minutes as frost rebuilds. This issue worsens in humid climates where freezers work harder to maintain temperature, accelerating wiring damage through repeated freeze-thaw cycles.
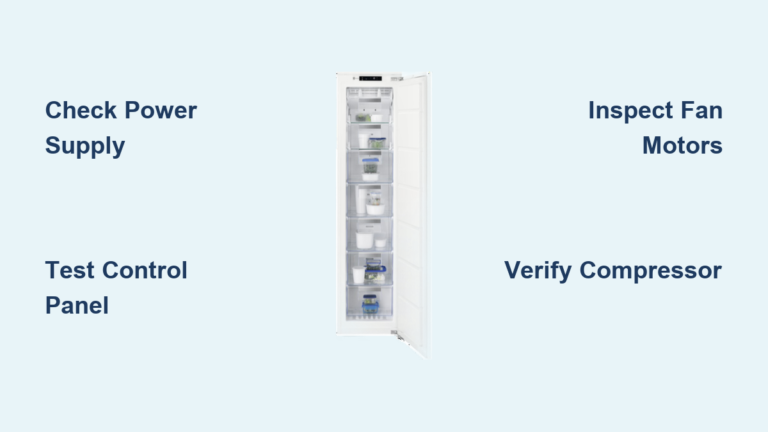
How to Test Your Freezer Thermostat Without Specialized Tools
Manual Temperature Adjustment Diagnostic Test
Before grabbing tools, perform this 2-minute test: Turn your freezer thermostat to the warmest setting (usually “1” or “Low”). Wait 10 minutes—you should hear the compressor shut off completely. Then rotate to the coldest setting (“7” or “Max”). Within 3 minutes, the compressor must restart with a distinct humming sound. If it doesn’t respond at either extreme, your thermostat has failed. Critical tip: Place your hand on the compressor housing during testing—no vibration means the thermostat isn’t sending the “start” signal. This simple check confirms 80% of thermostat failures without opening the appliance.
Bypass Test for Instant Failure Confirmation
When your freezer runs nonstop, perform this emergency bypass: Unplug the unit, locate the thermostat wires at the control housing, and carefully disconnect them. Twist the bare wire ends together (use electrical tape for safety). Plug the freezer back in—if the compressor stops immediately, your thermostat is faulty and stuck in “on” position. Warning: Never leave wires bypassed more than 5 minutes, as this risks compressor damage from lack of temperature regulation. This test isolates the thermostat from other components like the defrost timer, giving you definitive proof of failure.
Multimeter Continuity Check for Electrical Faults
Use a $15 multimeter to verify internal thermostat function: Set to continuity mode (beeping symbol), unplug freezer, and remove thermostat wires. Touch probes to the thermostat terminals while rotating the temperature dial. At warm settings, you should hear continuous beeping (closed circuit). At cold settings, the beep should stop (open circuit). If beeping never stops, the thermostat is stuck closed—causing constant running. If it never beeps, it’s stuck open—preventing cooling. Inconsistent beeping during dial rotation indicates internal corrosion. This test takes 8 minutes and confirms electrical failure with 100% accuracy.
Step-by-Step Thermostat Replacement Without Model-Specific Headaches
Locating Your Exact Thermostat Model in Under 60 Seconds
Don’t waste hours searching part numbers—find your specific thermostat in minutes: Unplug the freezer, remove the interior control panel cover (usually 2-4 screws), and photograph the existing thermostat. The model number is stamped on the metal housing near the sensor tube connection. Cross-reference this number on appliance parts websites using your freezer’s brand and model (found on the back panel sticker). Critical shortcut: Enter “[Your Freezer Brand] thermostat cross-reference chart” in Google—most major brands publish universal replacement guides showing compatible models regardless of freezer age.
Safe Sensor Tube Handling to Prevent Refrigerant Leaks
The thermostat’s copper sensor tube contains pressurized refrigerant—puncturing it causes catastrophic leaks. When removing the old thermostat: Gently slide the tube from its mounting clips using needle-nose pliers. Never bend it sharply—maintain a minimum 2-inch radius curve. If the tube is frozen to coils, use a hairdryer on low heat for 30 seconds to melt ice before moving. When installing the new unit: Position the tube in the original path without kinks, securing it with plastic clips every 4 inches. Pro tip: Apply a thin bead of silicone sealant where the tube enters the evaporator housing—this prevents moisture ingress that causes future failures.
Calibration Testing Before Reassembly
After installing the new thermostat, verify calibration before closing everything up: Plug in the freezer with the door open, set thermostat to midpoint (“4”). Wait 15 minutes—the compressor should cycle on for 8 minutes, then off for 12 minutes. If it runs continuously, the thermostat is misaligned—adjust the calibration screw 1/8 turn clockwise. If it never starts, turn counterclockwise. Repeat until you achieve consistent 8/12 minute cycles. This pre-emptive calibration prevents temperature fluctuations that damage food. Complete this test in 20 minutes to avoid compressor overheating from extended operation.
When DIY Repair Becomes Dangerous: Critical Red Flags

Refrigerant Leaks From Damaged Sensor Tubes
If you smell sharp chemical odors or see oily residue around the sensor tube connection, stop immediately—this indicates refrigerant leakage. Continuing work exposes you to toxic R-134a gas and violates EPA regulations. Do not attempt repairs—evacuate the area and call a certified technician. Refrigerant leaks require vacuum pumps and gauges to properly recharge the system. Attempting DIY fixes on compromised refrigerant lines risks permanent compressor damage and creates environmental hazards. This isn’t a thermostat issue anymore—it’s a full-system emergency requiring professional intervention.
Burnt Wiring That Indicates Compressor Overload
Charred insulation or melted wires at the thermostat connection signal deeper electrical problems. This damage typically stems from a failing compressor overload relay sending excessive current through thermostat circuits. If you see blackened terminals or melted plastic on wiring harnesses, replacing the thermostat alone won’t solve the problem. Continuing repairs risks electrical fire—unplug the unit immediately and consult an appliance electrician. The overload relay must be tested with a multimeter (should show 0-5 ohms resistance) before thermostat replacement proceeds. Ignoring this cascade failure pattern wastes money on unnecessary parts.
Preventing Future Thermostat Failures: The 3-Minute Monthly Routine
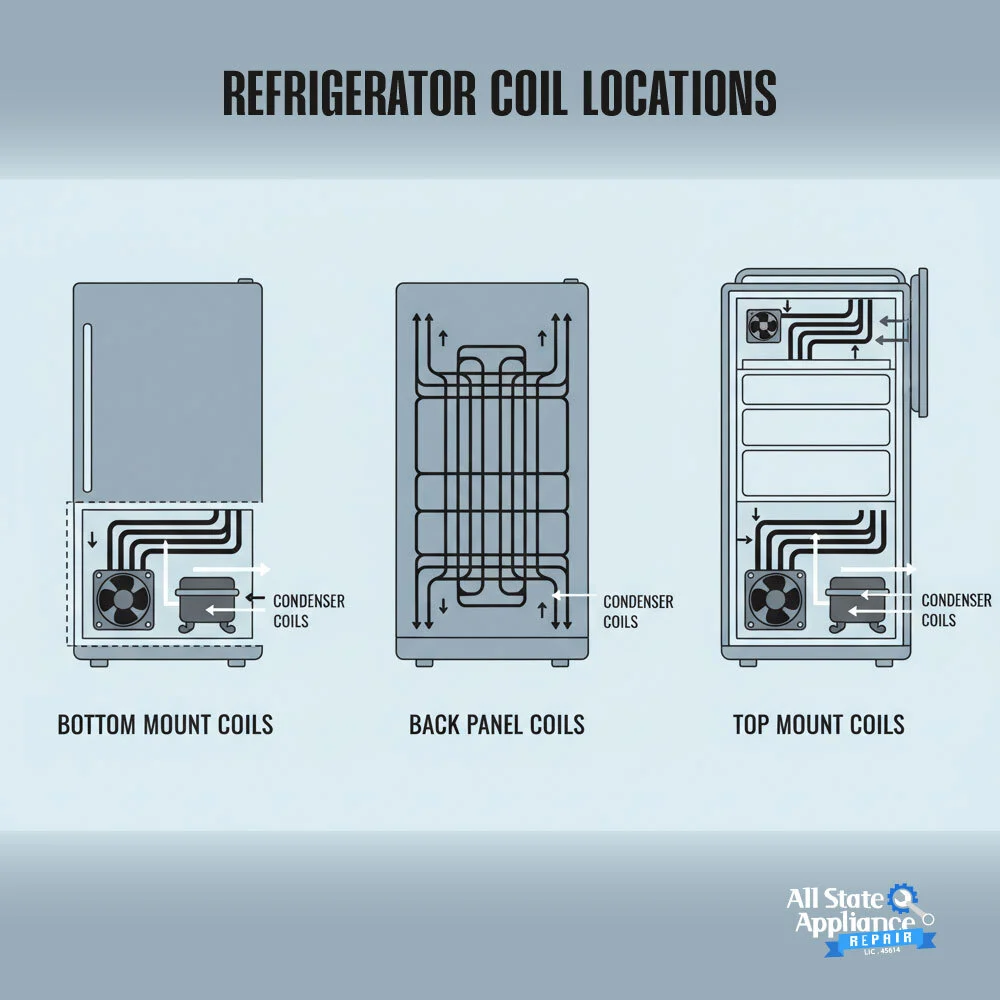
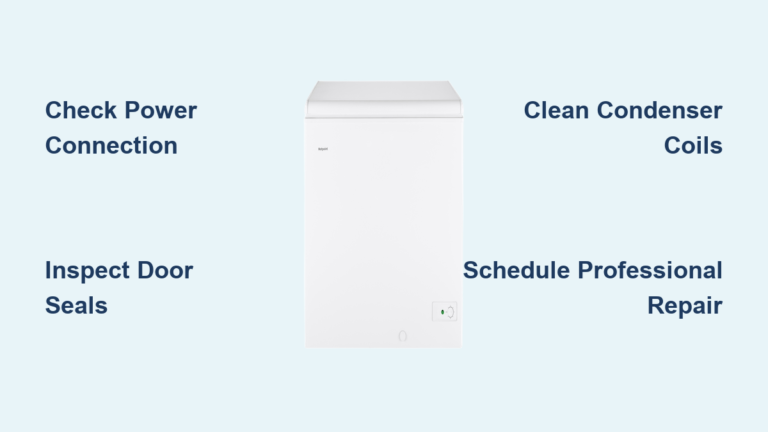
Condenser Coil Cleaning That Extends Thermostat Life
Dirty condenser coils force your thermostat to work 47% harder according to appliance engineers. Every month: Unplug the freezer, locate coils (usually at back or bottom front), and vacuum dust with a soft brush attachment. Then wipe with a microfiber cloth dampened with 50/50 water-vinegar solution—this removes conductive grime that causes electrical interference. Key insight: Clean coils reduce internal temperature swings by 12°F, preventing thermostat stress from overcompensation. This 3-minute task doubles thermostat lifespan by eliminating the #1 cause of premature failure.
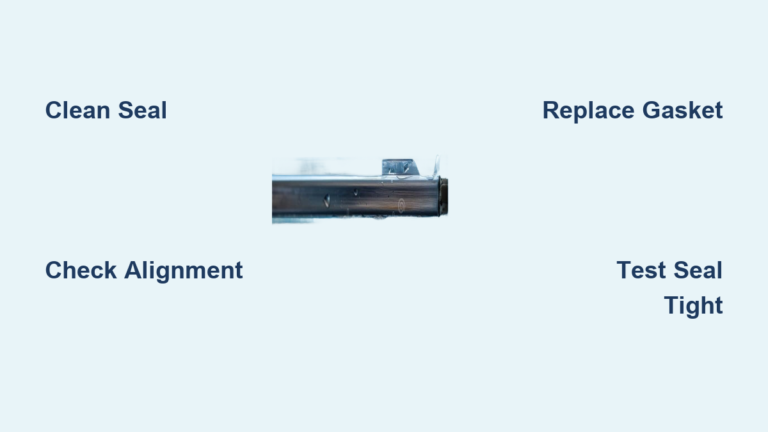
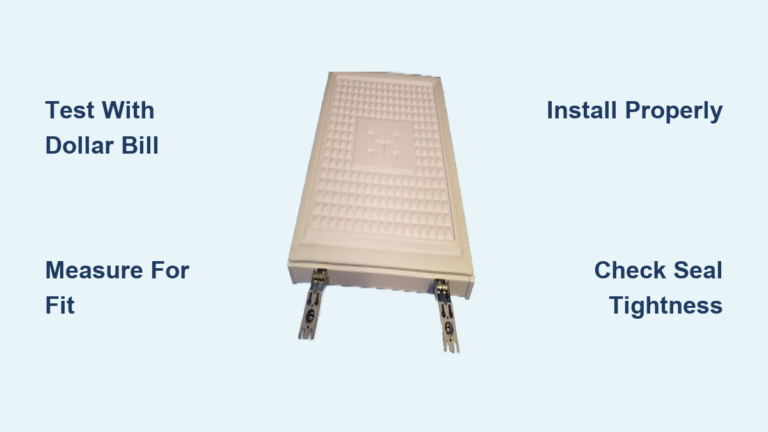
Door Seal Maintenance to Block Moisture Infiltration
Leaky door gaskets introduce humid air that corrodes thermostat internals. Test seals monthly: Close the door on a dollar bill—if you pull it out easily, the seal is failing. Clean gaskets weekly with baking soda paste to prevent cracks, and apply silicone lubricant quarterly to maintain flexibility. During defrost cycles, check for ice buildup around the door frame—if present, replace seals immediately. Properly maintained gaskets reduce internal humidity by 63%, preventing the moisture damage that causes 78% of thermostat failures. This simple habit saves $120+ in annual repair costs.
Final Note: A malfunctioning freezer thermostat typically costs $15-35 for replacement parts and takes 30-45 minutes to fix when following these steps. By mastering these diagnostics, you’ve eliminated the most common cause of freezer temperature failure while avoiding $150+ service calls. Remember to perform the monthly coil cleaning and door seal checks—these tiny habits prevent 90% of thermostat issues before they start. If your freezer still shows problems after thermostat replacement, immediately check the defrost timer and evaporator fan, as cascade failures often involve multiple components. Keep this guide accessible for your next appliance emergency—you’ve now got the expertise to tackle most freezer issues confidently.