How to Fix Freezer Thermostat Issues
Your freezer suddenly stops maintaining proper temperatures, leaving your frozen food at risk of thawing. When ice cream softens and meat begins to defrost, the thermostat is often the hidden culprit behind your appliance’s cooling failure. Learning how to fix freezer thermostat problems saves you hundreds in service calls and prevents costly food waste. This comprehensive guide walks you through every step of diagnosing, testing, and replacing a faulty thermostat—whether you’re dealing with a traditional mechanical control or modern electronic system. By following these proven procedures, you’ll restore reliable freezing performance and extend your appliance’s lifespan.
Identify Specific Thermostat Failure Signs
Before grabbing your tools, confirm your thermostat is actually the problem rather than other components. Freezer thermostat failures manifest through distinctive symptoms that, when recognized early, prevent unnecessary repairs and food spoilage.
Freezer Running Constantly Without Shutting Off indicates your thermostat may be stuck in the “closed” position. If your freezer runs non-stop without cycling off, the thermostat maintains electrical continuity regardless of actual temperature. This symptom dramatically increases energy consumption, accelerates compressor wear, and often causes excessive frost buildup. Before concluding the thermostat is faulty, verify the control dial isn’t accidentally set to maximum cold and check for door seal issues that might place excessive cooling demands on the system.
Freezer Not Cooling Despite Compressor Running presents a different thermostat failure mode. Your freezer may show operational signs—lights on, fans spinning—but fail to reach proper freezing temperatures. Food softens in the compartment while the compressor hums continuously. This pattern suggests the thermostat is receiving temperature signals but failing to trigger the cooling cycle appropriately. Pro tip: Place a separate thermometer in the freezer to verify actual temperatures rather than relying on built-in displays that may be inaccurate.
Complete Failure to Start Cooling Cycle requires systematic diagnosis of the entire electrical chain. When your freezer shows no operational signs—no lights, no fan noise, no compressor hum—a thermostat failed in the “open” position could be interrupting power to the cooling system. However, this symptom demands testing the wall outlet, power cord integrity, internal fuses, and start relay before focusing on the thermostat.
Gather Essential Repair Tools and Safety Gear
Having the right equipment on hand prevents mid-repair delays and ensures safe, accurate work. Never attempt thermostat repairs without these critical items:
Basic Tool Kit should include:
– Phillips and flat-head screwdrivers in multiple sizes
– Needle-nose pliers for manipulating small wires
– Digital multimeter for electrical testing
– Wire strippers (if connections need repair)
– Flashlight or work light for dark compartments
Safety Equipment is non-negotiable when working with electrical appliances:
– Work gloves to protect against sharp sheet metal edges
– Safety glasses to prevent debris from entering eyes
– Non-contact voltage tester to confirm power is off
– Rubber-soled shoes for electrical insulation
Documentation and Reference Materials improve your success rate significantly. Locate your freezer’s model and serial number (typically on an interior label or rear panel) before purchasing parts. Photograph wiring configurations before disconnecting anything—this prevents confusion during reassembly. Have your owner’s manual available for model-specific procedures and temperature settings.
Disconnect Power and Prepare Workspace
Electrical safety must be your top priority when learning how to fix freezer thermostat issues. One overlooked safety step causes most DIY repair injuries.
Completely Disconnect Power by unplugging the unit from the wall outlet—this single action prevents 90% of electrical hazards. Allow the freezer to sit unplugged for at least 5 minutes before touching internal components, as some parts retain electrical charge. For added safety, turn off the circuit breaker controlling the outlet and verify power is off using your non-contact voltage tester. Warning: Never work on live electrical components—this risks severe shock or death.
Prepare Your Workspace by clearing the area of clutter and ensuring adequate lighting. Place a towel on the floor to protect against frost melt and provide cushioning while kneeling. Remove all food from the freezer and store perishables in a cooler with ice packs. Position your tool kit within easy reach but away from potential water sources. If working in a garage or unheated space, be aware that cold temperatures affect component behavior and personal dexterity.
Test Your Freezer Thermostat Accurately

Before replacing your thermostat, perform these specific tests to confirm it’s actually faulty. These diagnostic procedures rule out other potential causes and ensure you replace the right component.
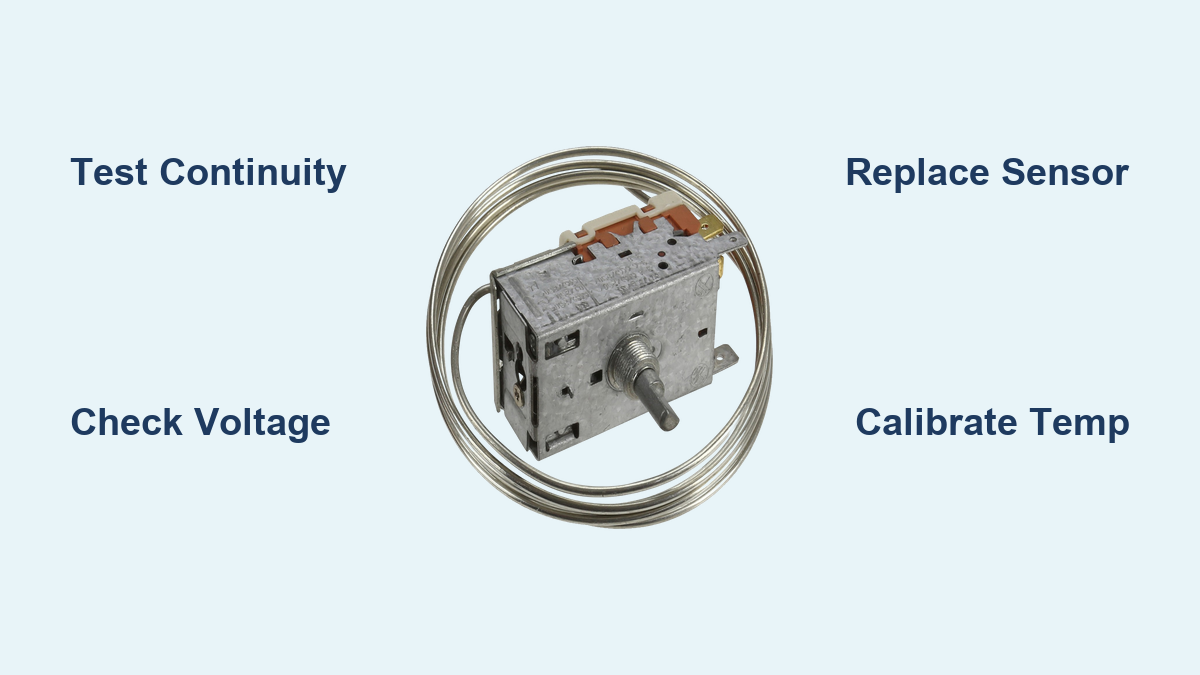
Mechanical Thermostat Continuity Test requires your multimeter set to resistance (ohms). With the freezer unplugged, locate the thermostat terminals (typically two or three spade connectors). Remove wire connectors and touch one probe to each terminal. At room temperature, a functioning thermostat should show continuity (near-zero resistance). To test temperature response, place the sensing bulb in ice water—the thermostat should click open (showing infinite resistance) within minutes. If it fails to open when cooled or close when warmed, replacement is necessary.
Electronic Thermostat Sensor Testing follows a different procedure. Locate the temperature sensor (usually a small probe in the freezer compartment) and disconnect it from the control board. Measure resistance across the sensor terminals with your multimeter. Compare readings to expected values—most thermistors show 10k ohms at 25°C (67°F) with resistance decreasing as temperature rises. A reading significantly different from specifications indicates a faulty sensor requiring replacement.
Voltage Testing During Operation confirms whether the thermostat properly passes electrical power. With extreme caution, plug in the freezer and measure voltage across thermostat terminals while the compressor should be running. A functional thermostat shows full voltage on one terminal and voltage on the second terminal only when calling for cooling. If voltage appears on the input terminal but not the output when cooling is needed, the thermostat requires replacement.
Remove the Faulty Thermostat Safely
Proper removal technique prevents damage to surrounding components and ensures successful replacement.
Document Wiring Configuration by taking detailed photographs before disconnecting any wires. Label each wire with numbered tape corresponding to terminal positions. Carefully disconnect wire connectors from thermostat terminals, using needle-nose pliers if connections are tight. For mechanical thermostats, note the routing path of the capillary tube extending into the freezer compartment—this sensing element must follow the same path in the replacement unit.
Remove Mounting Hardware securing the thermostat body, typically screws or plastic clips. Some models require removing the control dial first—check for a small setscrew or press-fit mechanism. Carefully withdraw the thermostat assembly, taking extreme care not to kink or damage the capillary tube. Pro tip: If the tube resists removal, gently work it loose rather than forcing it—bending the tube can restrict internal fluid flow and compromise thermostat function.
Select the Correct Replacement Thermostat

Choosing the wrong replacement thermostat creates more problems than it solves. Thermostats are highly model-specific with critical variations in electrical specifications and physical dimensions.
Match Specifications Precisely by using your freezer’s model and serial number to source the exact replacement part. Verify these critical matching points:
– Electrical ratings (voltage and amperage)
– Temperature range and calibration
– Mounting method and dimensions
– Capillary tube length and routing configuration
– Terminal type and arrangement
Universal Thermostat Considerations apply when exact matches are unavailable. These kits offer adjustable temperature ranges and multiple mounting options but require careful configuration. Set the differential (on-off temperature spread) according to manufacturer specifications—typically 4-8°F for freezers. Incorrect differential settings cause excessive cycling or inadequate cooling. Warning: Never substitute a refrigerator thermostat for a freezer unit—freezer thermostats operate at much colder temperature ranges.
Install Your New Thermostat Properly
Correct installation ensures reliable operation and prevents premature failure of your replacement thermostat.
Position and Secure the Thermostat by aligning mounting holes precisely and securing with appropriate fasteners—avoid overtightening, which can crack the plastic housing. Route the capillary tube through grommets or guides following the original path, leaving sufficient slack for thermal expansion. The sensing bulb must be positioned to accurately read freezer air temperature, typically near the evaporator coil or in the airflow path.
Reconnect Electrical Wiring according to your pre-removal documentation. Push connectors firmly onto terminals until they click into place—loose connections cause intermittent operation or electrical arcing. Replace access panels securely but avoid pinching wires. Set the control dial to a middle position (not maximum cold) before restoring power.
Calibrate and Test Your Repaired Freezer
Thorough verification testing confirms proper operation before considering the repair complete.
Monitor Temperature Performance using a separate appliance thermometer placed in the freezer compartment. Record temperatures every 2 hours for 24-48 hours to establish the cycling pattern. Verify temperatures remain within the safe range of -18°C to -20°C (0°F to -4°F). The compressor should cycle on and off periodically—typically running 20-30 minutes followed by 10-20 minutes off in moderate conditions.
Adjust Temperature Settings incrementally if needed. For mechanical thermostats, turn the dial one setting at a time and allow 24 hours for stabilization before further adjustment. Electronic models may require accessing a service menu for calibration offsets. Pro tip: Keep a temperature log for the first week—this establishes a baseline for future performance comparisons.
Troubleshoot Related Components When Needed
If thermostat replacement doesn’t solve your cooling problems, these related components may be responsible.
Start Relay and Overload Assembly work with the thermostat to power the compressor. A failing start relay prevents compressor startup even when the thermostat calls for cooling. Test these components with your multimeter—replace if resistance readings fall outside specifications. These inexpensive parts ($15-30) often solve “thermostat-like” symptoms.
Defrost System Components in frost-free models can mimic thermostat failure. Excessive frost on evaporator coils insulates the cooling system, forcing longer compressor run times. Check the defrost timer, heater, and thermostat for proper operation—these components cycle independently of the main temperature control.
Maintain Your Freezer Thermostat for Longevity
Proper maintenance prevents future thermostat problems and extends your freezer’s service life.
Regular Maintenance Tasks include:
– Vacuuming condenser coils every 6 months
– Checking door seals for proper closure
– Avoiding overloading the freezer compartment
– Keeping the control area clean and ice-free
Recognize Early Warning Signs of thermostat failure:
– Inconsistent clicking sounds from the control
– “Mushy” dial feel without definitive clicks
– Gradual temperature drift over time
– Erratic temperature displays (electronic models)
Successfully learning how to fix freezer thermostat problems requires methodical diagnosis, careful attention to safety, and thorough verification testing. While thermostat replacement is achievable for most DIYers with basic tools, complex electronic controls or multiple system failures may warrant professional service. When approached systematically, this repair restores reliable freezing performance and saves you significant money compared to service calls—typically taking 45-90 minutes and costing $30-100 for parts. By maintaining proper temperature control, you protect your food investment and extend your appliance’s service life for years to come.