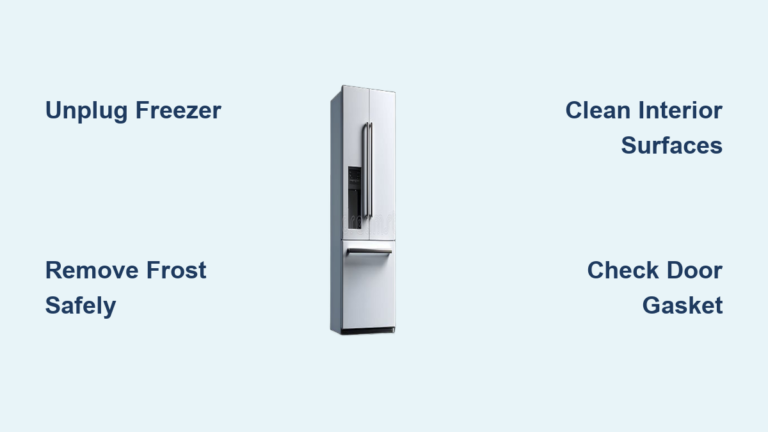
How to Install Freezer Gasket: Step-by-Step Guide
If your freezer isn’t maintaining proper temperature or you notice frost buildup around the door edges, you likely have a damaged or worn freezer gasket. This rubber seal creates an airtight closure that keeps cold air in and warm, moist air out. When your freezer gasket fails, your appliance works harder, increasing energy costs and potentially spoiling food. Replacing this critical component yourself can save you $100+ in service calls while restoring your freezer’s efficiency. In this guide, you’ll learn exactly how to remove your old freezer gasket and install a new one properly, ensuring your freezer maintains optimal performance for years to come.
Identifying When Your Freezer Gasket Needs Replacement
Recognizing Common Gasket Failure Symptoms
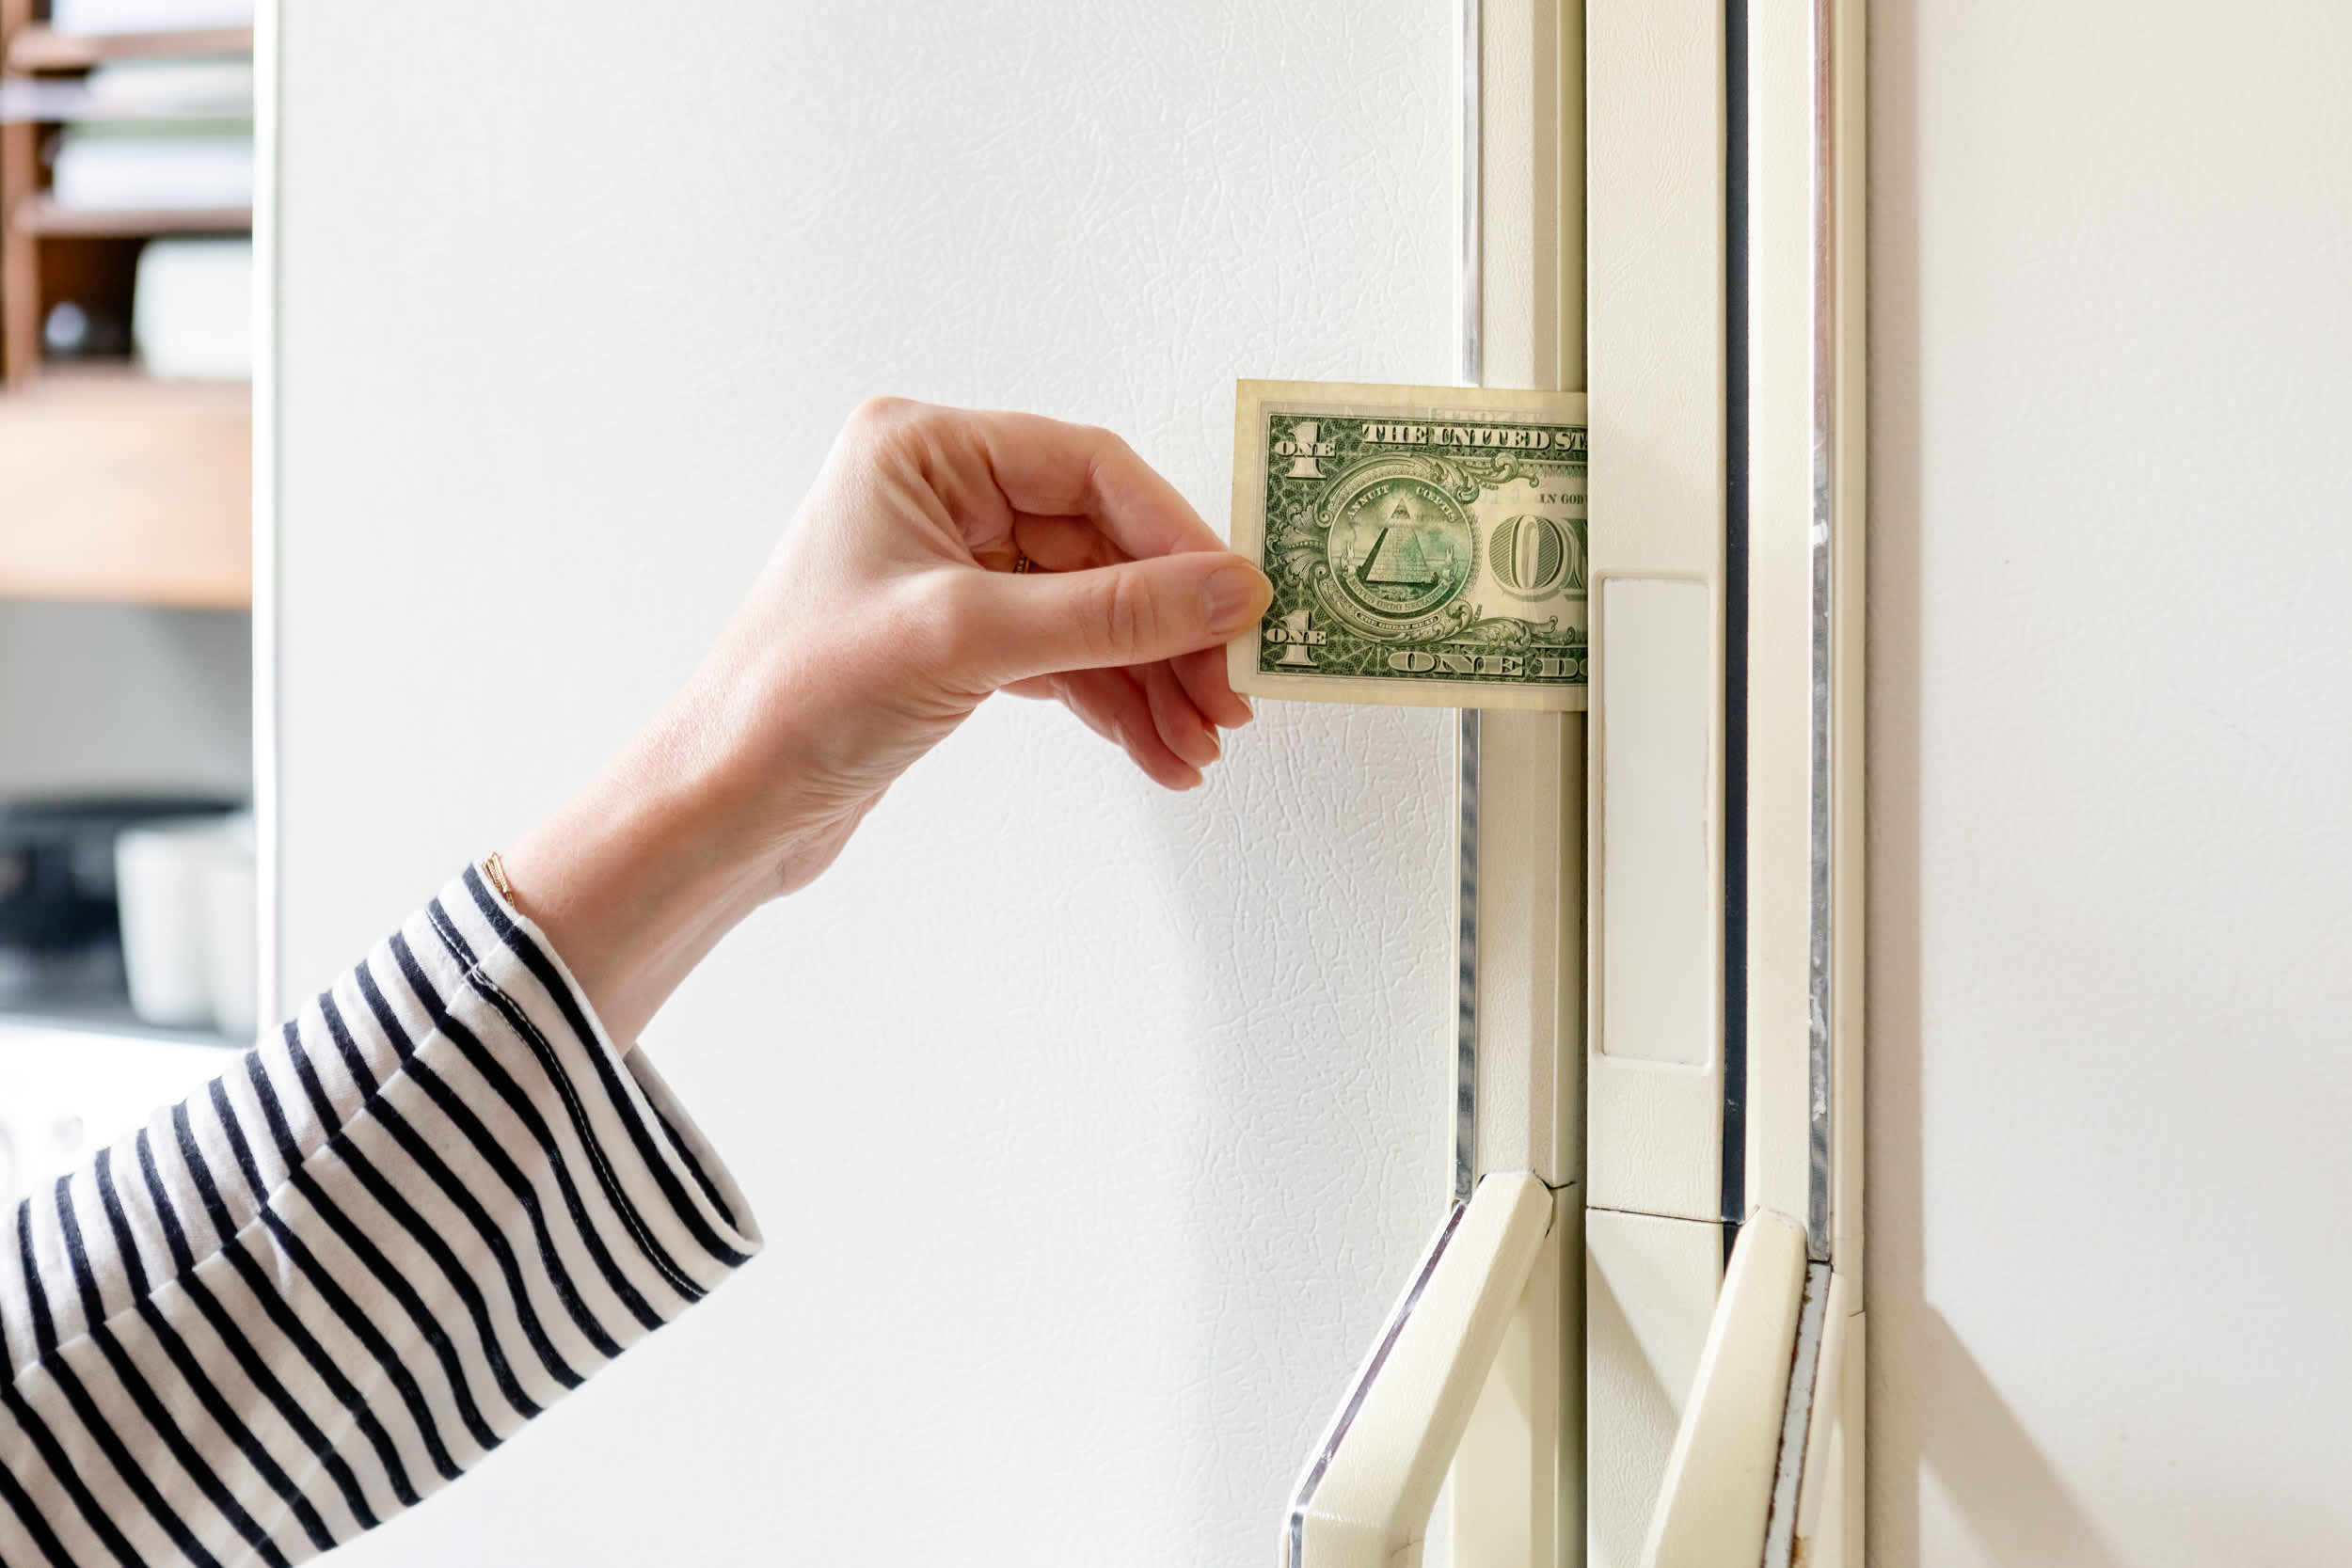
Your freezer gasket typically lasts 5-7 years, but several warning signs indicate it’s time for replacement. Visible cracks, tears, or hardened sections in the rubber seal compromise its ability to create an airtight closure. If you notice persistent frost buildup on freezer walls or shelves despite regular defrosting, your gasket is likely failing. Another simple test involves placing a dollar bill between the door and frame at various points—when you close the door, try pulling the bill out. If it slides out easily without resistance at any point, your gasket isn’t sealing properly.
Understanding the Consequences of Ignoring Gasket Problems
Continuing to operate your freezer with a damaged gasket creates multiple problems. Your compressor runs longer and more frequently, increasing energy consumption by up to 30%. This excessive workload shortens your appliance’s overall lifespan and creates temperature fluctuations that can partially thaw and refreeze food, degrading quality and safety. In severe cases, moisture intrusion from a failed seal causes excessive frost buildup that blocks air vents, creating a dangerous cycle where the freezer can’t maintain safe food storage temperatures.
Preparing for Your Freezer Gasket Installation

Gathering Essential Tools and Materials
Before starting your freezer gasket replacement, ensure you have these critical items: a replacement gasket specific to your freezer model (measure your old gasket or check your manual for exact specifications), flathead screwdriver, hairdryer or heat gun, pliers, soft cloth, mild soap solution, and masking tape. Never attempt installation without the correct replacement part—freezer gaskets vary significantly by model and manufacturer. The wrong size will create gaps that prevent proper sealing, rendering your entire repair ineffective.
Creating the Ideal Work Environment
Begin by unplugging your freezer and removing all contents. Place items that might spoil in a cooler with ice packs. Clear a workspace large enough to lay the freezer door flat if necessary, and ensure adequate lighting. Protect your floor with cardboard or old towels since you’ll be working with potentially messy components. Allow the freezer interior to reach room temperature before starting—this makes the old gasket more flexible and easier to remove without damaging surrounding components.
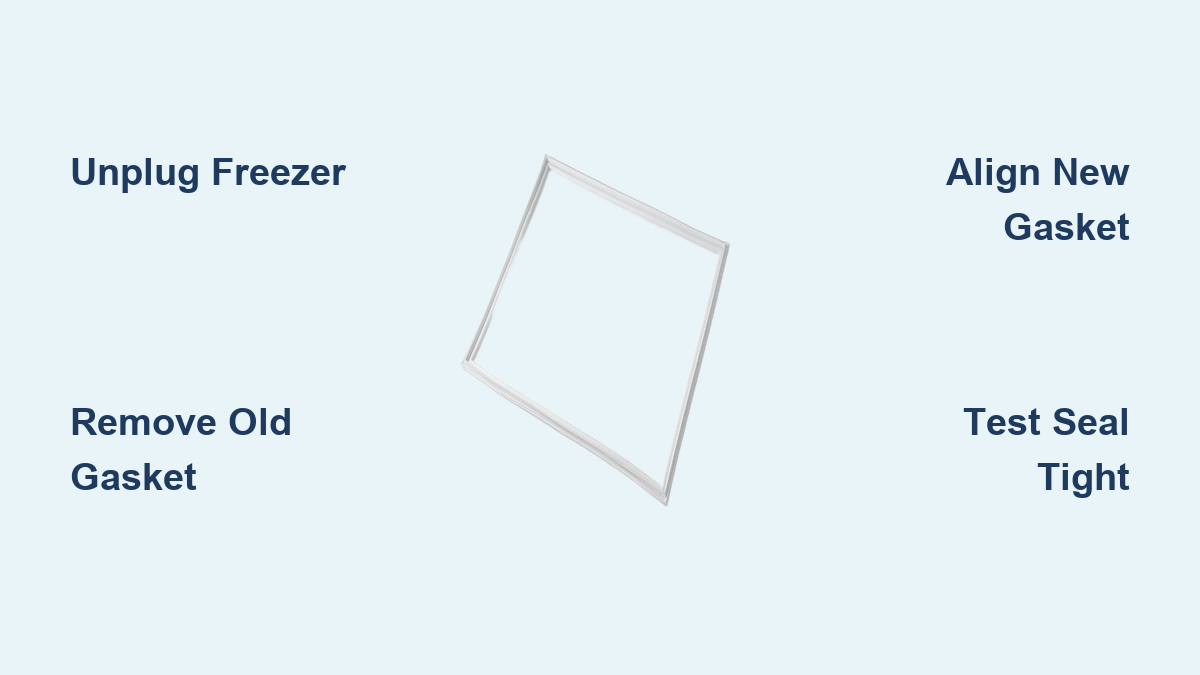
Removing the Old Freezer Gasket
Locating and Removing Retaining Mechanisms
Most freezer gaskets attach using either metal retaining channels or plastic clips secured with screws. Carefully inspect along the entire door perimeter to identify your specific attachment method. Start at the top center of the door and work clockwise, using a flathead screwdriver to gently pry out retaining clips or remove screws securing the channel. Keep screws and clips organized in labeled containers as you remove them—different positions often require specific components. Never force removal, as this can crack the door liner or damage internal insulation.
Proper Technique for Gasket Removal
Once all retaining mechanisms are removed, begin peeling the old gasket away from the door frame. Apply gentle, consistent pressure while working your fingers underneath the seal. If the gasket resists removal, use a hairdryer on low heat to warm the rubber, making it more pliable. Avoid excessive heat that could warp plastic components. As you remove the gasket, clean any accumulated debris, mold, or residue from the channel where the new gasket will sit. This step is crucial—any obstruction prevents proper seating of your new seal.
Installing Your New Freezer Gasket
Positioning the New Gasket Correctly
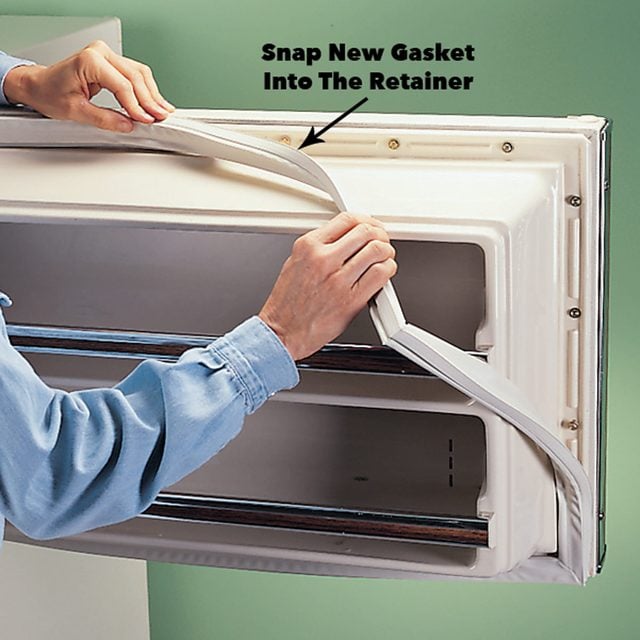
Begin installation at the top center of the door, aligning the new gasket precisely with the channel. Most gaskets have a directional indicator—ensure the lip faces inward toward the freezer compartment. Work slowly around the door, pressing the gasket into place with your fingers before securing it with retaining clips or screws. Never stretch the gasket to fit—this creates weak spots that fail prematurely. If your gasket has a hollow channel design, ensure this faces outward to create the proper compression seal when the door closes.
Securing the Gasket for Optimal Performance
As you work around the door, secure the gasket incrementally using the retaining clips or screws. Start with the top and sides before addressing the bottom, which often requires the most precise alignment. When reinstalling screws, tighten them just enough to hold the gasket firmly without distorting the rubber. Over-tightening creates pressure points that prevent even sealing. After full installation, close the door slowly to check for proper alignment—there should be consistent pressure around the entire perimeter without binding or gaps.
Testing and Final Adjustments
Verifying Proper Seal Functionality
After installation, conduct the dollar bill test at multiple points around the door to confirm even pressure distribution. The bill should create noticeable resistance when pulled at every position. Allow 24 hours for the new gasket to settle and reach optimal flexibility before conducting a thorough temperature test. Monitor your freezer’s performance over several days, checking for consistent temperature maintenance and absence of frost buildup. If you notice any areas where the seal seems weak, slightly adjust the tension on nearby retaining clips.
Troubleshooting Common Installation Issues
If your new gasket creates gaps at corners, it may be slightly oversized for your model. Gently stretch these areas by hand for 30 seconds to improve fit—never use excessive force. For persistent sealing issues, check if the door is properly aligned with the cabinet; many freezers have adjustable hinges that may need minor correction. If the gasket feels too stiff after installation, wipe it with a food-safe silicone spray to enhance flexibility while maintaining its sealing properties.
Maintaining Your New Freezer Gasket
Establishing a Regular Cleaning Routine
Prevent future gasket problems by cleaning your new seal monthly with a soft cloth and mild soap solution. Avoid harsh chemicals that degrade rubber over time. Pay special attention to the channel where the gasket seats, removing any food particles or debris that could compromise the seal. After cleaning, apply a thin coat of food-grade mineral oil to keep the rubber supple and prevent premature drying or cracking.
Preventing Premature Wear and Damage
Never force your freezer door closed if items are obstructing proper closure—this strains the gasket at specific points. Keep the door seal free from ice crystals by wiping excess moisture after each use. During extended absences, leave the door slightly ajar with a rolled towel to prevent the gasket from bonding to the cabinet. These simple habits can extend your new gasket’s lifespan by 2-3 years beyond the typical replacement cycle.
Replacing your freezer gasket might seem intimidating at first, but following these precise steps ensures professional results without expensive service calls. The entire process typically takes 45-90 minutes, saving you significant money while restoring your freezer’s efficiency. Remember that proper installation technique matters more than speed—taking time to position and secure your gasket correctly prevents future problems. With your new seal properly installed, you’ll notice immediate improvements in temperature stability, reduced energy consumption, and elimination of frustrating frost buildup. For best results, reference your freezer’s specific model manual for any manufacturer-recommended installation variations before beginning your project.